Hello Stampin’ Friends ~
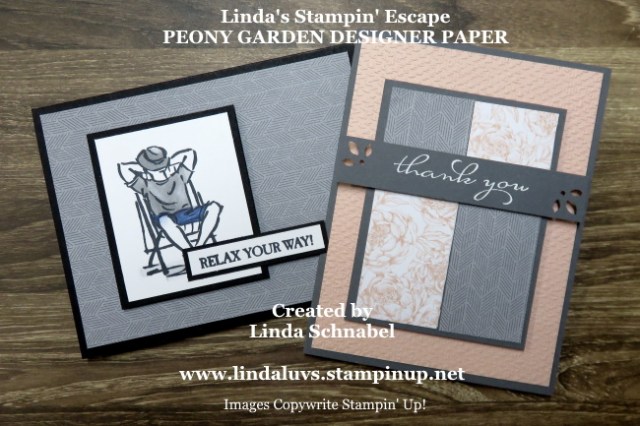
I’ve got two cards to share with you today using the Triple Layer Technique … it is usually done with stamped images but I like using it with designer paper. I’m using the Peony Garden, same as I did on my Simply Sunday cards (View them Here).
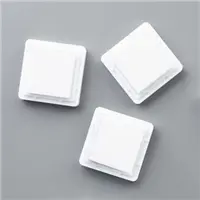
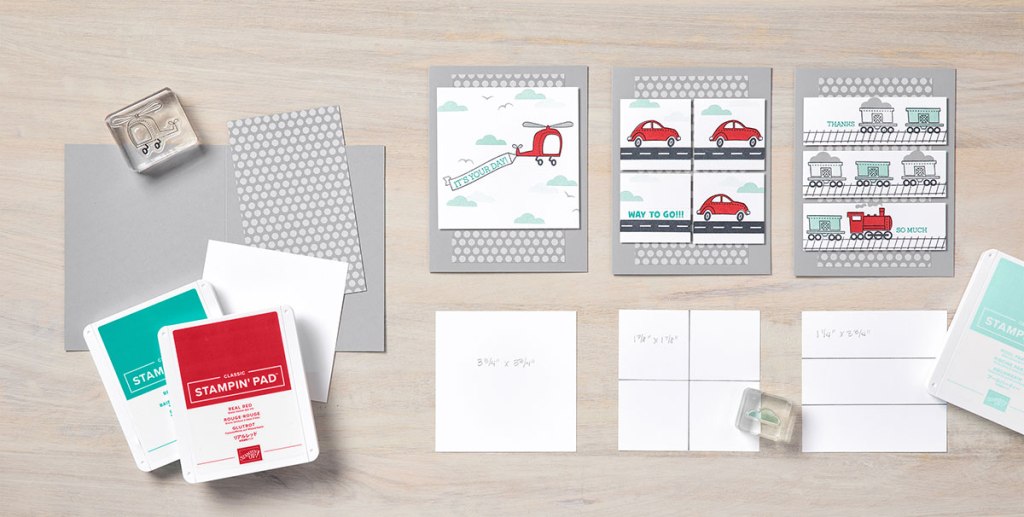
Let’s begin with the “How To” create the Triple Layer. I’m using the square dies but you can actually use any shape die …
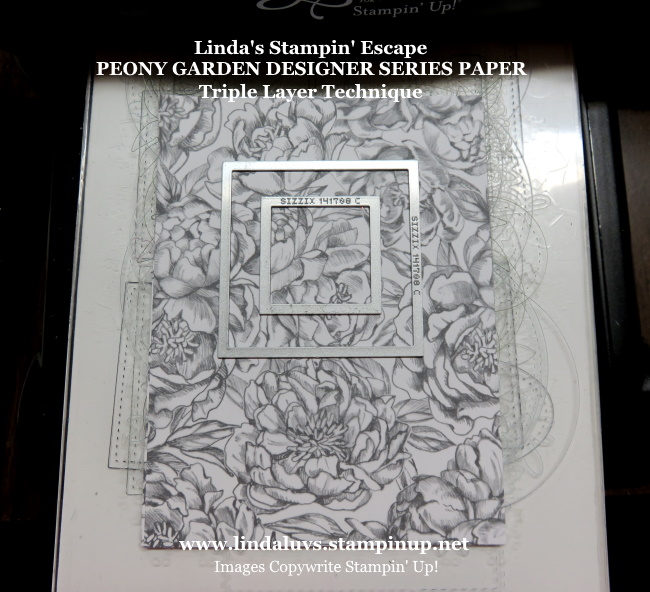
I picked the Gray Peony pattern to show that when die cut, the triple layer technique highlights the pattern …

Once your designer paper is die cut, you will need to mat those pieces … I like mine to be only an 1/8″ larger so you don’t take away from your design …
You’ve got to love the fact that you have no waste with this designer paper technique. One little tip I’d like to share is to keep your designer paper in the position in which you cut.
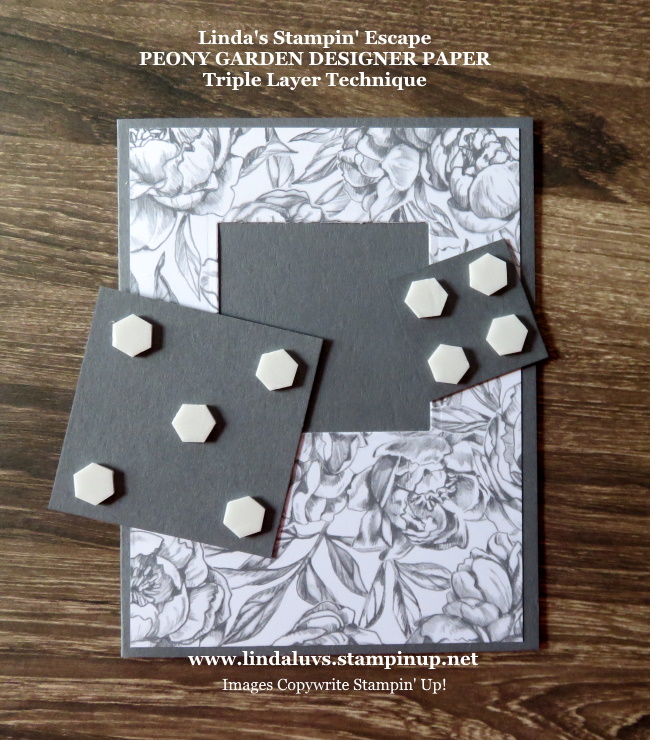
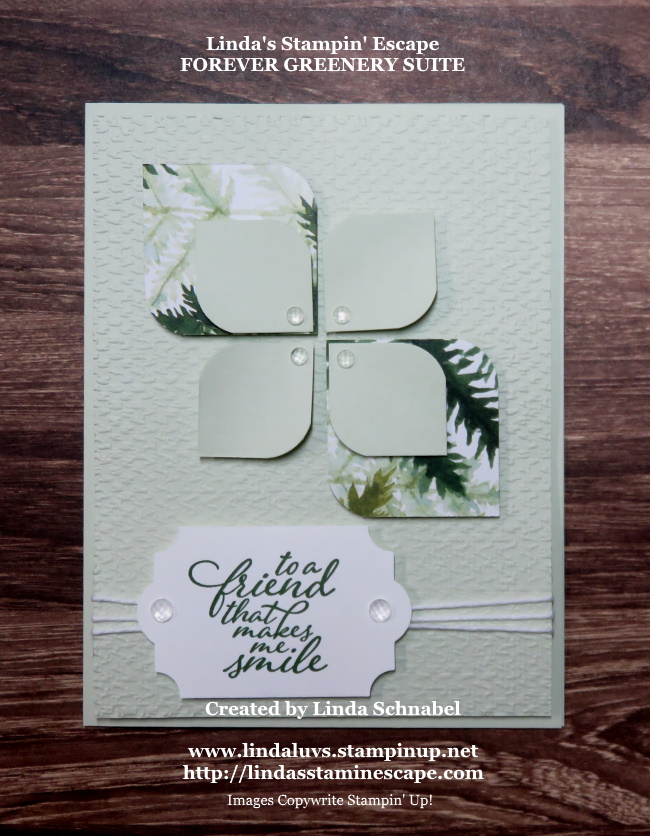
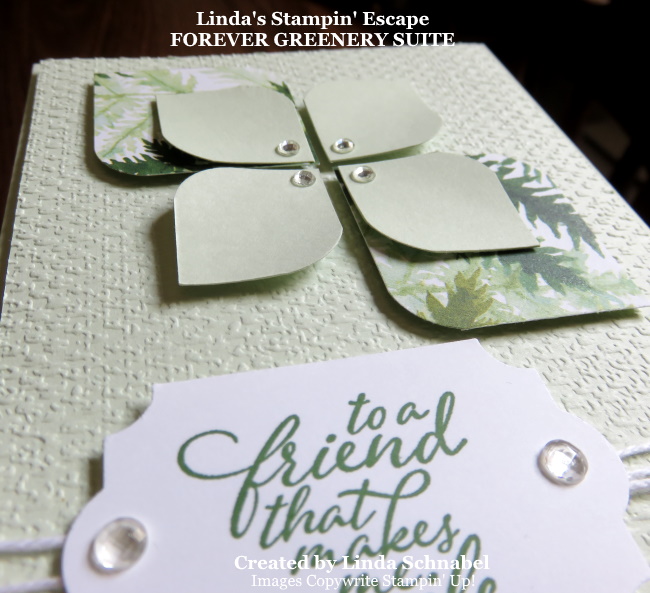
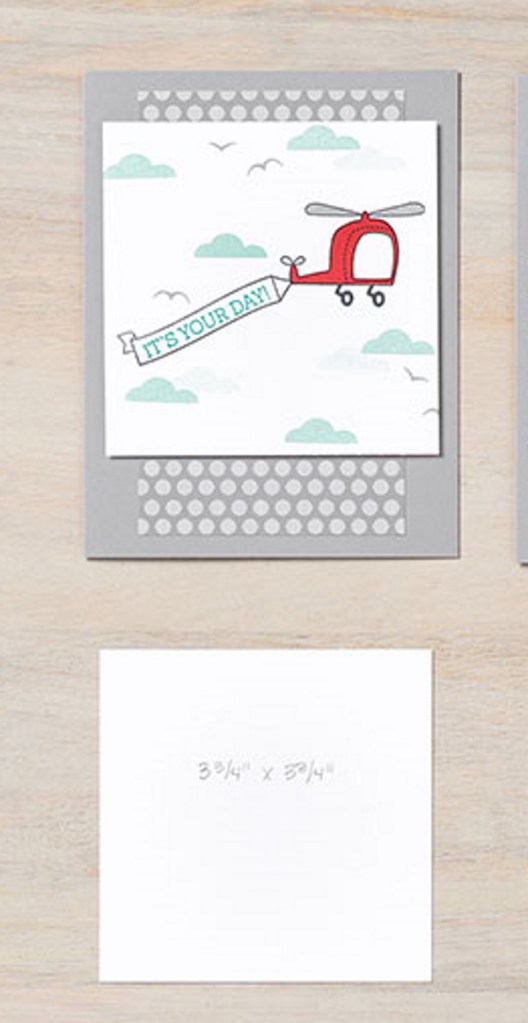
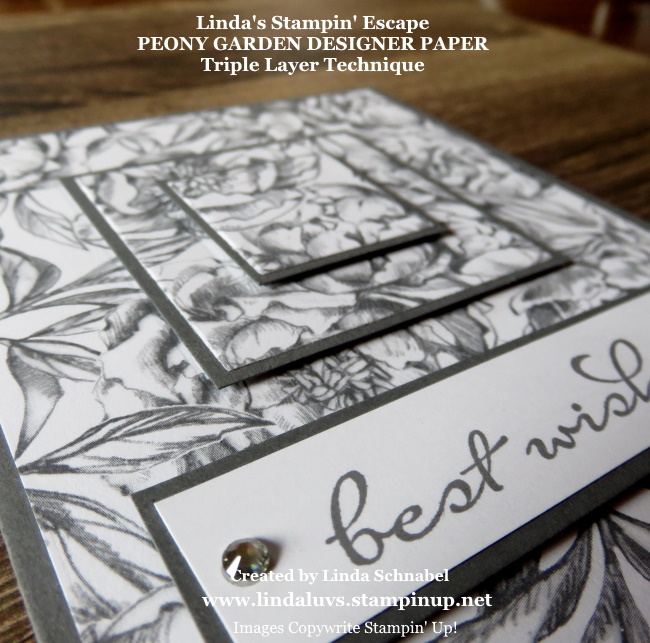
Time to create the layers and while we are add it … lets add dimension too! Remember when layering, to position your cut pieces so the design aligns and you will end up with a stunning Triple Layer card ~

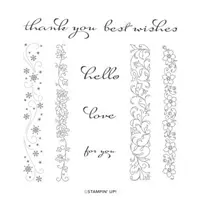
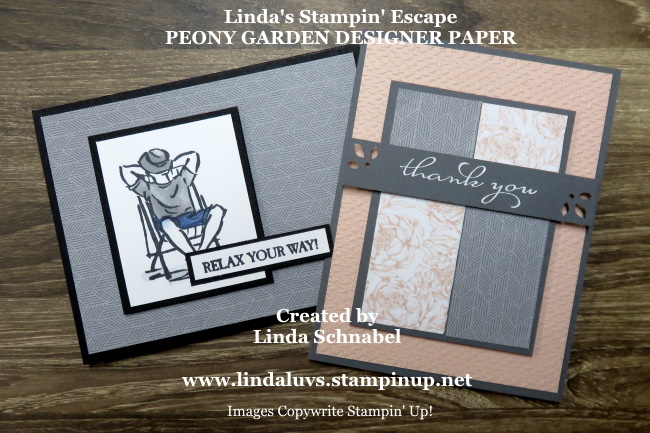
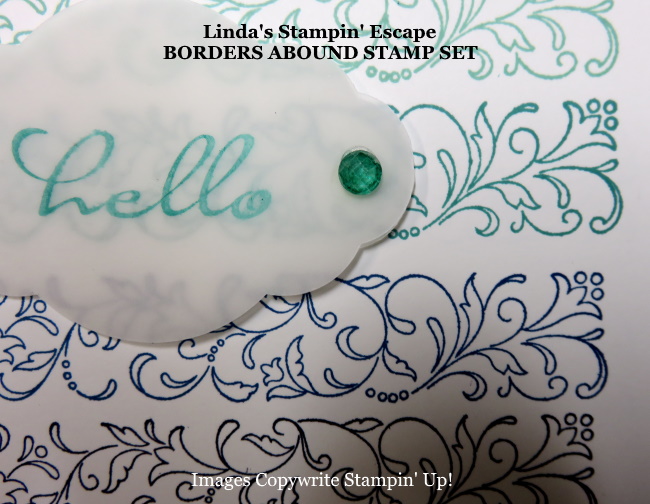
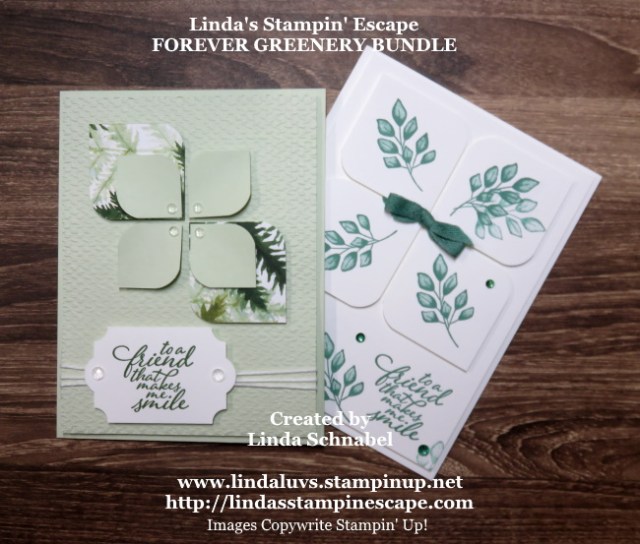
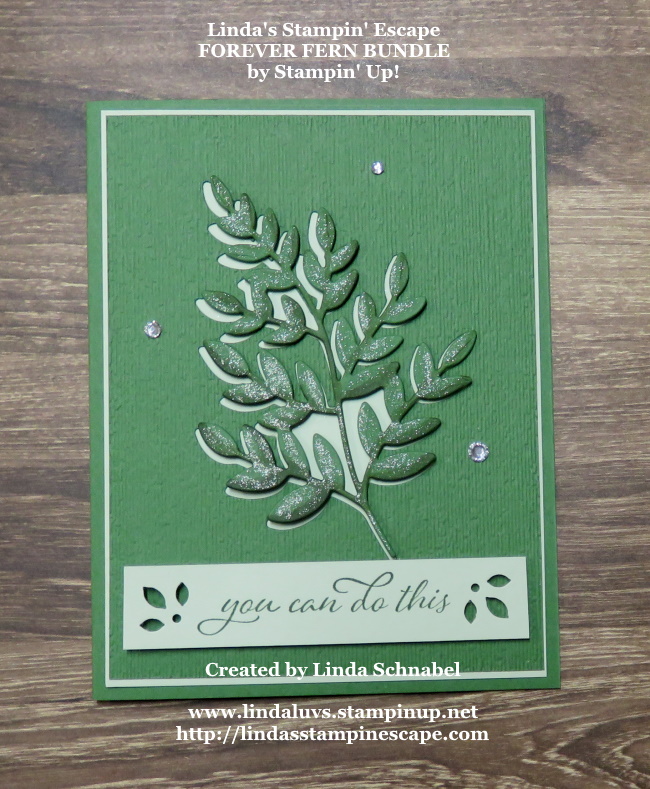
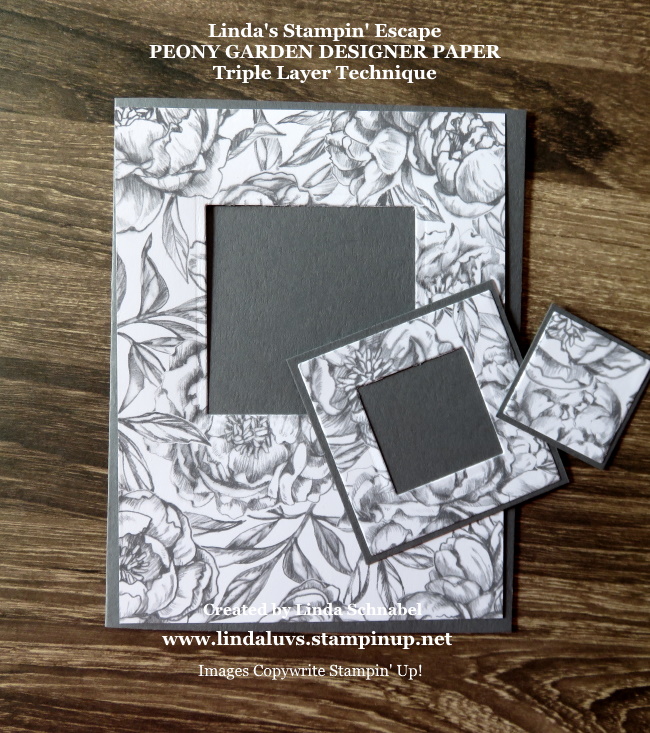
See how the pattern of your paper is not chopped up by the die cuts, but are actually highlighted with the mat. This monochromatic card checks all the boxes in design and is finished off with “best wishes” sentiment from the Borders Abound.
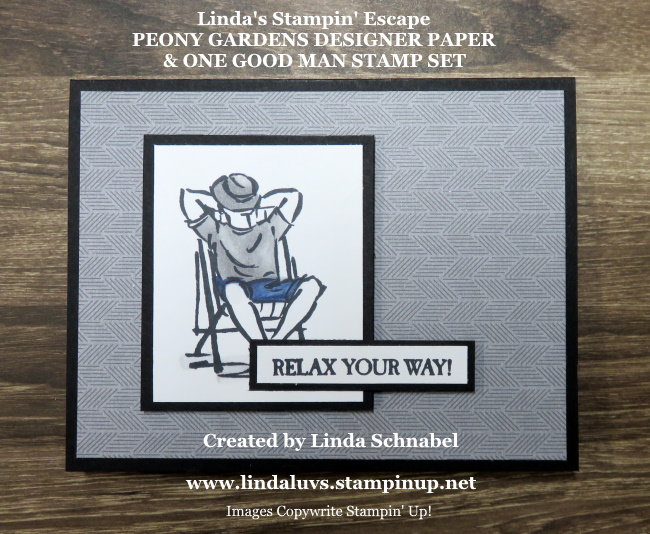
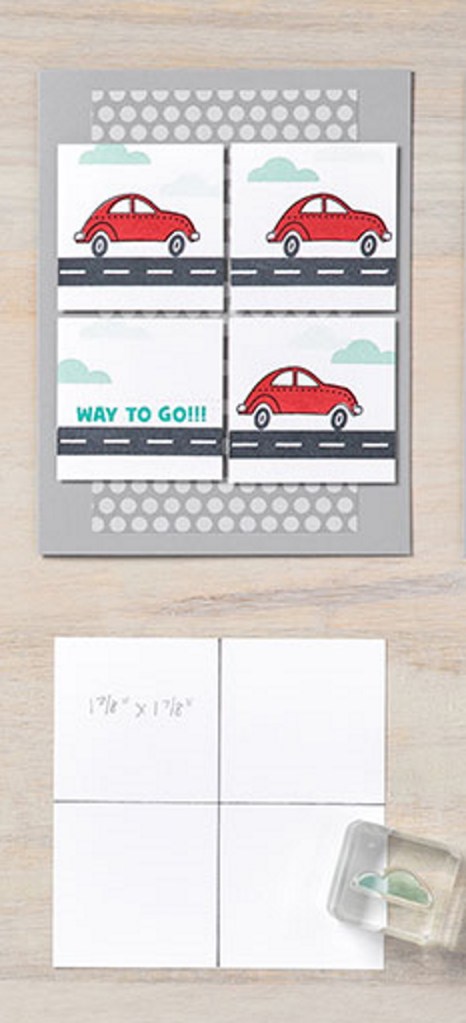
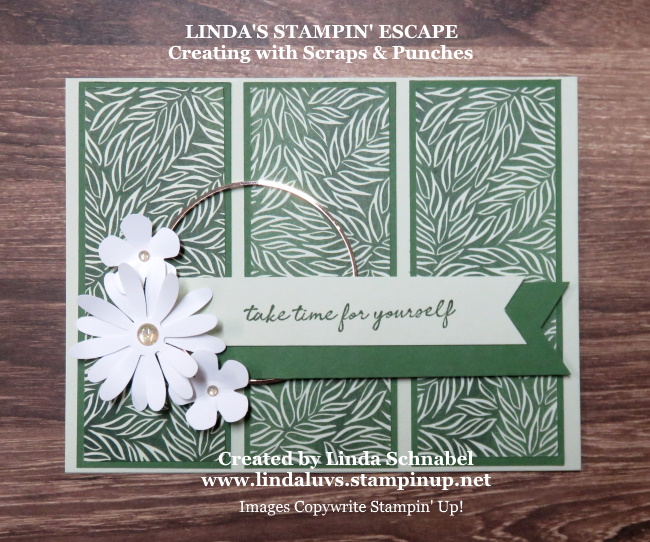
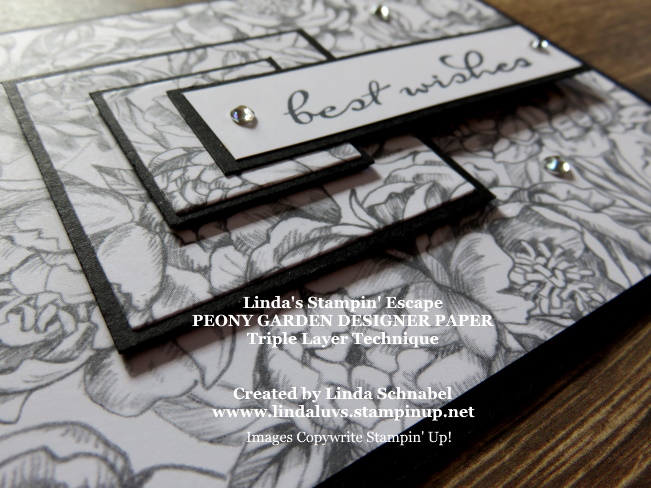
Are you lovin’ the layers? How about the monochromatic theme? Do you prefer a portrait or landscape layout? How about we change things up a bit and swap out the Basic Gray cardstock for Basic Black and turn our card from the portrait to a landscape / horizontal layout …

What do you think? Too bold or does the black really make the card pop? I had a little fun positioning the sentiment and thought that it really incorporates itself into the card. Talking about layering ….
I must say that I had a lot of fun creating these cards … this technique is fun and easy to do. Again, you can use any die shape as long as you have a mat behind it.
Which one did you prefer … and why? Make sure you leave me your comments below, I can’t wait to find out which one you all like best!

Thanks for hanging out with me today, and I can’t wait to hear what you think … Like the post at the bottom of my blog and then leave a comment on which card you like best.
Have an awesome day today ~

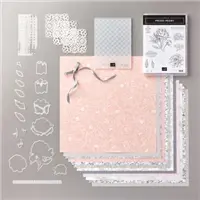
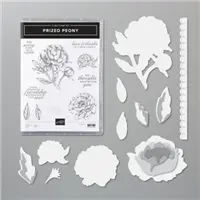
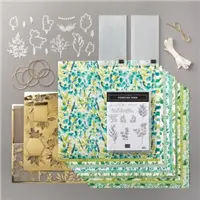
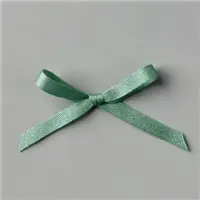
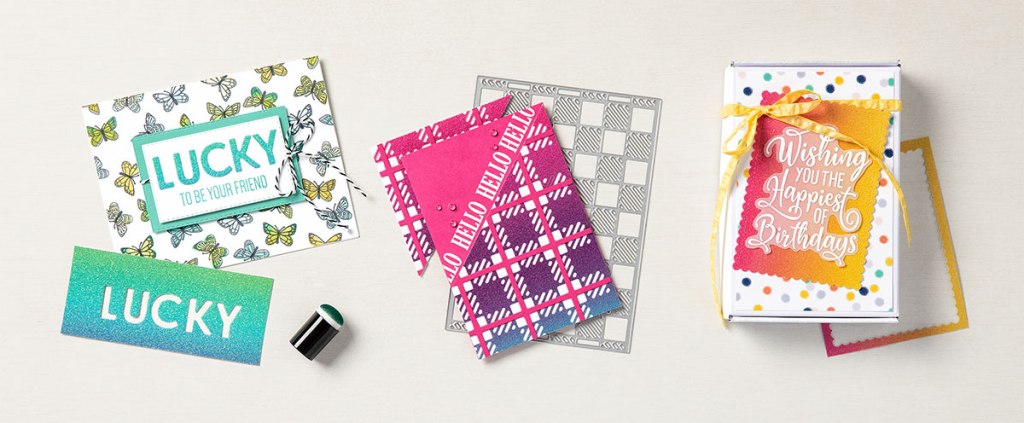
Here is a list of the product I used to today’s cards. Find out more information about these products by clicking on the image … or you can begin your shopping from here as well. Thank you!