We’ve been having some fun lately with card layouts and how helpful they are when you are ready to start creating! So today I’d like to share two more card layouts with you … Grab your scraps!!
OK … Here’s the fun part. I’m sharing they layouts and I would like to see what you come up with!! You can post them on my Linda’s Stampin’ Escape Facebook page … we’ll have a contest!!
The first layout is 9 – 1″ x 1″ squares … Have fun with it and come up with any occasion you prefer. I’ll be sharing my cards with you here!
Our second layout …
or template is a layering of designer paper all tied up pretty with a bow. However, you could put your greeting tag across the top instead of the bow … or the greeting can be stamped along the bottom. As far as the banners – make them with any width or length … Use up those scraps! Again, have fun with it and don’t forget to share.
I’ll post a notice on my Facebook page and then make sure you share cards. We’ll do a SPIN 2 WIN on all the entries. Let’s have some FUN this Friday!
How did you enjoy the video for the Pinwheel Technique? Yes, I got a little long at the end but I was excited to share all the fun upcoming events. I also told you I would be sharing a another version on my Pinwheel card!
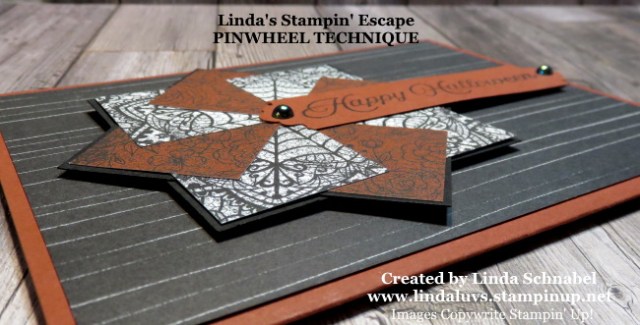
So lets have some fun … One way you can change up your layouts is to change the orientation of the card. Yesterdays card was in the Vertical / Portrait so I changed the orientation to the horizontal / landscape for my Halloween card …
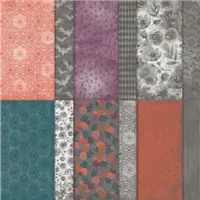
I used the Magic in this Night Designer Series paper for my card. The pinwheel is created in the same way as shown in the video. I love bringing back techniques that many have left far behind and forgot about.
There is something magical about this technique, and the pinwheel alone reminds me of a quilt piece or the Pennsylvania Dutch folk art you see on a barn. That’s why every couple of years I bring it back and introduce it to new stampers.
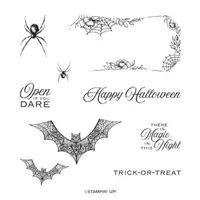
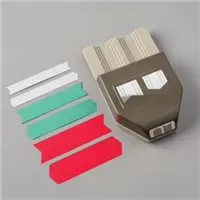
The greeting comes from the stamp set Hallows Night Magic which comes from the same “suite” as our designer paper; Magic in this Night. I created the neat ends were punched from the new … and anchored the ends with the Iridescent Pearls.
I hope you have enjoyed seeing another version of the Pinwheel Technique, and remember … take those layouts and change up the orientation and you’ll have even more ways to play!
Thank you for popping in today … have a great day!
TODAY’S STAMPIN’ SUPPLY LIST … If you liked the products used in today’s projects, I have links for you below. Just click on the item you would like more information on, or to begin your shopping. It will take you directly to my website. Thank you ♥
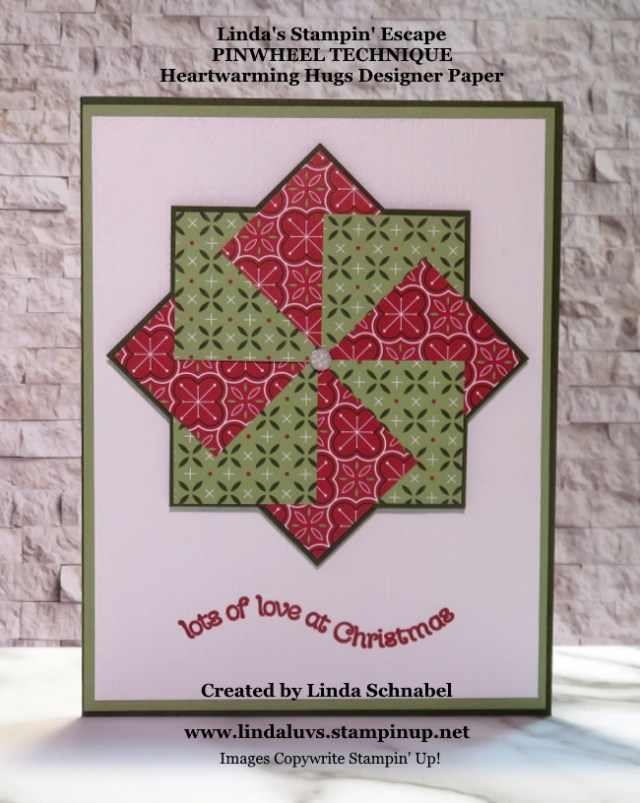
Today I have two cute cards for you created with the Heartwarming Hugs Designer Series paper and the Pinwheel Technique. This technique is a great way to use up your designer and / or paper scraps!
This paper crafting technique is much, much easier than it looks … quite simple in fact, and I’d like to show you today …
How did you enjoy the demonstration and do you think it’s as easy to make as I said it would be? I think this technique is one of those timeless cards that we can keep bringing back!!
This first card is the one I demonstrated and includes the Heartwarming Hugs designer series as a background and the Light Me Home stamp set used for the greeting. I also tipped the Pinwheel to look a little more like a star.
The second card …
This was designed for those stampers who like the “less is more” look … a clean, crisp look. The Pinwheel really stands out against the white background.
The greeting comes from the “Itty Bitty Christmas” stamp set, and with the aid of my Stamparatus … I could stamp it 3 times to get it bold and bright. Once stamped, I embossed it with the Subtle 3-D embossing folder.
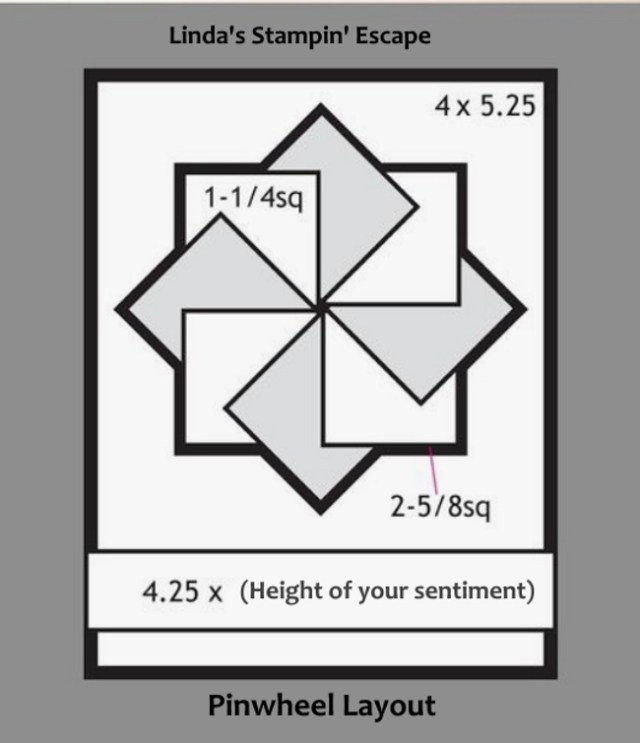
Here is the template with dimension for the Pinwheel card …
I hope the card samples inspire you and the layout helps you picture your next card! As promised in the video, I have a PDF File attached that you can download and print.
Thank you so much for joining me today. Stop back tomorrow as I will be sharing an alternative layout to the Pinwheel card.
Have an amazing day ~
TODAY’S STAMPIN’ SUPPLY LIST … If you liked the products used in today’s projects, I have links for you below. Just click on the item you would like more information on, or to begin your shopping. It will take you directly to my website. Thank you ♥
To CASE (Copy and Share Everything) is something nearly every experienced papercrafter does on a regular basis. You see a card in our catalog, or on Pinterest, focus on something you like about it, then re-create it with your own spin. (Click on the Pinterest above to go to my page)
You can add layers or simplify the project, but the main point is to enjoy being inspired by the work of others. Our minds start working when we study and learn from a project someone else has made.
So pick up the catalog and look through the pages until you find something that really makes you want to pull out all your crafting supplies and start working. Copy the project, then use the following ideas to make it your own:
Copy the Layout
Copy the Color Scheme
Copy the Technique
Thank you for stopping by today, I hope you found this post helpful. We all CASE … it helps inspire us, and that is my intention when I share my creations with you each day.
I hope you enjoyed a wonderful weekend. I’ve been busy having fun planning and creating more cards and stamping events for you! First, I have a masculine card to share … it’s been a while so I thought this one would be a great card to kick off the week.
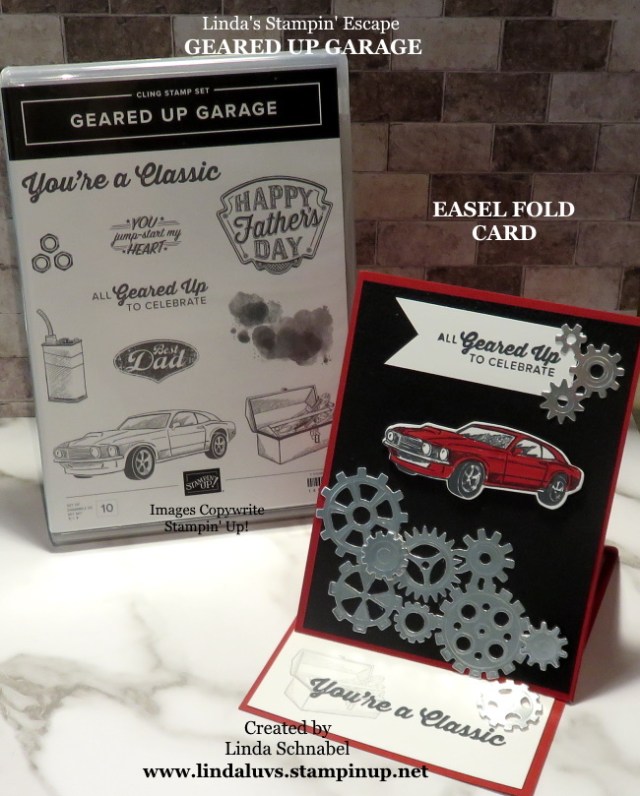
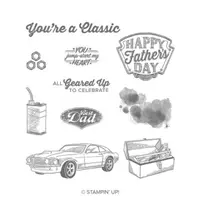
Our masculine card today is designed from the Geared Up Garage stamp set and Garage Gear dies. Not only is it a great masculine card but it’s an “Easel” Fold card. The color pallet is simple: Real Red, Basic Black and Silver… oh yes, and a little Whisper White.
The amazing Garage Gear dies not only cut out the gears but emboss them so they have detail and texture which really jazzes up the card. Everything you need to start working on your cars are included in this duo.
The Easel card fold is simple to create … you don’t even have to measure once you have your 4-1/4″ x 11″ card base cut and scored at 5-1/2″ (half) … now just fold your top piece in half again.
If you prefer: Begin with your card base cut to 4-1/4″ x 11″ and then score at 3-3/4″ and 5-1/2″. Then adhere your card front to the first section (or near the bottom when folded in half) … Only glue that part to the card front. This creates the stand. How you hold the card front up is by using one of the “gears” popped up.
I hope you enjoyed today’s masculine card using the Easel Fold. Now for the some fun upcoming events ….
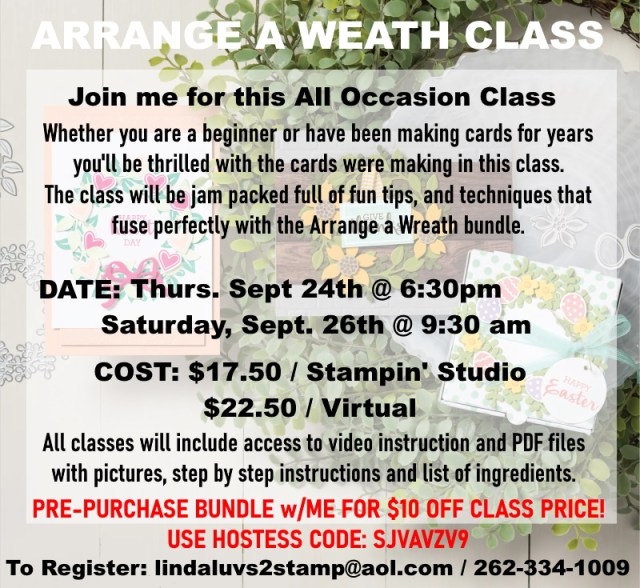
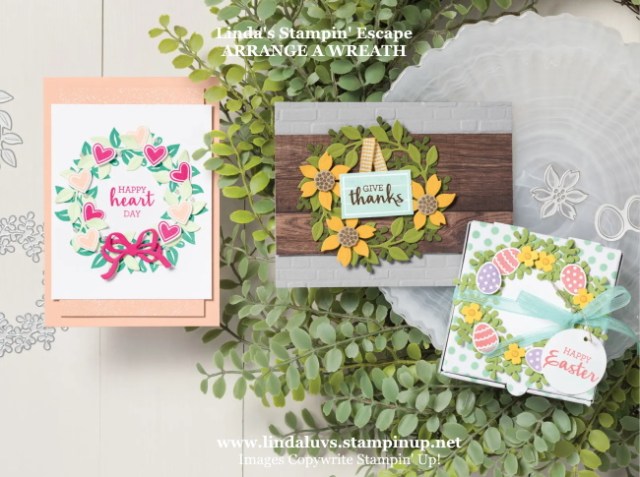
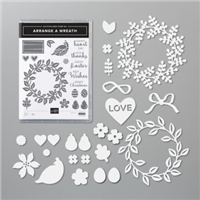
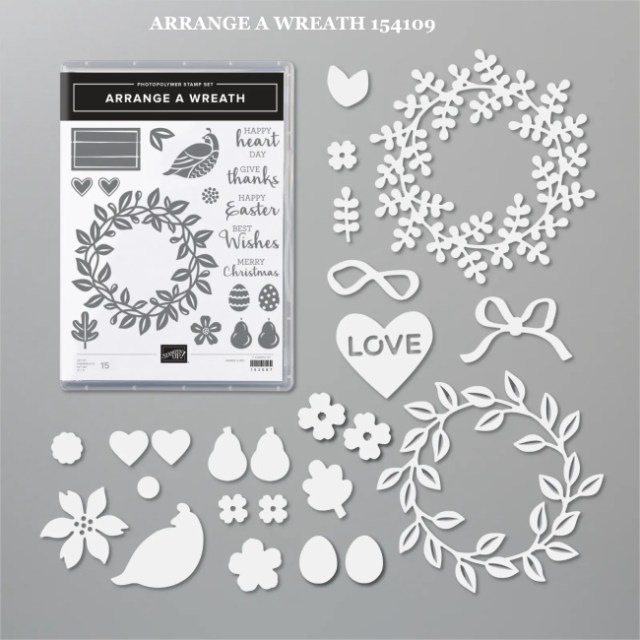
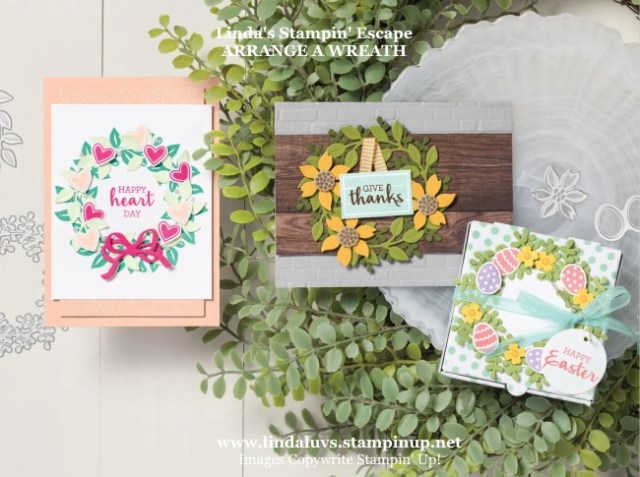
I am so excited to announce the “Arrange a Wreath” Class. This class was designed for my regular class hosted in my home, or a virtual class. Both classes will include:
Card Kit: All cards will be pre-cut and ready for assembly
PDF Files which include Photos, Step by Step Instructions, and Ingredient List
Access to Video Training! Learn step by step how to create the cards.
Please let me know if you have any questions with the “Arrange the Wreath” class. If interested message me below, by email or give me a call.
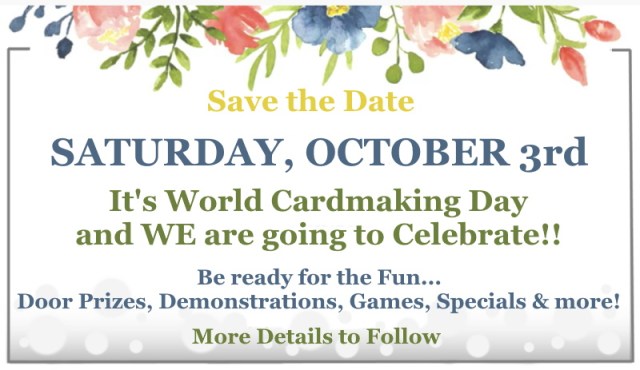
Now I have another event planned for you and it’s going to be a blast …
Again … contact me with any questions. I’m here to answer any questions that you may have, or to help you sign up for the class or take advantage of the cost savings by purchasing the “Around the Wreath” bundle. It’s one you’ll be thrilled to use over and over again.
Thanks so much for hanging out with me today. I appreciate the company!
Have a wonderful day ~
TODAY’S STAMPIN’ SUPPLY LIST … If you liked the products used in today’s projects, I have links for you below. Just click on the item you would like more information on, or to begin your shopping. It will take you directly to my website. Thank you♥ PLEASE USE HOSTESS CODE SJVAVZV9When Ordering the Arrange a Wreath Bundle.
Today’s card is fun and easy to create and it’s done with our stunning designer series paper. Yesterday I talked about layouts and patterns, and how we can utilize them to help us create …
Well, I had saved a “Quilt” piece on my Pinterest page and was surprised to see how many times this simple design had been saved. I saved it as inspiration for a card …
Simple … right? But there is something about this simple pattern that catches your eye. Is it the colors or the pattern, not sure but I’ve taken the pattern and used it for today’s card.
I decided I wanted to make a Christmas card with the beautiful Heartwarming Hugs designer series paper ….
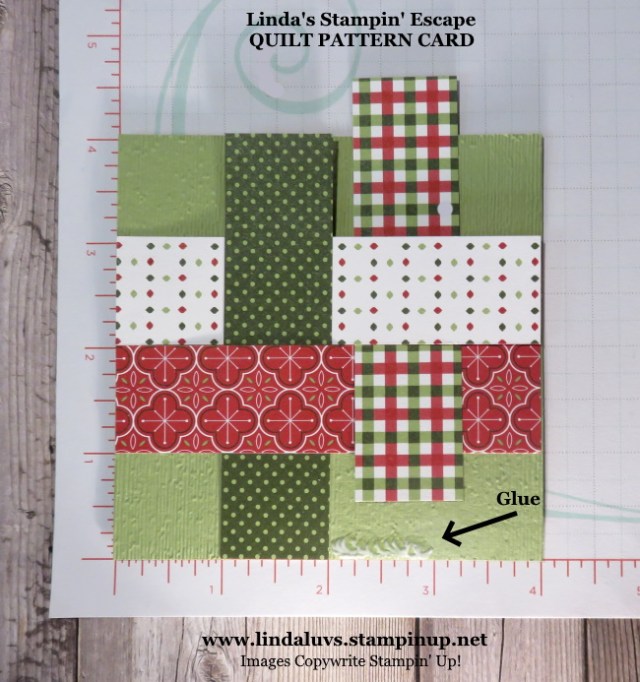
My designer paper strips are cut 4″ x 1″ and matted the woven pieces onto a 4″ x 4″ block. Now I know that Quilters have cut these into different sizes but it is “Simply Sunday”! You really have to respect the artistry and work that goes into a quilt.
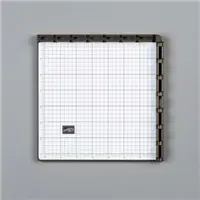
I used my grid paper (available in catalog) to help me align my designer paper strips. Just added a touch of glue within the 1″ block and adhered my strip. The glue allows you a little more movement.
Once you have woven the pieces together and glued the ends down, you can finish gluing the pieces down. I then attached the entire 4″ x 4″ piece onto a piece of Whisper White measuring 4″ x 5-1/4.
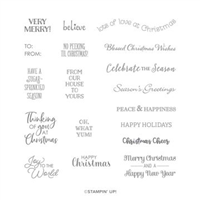
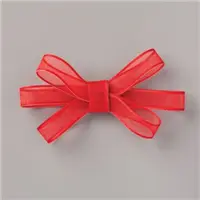
The greeting was stamped with Mossy Meadow ink … it came from the “Light Me Home” stamp set. I finished off my card with a bow created with the Real Red Sheer ribbon … oh my, this ribbon is beautiful, and comes from the Poinsettia Place suite.
With a little help from your grid paper, this sweet Christmas card is easy to make and reflects the old age craft of Quilting. Use any pretty paper and you could create cards for all Occasions!
Thank you for sharing a part of your Sunday with me. Enjoy the rest of your weekend.
TODAY’S STAMPIN’ SUPPLY LIST … If you liked the products used in today’s projects, I have links for you below. Just click on the item you would like more information on, or to begin your shopping. It will take you directly to my website. Thank you ♥
And a happy Saturday to you! I’m sharing a card with your today to illustrate what a difference a background can make! Then I will share the step by step process I used to create the background.
Here is a look back at yesterdays Happy Halloween card highlighting the Arrange a Wreath bundle …
Today we are going to use the very same layout as we did yesterday. Layouts are a great way to help you out when your stamping … it gives you a headstart on how to create your card, a pattern so to speak.
I wouldn’t sew a dress or make a quilt without a pattern so you can see how helpful it can be. You can use the simple layout for any holiday, occasion, and just because it shows a circle doesn’t mean you can’t use a square shape or even a star!
I have just started creating layouts … this one is quite colorful!! lol But it shows the “layering” … our weath, the banner for the greeting, and also shows a textured background.
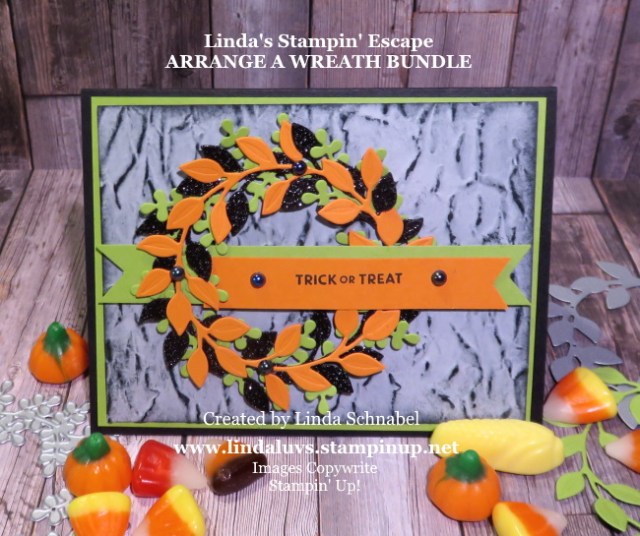
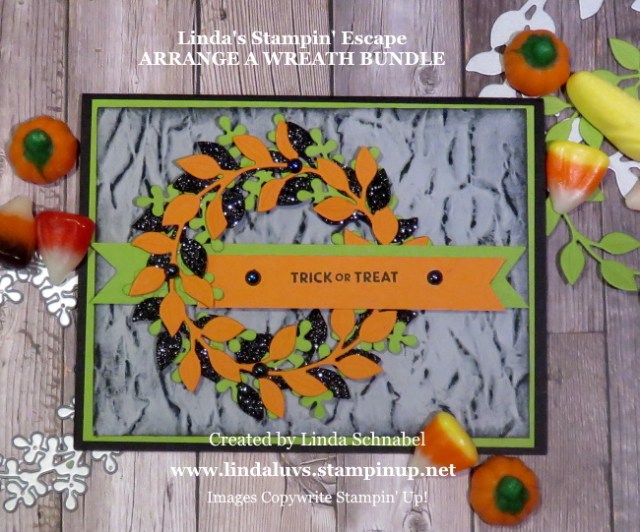
Let’s see what it looks like in a real card ….
The background was fun and super easy to make …
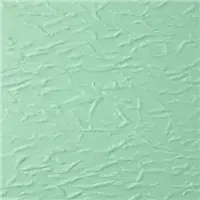
I began with the Smoky Slate Cardstock
Emboss using the Old World Paper 3-D Embossing Folder
Drag your Momento Black Ink Directly over the embossing
Lightly Sponge some additional Black ink over cardstock to soften the harsh black lines.
I think this looks so cool and it really defines the dimension on the card! The wreath was made exactly like yesterday except, I layered my greeting this time to add even more color….
The “Trick or Treat” comes from the Itty Bitty Greetings stamp set in the Annual Catalog. The I added the gorgeous Iridescent Pearls to both the banner and the wreath.
I want you to feel free to copy the card layout “pattern” … just right click on the image and “save” to your files. I’m hoping to make more but right now I’m focusing on “classes” 🙂
Thank you for today’s visit …. enjoy your Saturday. I’ll see you tomorrow for my Simply Sunday post.
TODAY’S STAMPIN’ SUPPLY LIST … If you liked the products used in today’s projects, I have links for you below. Just click on the item you would like more information on, or to begin your shopping. It will take you directly to my website. Thank you ♥
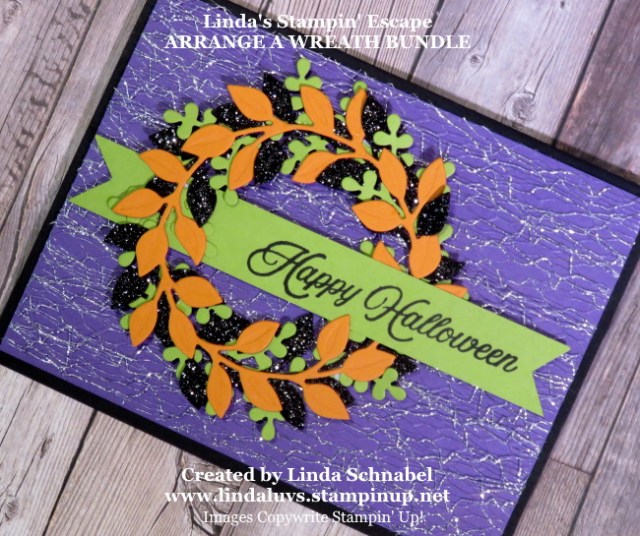
I am thrilled to share my “Arrange a Wreath” card with you today as promised in yesterdays post… I had so much fun playing with this, and I have only begun! I’ll be posting the class details this weekend.
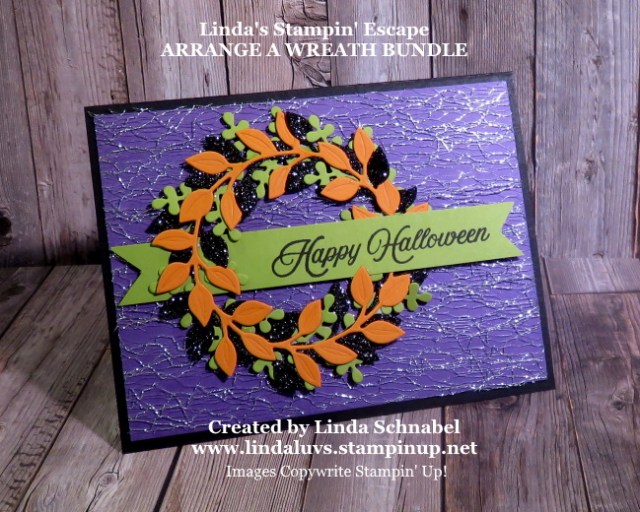
Today’s card uses the wreath dies as the focal point …
The Black Glitter paper and Pumpkin Pie cardstock were cut with the “elm” style leaf and the Granny Apple Green was cut with the “oak” style leaves (this is the best way I can describe them).
The “Happy Halloween” comes from the Hallows Night Magic stamp set and was stamped on Granny Apple Green using my Stamparatus to double stamp it so it appears darker …
The background was fun and super easy to make … I began with the Gorgeous Grape Cardstock and layered the fantastic Metallic Mesh Ribbon over the top … it creates a creepy web looking background.
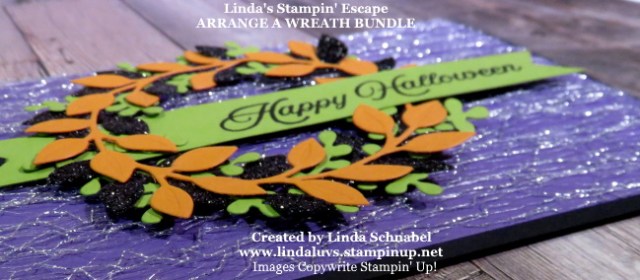
It adds cool texture and a little sparkle, pairs so sweetly with the Black Glitter paper ….
My final step to the card is to attach the wreath. I used the Mini Stampin’ Dimensionals so they would not show through the wreath. It adds another layer of dimension and completes the card …
I love the bright colors from the wreath against the Gorgeous Grape and Metallic Mesh Ribbon, it really does give you that Halloween feel.
I hope you enjoyed today’s card as much as I enjoyed and had fun making it.
Have yourself a great day and enjoy the beginning of your weekend.
Thank you for joining me today ~
TODAY’S STAMPIN’ SUPPLY LIST … If you liked the products used in today’s projects, I have links for you below. Just click on the item you would like more information on, or to begin your shopping. It will take you directly to my website. Thank you ♥
Hope you enjoyed the Watercoloring with Acrylic Block technique yesterday and the cards I shared. With the technique I introduced the Arrange a Wreath bundle …
This bundle is so fun to use and so very versatile! I used the fall leaves for this card but will be sharing so many more with you.
I’ll be sharing several cards in the upcoming weeks but even better, I’ll be hosting a class! I’ll be having an announcement with all the details out by the end of the week.
We’ll be creating “All Occasion” cards in the Arrange a Wreath Class … you’ll work with the new stamps and coordinating dies. More details to come…. just a little enticing to get you ready for the weekend and the announcement!
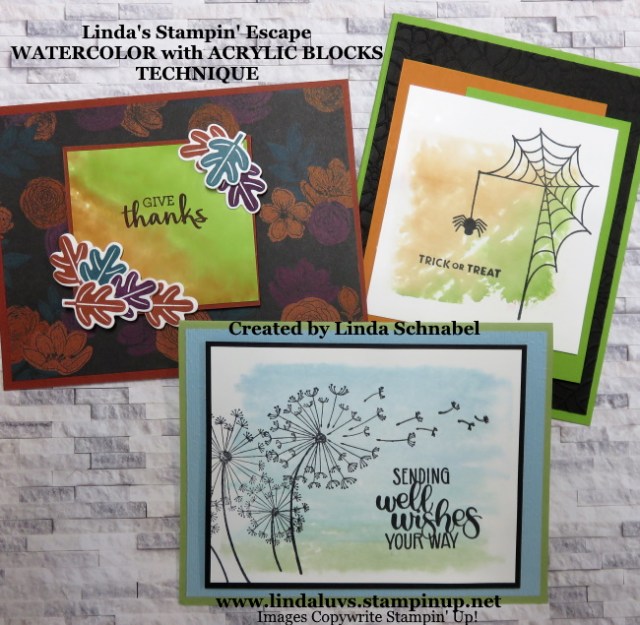
Today I’ll be sharing my Facebook Live presentation of Watercoloring with Acrylic Blocks and the three cards I created using this technique. Last night I shared two of the three cards. Kick back and watch the video, you’ll see how these cards found their beginnings …
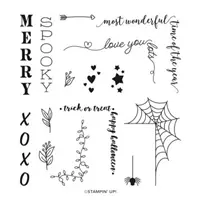
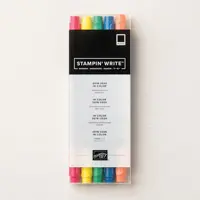
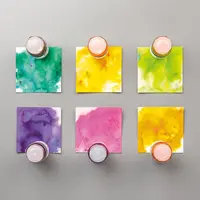
The first was my quick -n- cute Halloween card from the Festive Corners stamp set. I used the Stampin’ Write markers to apply the ink to the block and then spritzed it with water.
I’m using the Festive Corners stamp set …. again!!
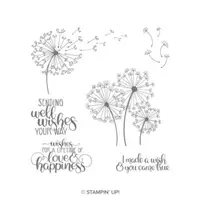
The second card I created using the markers on the Acrylic Blocks features the Dandelion Wishes stamp set and the markers to create a background.
My colors are Balmy Blue, Pool Party, Bermuda Bay and Pear Pizzazz …
I used my Stamparatus for my sentiment, it allows my to ink it several times so it’s nice and dark and becomes the focal point of the card.
The second way to use this “Watercolor” technique on the Acrylic Blocks is to put the ink from the ink pad directly onto the blocks. It is applied thicker so the image will be bolder …
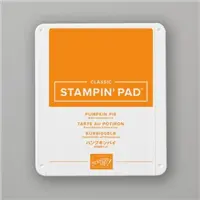
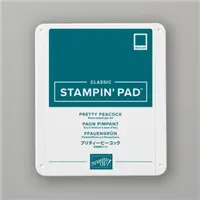
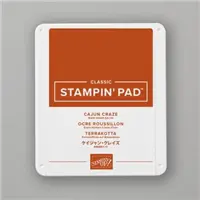
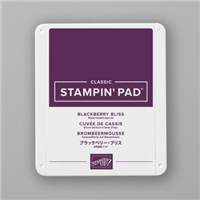
I used the Arrange the Wreath bundle and the Magic in this Night Designer Series paper to create this card. The fall leaves surrounding the greeting creates the perfect focal point for this card. Leaf colors are Pretty Peacock, Blackberry Bliss and Cajun Craze which coordinates with the designer paper.
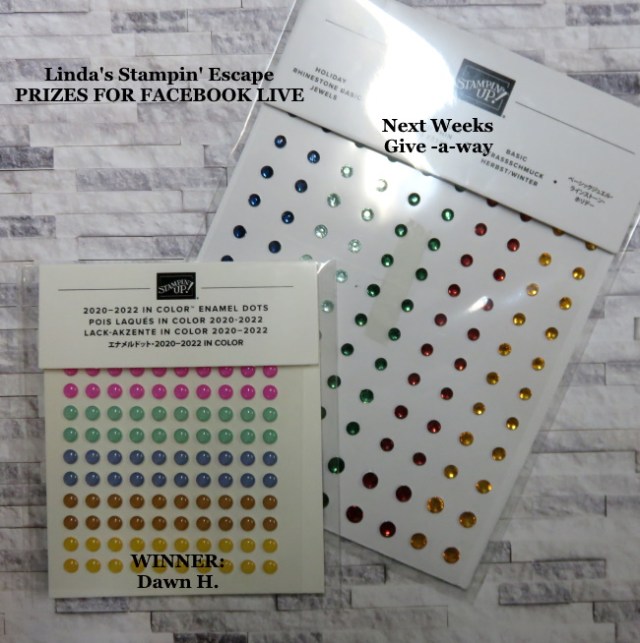
If you watched the video … you know that each week I do a drawing from all the people who watched and commented on the video … I invite you to join us next week Tuesday for another Technique! Here’s the prizes …
I miss meeting with all my stamping friends face to face, so the Facebook Live seems to get me a little closer to my friends!
Here is one last look at the three cards I created with this FUN technique …
The Watercolor technique using Acrylic Blocks can be used for any one, any stamp set … any holiday! Just look, we have a “Get Well”, a “Halloween” and a “Card of Thanks”.
Thank you for joining me today. I’d like to know how you enjoyed today’s cards…
Have a wonderful day!
TODAY’S STAMPIN’ SUPPLY LIST … If you liked the products used in today’s projects, I have links for you below. Just click on the item you would like more information on, or to begin your shopping. It will take you directly to my website. Thank you ♥
Today I’ll be sharing similar products, the Poinsettia Petals and the same layout. The cards were designed by Stampin’ Up! and illustrate how easy it is to replicate … simple and fun!
CASUAL To begin creating, stamp the sprig images on the card front in Cinnamon Cider ink. Stamp the flower in Real Red ink and the leaves in Shaded Spruce ink on Whisper White Cardstock. Tip: To create depth, stamp off the Two-Step Stamping flower and leaf dimensional images. Die cut the stamped images and adhere them to the card front. Stamp the sentiment in Cinnamon Cider ink on a Whisper White Cardstock label, adhere the label to the card using Stampin’ Dimensionals, and you have a fabulously festive card in just minutes!
AVID Step up the second card by adhering Designer Series Paper to the front. Brighten the poinsettia and leaves using Cinnamon Cider, Poppy Parade, Real Red, and Shaded Spruce Stampin’ Blends. We also added a sprig cut from Copper Foil Sheets using the Poinsettia Dies. Tip: Fold the ribbon in half lengthwise before cutting the notches on each end.
STEPPED UP AVID For our fanciest card, we adhered additional flowers and leaves, cut the label using the Tasteful Labels Dies, and added more Flowers for Every Season Designer Series Paper to the card front. We also took the artistry to an entirely new level by creating more light and dark contrast and expanding the color palette with Mint Macaron and Petal Pink Stampin’ Blends.
I thank your for stopping back today. Don’t forget to join me on Facebook tonight for my FACEBOOK LIVE: Technique Tuesday!! I know my banner says … “Right Here” but it is actually on my FACEBOOK page.
Have a great day and I look forward to seeing you later ~
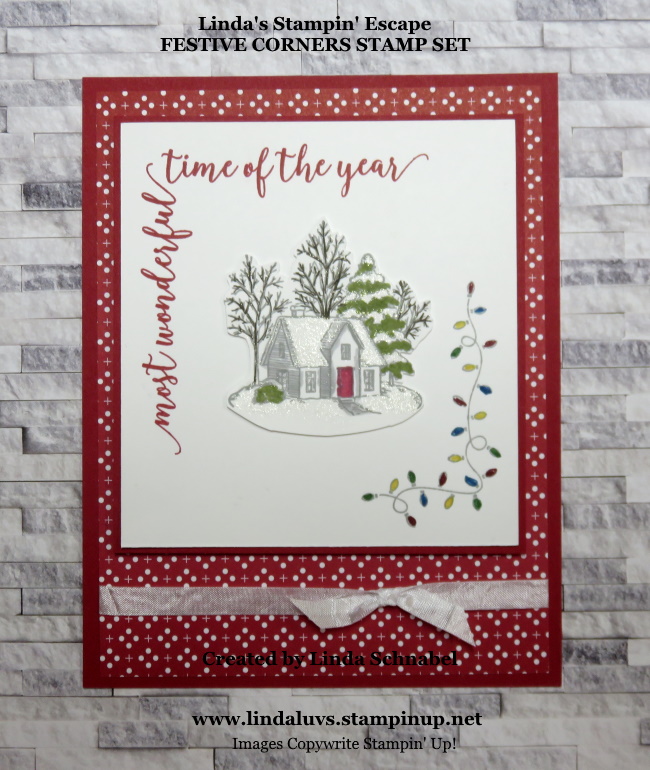
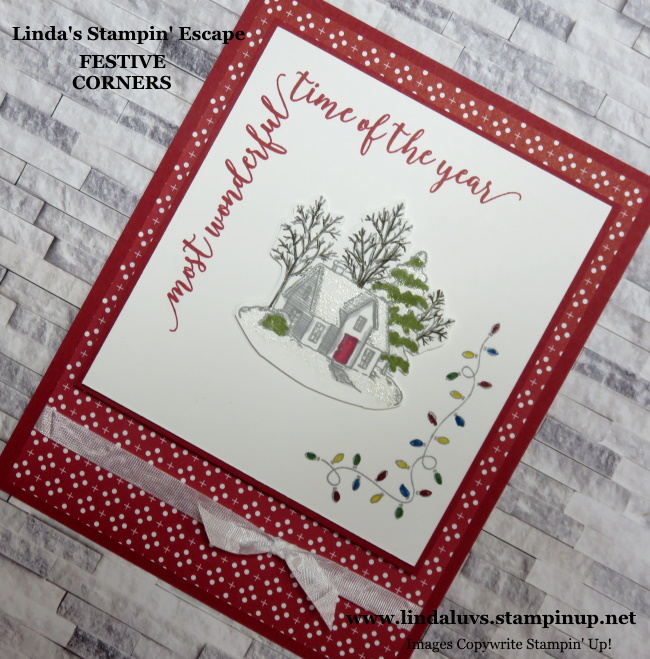
Today I have a cutie from the Festive Corners stamp set… another holiday card. We’re celebrating the Most Wonderful Time of the Year!
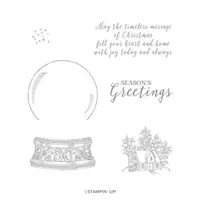
I used the sentiment corner and the lights on today’s card to frame my holiday house. This image came from the Still Scenes stamp set. You can check out the last card I made with the Still Scenes HERE! It highlights the “Masking” technique.
It’s nice to go back to basics now and then…
I’ve used the Heartwarming Hugs Designer Series paper as my background, and Real Red as my base cardstock. I also used it to mat my stamped imagery….
This imagery was adhered with the Glue Dots which gives them a little lift off the cardstock. It was colored with the Stampin’ Write markers and Wink of Stella as the snow.
I finished the card off with the Whisper White crinkle ribbon.
Hope you enjoyed today’s card. I thank you for stopping by on your holiday weekend to check it out …
Enjoy the rest of your holiday weekend.
TODAY’S STAMPIN’ SUPPLY LIST … If you liked the products used in today’s projects, I have links for you below. Just click on the item you would like more information on, or to begin your shopping. It will take you directly to my website. Thank you ♥
This morning I was looking around on Pinterest and noticed one of my cards from 2013 was still getting hits … Yes!! That is cool, makes me happy that my card inspires people. Here it is ….
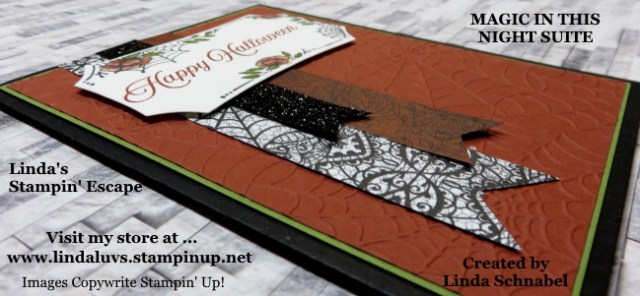
You can see the original post HERE. Today I have taken the same layout I used on the original card and updated it using the Magic in this Night Suite.
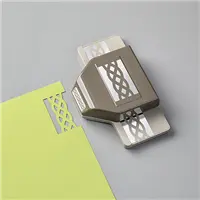
I chose 3 patterns from the Magic in this Night Designer Series paper creating my Halloween Banners …. One strip is 1″ … then 3/4″ and the last is 1/2″ wide. I used the Triple Banner punch to punch the ends … then I layered them as shown on the card.
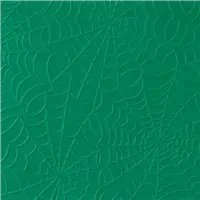
I started with a Basic Black base and then Cajun Craze which I ran through the NEW Stampin’ Cut & Die machine (man, does that work nice!!) using the Cobweb 3-D embossing folder. This was then layered onto a piece of Old Olive… just to add a pop of color.
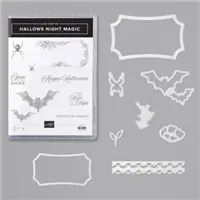
For my greeting, I chose the pretty frame from the Hallows Night Magic Stamp Set which I stamped with the Tuxedo Black Momento Ink and then colored with the Stampin’ Write markers. The “Happy Halloween” was stamped with Cajun Craze and the entire piece was popped up with the Stampin’ Dimensionals.
I must say … I love this Halloween suite, one of the prettiest I’ve ever seen! Did you ever think Halloween to be …. pretty?!
Thank you for hanging out and waiting for today’s post! Much appreciated.
Enjoy your day ~
TODAY’S STAMPIN’ SUPPLY LIST … If you liked the products used in today’s projects, I have links for you below. Just click on the item you would like more information on, or to begin your shopping. It will take you directly to my website. Thank you ♥
I’m excited to share some of my favorite items that have just been put in the Clearance Rack … time to save some money!!
Let’s begin with the return of some of my favorite In-Colors … not sure which ones I’m more hungry for, the Blueberry Bushel or the Grapefruit Grove! Stampin’ Up! sure picks out some yummy names for colors 🙂
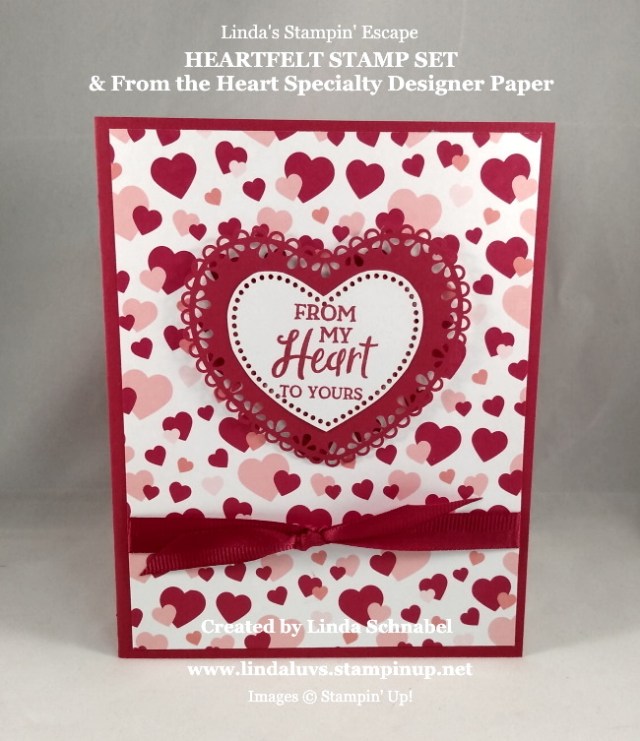
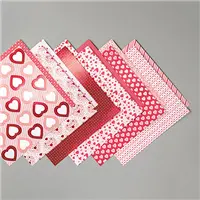
Are you a Designer Paper lover? They’ve just added some great retired Designer and Specialty papers … the first is the “From the Heart” Specialty Designer paper …..
This first card was created with two patterns, the one with the small hearts for a background and the second which was punched with the heart punches which were designed to coordinate with this paper …
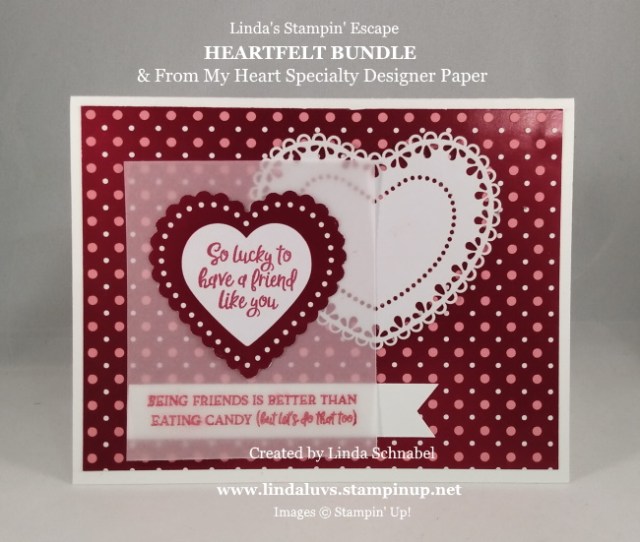
I did the same on this card, two patterns and the Heart Doilies which are also on the clearance rack …
The last card has a third pattern for the background, the pretty foil heart which was punched out and the doily!!
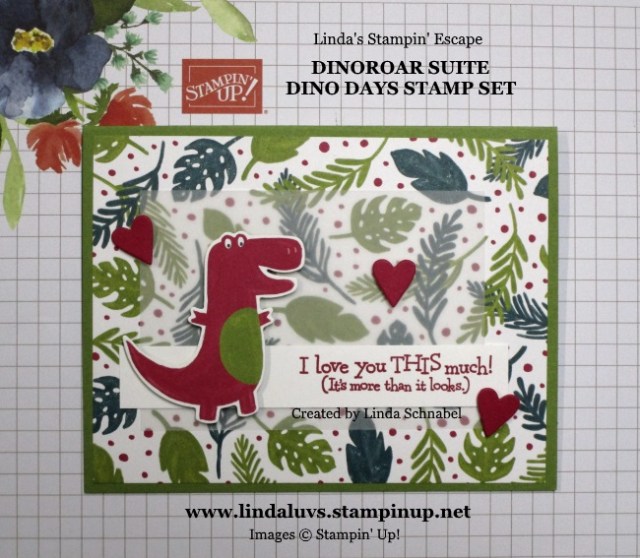
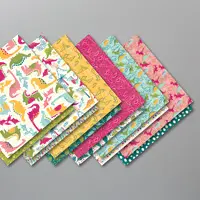
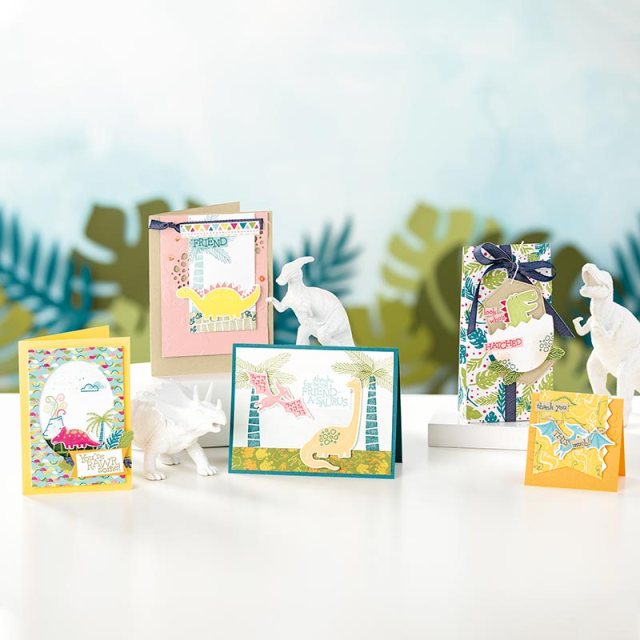
The next designer paper is Dino Days … I love this one ❤ I spent time with my great grandson (he’s 5) making dinosaur cards … he loves the die cutting machine!! lol
This designer paper has two of the In-Colors on the Clearance rack “Lovely Lipstick” and “Pineapple Punch” …. AND the Dino Days stamp set and coordinating Dino dies are still in the catalog!
We thought it would be fun to create “Birth Announcements” with Dinosaurs … I thought the designer paper was perfect for it!
We also made a cute “friendship” card using this cute dinosaur paper … looks like they are having a party!!
My last is also my favorite … the sentiment says it all ❤ The designer paper could be used for a number of different occasions.
Take a head over to the Clearance rack and see if there is something that you need in your stamp collection … there are plenty of punches, embellishments, and more!
Thank you for stopping by and checking out what I like.
Have a fun day ~
TODAY’S STAMPIN’ SUPPLY LIST … I’m sharing the items listed in the Clearance Rack, I have links for you below. Just click on the item you would like more information on, or to begin your shopping. It will take you directly to my website. Thank you ♥
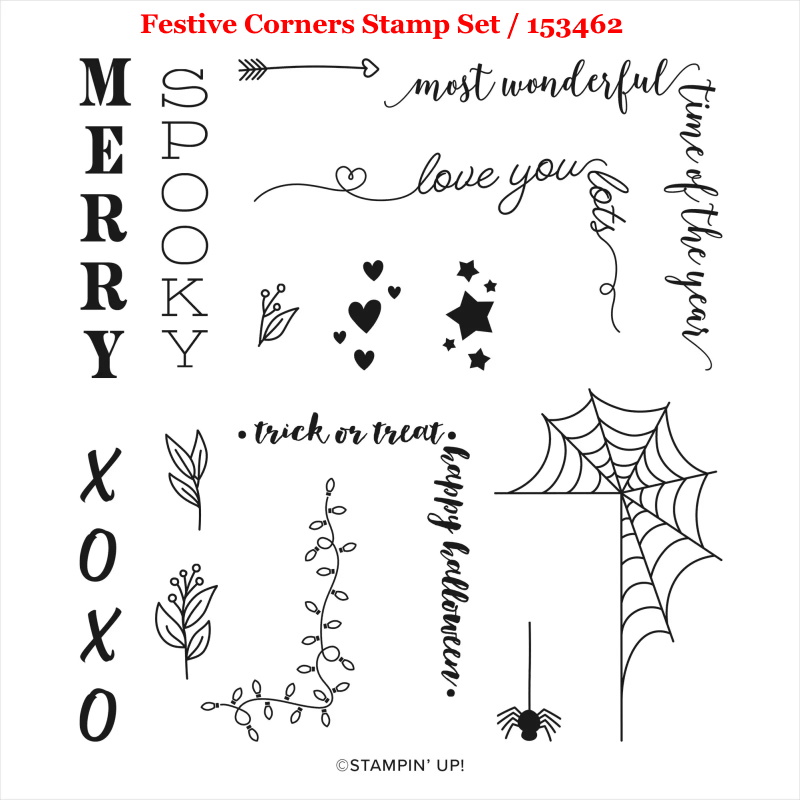
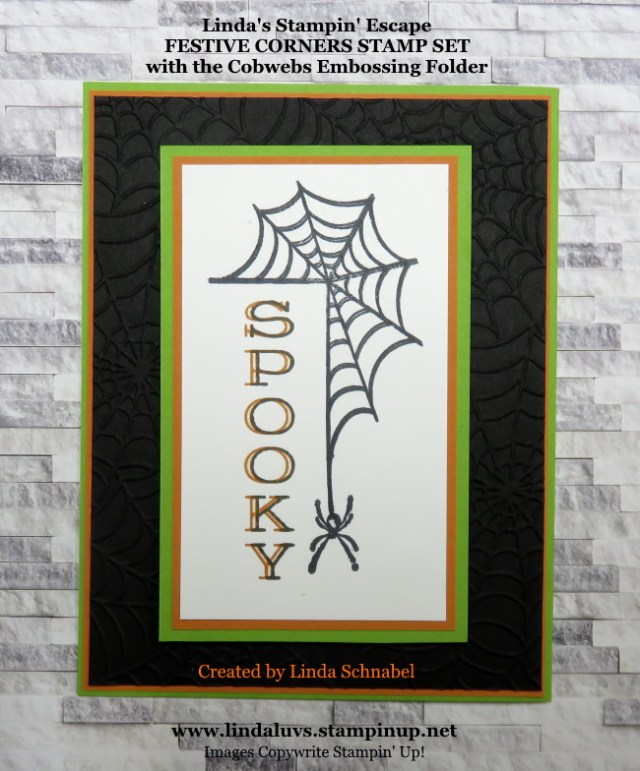
I had so much fun making yesterday’s “So Very Merry”card that I thought I would make another … Halloween. The Festive Corners stamp set is filled with fun holiday sentiments. I bought it to decorate my envelopes but found it to be so much more ….
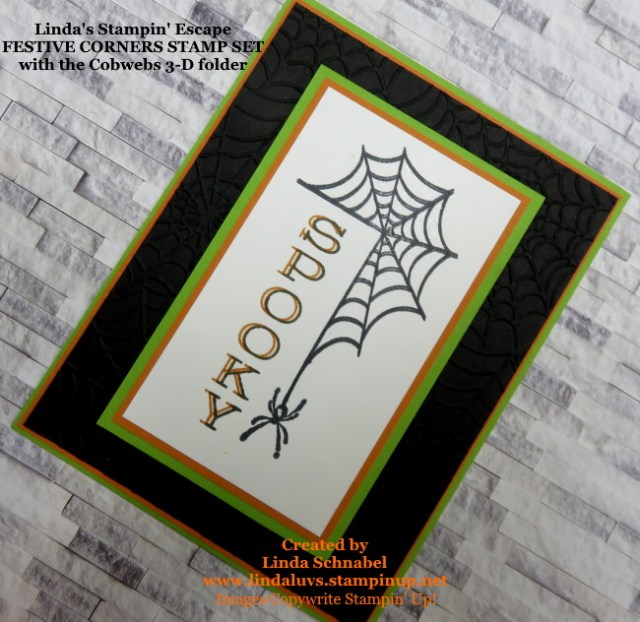
Today’s card started out as a simple Halloween card … I used my Stampartus to ensure the correct placement of my greeting to my spider web. Then I thought it needed a bit more … so I moved my stamped cardstock “ever so slightly” and stamped again!! Now I got a shadowy effect … how cool is that!
I used the hauntingly real spider from the Hallows Night Magic Stamp set … I wanted that “spooky” effect! To make it even more spooky … I used the Wink of Stella between the webs and in the open areas (very small) between the double stamped “spooky”.
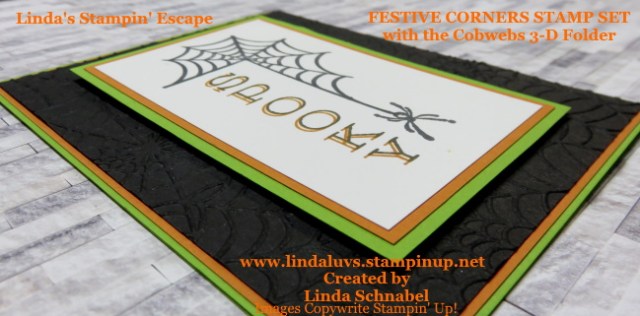
I wish the Wink of Stella showed up in the pictures … but the Cobwebs from the Cobwebs 3-D embossing folder show up perfectly and adds some fun texture to this card. This was such a fun and easy card to make.
To finish off the card, I popped up the layered stamped images up with our Stampin’ Dimensionals. The color pallet I used today was …
Are YOU ready for Halloween? Autumn is my favorite season … the warm days and cool crisp nights, and the smell in the air. Love it!
Hope you enjoyed today’s card … if so, please feel free to LIKE my post or comment below.
Thank you and have a wonderful day ~
TODAY’S STAMPIN’ SUPPLY LIST … If you liked the products used in today’s projects, I have links for you below. Just click on the item you would like more information on, or to begin your shopping. It will take you directly to my website. Thank you ♥