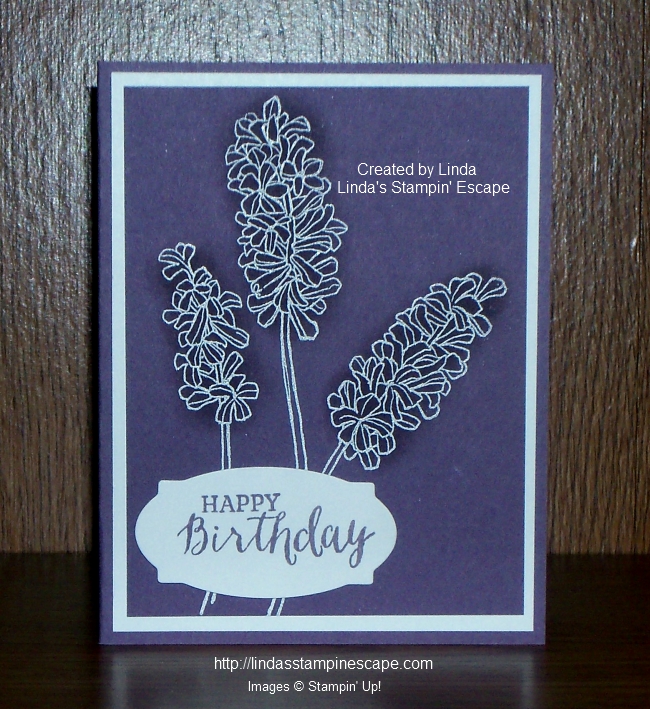
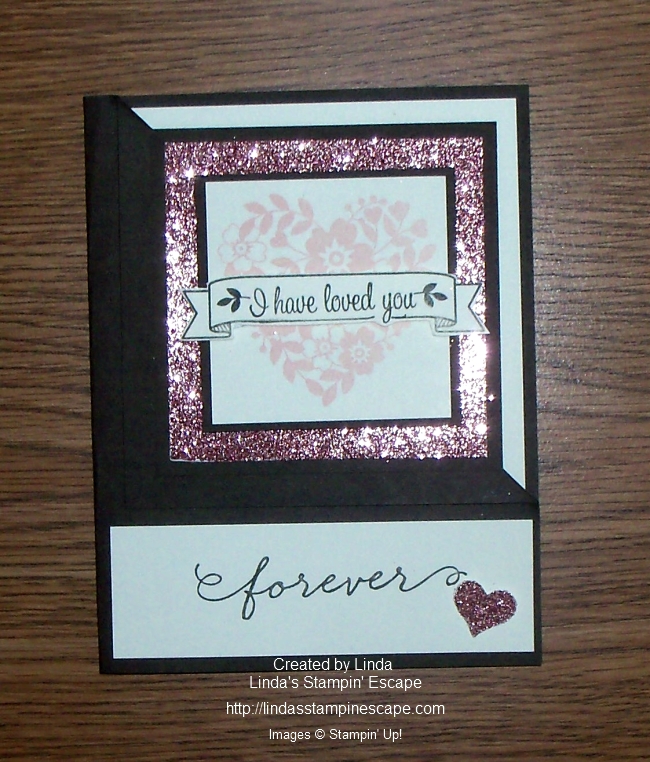
Hello Stampin’ Friends ~
Each year Stampin’ Up! chooses an Artisan Design Team … a group of stampers who have submitted their work and were asked to be on that year’s team.
They share their beautiful artwork with us and I would like to share the following post with you. This is from Chantal de Kaste / Artisian Design Team 2015–2016
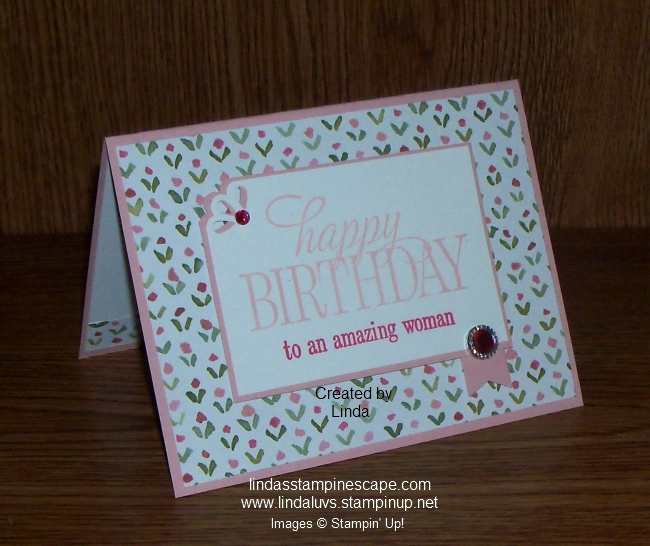
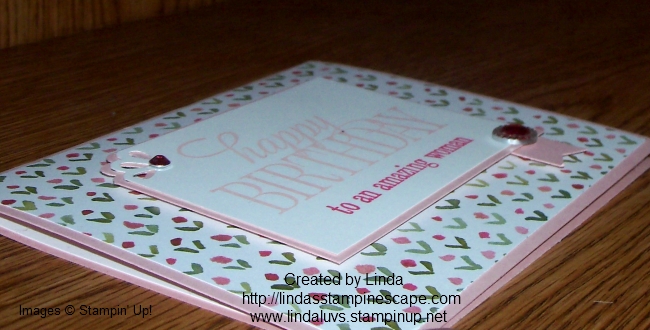
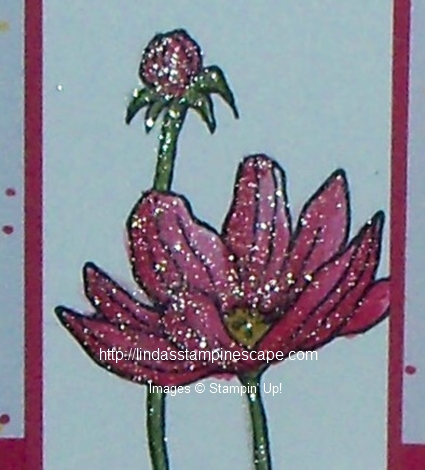
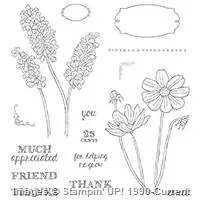
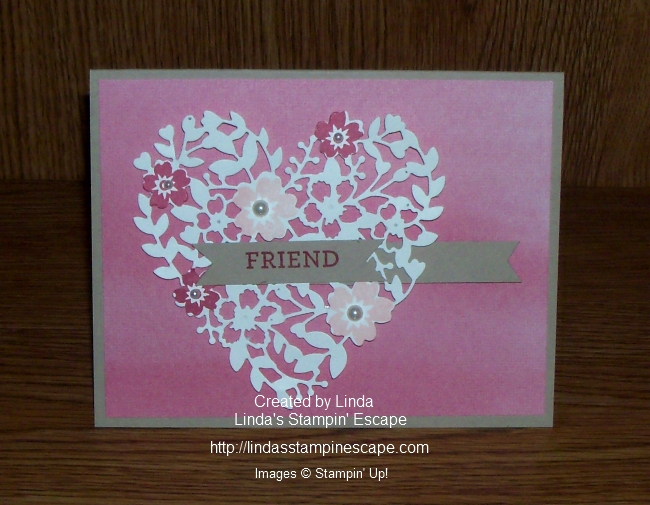
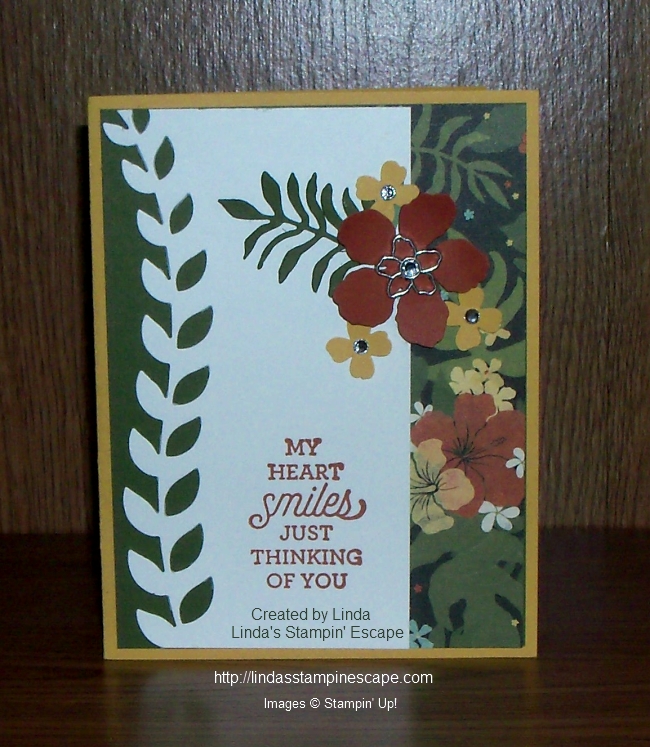
Personally, I think that the Best Thoughts Stamp Set (item 139234) is one of this year’s most beautiful hostess sets. I’ve already made an engagement card with it for a good friend. “The best is yet to come” text was very appropriate for the occasion and the set’s flower image is awesome in its simplicity . . . and so versatile. It’s perfect as a background stamp—or it can easily be the centre of attention (as it is with this card):

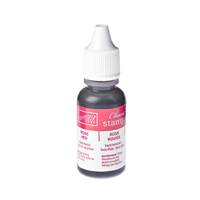
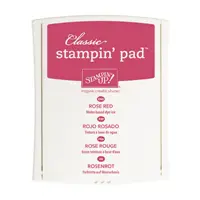
I used a watercoloring technique with the help of Aqua Painters (item 103954), Classic Stampin’ Ink Refills, and Shimmery White Cardstock (item 101910). For the card above I used the Rose Red Classic Stampin’ Ink Refill (item 102109) and the Melon Mambo Classic Stampin’ Ink Refill (item 115662). I put one drop of each ink color in an egg cup and filled an Aqua Painter with water.
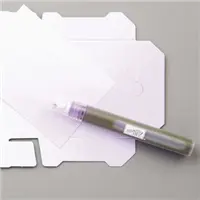
Before doing this, I stamped the flower in VersaMark ink (item 102283) on Shimmery White Cardstock, then poured White Stampin’ Emboss Powder (item 109132) over it. Then I shook off the excess powder and heat embossed the image using the Heat Tool (item 129053). Once this was done, I squirted some water on my stamped flower using a Stampin’ Spritzer (item 126185) filled with water. That allowed me to blend the ink. Then I colored the flower using an Aqua Painter, changing the colors until I got a result that I liked. As the finished flower was very wet, I used the Heat Tool to dry it off a bit; then I cut out the flower using Paper Snips (item 103579).
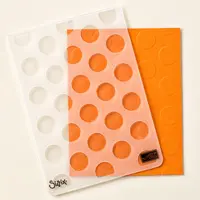
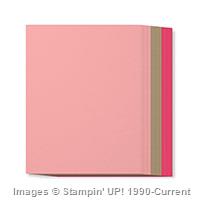
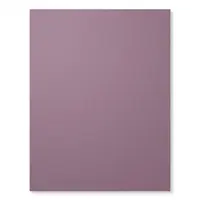
For the next step, I assembled the card using Smoky Slate Cardstock (item 131202) for the base, a piece of striped Designer Series Paper from the Neutrals Designer Series Paper Stack (item 138435), and Whisper White Cardstock (item 100730) for the top layer—embossed using the Polka Dot Textured Impressions Embossing Folder (item 133739) and splashed with red/pink ink using an Aqua Painter.
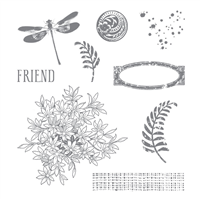
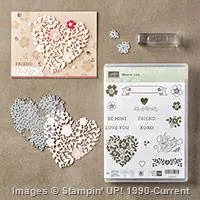
I adhered the cut-out flower to the card (placing a small piece of thread underneath). I also stamped the “Friend” image from the Awesomely Artistic Stamp Set (item 139950) in Tuxedo Black Memento ink (item 132708) on Whisper White Cardstock, then cut it into a banner shape and adhered it to the flower. I also punched small flower accents from White Vellum Cardstock (item 101856) using the flower punch in the Itty Bitty Accents Punch Pack (item 133787), and added a few Rhinestone Basic Jewels (item 119246) to the finished card.

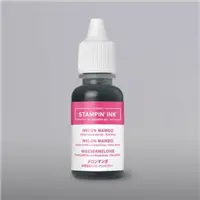
I made the same card using Pool Party Classic Stampin’ Ink Refill (item 122933) and Island Indigo Classic Stampin’ Ink Refill (item 122932), which gives the card an entirely different look. Have fun creating your own watercolor card!
Chantal de Kaste / Artisian Design Team 2015–2016
I hope you enjoyed Chantal’s beautiful cards … I just love them, and that is why I shared with you.
Thanks for stopping by ~
Have a beautiful day!

Stampin’ Supply List ~