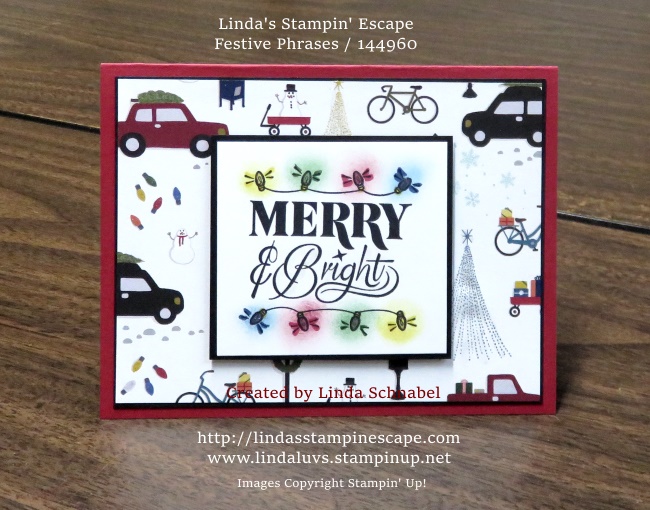
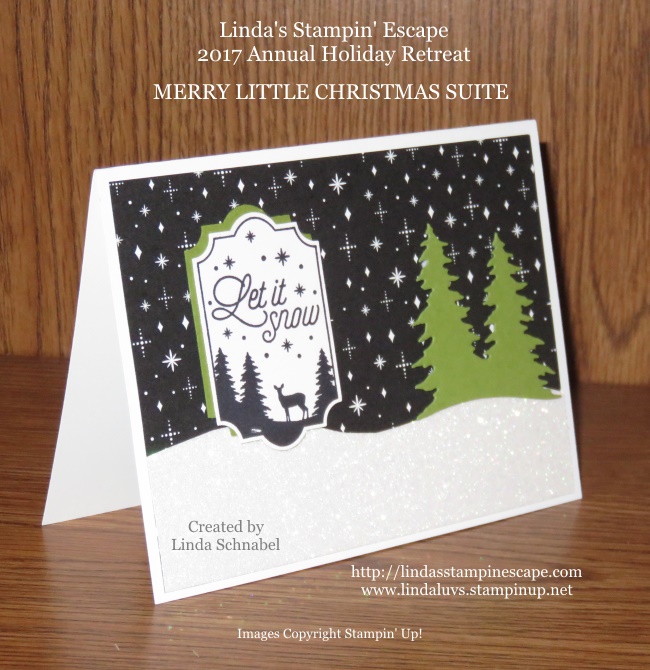
Hello Stampin’ Friends ~
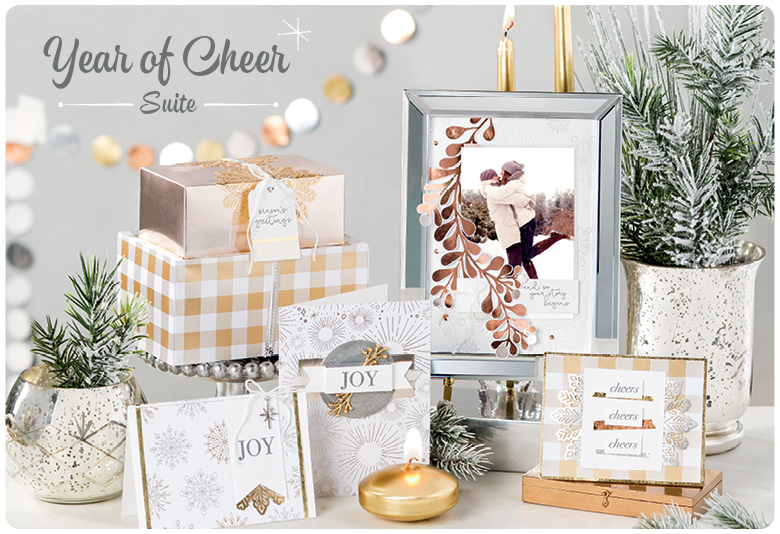
Hope you enjoyed yesterday’s video … Today I have a stunning card created with the Year of Cheer Product Suite.
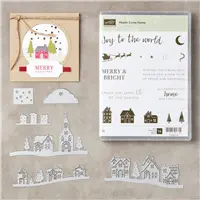
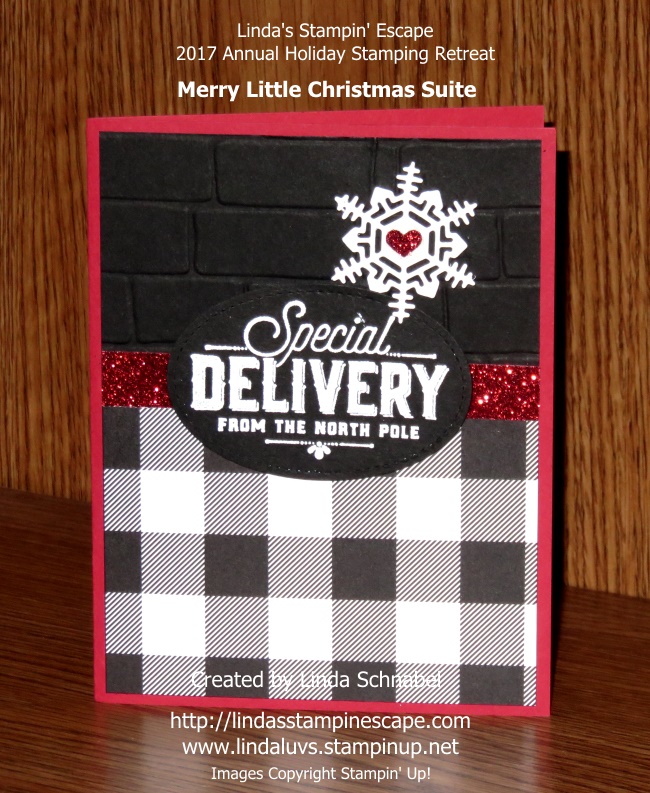
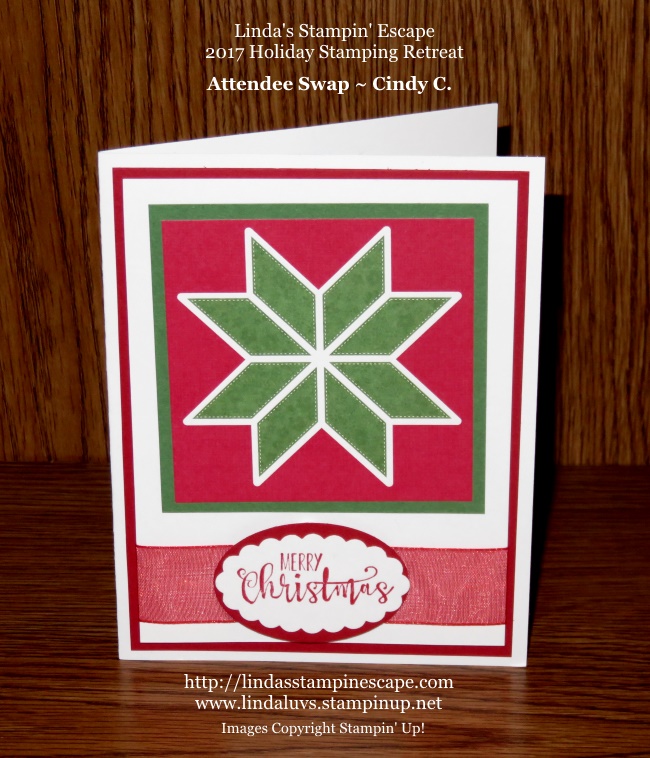
I created this card for our 2017 Annual Holiday Stampin’ Retreat … it truly highlights many of the wonderful products from the suite.
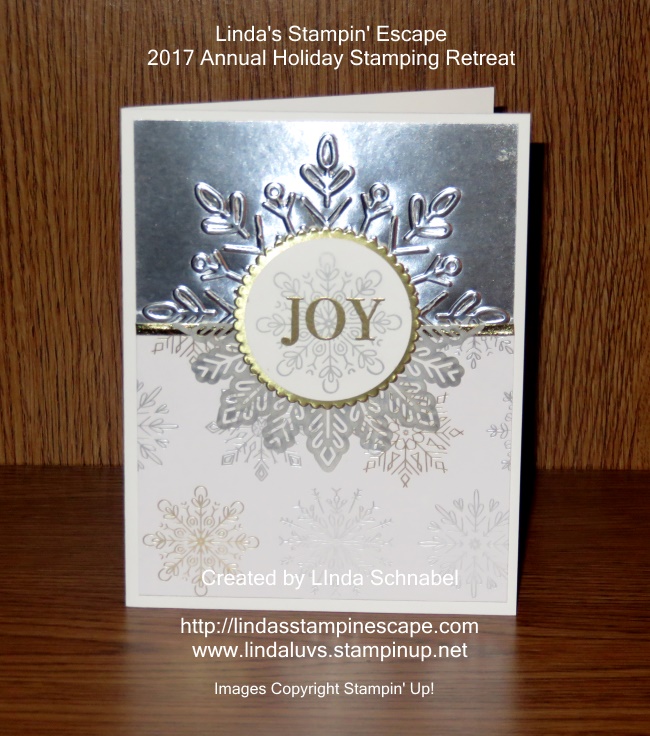
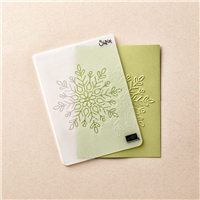
Done is Silver and Gold this card is sure to add glitz to the holiday. The pretty pattern from the designer paper was the basis of the card. I also wanted to showcase the Snowflake folder so we embossed it in silver. A strip of gold washi tape ties the two pieces together.
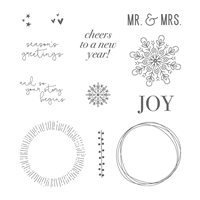
Next, I wanted to create a focal point for the card … the greeting! I stamped a snowflake in silver and set aside to dry. (You can heat set to dry as well) Once dry, I stamped the greeting in gold (or VersaMark) and then heat embossed it with gold embossing powder.

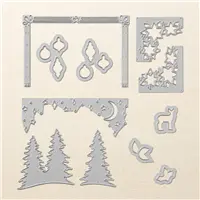
I used the Circle Framelit dies to cut out my greeting and then cut a scalloped edge circle in gold to mat the greeting and tie it all together with the other silver and gold.
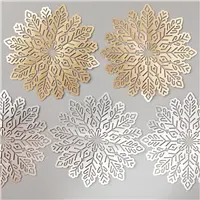
To complete the card, we cut one of the beautiful Foil Snowflakes in half and adhered it over the washi tape … yet it allowed that touch of gold to still be seen. I cased portions of this card from one I found on Pinterest.
Hope you enjoyed the card and got a glimpse of how all these products go together so beautifully. I have another for you tomorrow… we’ll celebrate in Champagne!
Thank you for stopping by today!
Have yourself a wonderful Friday ~