Hello Stampin’ Friends,
Stampin’ Up! just released another Photopolymer Stamp Set … Endless Birthday Wishes. I love the ability to “say it the way you want” by putting together these fun greetings. The handwritten font is fun and easy to read!
Today I am sharing a quick post from our “Inspired By” blog from Stampin’ Up! and Concept Artist: Jen C.
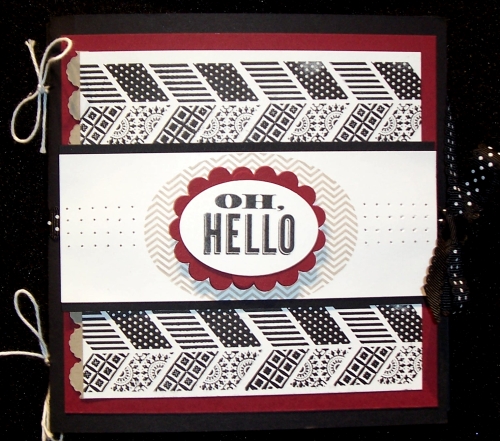
She has some really cute cards and projects that were just to precious not to share with you!
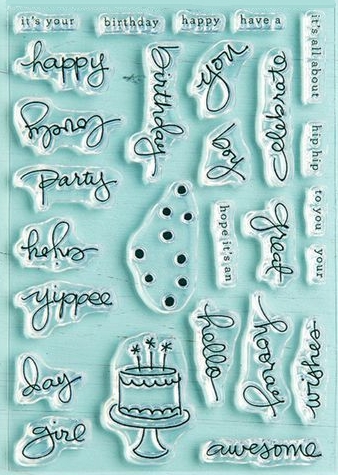
Endless Birthday Wishes
Working for Stampin’ Up! is an incredible experience. There are so many great opportunities—such as the chance to design stamp sets. Our employees and demonstrators have accepted me into the Stampin’ Up! family and have embraced my unique skills and abilities. I’m continually growing as a person and an artist. I feel blessed to be a part of something so amazing!
I’m excited to share our newest photopolymer set, Endless Birthday Wishes (Item# 137553), which includes some of my handwritten words and drawings. It’s similar to the set we offered for the holidays last year called Endless Wishes. The concept is that you can build lots of different birthday greetings (and more) by combining the handwritten words with typed words and phrases. And with photopolymer stamps (US/CA), grouping words and phrases together is simple.


Enjoy! I’m excited to see what you make with this new set.
Jen C.
Concept Artist
I loved her ideas! Jen has totally sold me on this awesome new set, and I’m putting my order in today! Here is the flyer with all the details …
CLICK HERE TO DOWNLOAD FLYER
If you would like to purchase this stamp set, just click on the picture below …

I hope you enjoyed Jen’s post … If you would like to follow the “Inspired By” blog, here is the link:
http://www.stampinup.com/home/get-inspired
Thanks for stopping by and ~
Have an awesome day!