A Jolly Christmas …

Hello Stampin’ Friends ~

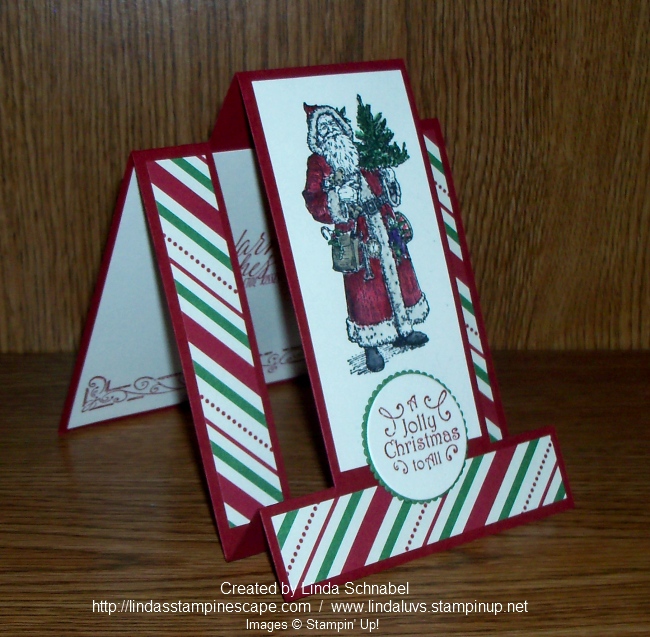
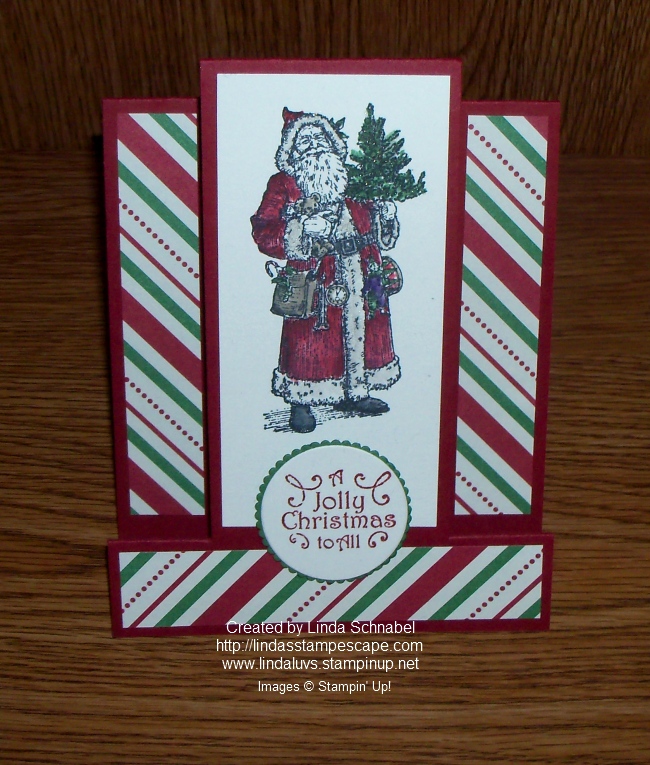
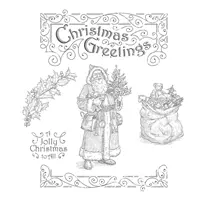
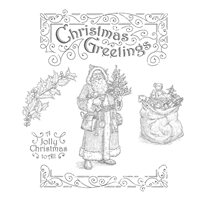
Today I want to share a card that I made with the beautiful “Father Christmas” stamp set. I knew when I saw this in the Holiday Catalog … I just had to have it. It’s nostalgic and I can just picture so many different uses with this set.

The card I’m sharing today is called a “Step Card” … it’s not that hard to make with some good instructions and a little cutting skill, you can create one in no time at all.

000_3914

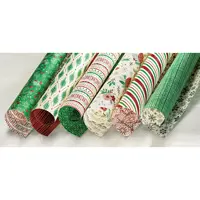
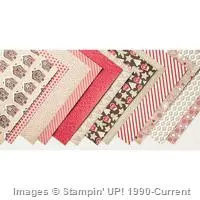
You’ll notice that I used that same paper as the card earlier this week, the “This Christmas” Specialty Designer paper. (This Designer Paper one of the pillow gifts our Retreat Attendee’s received) There are many beautiful patterns.

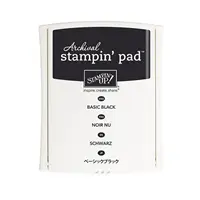
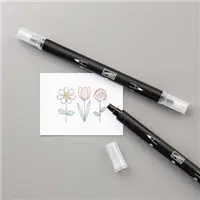
Santa was simply stamped in the center section with Basic Black Archival Stampin’ Pad (Permanent ink perfect for using with watercoloring techniques). I used my blender pen and Classic Ink pads  to color my image. The Aqua Painters would also work well with this stamp set.

000_3915

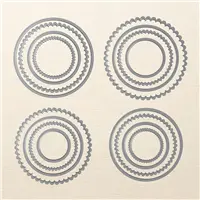
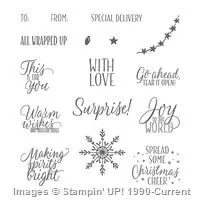
The greeting comes directly from the “Father Christmas” stamp set and is highlighted by cutting them out with the “Layering Circle Framelits”. My base colors for today’s card are Cherry Cobbler, Garden Green and Very Vanilla, and you can purchase the “This Christmas” Cardstock Pack to coordinate with your designer paper.

I finished the inside of the card by stamping the bottom of the “frame” that is included in the stamp set and then added the Warm Wishes sentiment from my go to stamp set … “Tin of Tags”.

000_3914

When you place a $50 order with me, you will receive this card with the written instructions, my two club cards and a hand stamped Thank You card.  With the END OF YEAR CLEARANCE SALE going on right now, it’s a great time to stock up on some items you need, or give a gift to a stampin’ friend.

*** If you place an order of $150 or more (before shipping & taxes) you will receive all of the above items, hostess benefits (Do Not Use the Hostess Code) … Three (3 or more) Virtual Rewards points AND I will send you the NEW WATERCOLOR PENCILS for FREE beginning January 3rd when the Occasions Catalog is Live!!

Please let me know if you have any questions concerning today’s card, or the Special Offer I have posted for you.

Thank you for sharing a part of your day with me.  Stay warm and …

Have a Jolly day ~

blog-closing-small       dec2016-hostess-code

TODAY’S SHOWCASE OF PRODUCTS USED …

000_3914

Gift Giving with the Mini Treat Bags

Hello Stampin’ Friends ~

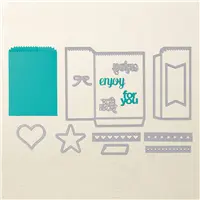
If you’re looking for a cute way to create gift giving bags, we have the answer for you! The Mini Treat Bag dies are quick and easy to use, and great for holding a treat or gift card.

Sit back and enjoy the video, and then I will share a cute idea for a Holiday Gift Card.

Make a few mini treat bags with the Mini Treat Bag Thinlits dies, a Big Shot and your favorite Designer Series Paper. These mini treat bags are cute and so fun to give to away.

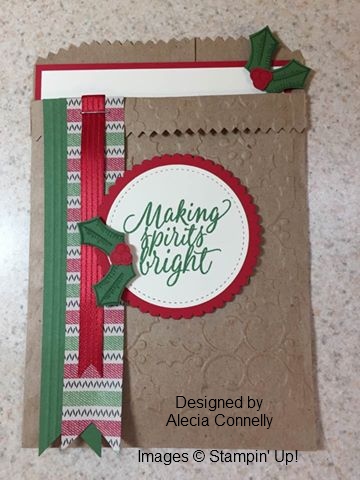
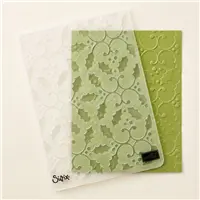
On our Holiday Bag, the original designer Alecia Connelly used the new “Holly” Impressions Folder to create texture on the bag.  Alecia is a fellow demonstrator that I was introduced to by being part of the “Leaders” private Facebook page that Stampin’ Up! set up for all demonstrators that are at the Silver Elite level and above … it’s a great place to get stamping ideas and tips for running our stamping businesses.

I asked Alecia if it was OK if I cased her project, she said “share, share, share away!” … This was our Friday Night project at the Holiday Star’s Retreat which I hosted for my downline (the ladies who signed up as demonstrators with me). Gent’s are welcome too! Our group is called the Star’s by Design.


15055601_10208061037703963_8486875946964527836_n

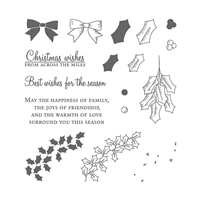
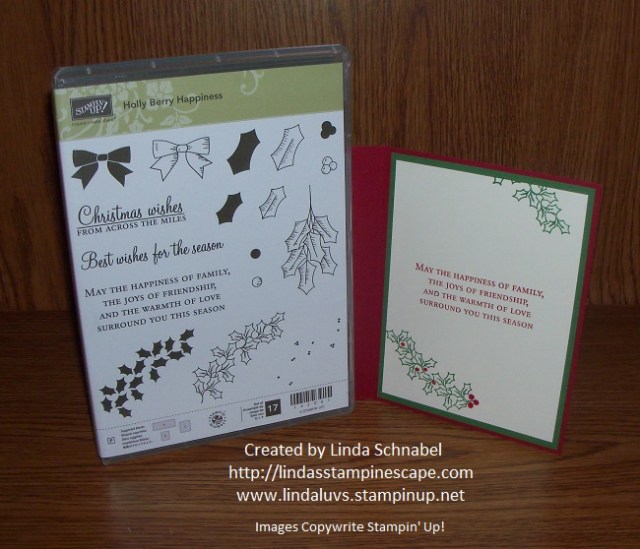
The “Tin of Tags” stamp set and Stitched Framelits were used to create the greeting and focal point to the front of our package.  The holly comes from the “Holly Berry Happiness” stamp set … both of these are my “GO TO” holiday stamp sets!

15037090_10208061037543959_7706639576583014599_n

The inside phrase also comes from the “Tin of Tags” stamp set!  To hold the gift card on, you can use the half punch that is discontinued, or you can do what I do and just stick a couple glue dots on the back!  They hold the card on great and come off easily by rubbing on them a bit (or you can use your adhesive remover).

Hope you enjoyed this cute Holiday Gift Giving Idea. I thank you for stopping by today.

Stay warm and have a wonderful day ~

blog-closing-small       dec2016-hostess-code

TODAY’S HIGHLIGHTED STAMPIN’ SUPPLIES ….

15037090_10208061037543959_7706639576583014599_n

Best Wishes for the Season

Hello Stampin’ Friends ~

I missed you yesterday… besides shoveling snow several times, I have been fighting with my stinkin’ computer! I gave up!!  However, I figured out how to get my pictures, photo editor and everything I need downloaded onto my new laptop so I can share with you at ease!! Yea!!! I’m back!!

Today I want to share my Simply Sunday post with you … a quick and easy card just in case you haven’t started your Christmas cards yet. This one will be easy to re-create and get in the mail in no time at all…

000_3905

I began with the “This Christmas” Designer … Cut you designer paper 4″ x 4-1/4″ then trim 3/4″ off bottom. Then you will  cut a piece of (Very Vanilla) depends on the color in your designer paper to 4″ x 3/4″ … this is for your greeting.

Our greeting comes from the stamp set Holly Berry Happiness … I also used it to brighten up the inside of the card.

000_3907

The bow in the stamp set gave me an idea of how we could jazz it up just a little, so I grabbed the bow punch and put it together and topped off the card. With or without the bow, it’s a quick and cute card to make.

000_3909-2

I want to thank you for hanging with me while I went through my computer problems. Let’s hope this works well and I’ll get back on schedule. I have so many more Christmas Cards to show you!

Have a happy Monday!

blog-closing-small

Rudolph & Santa’s Sleigh …

Hello Stampin’ Friends ~

Back today with the second of my two December Club Cards …

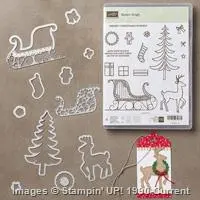
I used Santa’s Sleigh bundle.  I began with the Real Red base and the Candy Cane Lane Designer Series paper for my background. I then stamped Rudolf with Soft Suede onto Soft Suede cardstock …. then cut him out with the coordinating framelit…

000_3898

The sleigh was created by layering two of the die cuts … the main part of the sleigh was cut from the Gold Foil paper and then the ornate outside was cut from Real Red cardstock.

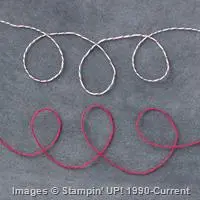
Rudolph’s reins were made with the Candy Cane Lane Bakers Twine … it connects the white from the background and the red from the sleigh so everything coordinates.

We did a partial tree using the Dazzling Diamonds Glimmer paper, another thinlit from the bundle.  We finished off the card with our Greeting from the stamp set, the Metallic Enamel Shapes and a Rhinestone colored red for Rudolph’s nose.

Thanks for spending a part of your Saturday with me!

Enjoy the day ~

blog-closing-small       dec2016-hostess-code

TODAY’S STAMPIN’ SUPPLY LIST …

click-to-view   

000_3898

Star of Wonder … Star of Night

Hello Stampin’ Friends ~

Oh baby … It’s Cold Outside!

Today I’d like to share a card with you that we made in our December Technique Club.  December is usually when we hold our “Club Christmas Parties” so we pass on the technique and just stamp 2 cards.

Today I will share the first of two cards.  On this card we used the “Star of Light” bundle … one of my favorites from the Holiday Catalog. I must say that it is very hard this year to pick a favorite, there are so many awesome sets and bundles from this holiday catalog.


000_3892

This card was cased from a fellow demonstrator, it was too pretty not to share with everyone else!

I began with the new In Color “Dapper Denim” and the “Silver” Glimmer Paper with a touch of Whisper White. We stamped the spray of stars on the front with the Craft Whisper White, then the small stars in
Dapper Denim.

Our silver piece is 4 x 5-1/4 and you will cut your star from the center of this piece … this will also be the “mat” for the Dapper Denim piece you’ve just stamped on, which was cut to 5″ x 3-3/4″.  I used “glue dots” to hold the majority of the pieces together.

The Whisper White was cut into a banner and stamped with one of the beautiful greeting.

I will be back tomorrow with the second of my 2 cards.  This one I designer myself … and just remember that you can receive these cards along with a special little treat from me when your purchase an order of $50 or more before shipping and Handling ~

Thanks for spending a bit of your day with me!

blog-closing-small       dec2016-hostess-code


click-to-view   

000_3892


Christmas Magic …

Hello Stampin’ Friends ~

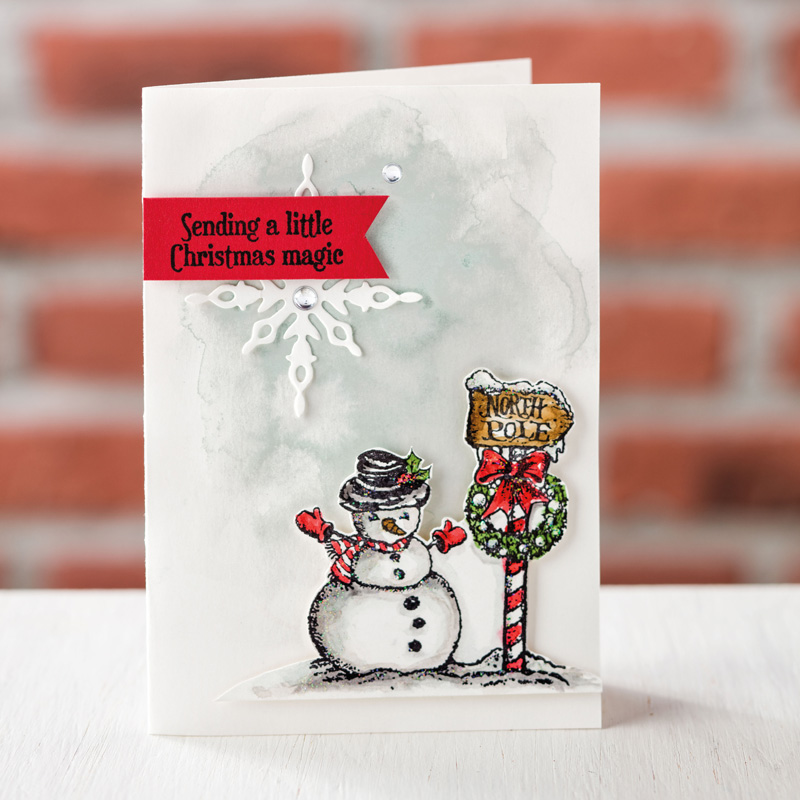
Back today with two cards that were created using the “Christmas Magic” stamp set.  The classic stamp set will bring to mind all the nostalgia of Christmases long ago. Let these soft snowy images settle you into a time when all things seemed merry and bright.

The first features a watercolor background which really highlights the snowman. If you like to color (and that’s all the rage with the multitude of adult coloring books) than this is a perfect stamp set for you.

142119o1

Our next card is sweet and simple and it highlights the bell.  Always reminds me of the Christmas movie … Polar Express., where Santa gives the child a bell, but only those that believe in Christmas can here the bell.  Love it!

142119o2

Thank you for coming back to check out my post today, it is truly appreciated.

Stay warm and have a wonderful day ~

blog-closing-small       dec2016-hostess-code


click-to-view   

142119o1

Guest Stamper: Olivia H.

Hello Stampin’ Friends ~

How are you on this fine Monday?  If your from Wisconsin or the surrounding states, then you were in the path of a very white weather pattern.  Here was our Sunday …

000_3886

This was taken from my kitchen window on Sunday afternoon (nope, I wasn’t even outside) after I got home from work. Yes, I went in on my day off.  It would have been a great day to be in my Stampin’ Studio making cards!

Speaking of cards ….

I’d like to share another card from our Holiday Retreat Attendee Swap that was created by Olivia.

000_3891

Olivia used the “Reason for the Season” stamp set from our annual catalog.  CLICK HERE TO VIEW

Banners are all the rage right now in stamping, and Olivia used them to highlight her poinsettia and greeting. Clever!

I love poinsettia’s so you know this set is in my stamp collection.  I also like the script for the greetings, it’s kind of old fashions so it gives your card that neat nostalgic look, and isn’t that part of the Holiday feeling … our memories from Christmas’ past.

Thank you so much for joining me today.  I will be back tomorrow with a “Two for Tuesday” since I missed my Sunday post.

Stay warm and have a wonderful day ~

blog-closing-small       dec2016-hostess-code

click-to-view   

Guest Stamper: Kathie D.

Hello Stampin’ Friends ~

Back today as promised with the second of my two “Pine” cards, also from our Annual Holiday Stamping Retreat Attendee Swap.

This card is from Kathie, who has been stamping with me for over 12 years!! Time flies when you’re having fun.  Here is Kathie’s card …

000_3882

Can I just say that I’m glad that I don’t vote for these attendee swaps!! We had some remarkable cards and I would have had a very hard time picking my favorite.

Kathie created her focal point by framing her pines with the Oval Framelits … I see a touch of the Gold Wink of Stella on the pinecones. She used the Woodland embossing folder to add some texture to her card.

To complete the card she anchored it with three brads. I can’t say it enough … I’m glad I don’t have to vote.

Both of the cards that Kathie and Peggy made were beautiful.

000_3884

Thank you for coming back to check out my post today, I will be back tomorrow with my Simply Sunday – and of course, I will be sharing more from the Holidays.

Have a warm and wonderful day ~

blog-closing-small       dec2016-hostess-code


click-to-view   

000_3882

Guest Stamper: Peggy

Hello Stampin’ Friends ~

Thank you for your patience … Cross your fingers that this computer holds out till January! lol

I meant to post to beautiful cards today, but I was only able to get one of the cards ready for the blogs.  Don’t worry … I’ll post it tomorrow (with a little luck & a prayer)!

Both cards are from the Pines stamp set that is discontinued, but I know many of my stampin’ friends have this set and would love to see these awesome cards.  Today’s card was created by Peggy – she is from Oklahoma and has attended my last two stamping retreats!

000_3880

The card is simple, but highlights the stamp set beautifully.  The technique used here is call the “Spotlighting” technique.  It’s when you stamp your image and then stamp again on a smaller piece of cardstock, mat the smaller piece and place it over the top of the original stamped image to “spotlight” or highlight that section of the card.

The pinecone is painted with a touch of the “Wink of Stella” so it shimmers in the light. I’m sure you’ve heard the term … Less is More, and in this case I believe that to be true.  Any additional stamping on this card other than the greeting would have just taken away from the card.

Thanks for stopping by and don’t forget to come back tomorrow to see Kathie’s “Pine” card.

Have an awesome day~

blog-closing-small

Check out the Chalkboard Technique …

Hello Stampin’ Friends ~

Today I have a short video for you to watch that shows you how easy it is to do the Chalkboard Technique.  There are several ways to do it … you can choose which works best for you.

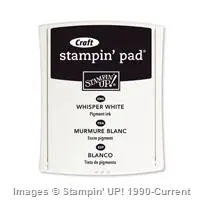
Supplies for this technique are very basic … Black Cardstock, White Craft Ink and your favorite stamp set. Let’s watch the video and then I’ll share my card with you ~

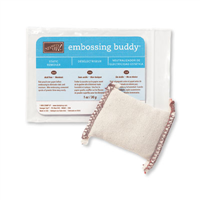
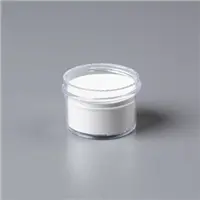
Our trainer Andrea shared in the video that you could also emboss with this technique, that is actually my preferred way to do the Chalkboard technique. I emboss white on white … White embossing powder with the White Craft Ink, then I use the Embossing Buddy for that chalky look!

Here is a card that we did at one of my Stamp-a-Stack events using the chalkboard technique.

000_3633

I would love to see what you’ve come up with.  Share it on my facebook page or by e-mail / lindaluvs2stamp@aol.com

Thank you for taking time out of your day to visit my blog.

Have a wonderful day ~

blog-closing-small    november-2016-hostess-code


STAMPIN’ SUPPLY LIST …
 

Simply Sunday: Hang Your Stockings!

Hello Stampin’ Friends ~

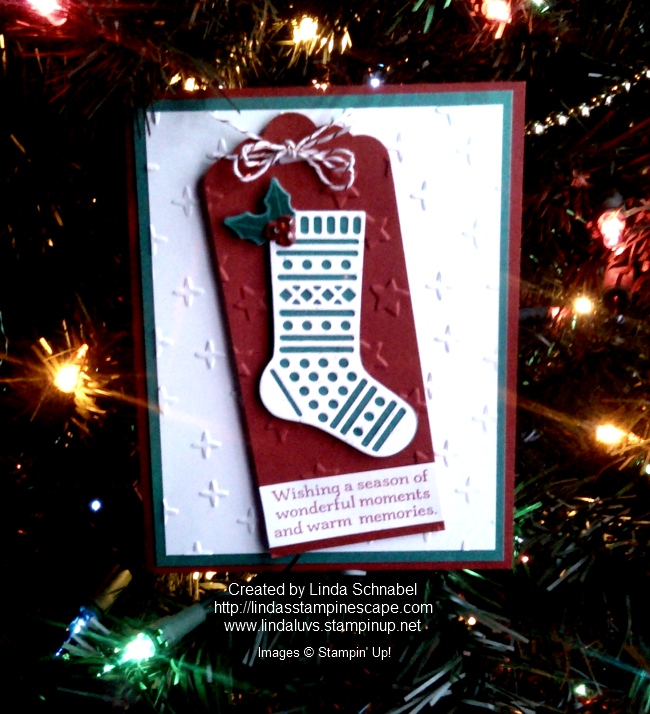
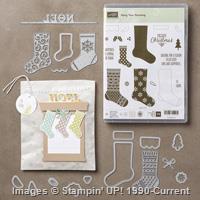
Today I have a cute project for you that is just meant to gather the family around the table. We’re making gift tags!! Pull out the BigShot, the Christmas Stockings Thinlits Dies and the Hang your Stocking stamp set, and let the fun begin.

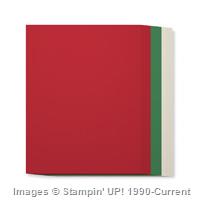
I started with 3 base colors … Real Red, Whisper White and Emerald Envy. Cut your cardstock in half so you have 2 – 5-1/2″ by 8-1/2″ pieces. Now place your cardstock into the cutter with the 8-1/2″ length across – cut into 4 – 2″ strips.  You’ll get 8 tag bases from 1 sheet of cardstock.

000_3873

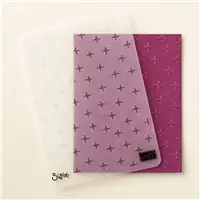
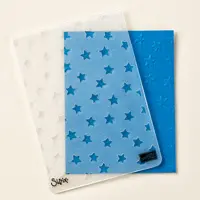
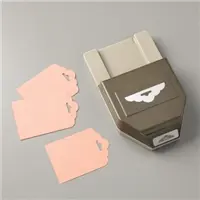
I punched the end of the tag with the Scalloped Tag Topper Punch and then embossed the tags with Elegant Dots, Lucky Stars and the new Holly embossing folders to create some texture on the tags… gotta love that texture.

000_3869

When cutting the stockings … I cut several of each style in different colors and then just mixed & matched them to create fun, festive stockings. The greetings all come from the “Hang your Stocking” stamp set as well as the holly leaves cut with the thinlits and rhinestones to embellish the tags.

000_3871

Just so you know … the Christmas Stocking Thinlits are on SALE for 30% Off … if you want the coordinating stamp set, with the Sale it is a better deal than the bundle!!  Wooo Hoool

Hope I spread a little inspiration to not only create but to gather the family or your friends and spend some time creating these cute little tags. Tis the season!

Have a wonderful Sunday … and thank you for stopping by.

blog-closing-small

STAMPIN’ SUPPLIES …

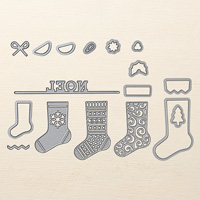
Christmas Stockings Thinlits Dies

Christmas Stockings Thinlits Dies 141841
Price: $30.00 $21.00
Create a mantelpiece full of die-cut Christmas stockings with the Christmas Stockings Thinlits Dies and the Big Shot.

Thinlits Dies help you create detailed die-cuts with just a few turns of the Big Shot handle.

* 17 dies
* Largest image: 2-3/4″ x 2-13/16″ (7 x 7.1 cm)
* Use with Big Shot
* Use Precision Base Plate with detailed images

Just Click on any of the boxes to view the items on sale …

cm10502s cm10503s cm10504s cm10505s

000_3873

Holiday Crafting Fun …

Happy Saturday Stampin’ Friends ~

I’m really getting in the mood for the Holidays! I’m planning my projects for our December Technique Clubs and a little something special because each group is having a Christmas Party as well. That’s means a little decorating too …

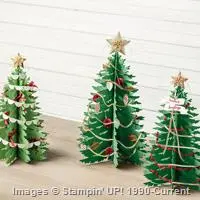
One of the items I’m decking out my table with is the “Forever Evergreen” project kit. While we were at our Holiday Retreat, two lovely ladies, Kris and Tatjana put them together for me!! This was Tatjana’s first retreat … she is an exchange student from Belgium.

These two ladies have never met before but stamping & the retreat brought them together – and that is my core reason for being a Stampin’ Up Demonstrator! If you took away my stampin’ friends and the only way I could get sales was on-line … I wouldn’t stay.  I treasure the friendships I have built and the friendships built between my ladies because we gathered around a table to stamp!! Love all you ladies ❤  The past 16 years have been awesome and I’m looking forward to another 16 years!


142994g

I invite you to grab a cup of coffee and watch this video with me … See for yourself how kits make for easy creativity! 


The “Forever Evergreen” project Kit is ON SALE during our OnLine Extravaganza!

Decorate your mantelpiece or table with festive trees and seasonal decorations. This kit makes three trees in two sizes—one 13″ (33 cm) tall, two 11″ (27.9 cm) tall—each individually trimmed with handmade ornaments.

Thanks for stopping by, I hope you have a lovely day.


blog-closing-small                 november-2016-hostess-code

small-business-saturday

TODAY’S PROJECT KIT …


Need Gift Ideas?

Hello Stampin’ Friends ~

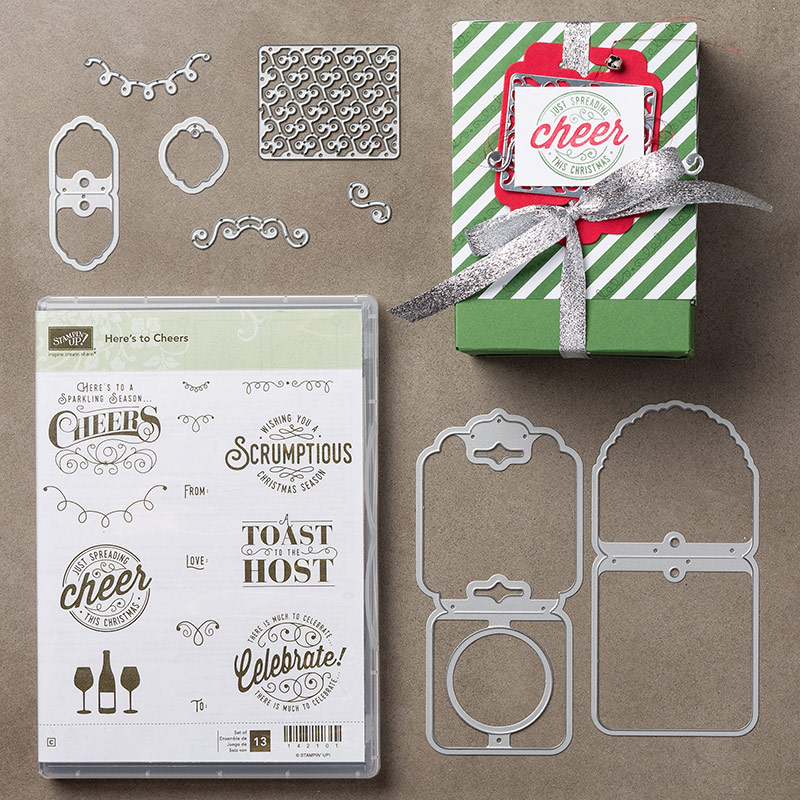
Need something for a last-minute neighbor, coworker, or holiday party gifts this season? Then you’ll like to check out the Here’s to Cheers Stamp Set and Cheerful Tags Framelits Dies. They combine to create cute tags to embellish a bottle of wine, gift card, plate of treats, or pretty much any gift.

sw_herestocheers_create_nov2216

When you buy the stamp set and dies in a bundle, they’ll save 10%!

What would you create with these stamps and dies?  I’d love to hear from you.

Thank you for stopping by …

Have a nice day.

blog-closing-small


Simply Sunday: A Merry Christmas

Hello Stampin’ Friends ~

Sorry for the delay … I don’t think I”m going to get the option of waiting until January to get my new computer!

But let’s get to the fun part!!  Yesterday you got a chance to see the new November 2016 Paper Pumpkin and as promised I am going to show you a little bit different version!

It’s always fun to open up the box each month and discover what resides inside!  I was happy to see the beautiful die cuts, but loved that we got 2 stampin’ spots and a really nice stamp set!

000_3834

Not sure if you could tell by the video yesterday, but these are “Note Card”size cards, which are perfect for gift giving, but if you’d like to turn these into beautiful cards to send … I have a simple answer for you.

000_3836

I simply added a Island Indigo mat to the layered card (skipped the vellum) and embossed the 1/2 of what used to be the card!  I then mounted that onto a Pool Party card base. I chose the Island Indigo mat to coordinate with my greeting.

There’s nothing simpler than Paper Pumpkin, even it you are changing it up a bit!

Sign up today with a 3-month (or more) paid subscription and get a FREE cute little Paper Pumpkin tote from me! It holds 2 Paper Pumpkin kits easily so you can grab them a go to a friends to stamp, I love stamping with others…. it’s just more FUN!

Thanks for taking time out of your Sunday to visit with me…

Have a wonderful day!

blog-closing-small        november-2016-hostess-code

Today’s Stampin’ Suggestions …


Wonderful Winterland …

Hello Stampin’ Friends ~

We’ve teased you long enough, and shown you the outside of the new Paper Pumpkin box, now it’s time to open it up and let the fun escape!


The weather outside is wonderful! It’s time to get cozy by the fireplace with some hot chocolate and the Wonderful Winterland Kit. With gently falling flurries and houses nestled on the hillsides, this picturesque project is sure to warm your heart. The kit includes all the supplies you need to make eight cards and spread.

Thanks for checking out my blog …

Stop back tomorrow and check out what I’ve done with this cute kit!

Have a great day.

blog-closing-small