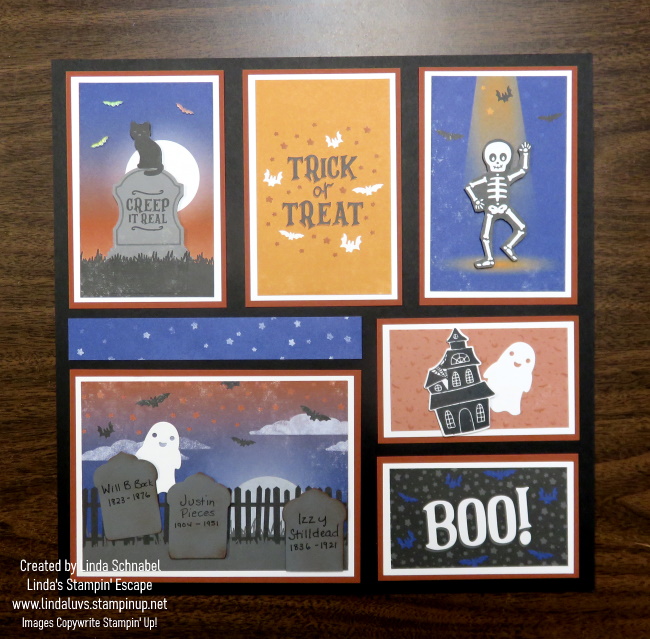
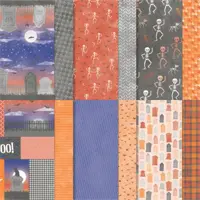
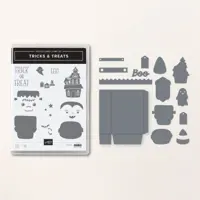
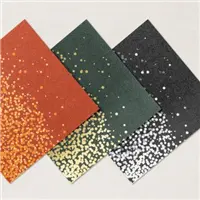
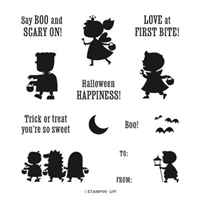
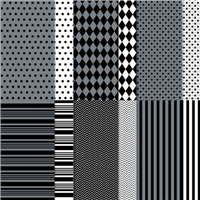
Halloween is just around the corner, and what better way to get into the spooky spirit than by creating your very own Halloween sampler? Last night, we hosted an exciting Facebook LIVE event where we walked you through the process of making a Halloween sampler using the “Them Bones” 12 x 12 designer paper and the Tricks and Treats bundle.
In case you missed it, don’t worry! We’ve got the video replay right here …
Creating a Halloween sampler using the “Them Bones” designer paper and the Tricks and Treats bundle is a fantastic way to get into the Halloween spirit. Whether you’re a seasoned crafter or a beginner, this project is fun and easy to do. With the video replay of our Facebook LIVE event and these step-by-step instructions, you’ll have everything you need to create your own spooktacular Halloween decor.
The top 3 designer paper pieces are all cut at 3″ x 4-3/4″, with 3-1/4″ x 5″ White mat and 3-1/2″ x 5-1/4″ Cajun Craze matte.
The 2 pieces of designer paper on the right side are cut down to 2-1/4″ x 4″ with 2-1/2″ x 4-1/4″ White mat and 2-3/4″ x 4-1/2″ Cajun Craze matte.
The large piece on the bottom left is cut to 4-1/4″ x 6″ with a white mat at 4-1/2″ x 6-1/4″ and a Cajun Craze at 4-3/4″ x 6-1/2″.
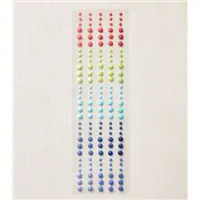
The blue strip measures 3/4″ x 6-1/2″
So, gather your materials, watch the video replay, and let your creativity shine as you embark on this Halloween crafting adventure. Your DIY Halloween sampler will be a bewitching addition to your home decor, and it’s sure to impress your friends and family.
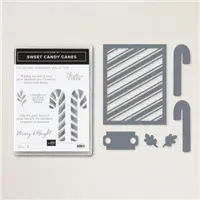
Something Old and Something New: The Candy Cane Dies and Trick or Treat Bundle Unite! If you’re itching to infuse some DIY magic into your Halloween, you’re in for a treat! I’ve got a spine-tingling combination that’s bound to enchant both young and old. And if you want to “save” some cash as well, our Candy Cane Dies are on the clearance rack!! You’ll find the Trick or Treat Bundle in the Holiday Mini catalog. Together, they’re about to bring your Halloween handouts to life!
Check out the video, and then I’ll share the projects with you one more time ….
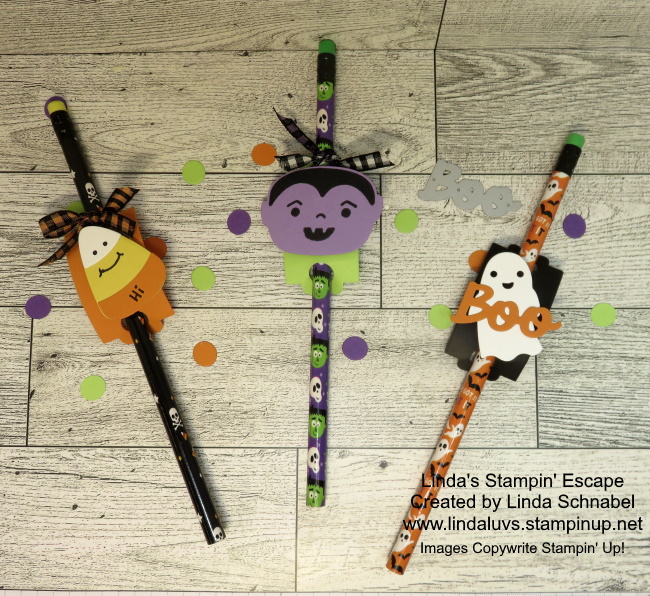
Use the Candy Cane Tag Die and pair it with the Trick or Treat stamps to create eerily delightful Halloween sucker holders. These make fantastic handouts for trick-or-treaters or party favors for your Halloween bash.
Jazz up your holiday pencils by crafting decorative pencil slides. Add the spooky motifs from the Trick or Treat Bundle, and you’ve got a simple yet charming treat to distribute at school or during your Halloween festivities.
Now lets elevate your candy distribution game by decking out your holiday hand outs. Just a few more ideas for the Halloween party, school treats and handing out when that door bell rings; Trick or Treat!
With the Candy Cane Dies from the clearance rack and the Trick or Treat Bundle from the Holiday Mini catalog, you can easily take your Halloween handouts from ordinary to extraordinary. These delightful creations are perfect for enchanting ghouls and goblins this Halloween night.
Get ready to add a touch of homemade magic to your Halloween celebrations! Happy crafting and a spooktacular Halloween!
Hello Stampin’ Friends, Today I’m sharing a few Hidden Treasures on the Clearance Rack. To me, it’s a secret treasure trove just waiting to be discovered. You can find incredible deals on a wide range of your favorite crafting supplies. If you like a deal like me, you know the thrill of finding those hidden gems that can elevate your projects. Today, I want to share some of my current favorites from the clearance rack, and why I believe these items can be used year-round, transcending their initial holiday designs.
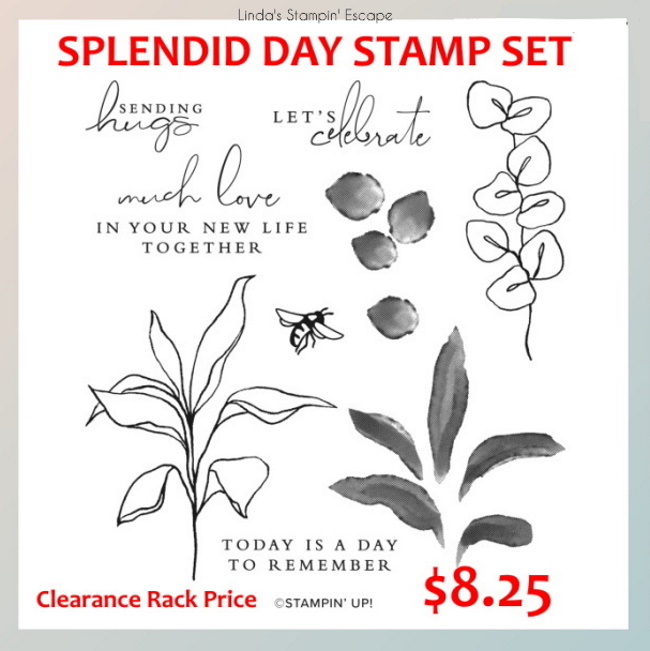
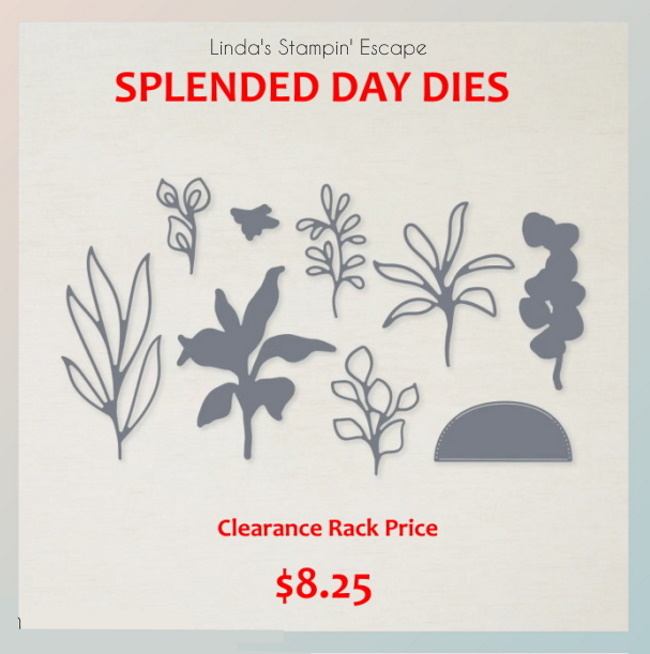
The Splendid Day stamp set and coordinating dies are a must-have for any crafter. While they may seem tailored for specific occasions, their versatility knows no bounds. The beautiful floral designs and heartfelt sentiments can be used to celebrate birthdays, anniversaries, or simply to send a heartfelt message to someone you care about. By selecting different ink colors and paper textures, you can easily adapt these stamps and dies to fit any occasion, whether it’s a spring wedding or a summer garden party.
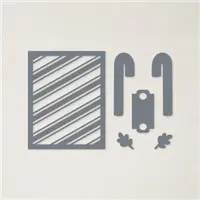
Candy Cane dies are a must-have in your crafting arsenal, not just for their delightful holiday charm but for their incredible versatility. Don’t you love it when crafting supplies multitask? The tag die in the Candy Cane set is a prime example of this. While it’s designed to hold candy canes during the holidays, it’s also a fantastic tag for any celebration or gift-giving occasion. Birthdays, anniversaries, graduations, or even a simple thank you—you name it, and this tag die can transform your presents into a work of art.
The diagonal background die adds texture and elegance, the tag die suits any celebration, and the leaves bring nature’s beauty to your projects, no matter the season. So, the next time you’re brainstorming crafting ideas, remember the Candy Cane dies—you’ll be surprised at how they can add a touch of magic to your year-round creations.
One of the joys of crafting is the ability to mix and match different elements to create something truly unique. The Bewitching stamp set can be combined with the Candy Cane dies to weave a tapestry of creativity that transcends seasons and occasions… image the possibility.
Shopping the clearance rack is not only a treasure hunt but also a smart way to stretch your crafting budget. The Bewitching stamp set’s presence on the clearance rack is a fantastic opportunity to invest in quality stamps without breaking the bank. The money saved on any of these fabulous finds can be used to stock up on other crafting essentials or explore new creative avenues.
If your looking for some creative ideas, join me tonight at 6:30 pm on my Linda’s Stampin’ Escape Facebook page ….
Thanks for stopping by today and I hope you join me tonight for some tricks -n- treats!
I know I’ve been little MIA lately, but there’s a perfectly good reason for it – I’ve been having a blast with many of you on my Linda’s Stampin’ Escape Facebook page for the Countdown to the Mini Catalog party! It’s been three incredible days filled with creativity, games, prizes, and live demonstrations, and I can’t wait to tell you all about it.
Our party kicked off with a bang, diving straight into the spooky spirit of Halloween. We explored the exciting new products in the Mini Catalog designed for this hauntingly delightful holiday. From whimsical ghosts to eerie pumpkins, there was something for everyone to fall in love with. The comment section was buzzing with ideas and inspiration as we shared our favorite picks and creative tips.
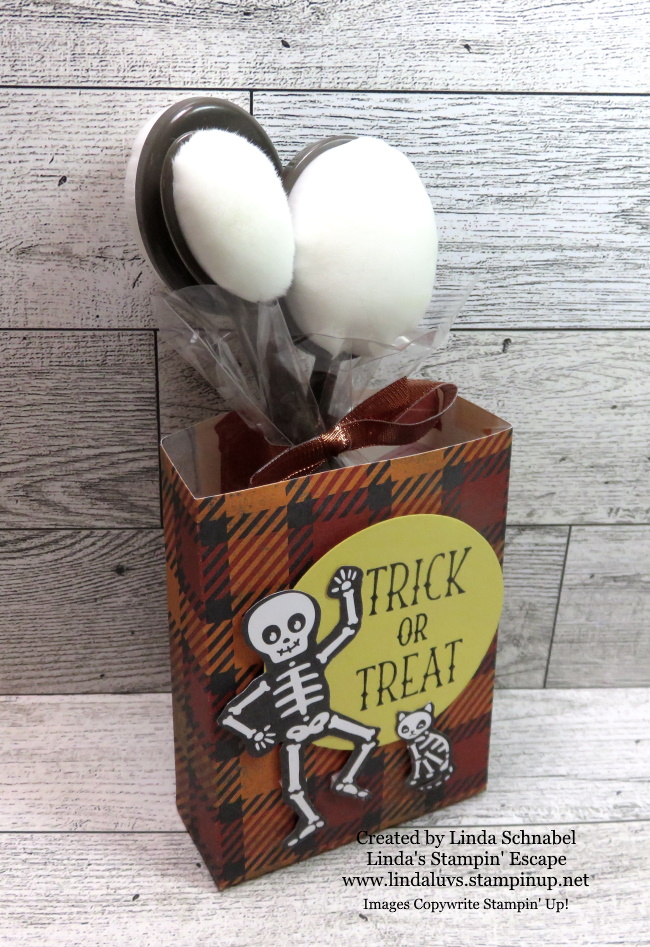
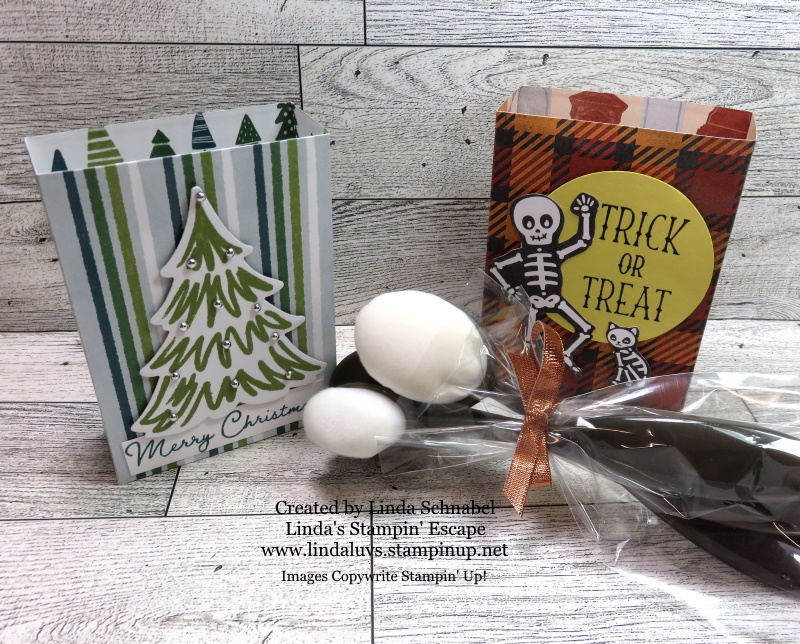
This cute little bag was just one of the products shared during a LIVE demonstration. It comes from the Tricks and Treat Bundle, and includes the die to cut your favorite designer paper. It’s so simple, just cut 2 pieces out, fold on the score lines and glue the small flaps to the sides … then don’t forget to glue the bottom flaps!! And yes, I fussy cut the skeleton and his scaredy cat!!
As we rolled into the second day of the party, our focus shifted from pumpkins to twinkling lights and ornaments. The Mini Catalog’s Christmas-themed products had us all giddy with excitement. We explored festive card designs, handmade gift ideas, and elegant decorations for the holiday season. The virtual party room was filled with the sound of joyful anticipation for the most wonderful time of the year. I have so much to share with you yet.
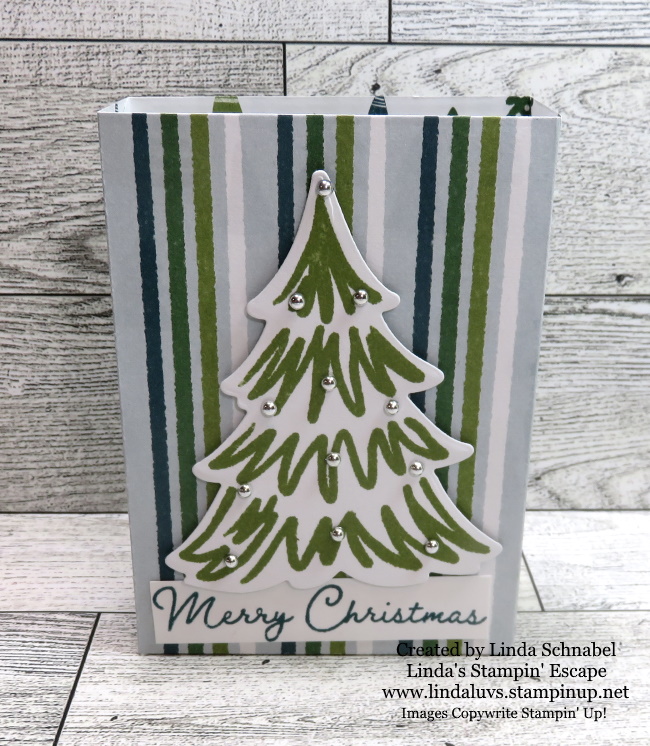
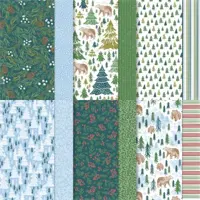
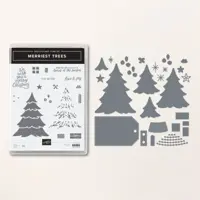
Till then, let me show you the cute Christmas bag we made using the same bag die …. I used “A Walk in the Forest” Designer paper. The tree is also from the designer paper and was die cut from the Merriest Tree’s Bundle.
The “A Walk in the Forest” Designer paper… Is not just another designer paper, it’s a heartfelt contribution to Stampin’ Up!’s Making A Difference campaign. For every package of this beautiful paper sold, Stampin’ Up! is committed to donating $3 to Toys for Tots. It’s such a wonderful way to make a difference while indulging in our crafting passion. So, when you use this paper for your projects, know that you’re not only adding charm and creativity to your creation but also spreading joy to children in need during the holiday season. What could be more heartwarming than that?
Just when we thought the party couldn’t get any better, I had a little surprise up my sleeve. I announced that I would be turning this fantastic gathering into a Mystery Hostess Party! The excitement in the virtual room reached a fever pitch – what an incredible twist! One lucky participant will get to shop with the party rewards.
Throughout these three days, I was reminded of why I love what I do. Being able to share my passion for stamping and crafting with all of you, my Stampin’ Friends, is an absolute joy. I want to thank each and every one of you for making this Countdown to the Mini Catalog party so special.
But let me tell you a little secret – this won’t be the last surprise you’ll see from me at my parties, events, or retreats. I’m always looking for ways to make our stamping adventures even more memorable, so stay tuned for what’s coming next!
Thanks for joining me today ~
Here is a list of supplies used to create both of my Gift Boxes … All items are available as of this morning 9/7/2023
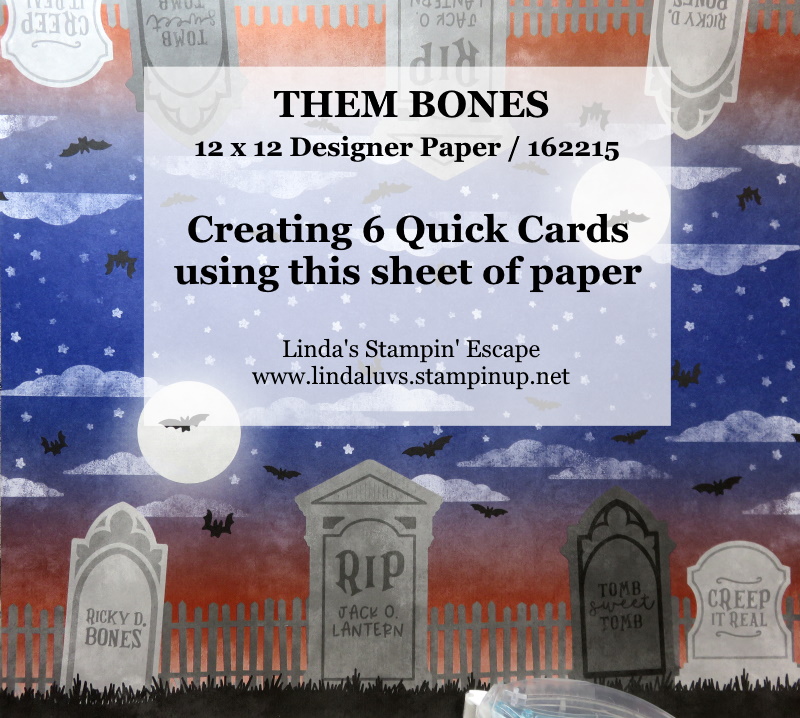
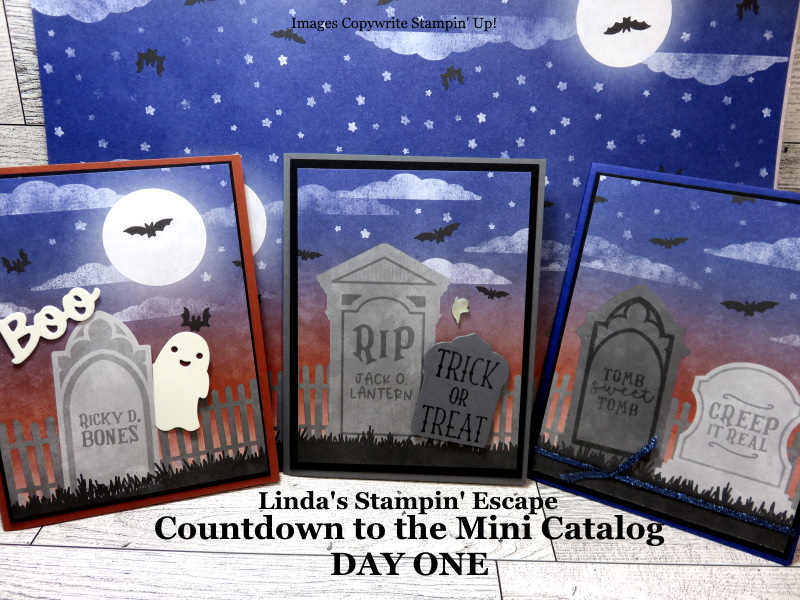
It’s that time of year again, where the air gets chillier, the leaves change colors, and pumpkin spice everything is back in action. But you know what makes this season even more thrilling? Crafting your way through Halloween with the Tricks and Treats Bundle and the spooktacular Them Bones Designer Series Paper from Stampin’ Up!
We’ll be diving headfirst into the magic of Halloween crafting using these bewitching products. To get you in the spirit, I’m going to show you how to create not one, not two, but three fantastic Halloween cards from a single sheet of the Them Bones Designer Series Paper! 🦴🕸️
Start by cutting your 12 x 12 in half … we’ll trim it down from there. You’ll want to trim it down to 5-1/4″ and then cut your long piece in 4″ sections for your cards … just attach these to a card base and voilà! You’ve just conjured up six spine-chillingly fabulous Halloween cards using only one sheet of the Them Bones Designer Series Paper!!
Now I wanted to take it up a bit so I trimmed my individual pieces down a little further and added a 4″ x 5-1/4″ Black Mat.
Lets take a walk through our graveyard and I’ll share my spooky secrets for creating these cards and I’ll begin to add the Tricks and Treats Bundle.
CARD 1: Simply Creeping it Real …
Once I mounted the designer paper onto the Black Matte, I added the Starry Sky Ribbon and attached the card front directly on to the base.
CARD 2: Trick or Treat
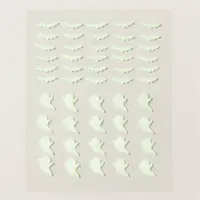
For this card I simply stamped my greeting and then die cut it, the stamp and die comes from the Tricks and Treats bundle. The die is actually a tag die but I cut off the bottom to turn it into a gravestone! Spooky cool stampin’ tip!! I then embellished with one little Glow in the Dark Ghost.
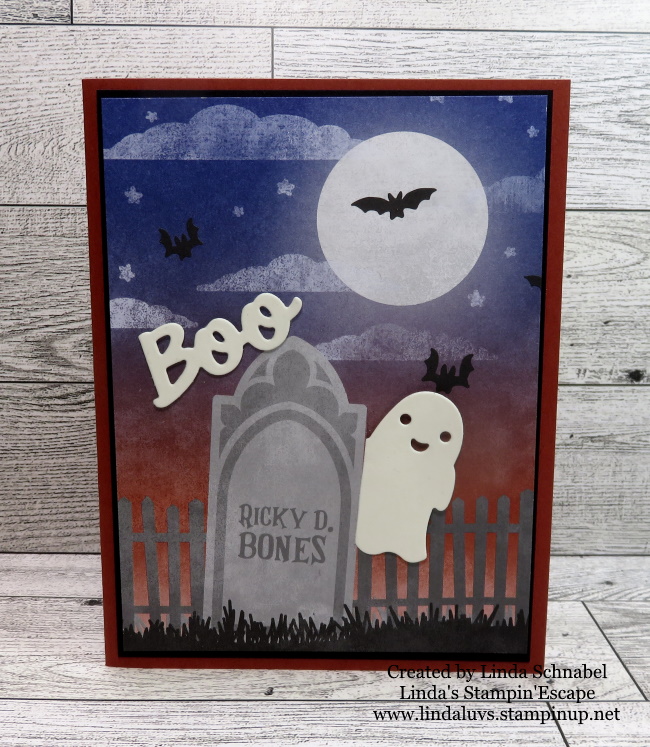
CARD 3: Ricky D. Bones
Hope you have a strong heart because this graveyard is haunted! Using the Glow in the Dark Specialty paper, I die cut my ghost and greeting. I used an exacto knife to create a slit next to my gravestone so my ghost appears to be coming out from behind it.
Once you create the first 3, the second set will be easier! These cards are sure to delight your friends and family with their ghostly charm.
Get ready to make your Halloween crafting dreams come true with the Tricks and Treats Bundle and the Them Bones Designer Series Paper when the catalog goes LIVE tomorrow 🦇🌙🎃
Thanks for stopping by 🧙♂️👻🦴 Join me tomorrow during Day 2 of my Countdown to the Mini Catalog … we’re heading into Beary cool territory tomorrow!
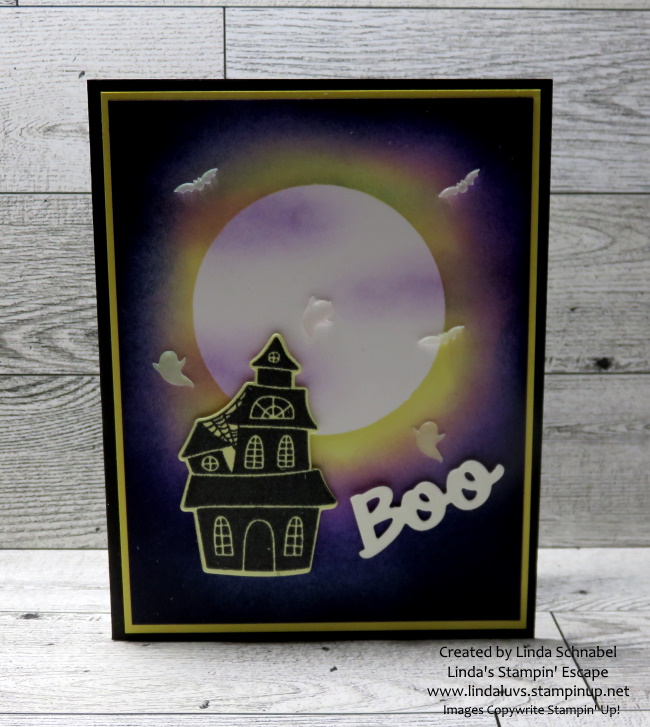
Today I have an enchanting combination of water-based ink pads, masking, and blending techniques to help you brew up some spooktacular Halloween fun!
Let’s dive into the enchanting world of water-based ink for the masking technique using our blending brushes to create a mesmerizing background. We’re creating a Halloween card using the Tricks and Treats bundle from our new Holiday Mini Catalog. Sit back and watch while I stir things up ….
Let’s talk about the fabulous water-based ink pads. These little magic makers are perfect for your Halloween crafting escapades. They are easy to use, vibrant, and blend like a witch’s brew!
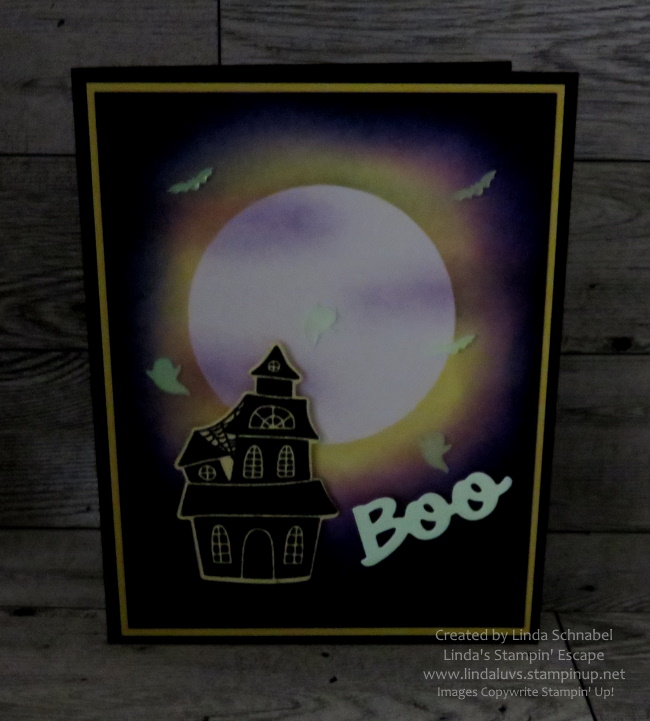
Blending is like the magic spell that ties everything together and gives your card that “wow” factor. And speaking of “wow” … let’s see those Glow in the Dark Bats & Ghosts.
Now that you’ve unleashed your inner Halloween crafting wizard, you might be wondering why you should bother with masking and the blending brushes… There’s something therapeutic about this technique, it’s like creating your very own therapy session. And you can totally change up the theme.
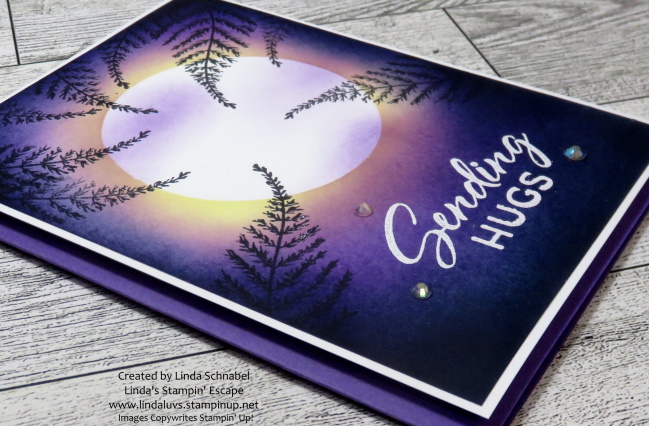
As promised in the video, I went from a spooktacular Halloween card to a stunning card sending hugs ….
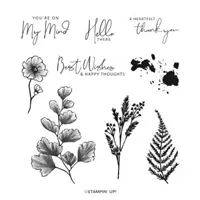
The spooky background with a full moon was transformed into a warm background and heartfelt feelings that can be sent to a friend to show you care. Instead of bats and ghosts, I stamped some pretty foliage from the Natures Prints stamp set.
A slight change to a White mat and a Gorgeous Grape card base can help and soften that transformation.
So, there you have it – a bewitching blend of Stampin’ Up! water-based ink pads, masking, and blending techniques to brew up some Halloween magic or a total transformation. Remember, crafting is all about having fun.
Now, go forth, my friends, and create cards that are spooktacular… or sensational! Thanks for hanging out with me.
Hello Stampin’ Friends ~ Today I wanted to share a few of my favorite items from the Clearance Rack. I’ve already shown you the All Together Designer Paper, so lets see what else is on my list!
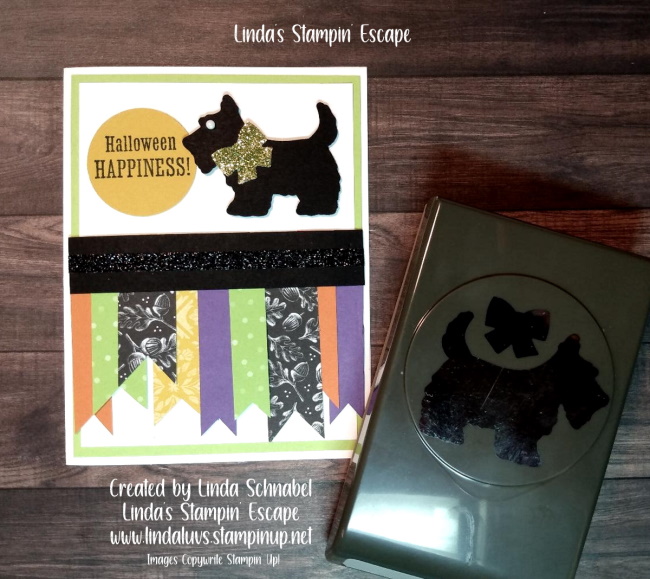
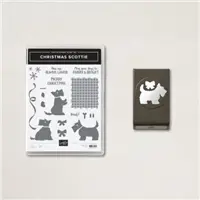
First up …. I had to pick the cute little Scottie Dog Punch
Here’s a cute Christmas card using the Scottie Dog punch ….
If you would like to see how I created the holiday pattern on this card CLICK HERE. I have another card sample for you … Halloween and using up some of my scrap designer paper.
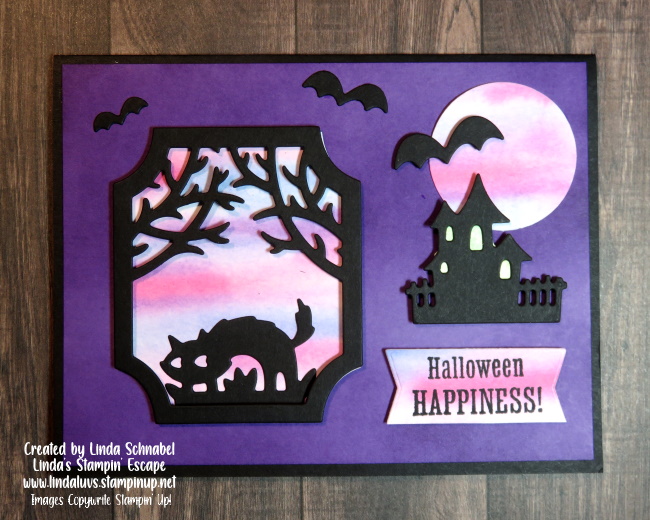
Since we’re talking Halloween, let’s look at the Scary Silhouettes Dies ….
Here is a fun card that I created with these dies and a watercolor wash background ….
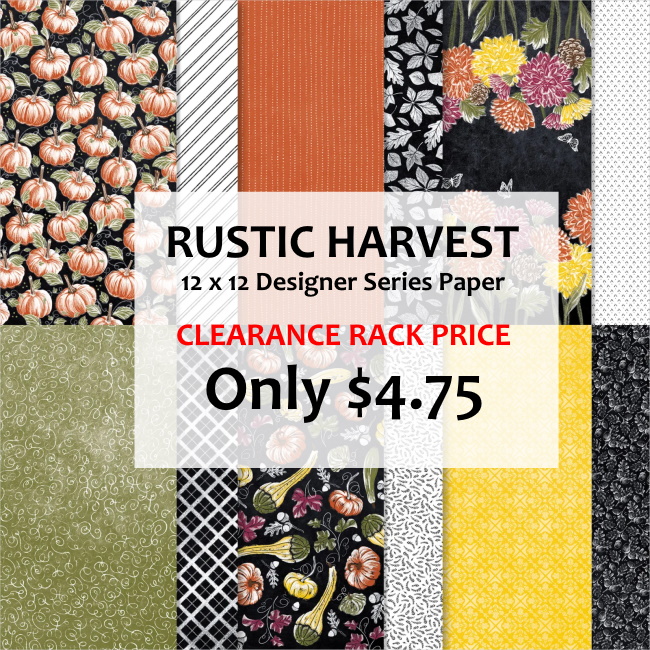
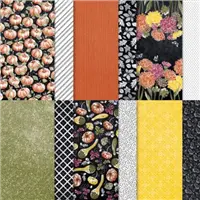
I have one more product to show you today along with several card samples; the Rustic Harvest Designer Series paper ….
You will notice that these sheets have colorful designs on one side, and black and white on the other. If you look back at my Halloween Scottie Dog you will find some of these patterns on that card too!
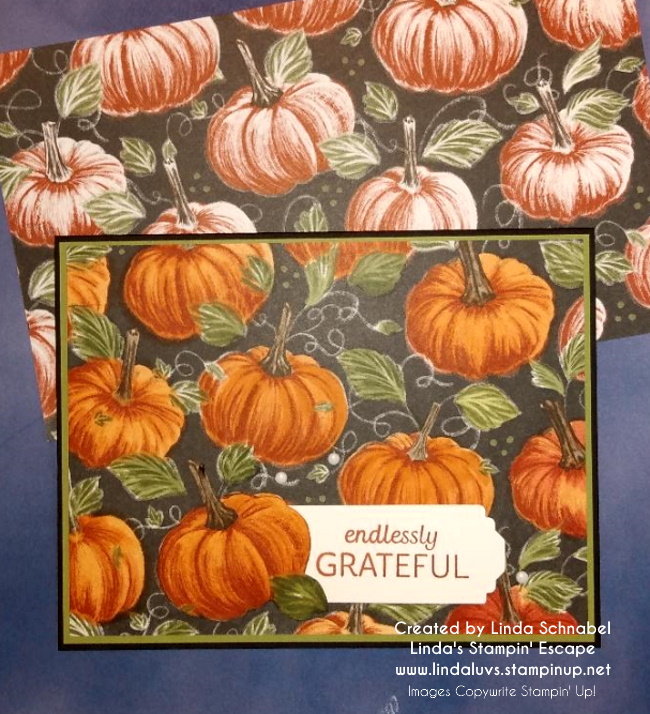
My first card uses the black and white for the background, then with my blending brushes, just added some color!
The next card shows how you can bring the color level up a notch (or leave it just the way it is) I used the Stampin’ Blends because the work so well on designer paper too ….
And the last card highlighting the Rustic Harvest Designer paper, shares the before and after using the Stampin’ Blends on the Dahlia’s ….
So many uses for this paper …. take it beyond Harvest time and use the black & white for any occasion … grab some ink or markers and discover the possibilities!
These are just three of the great finds you will discover while shopping the clearance rack … I noticed that my favorite “Glitter Washi Tape” had already sold out! I will be tomorrow with a few more that I just loved using!
Happy Monday! I hope you enjoyed this beautiful weekend … well, here in Wisconsin anyway 🙂 I hear some of you out west are getting a blanket of white! I’m not ready … I’m ready for Halloween and I’ve got more cards to share with you today.
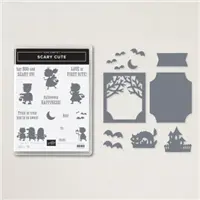
I’m going to continue with the Scary Cute Bundle …
I teamed this card up with the Aspen Tree die! I love the background … It’s designer paper so you can’t get easier than that. CLICK HERE to view the original post.
My Halloween Wizard via the Kindest Gnomes ….
This card uses the Scary Cute Bundle and Kindest Gnomes. It also features the Color Blocking technique.
If you are an old movie buff … especially Halloween Horror movies (Hammer Films) like the Mummy, then you will fall in love with this card.
This card uses the Linen Adhesive Backed paper to create a our mummies! We have to dirty up those bandages a bit so if you want to see more … CLICK HERE!
Here is a major mash up …. I have the dies from Sweet Candy Canes, the Scary Cute bundle and the Scottie Dog!
I have a lot of fun with that Scottie Dog … perfect all year long, and for any occasion.
Thank you for joining me again today, Have a great week!
Today I’m sharing the replay of one of my Tuesday Facebook LIVE where we used scraps to create a fun and easy card. The Scary Cute bundle meets Christmas Scottie … that little dog is way too cute to be scary!
I’ll share some tips for creating this card so sit back and enjoy ….
Don’t you just love that Scottie Dog … heck with Christmas, he is an all occasion pup!! The banners or flags as some people call them, create so much fun on a card, they’re just happy.
Here are the measurements for today’s card …
Card Base: Thick Basic White: 8-1/2” x 5-1/2”; score at 4-1/4”
Layer #1: Parakeet Party: 4” x 5-1/4”
Layer #2: Basic White: 3-3/4” x 5”
Layer #3: Basic Black: 3/4” x 4
Assorted Colors / Sizes of Designer paper and Cardstock to create banners
Don’t you think this would make the perfect birthday card? How about celebrating a new job, a promotion or a graduation? Today we did Hallowen … I think it would be perfect for Christmas too. The layout works for any occasion and is fun to make … I hope you enjoy creating many of these simple cards.
I want to thank you for joining me today for this replay.
Enjoy and have a wonderful day ~
Here are the ingredients I used for this card. You can click on any one of them for more information, or to begin shopping.
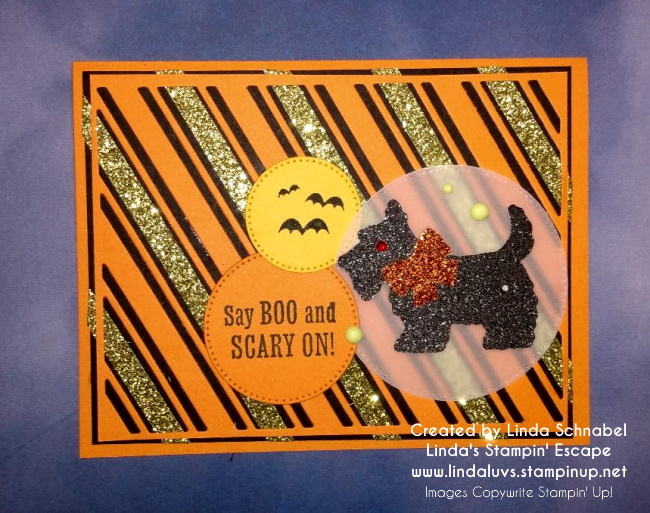
Are you ready for a Monster Mash? Monster Mash-up that is …. I’ve taken the die from the Sweet Candy Cane Bundle, the Punch from the Christmas Scottie Dog and the stamps from Scary Cute and created today’s adorable Halloween Card. What better colors to use than Pumpkin Pie and Basic Black? Then add a touch of Parakeet Party to give a boost!
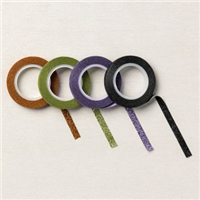
How do you love the pop of the Washi tape between the spaces on the die? I think it makes our other colors pop and the sparkle brings our card to life. On the other hand … our puppy is seeing red!! He’s tired of being dressed up in those silly Halloween costumes!! lol … just kidding, our puppies love us no matter what. The love all the attention.
I dressed this little guy up with a Washi Tape bow … I just put a few strips onto my cardstock and then punched it out. Just think, you can use any designer paper to dress up your scottie. Placing my Scottie Dog on the Vellum cardstock, highlights this sweet doggie and draws you eye right to him. You can do this on any card where you want to highlight an image.
To create even more texture and dimension I stamped my greeting and bats from the Scary Cute stamp set and die cut them with the circle dies (Sizes 2, 3 and 5 for Vellum … with 1 being the smallest). These were all popped up with some Stampin’ Dimensionals.
To complete my card I added the Matte Dots from the 2022-24 In-Color Matte Dots in Parakeet Party. All of these colors compliment each other so nice … and I almost forgot to tell you that I punch my Scottie from the Metallic & Shimmer Specialty paper so he’s got a little sparkle too.
I hope you enjoyed this mash up and my Scottie Monster … I also hoped I inspired you to think outside of the box and don’t be afraid to mix up your Christmas with other holidays!! Just have fun!!
Thank you so much for joining me today … enjoy your Tuesday!!
Here is a list of supplies that I used to create today’s card … If you would to add one of these to your stamp collection, just click on the item as it will take you to my store. Thank you!
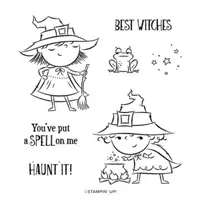
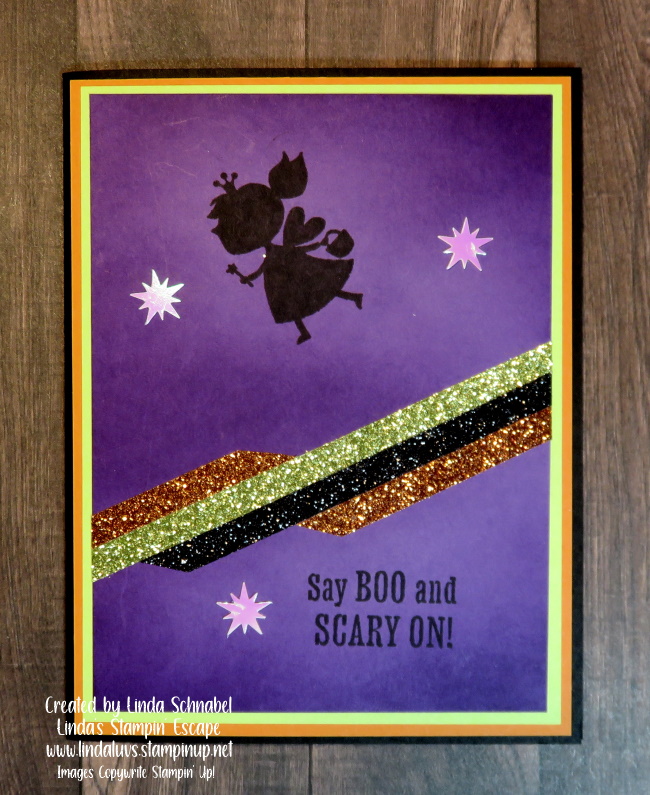
With only six weeks before Halloween I couldn’t resist sharing this cute card with you. Created with the Best Witches stamp set … I think this card is perfect for a Friday and a little Fri-YAY attitude!! lol Because on a good day … When you got it, Haunt it!!
It was created by one of my friends and fellow demonstrators that belong to the same Design group I’m in.
Measurements:
Cardstock #1: Card Base- Thick Basic White- 5-1/2” x 8-1/2”.
Cardstock #2: Basic White- 3” x 4-1/4”
Cardstock #3: Parakeet Party 2” x 4” for die cut label.
Designer Paper: 4-1/4” x 5-1/2”
Ribbon: 6”
The card base is scored in half at 4-1/4” … give a good crease with Bone Folder. Adhere the designer paper to card base front. About 1” to 1-1/2” from bottom, stamp little witch on Basic White with Memento ink and color image with Stampin’ Blends.
Apply 3 strips of Glitter Washi Tape below witch and adhere to card front about 1” from left edge. Stamp sentiment on Parakeet Party CS and die cut with label from Stylish Labels. Attach sentiment label with Stampin’ Dimensionals as shown and tie the ribbon into a small bow and adhere as shown with a glue dot.
Thank you for joining me this Friday … I hope you have a wonderful weekend.
Here is a list of the products used to create this card ….
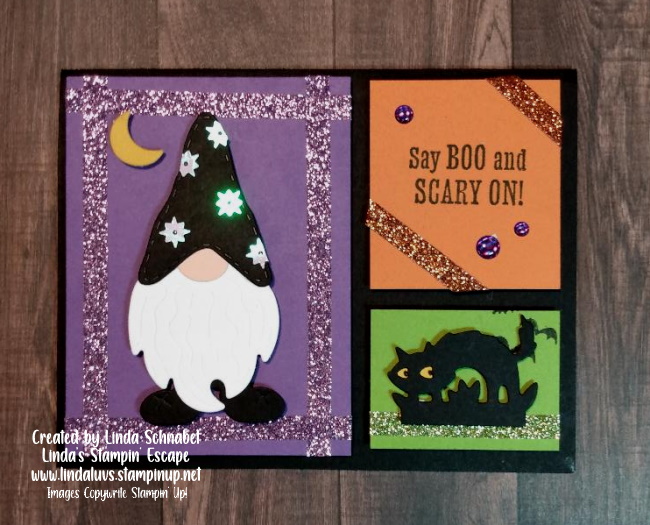
I’m excited to share today’s card with you … a Halloween card with a mash up of the Scary Cute and the Kindest Gnomes bundles, using the “Color Block” Technique!
You’ll be able to watch the replay of last nights Facebook LIVE which includes the card making, two fun stamping events, and an awesome SALE that starts TOMORROW!! Let’s begin with that sale …
You can CLICK HERE to download the list of discounted stamp sets!
Join me in watching the replay and see how to create the color block technique … it’s so simple and fun! You’ll also hear the class announcements and more.
That was easy (except maybe that washi tape I could not find the end to – LOL) However, the gnome was super simple to put together … I love how the die cut beard is embossed not only to show texture in the beard, but to help you place the nose and hat perfectly!!
Now let’s take a closer look at this cute card.
The washi tape in addition to the Adhesive Stars really adds some fun sparkle to the card, as if the bold colors weren’t enough! lol I just love how “playful” it turned out. You can use this same pattern for any style card …. Birthday, Christmas, Baby Shower, Anniversary … and the list goes on!
Here are the measurements for the “color blocks” …
Gorgeous Grape: 3″ Width x 4″ Length
Pumpkin Pie: 2″ Width x 2-1/8″ Length
Granny Apple Green: 2″ Width x 1-1/2″ Length
Now I would like to invite you to my Virtual WORLD CARDMAKING DAY Party ….
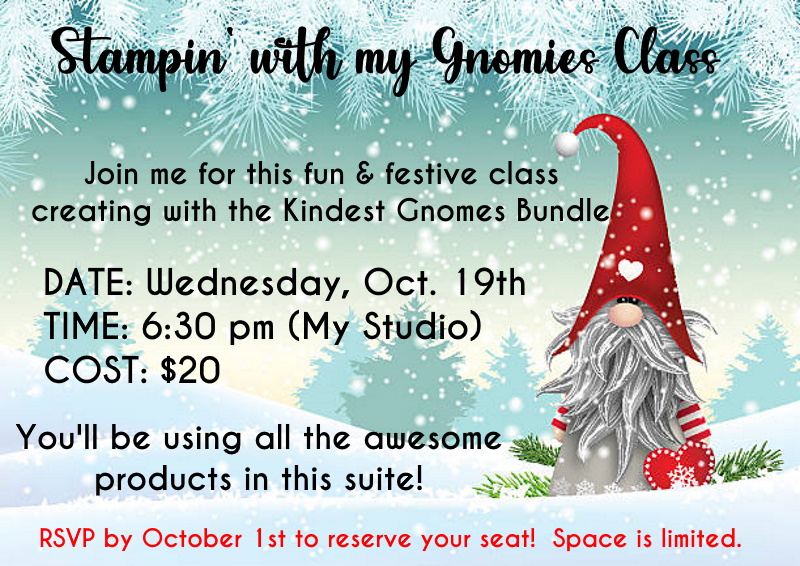
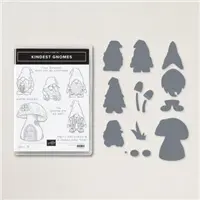
And while we are at it, and I announced it in the video, here is the invitation to join my “Stampin’ with my Gnomies” Class!! We’ll be making cards with the fun and festive Kindest Gnomes Bundle ….
Thank you for joining me today!! There was a lot to share. Have a great day!!
Here is a list of the ingredients I used for my Halloween Mash Up card today ….
Today I’m sharing the replay of last nights Facebook LIVE where we used scraps to create a fun and easy card. The Scary Cute bundle meets Christmas Scottie … that little dog is way too cute to be scary!
I’ll share some tips for creating this card so sit back and enjoy ….
Don’t you just love that Scottie Dog … heck with Christmas, he is an all occasion pup!! The banners or flags as some people call them, create so much fun on a card, they’re just happy.
Here are the measurements for today’s card …
Card Base: Thick Basic White: 8-1/2” x 5-1/2”; score at 4-1/4”
Layer #1: Parakeet Party: 4” x 5-1/4”
Layer #2: Basic White: 3-3/4” x 5”
Layer #3: Basic Black: 3/4” x 4
Assorted Colors / Sizes of Designer paper and Cardstock to create banners
Don’t you think this would make the perfect birthday card? How about celebrating a new job, a promotion or a graduation? Today we did Hallowen … I think it would be perfect for Christmas too. The layout works for any occasion and is fun to make … I hope you enjoy creating many of these simple cards.
I want to thank you for joining me today for this replay.
Enjoy and have a wonderful day ~
Here are the ingredients I used for this card. You can click on any one of them for more information, or to begin shopping.
Hello Stampin’ Friends ~ Today I have some “Halloween Happiness” for you, one of the cards we made last night in my Hooray for Halloween class. The class featured the Scary Cute bundle and the different ways you can use it.
This was our fourth card and it introduces the Aspen Tree dies from the Perched in a Tree bundle … it is stunning with the Hues of Happiness Designer Series paper. The brush strokes in the designer paper add such an eerie touch to the card.
The moon shining brightly behind the trees, lights the way for our little Halloween Fairy … so cute she is! She’s bedazzled with Wink of Stella on her wings, wand and crown. She walks fearless into the forest in search for her treasure … Halloween candy!
Thanks for dropping by and checking out my card, have a great weekend.
Today I have the replay of last nights Facebook LIVE presentation. I featured the Scary Cute bundle using the Corner Fold Fun Fold but with a twist. I’ll be showing you a different layout to this common fun fold then give you some ideas on how to use the dies.
Grab a coffee and sit back and relax while I show you this scary cute card ….
This fun fold is easy to do and as you’ve seen, you can either use the horizontal / landscape layout or the vertical / portrait style and any occasion works with this layout… so have fun! I absolutely love the different looks you can create with this bundle … a touch scary and a whole lot of cute.
I’ll start with today’s card and then share some of the cards I have presented before …
Halloween is only 8 weeks away so if I’ve inspired you with this bundle, I have added the links below for your shopping convenience. Thank you for taking the time to visit me today.
Stop back tomorrow to see the new promotions Stampin’ Up! has announced. BUT … Don’t forget that today is the last day to enjoy the Sale-a-bration FREE Products.
Have a good day ~
Here is my list of ingredients for today’s card ….