Hello Stampin’ Friends,
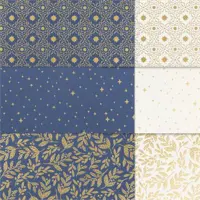
December 12th marks a delightful celebration – National Poinsettia Day! What better way to honor this festive occasion than by creating a beautiful card adorned with the Garden Walk Designer Paper? This versatile paper collection is a treasure trove of patterns perfect for all occasions and holidays, making it an ideal choice for your crafting endeavors.

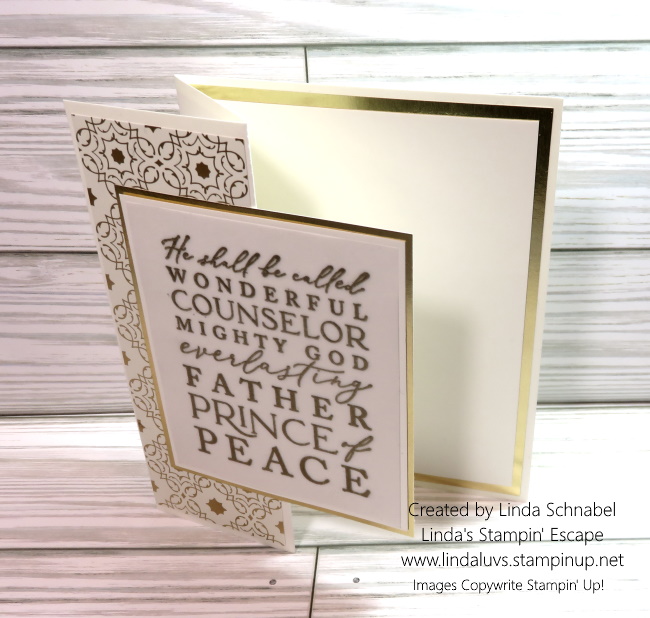
Teaming up this splendid paper with the “Throughout the Year” stamp set elevates your creations to a whole new level. This stamp set is a true companion to the Garden Walk Designer Paper, offering a range of sentiments suited for different times of the year. Whether you’re celebrating holidays, sending heartfelt messages, or marking special occasions, this stamp set has you covered.

Creating a card with these combined elements brings out the magic of both the paper and stamp set. Imagine a stunning Poinsettia-themed card, adorned with rich reds and lush greens from the Garden Walk Designer Paper. Pair it with a warm and thoughtful sentiment from the “Throughout the Year” stamp set, and you have a heartfelt creation ready to spread joy.

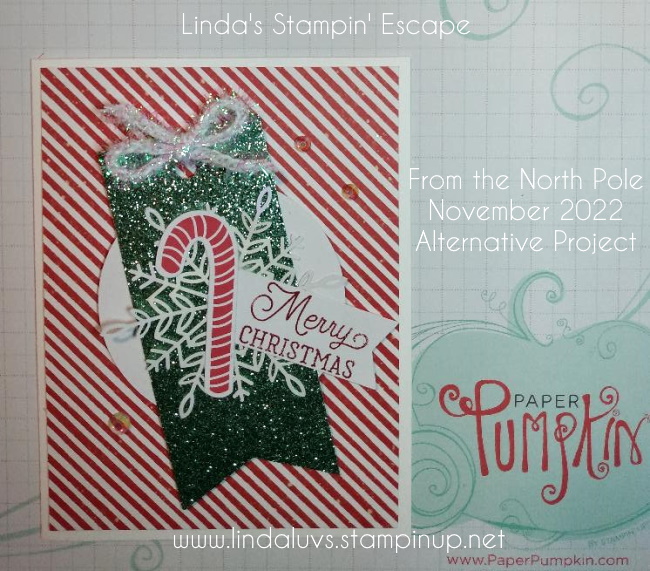
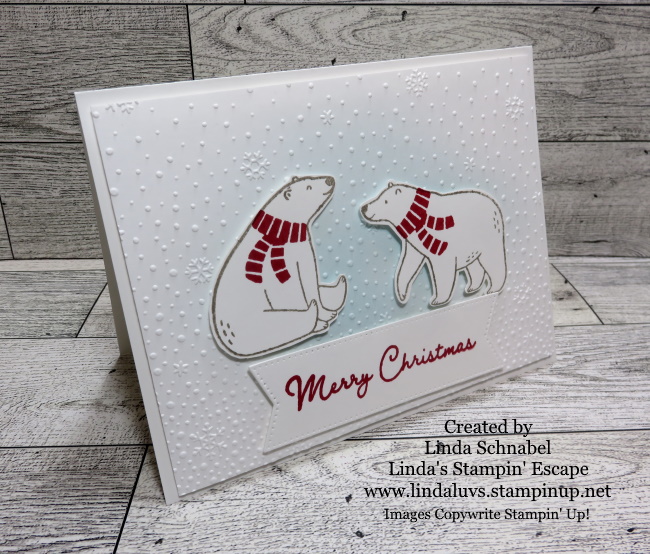
I chose Pretty Peacock for my base to pull that beautiful rich color out of the designer paper, then I framed the Garden Walk Designer paper with the basic white. I enhanced my greeting with the Silver & White Sheer ribbon … dressed it up like a Christmas present, then added a few Silver embellishments from the Festive Pearls. So, whether you’re making cards, scrapbook pages, or other paper crafts, let this combination be your inspiration for spreading happiness and warmth throughout the year.
If you’re “looking” for inspiration, join me tonight on Linda’s Stampin’ Escape at 6:30 pm Central Time … LIVE with this combination of the Garden Walk Designer Series Paper and the Throughout the Year Stamp Set. Looking forward to seeing you there! Till then, have a great day!