Hello Stampin’ Friends,
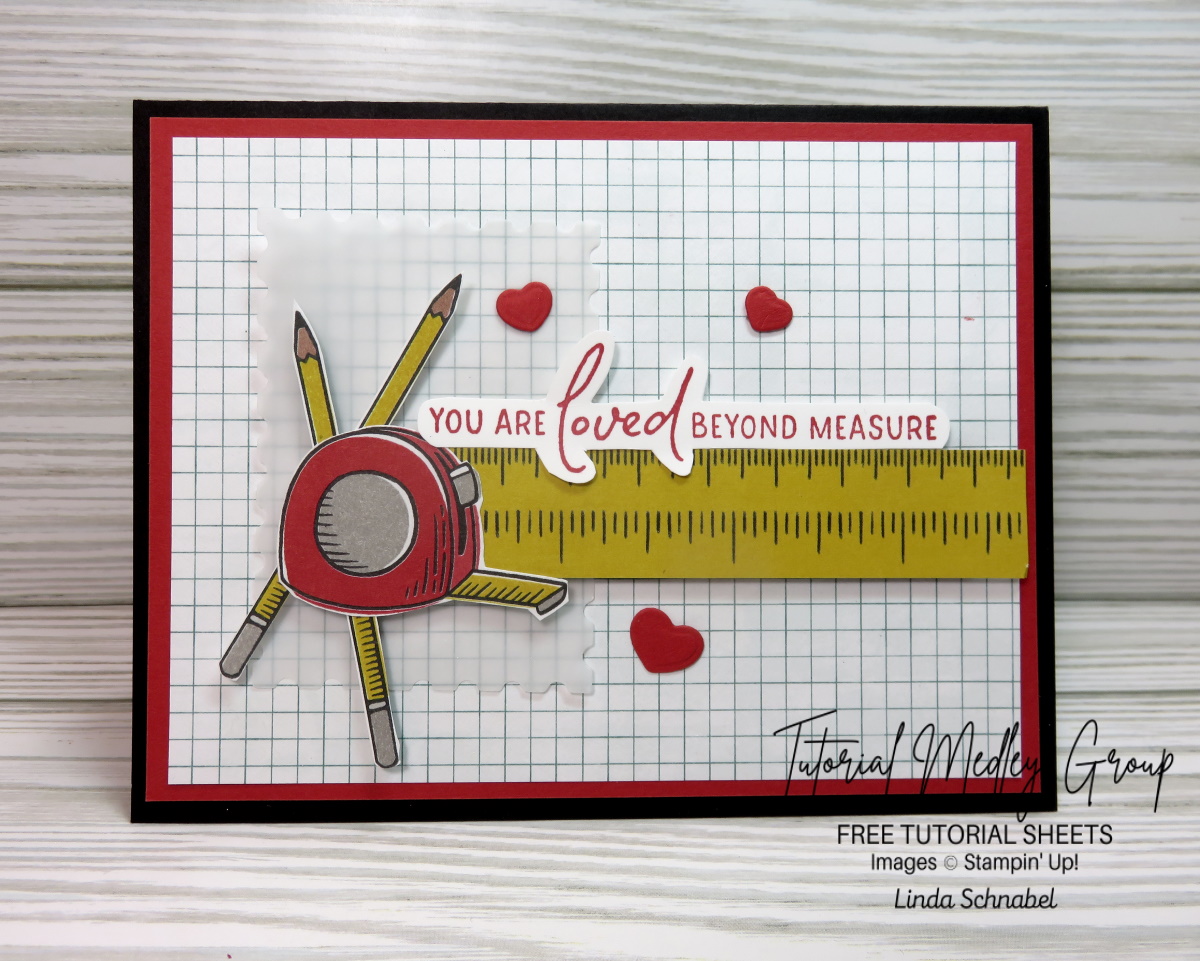
I’m so excited to share this adorable card with you today. I’m introducing the Trusty Tools Designer Series Paper – a crafting essential that adds a touch of creativity and charm to your projects! As part of the exclusive designer series, this paper is a must-have for any stamping enthusiast looking to elevate their creations. With its vibrant colors, intricate patterns, and high-quality design, the Trusty Tools DSP is sure to inspire your imagination.
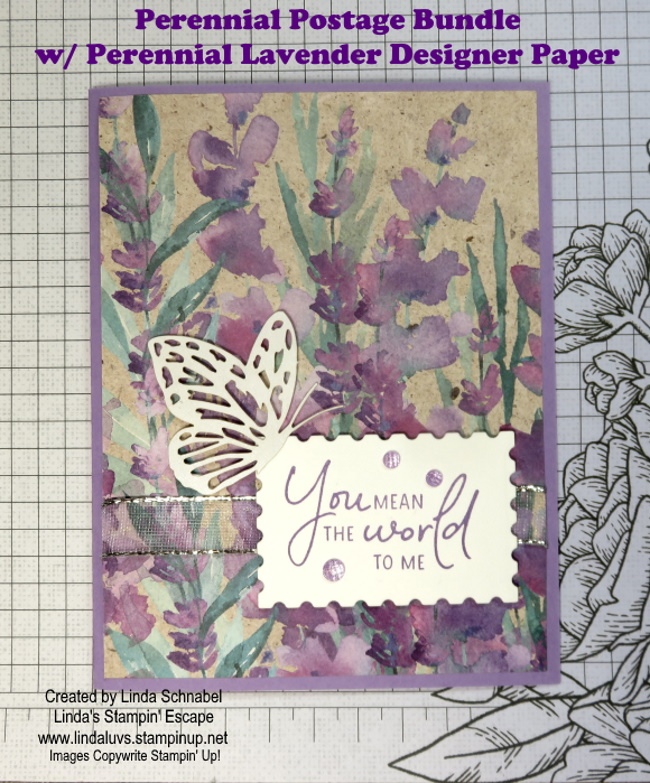
I created this for my Tutorial Group I’m in ….
Measurements:
- Cardstock: Basic Black 8 ½” x 5 ½” Scored and folded at 4 ¼”
- Cardstock 2: Basic White: 5 ¼” x 4” (Inside) and scrap for greeting
- Cardstock 3: Poppy Parade 5 ¼” x 4”
- Designer Paper: Grid Design: 5” x 3 ¾” plus fussy cut 2 pencils / tape measure and cut strip of tape measure DSP
- Vellum Cardstock: Scrap piece large enough to die cut postage die
Instructions:
- Score and fold Black cardstock at 4 ¼” / Attach White cardstock to inside
- Attach Grid design designer paper onto Poppy Parade and then attach to front of cardstock
- Stamp greeting with Poppy Parade Ink onto scrap white cardstock and fussy cut. Attach it to strip of tape measure design and piece together using dimensionals.
- After fussy cutting designer paper elements, attach them to tape measure designer paper with dimensionals (as shown on sample).
- Die cut postage rectangle from Vellum Cardstock and secure with Stampin’ Seal to left hand side of cardfront, leaving a nice border around the other 3 sides.
- Remove backs from dimensionals and attach your assembly to cardfront over vellum.
- Using hearts die from the Sending Love dies, die cut from Poppy Parade and attach with Glue Dots.
- Send the love ❤
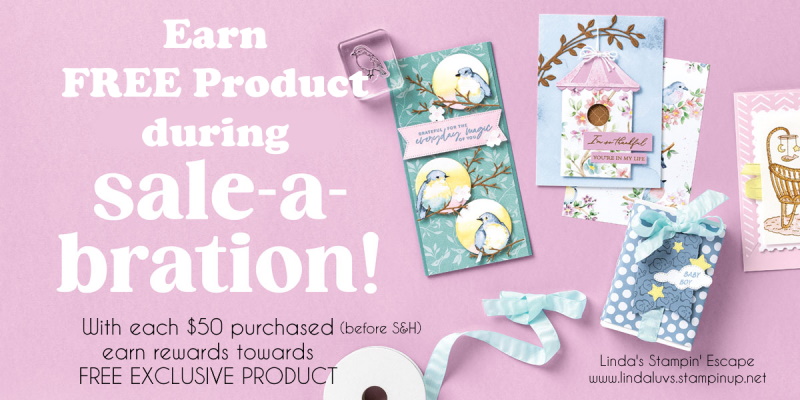
What makes it even more exciting is the opportunity to earn this fantastic paper for FREE with a qualifying purchase during Sale-a-bration! Imagine unlocking a world of artistic possibilities while enjoying the perks of complimentary crafting supplies. Don’t miss out on this limited-time offer – indulge your passion for crafting and let the Trusty Tools Designer Series Paper be the secret ingredient that takes your projects to the next level!
Thanks for stopping by, have a superb Saturday!