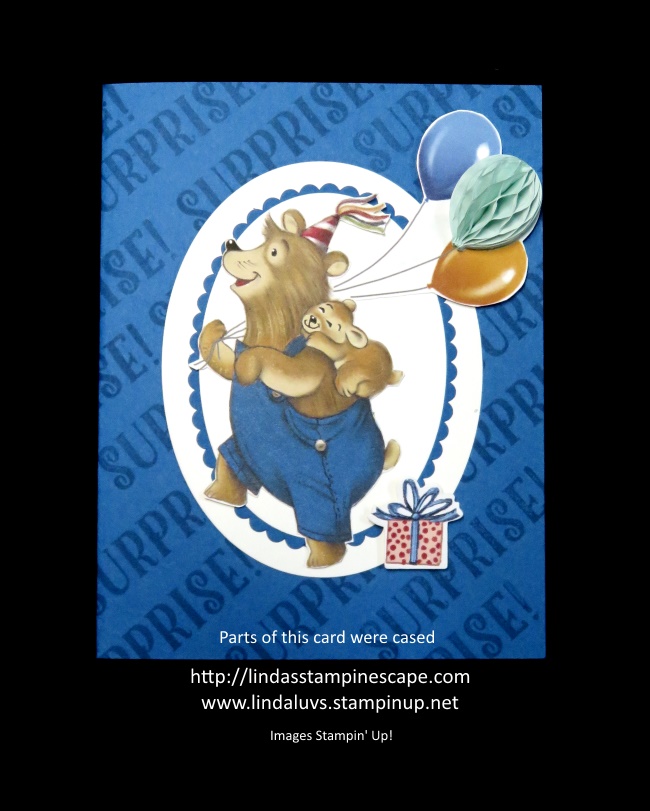
Hello Stampin’ Friends ~
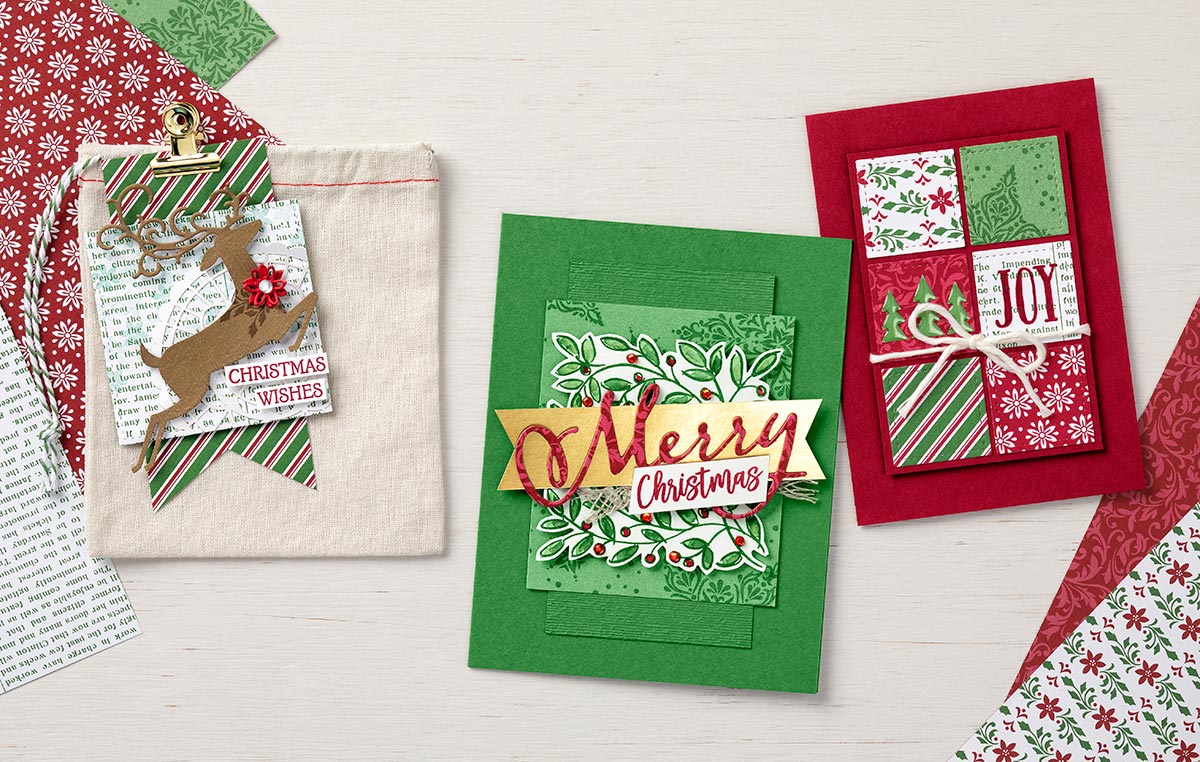
I hope you enjoyed your weekend and my Simply Sunday post … You will notice that todays card has the same basic layout as yesterdays card but by stepping it up by adding an additional product, it will change the entire look of the card. WOW!!
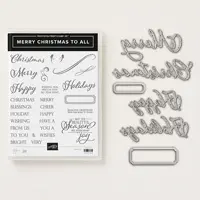
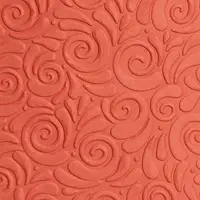
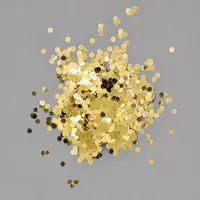
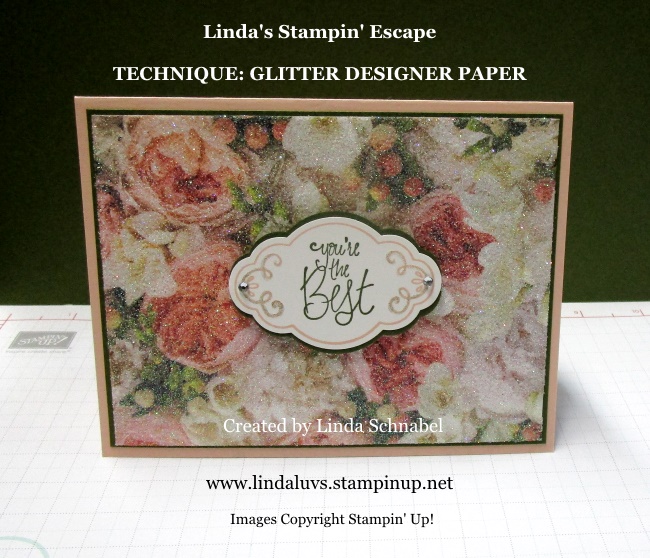
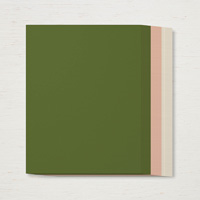
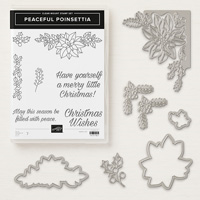
So in they style of keepin’ it simple, I am still using the Gold Foil-Edged cards, envelopes, and the Merry Christmas to All Bundle with the Gold Foil Sheets, BUT instead of the Vanilla cardstock … I’m using Cherry Cobbler cut to the 5″ x 3-3/4″ card front …

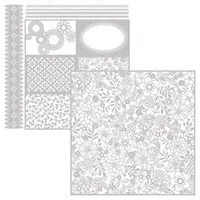
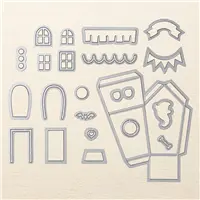
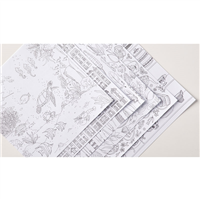
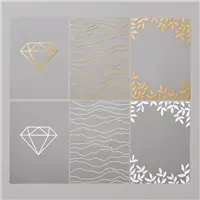
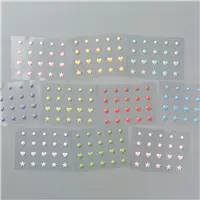
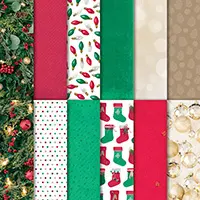
WOW … is what the stunning Delightfully Detailed Laser-Cut Designer paper does to your card when you add it to your card. You know, this would be pretty over the Vanilla paper too! Want to know something else amazing about this designer paper? It’s Whisper White on one side and Very Vanilla on the other … how cool is that!?

This delicately detailed laser-cut sheets can easily be cut apart and used as accents on card fronts. So pretty and so much fun, I know you’ll think of amazing cards with this paper… just switch out colors and switch out your greetings and you’ll be set for any occasion … oh, weddings would be pretty too!
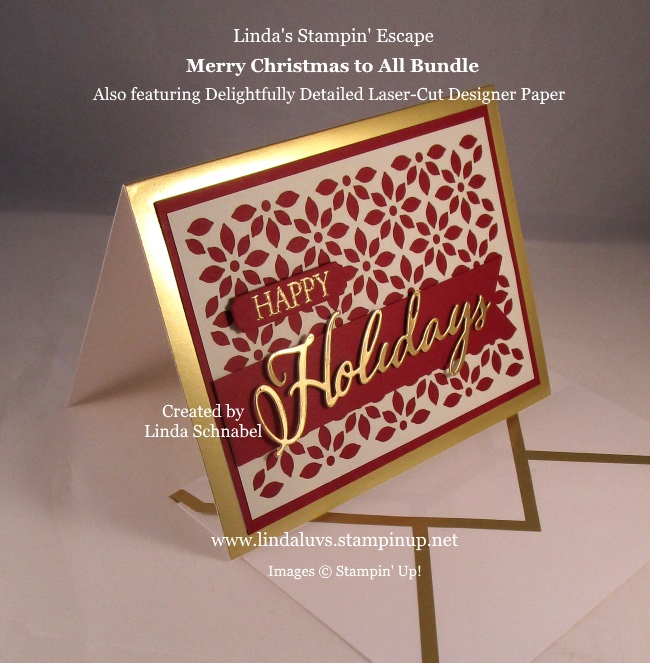
I did put a banner on this card to highlight my greeting so it would “pop”. I used glue dots to attach it but I had to roll them so they would be skinny … that helped hide them and lifted the greeting up to create some dimension. Simple can be stunning!
I thank you for stopping back and I hope your have a wonderful week.

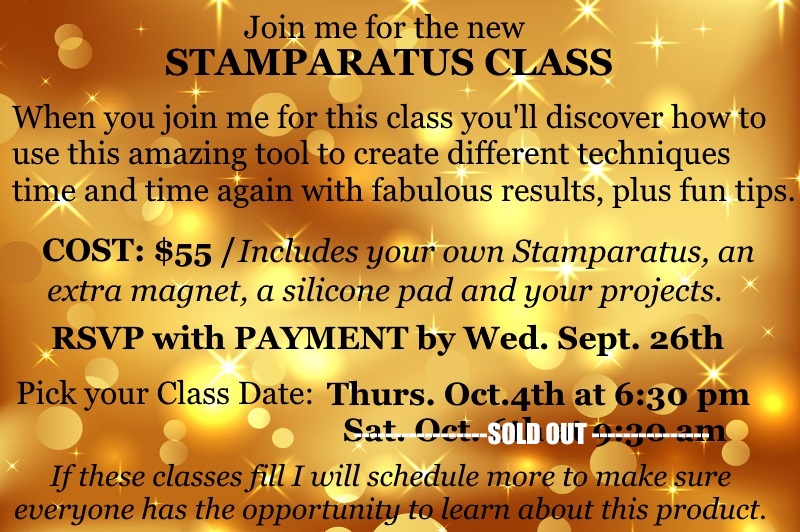
My Saturday Stamparatus Class is SOLD OUT but I have room left in the Thursday Night Class. Payment will have to get to me by this Wednesday so I can purchase your Stamparatus for class.
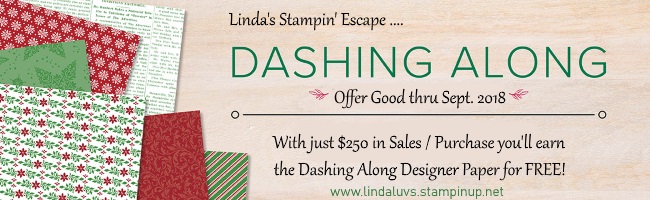
There is still one week remaining in our Dashing Along Promotion …
TODAY’S STAMPIN’ SUPPLY LIST …