Hello Stampin’ Friends ~
Today I’m attending the first ever On Stage event hosted by Stampin’ Up! It is the first world wide – simultaneously presented event … Cool Right! Last night the leaders met … we were greeted by the friendly staff, presented our bags (filled with goodies) and then found more goodies at our table! The sit down meal was wonderful and the presentation inspiring! Can’t wait to see what’s in store for us today!
Oh, by the way … Our Milwaukee event (remember they are world wide) has the “MOST” attendee’s in the U.S.! Way to rock it Milwaukee!!
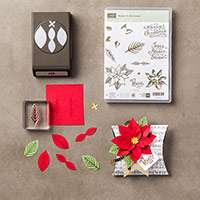
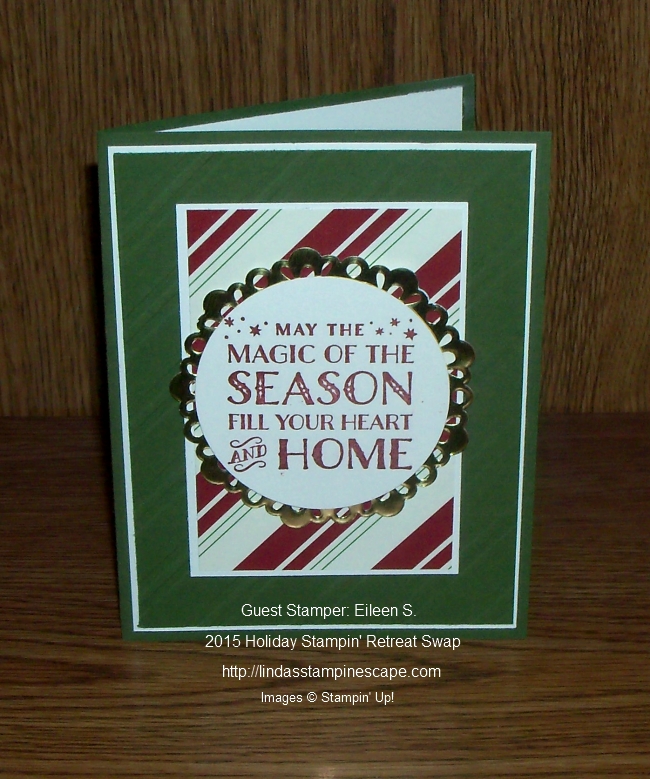
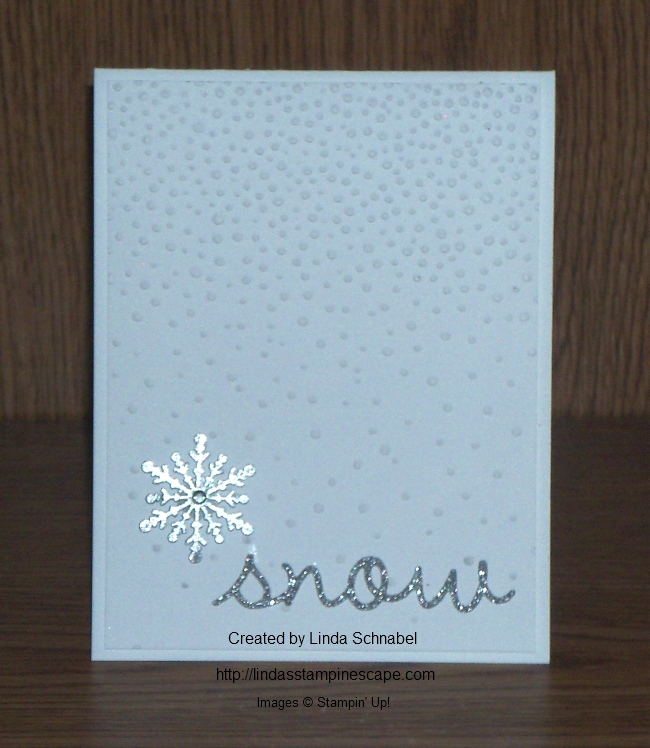
Today … I am sharing a cute 3-D project created by Stampin’ Up! that you can also find on my website in the Ideas section … I too have many projects saved there for you. To see more CLICK HERE
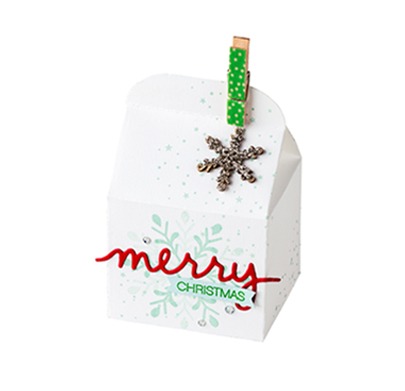
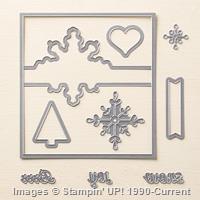
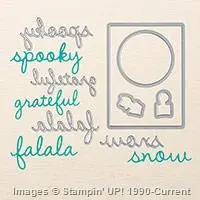
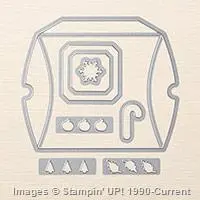
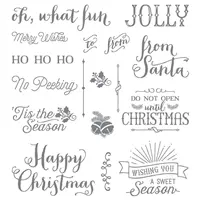
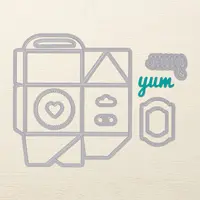
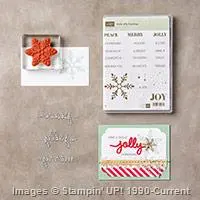
It was created with the “Bakers Box” Thinlets and Whisper White cardstock. The pretty snowflake was stamped in Pool Party and comes from the “Holly Jolly Greetings” stamp set. The “Merry” is created from the “Christmas Greetings” Thinlits Dies which “BUNDLE” with the stamp set. LOVE the Bundles!!
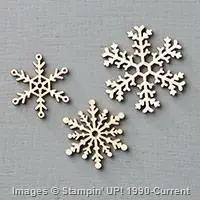
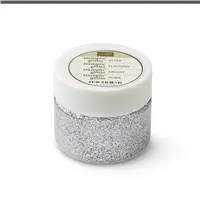
To finish off this cute little box … a Snowflake Element, Silver Stampin’ Glitter, and rhinestones were used to create that just right wintery look!
I thank you for stopping by and I’ll be back tomorrow with a bit more news from our On Stage event and another great project!
Have an awesome day!

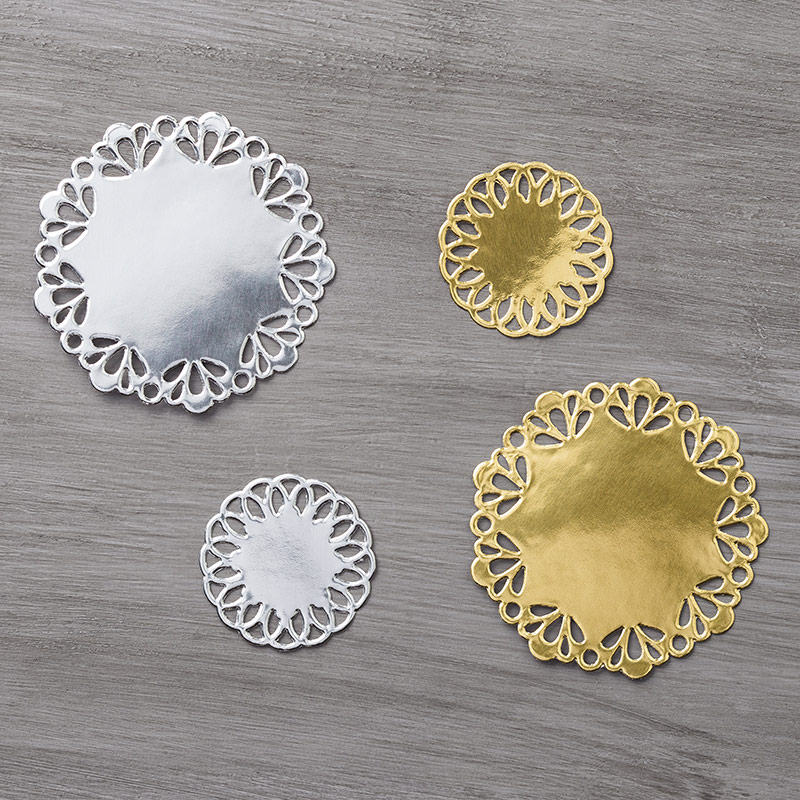
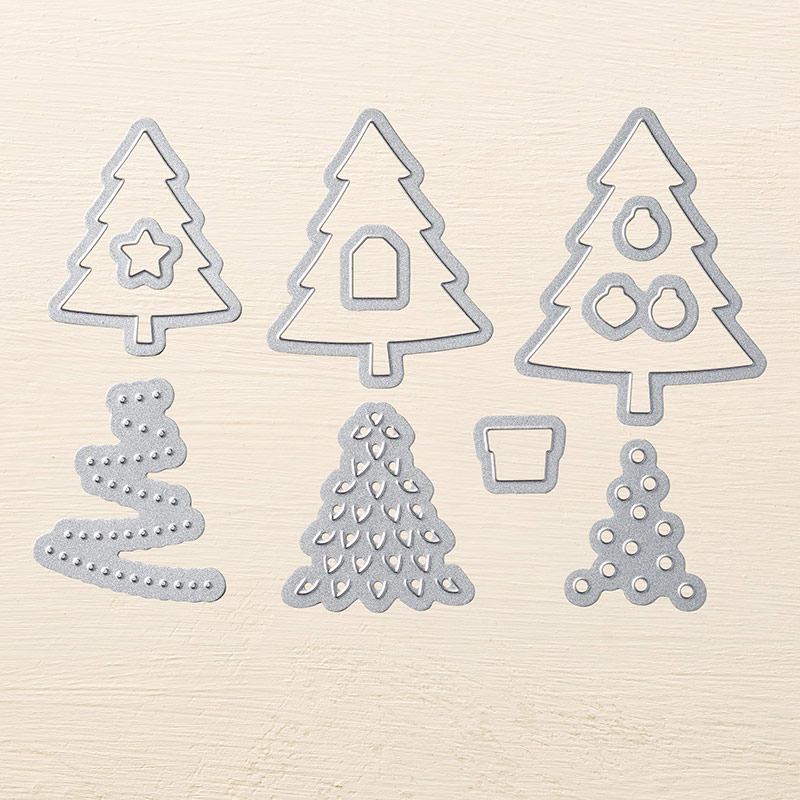
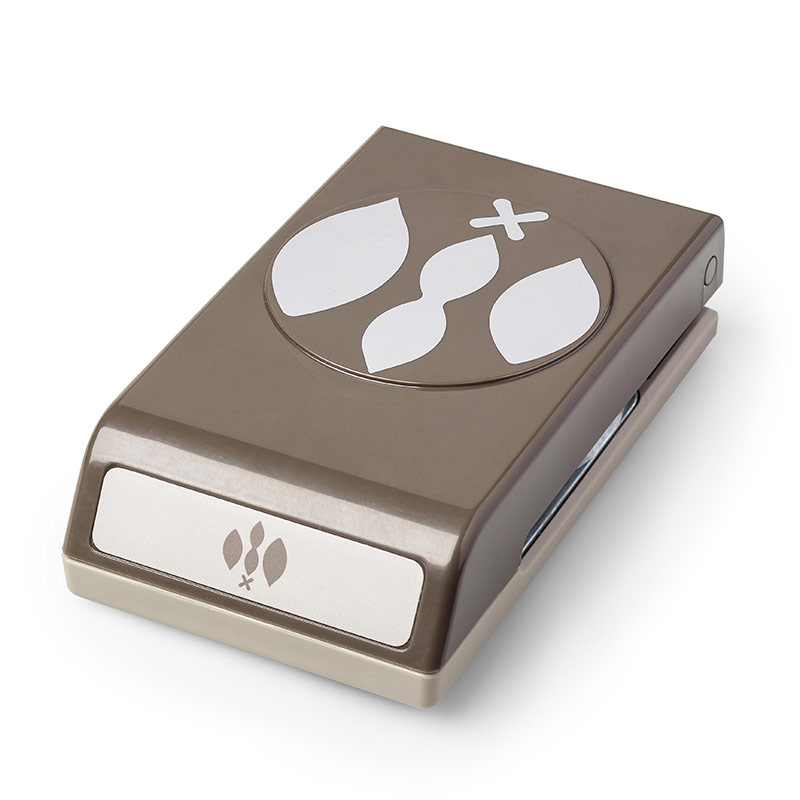
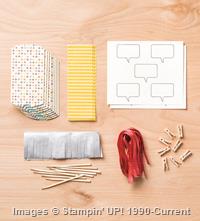
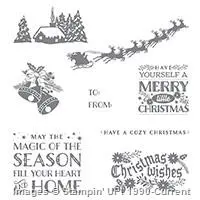
TODAY’S STAMPIN’ SUPPLY LIST …


Built for Free Using: My Stampin Blog