Hello Stampin’ Friends ~
If you’re ready to make a bold floral statement in your paper crafting, then the Extraordinary Flora Washi Tape is your new best friend. This isn’t your average skinny washi — at a generous 3-¼″ wide, it’s like a watercolor garden unfurling right on your cardstock. The tape is a feast for the eyes, alternating between dreamy pinks and purples in the same botanical motif, which gives you double the creative possibilities in one roll. It feels vibrant, lush, and completely show-stopping.

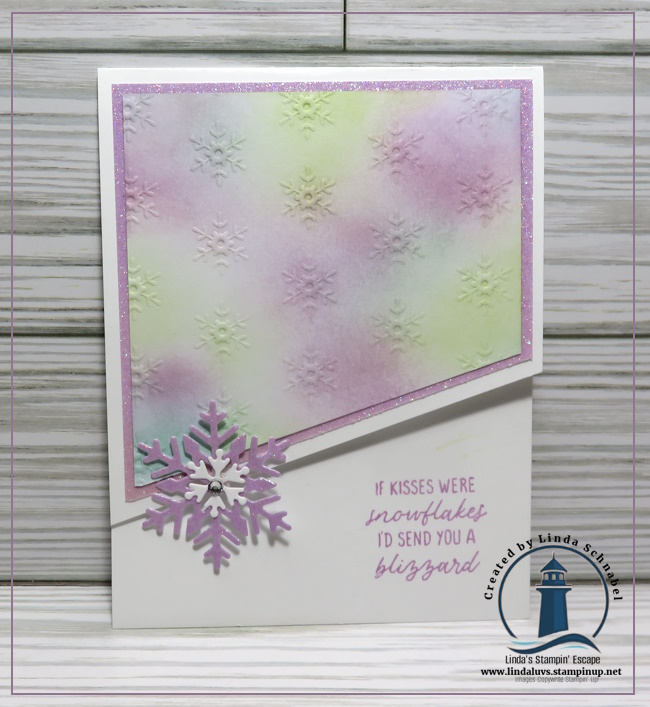
What I love most is how instantly it transforms even the simplest card. I applied a strip of this gorgeous tape onto Basic White cardstock — with a pop of Highland Heather behind it and the Brick embossing folder for texture and suddenly before I knew it, my “simple card” looked like something straight out of a boutique. If you enjoy quick crafting without sacrificing the “wow,” this tape is going to be your new best friend.
You can also use it for backgrounds, embellishments, gift wrap accents, planner pages, scrapbook layouts — this tape gives you enough length (a full 10 yards!) and enough artistic flair to create over and over again. It’s bright, it’s happy, and it brings the look of hand-painted art to your projects with almost no effort at all.

If you’re looking for a way to add major floral “wow” to your cards this season, treat yourself to a roll of Extraordinary Flora Washi Tape. It’s beauty, ease, and creativity all rolled into one — and I promise, once you try it, you’ll be reaching for it again and again. Let your creativity bloom big!
Thanks for stopping by today, my friends. Let your creativity bloom big!