Hello Stampin’ Friends ~
I am thrilled to share today’s card with you … it turned out so pretty! All I wanted to do was use my scraps up and make a cute card but it turned out better than I imagined. I like to wish all the Dad’s out there a Happy Fathers Day, and to the single Mom’s who do it all ❤
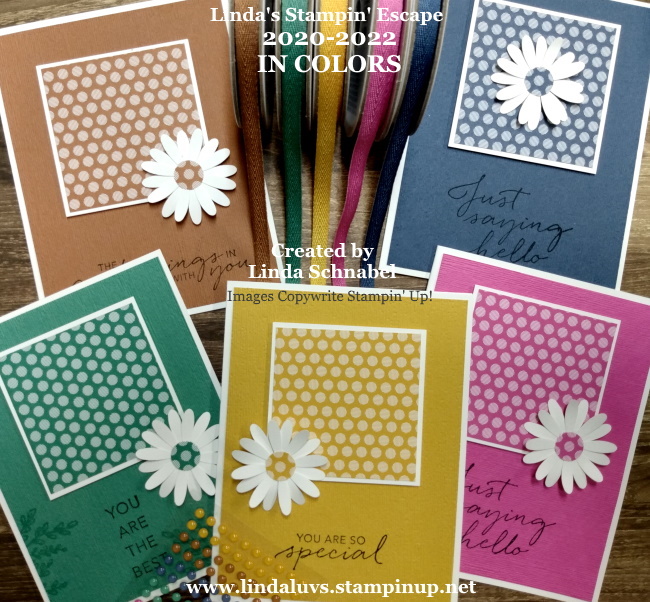
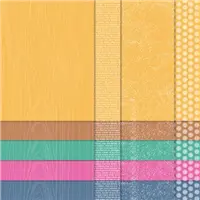
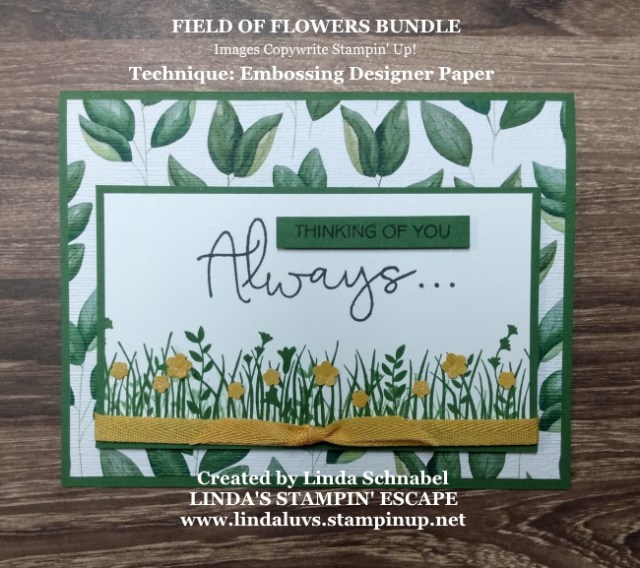
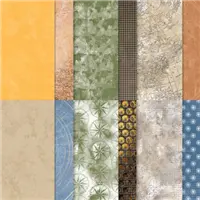
I started out with 3 strips of the Forever Greenery Designer Series paper, these were leftovers from cutting my Stampin’ Club cards. The designer paper made it easy to decide my color theme: Garden Green and Soft Sea Foam! The Garden Green was used as a mat for the designer paper, and the Soft Sea Foam was the base of my card.
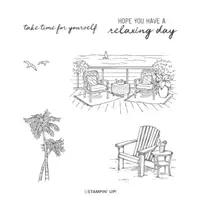
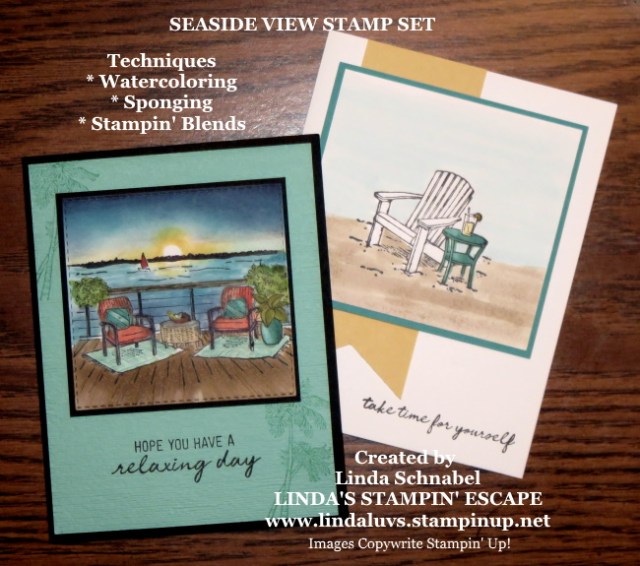
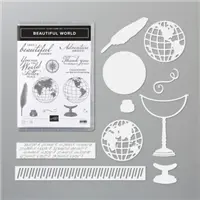
Once I laid out the designer paper, I knew I was going to use the Medium Daisy punch but I needed to add a greeting … this I would create with the Triple Banner Punch in my color scheme. The sentiment comes from the Seaside View stamp set. I showcased this stamp set on June 14th … Click Here to view.
I wanted something inside my Daisy so I chose the Gold Glitter Dots …

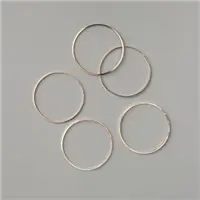
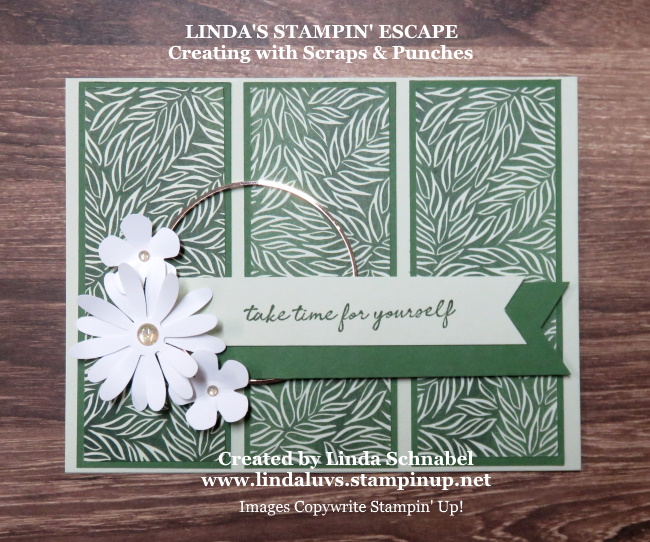
The glimmer dots were not as big as I thought, but they worked … however my sentiment and banner were a little big for one little daisy so I added two small flowers from the Small Bloom Punch. I added one more embellishment to tie everything together … and it took the whole card to the next level!! Let me introduce you to the new Gold Hoop Embellishments!
Don’t you agree? The simple Gold Hoop brings together the flowers, the sentiment and helps create a focal point the makes the designer paper shine!

Simple … and easy to make does not mean your card has to be plain. Remember, this just started with a couple of pieces of leftover designer paper.
Thank you for hanging out with me this Sunday. I hope you have an amazing day!! Meet me back here tomorrow … I have more new goodies!

Here is a list of supplies that I used for today’s card. Click on any one of them for details about the product, or to begin shopping at my online store.