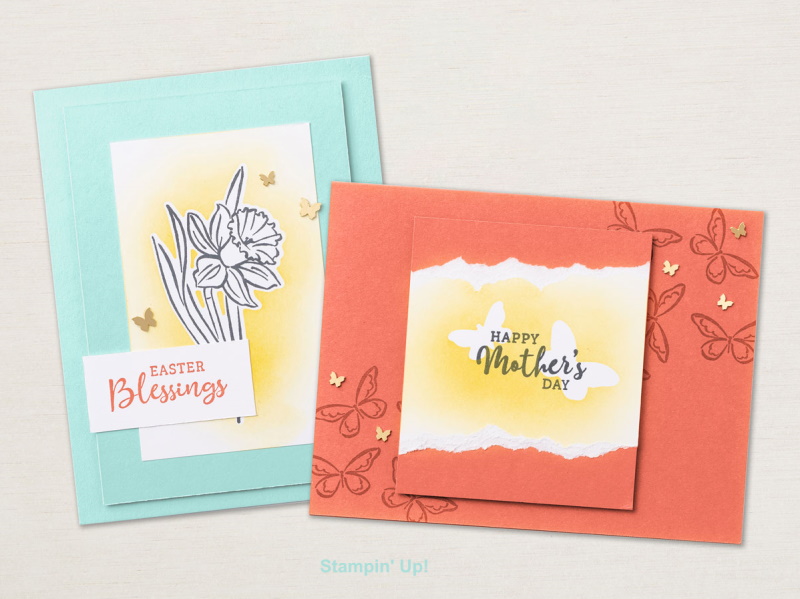
Hello Stampin’ Friends ~
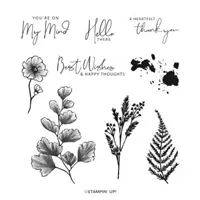
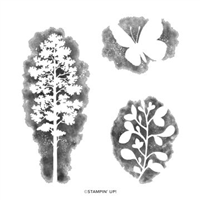
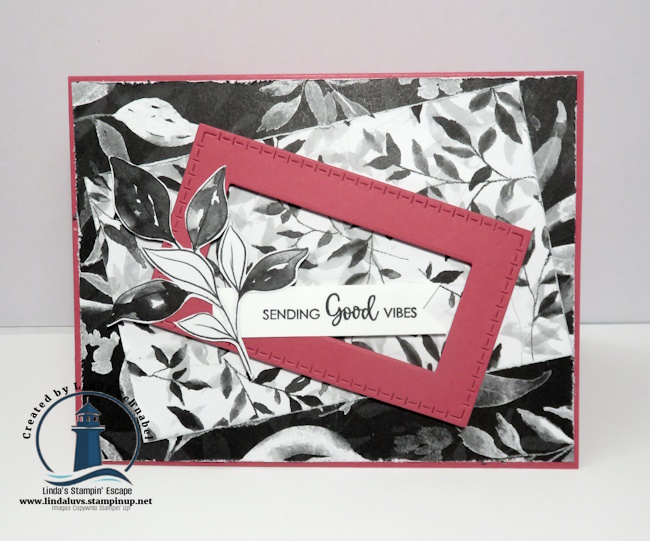
Black and white is beautiful… but wait ‘til you see what happens when we add a splash of bold color! I’ve been having so much fun with the new Botanical Textures Designer Series Paper—it’s an elegant black-and-white collection that’s just begging for some colorful creativity. When I paired it with The Right Words stamp set, magic happened. Each card came out with its own little personality: striking, meaningful, and totally frame-worthy.
In today’s post, I’m sharing three finished card designs and a step-by-step video tutorial (replay of my Facebook LIVE) showing you exactly how I made them.
Watch the video and try these three ideas today! You’ll love how easy it is to turn something simple into something stunning. Be sure to comment below which card was your favorite—or share your version using these techniques!
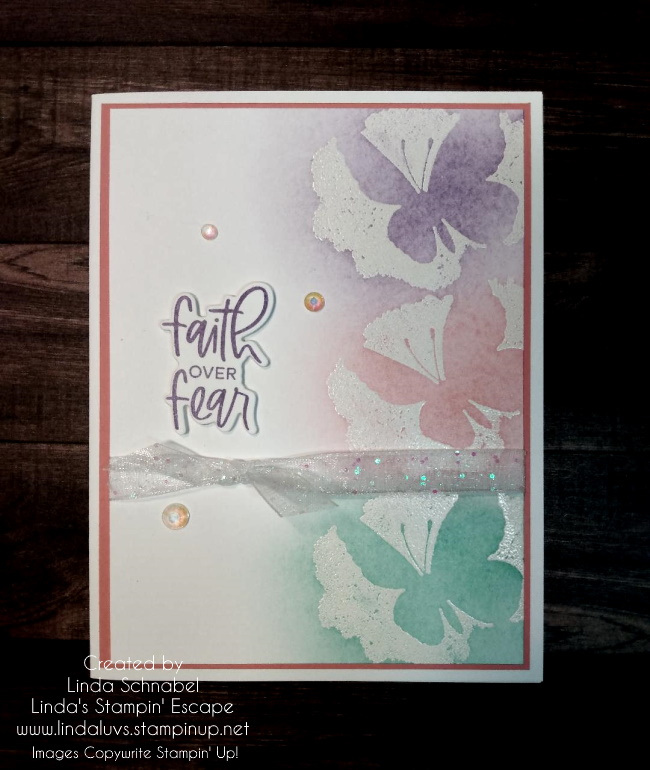
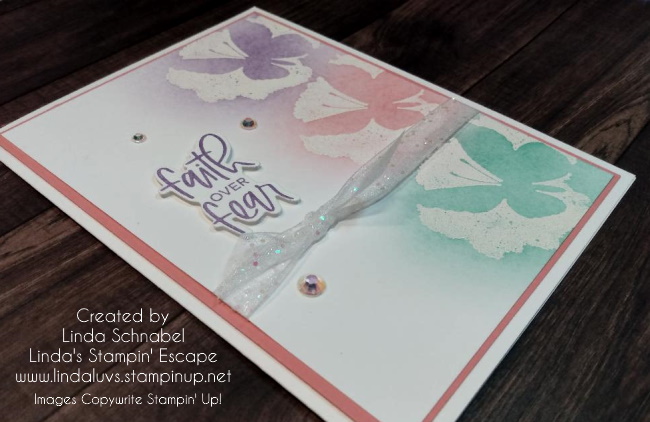
Ready to bring your black-and-white stash to life? Whether you’re a seasoned crafter or just getting started, these techniques are simple to master and endlessly customizable. How easy did you find this card to make …. just adding a POP of color with your blending brushes!

My second card just uses cardstock to add color … Strawberry Slush will always make me hungry for more stamping time!
We have another simple solution to add color to our black & white designer papers …. our fabulous Stampin’ Blends. These alcohol markers allow you to color with ease…. like Timid Tiger! Looks great without making it look like Halloween!

Whether you’re here for new ideas or just love playing with color, I hope today’s cards inspired you to look at your paper stash with fresh eyes. The Botanical Textures DSP and The Right Words stamp set are a dream duo—and with just a few simple techniques, you can turn any project into a handmade work of heart.
Don’t forget to check out the video again for all the juicy details, and leave me a comment letting me know which card you’d love to recreate.
Until next time… keep stampin’ and stay inspired!