Magical Snowman Card …

Hello Stampin’ Friends ~

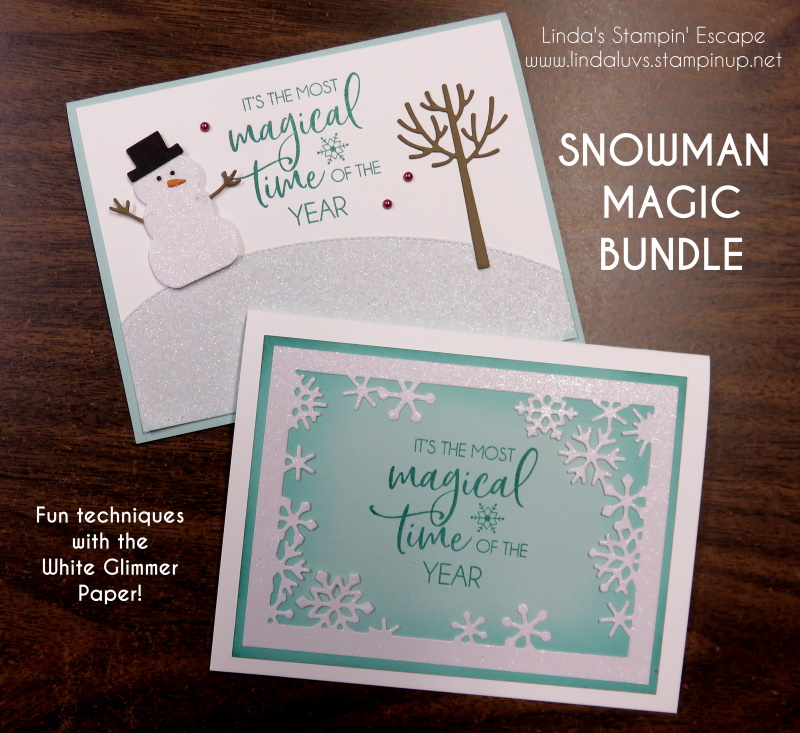
I’m excited to share a few announcements with you today, along with a video and two cards!! First I’d like to share the video of my Facebook LIVE on Saturday where I demonstrated some fun techniques using White Glimmer paper, and the Snowman Magic Bundle.

These two products make the perfect pair ….

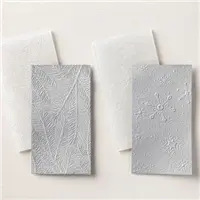
How awesome is that? Did you know that you could “dye” your white glimmer paper by spritzing it with a mixture of rubbing alcohol and ink refill? Of course we can die cut it but it was cool to see how well it takes on the shape of your embossing folders. Here is another look at my two cards.
I can’t wait to share this news with you …

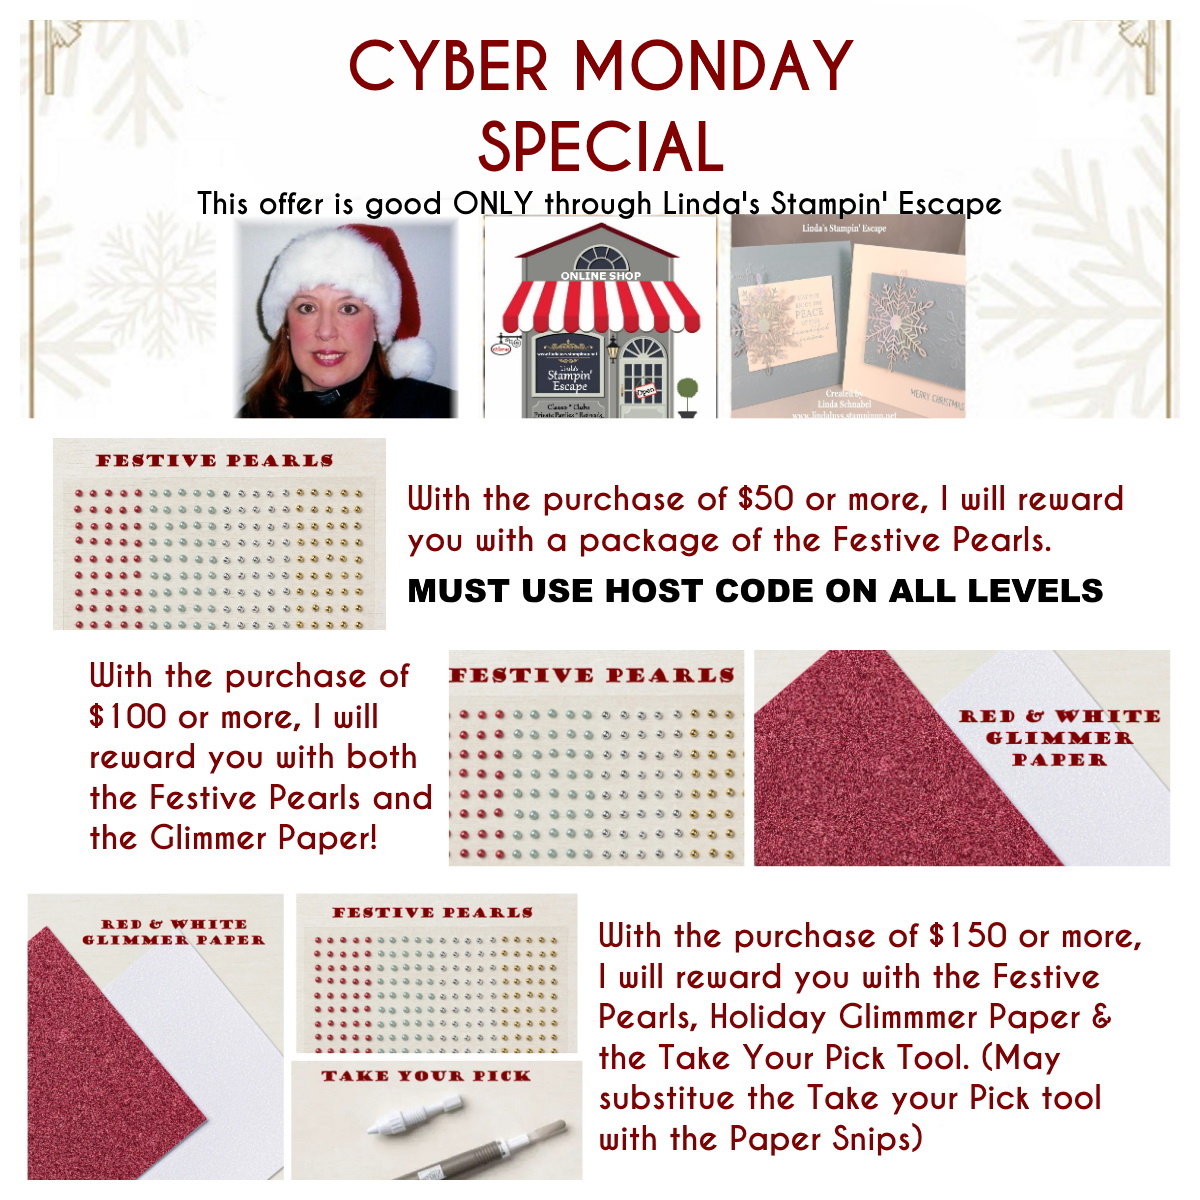
My first announcement is that I have held open my Small Business Saturday promotion for CYBER MONDAY!! You can get in on the same FREEBIE’s as my Saturday guests with a qualifying purchase. It’s a great way to “Gift” yourself while you shop for the card makers and crafters on your holiday list.

Here is the LINK for your shopping convenience:

https://www.stampinup.com?hostcode=9RCR9JKT

✨ YOU MUST USE THE HOST CODE TO QUALIFY FOR THE REWARDS.
NOW …

My final announcement is an invitation for you to join me beginning Tuesday, November 29th as I kick off my 12 DAYS OF CHRISTMAS series

During my 12 Days of Christmas, I will highlight some of my favorite products from the upcoming LAST CHANCE List. That’s right … these amazing products will be retiring and only available while supplies last. I will post that LAST CHANCE List tomorrow along with our first of 12 highlighted products!

Thank you for joining me today …

Hope to see you tomorrow as I kick off my 12 Days of Christmas!

Here is a list of the products I used to create that cards shown here today ….
Simply Sunday: Simple Glitter Fun

Hello Stampin’ Friends ~

Yesterday I did a couple LIVE demonstrations on my Linda’s Stampin’ Escape Facebook page, and on my first stamp session I highlighted the “Red & White” Glimmer paper that is in the Mini Catalog. It is also one of the FREE Gifts I was giving away with orders placed during my Small Business Saturday event.

Here are the two cards that I made during my presentation. With just 1-1/2 sheets of Basic White cardstock and one 6″ x 6″ sheet of the Red Glimmer we created two simple and oh so cute cards ….

I also incorporated the Festive Pearls and Take Your Pick tool which were also FREE with a qualifying purchase during our Small Business Saturday celebration. So …. Grab a cup of coffee or your favorite beverage and join me for the short video replay of yesterday’s LIVE presentation.

I hope you enjoyed the video and how easy these cards were to make. They are perfect layouts if you are in a rush to get your Christmas cards done.

Thank you so much for joining me today.

Enjoy your Sunday!

Here is a list of supplies that I used for today’s cards ….

The Light of the World Card

Hello Stampin’ Friends ~

I hope you had a beautiful Thanksgiving and had time to spend with loved ones. I enjoyed my time with family as well.

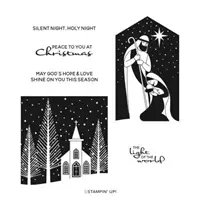
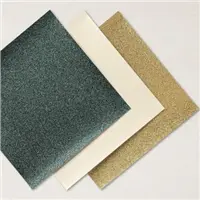
Today I have a beautiful card to share with you that I created using the Peace to You stamp set. It is a simple yet stunning card done in Blackberry Bliss and the new Pearlescent Specialty Paper and a touch of Gold.

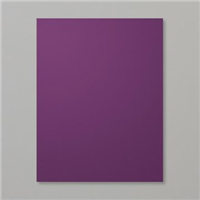
The cardbase is in Blackberry Bliss … a regular A2 size (8-1/2″ x 5-1/2″ scored at 4-1/4″) and then you’ll need a 5″ x 3-3/4″ piece, embossed with the Wintry 3-D embossing Folder. It adds the perfect touch of texture to your card and looks beautiful with the pines on Peace to You stamp set.

Between the two layers of Blackberry Bliss, you will use a piece of Gold Foil paper cut to 5-1/4″ x 4″ which will tie together with the beautiful gold embossed church.

You will be embossing the Church image onto a piece of 3-1/2″ x 3-1/2″ of the Pearlescent Specialty paper … such a stunning combination! I did the same with the greeting and then die cut them out with the Layering Circle dies. As I said, simple yet stunning card that is sure to impress your recipient.

I want to Thank You for taking time out and stopping by today.

Here is the list of supplies that I used to create today’s card ….

Join me tomorrow for more details about my Small Business Saturday Celebration ….

Penguin Punch card …

Hello Stampin’ Friends,

Hoping to be back on track … slowly getting better after Covid kicked my butt this week. On that note, let me share something a lot more FUN! I have another SWAP Card from my Fall Holiday Retreat.

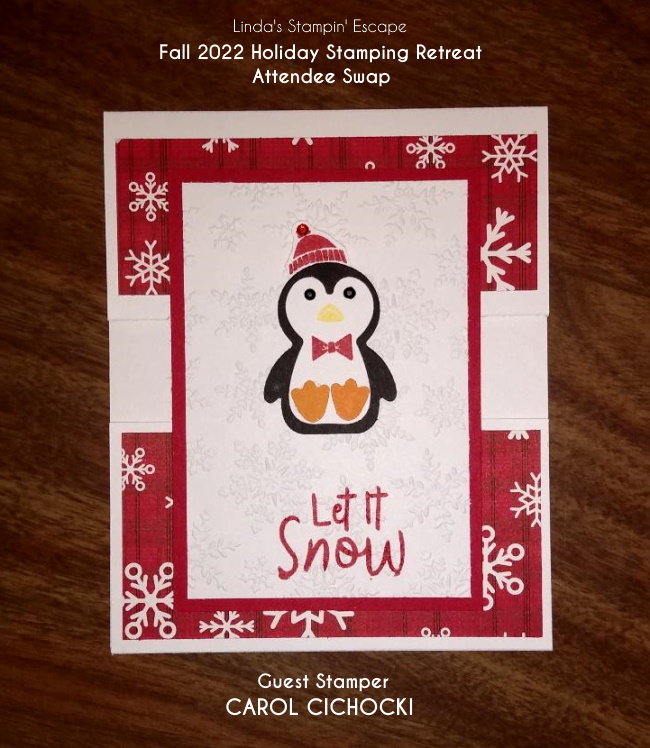
This swap was from one of our first time retreat attendee’s Carol Cichocki …

This cute holiday card features the Penguin Builder Punch and a Fun Fold! Carol used the Split Panel card / technique. It’s pretty simple. You cut your card stock base 7-1/2″ x 4-1/4″ and score it at 5-1/2″ Then you cut your bottom panel. You can cut it any size you wish, just make sure you leave enough for an opening in the middle.

The front panel can also be cut to your desired size … you can place it in the middle like Carol did, or off to either side to add a dramatic flare. This card is simple to do and fun to create.

Hope you don’t mind that I’ll be keeping these posts short and sweet for now, until I get back up on my feet again.

You have a great day and stay healthy!!

Window Wishes Christmas Card

Hello Stampin’ Friends ~

Sorry I missed you yesterday however I was busy packing up all my Holiday Retreat Card Kits, products and more for our stamp room … don’t want to forget anything!! On that note, I have a very special card for you today, created by one of the members in the design team I belong to. This card highlights the Window Wishes bundle.

This card was inspired by the sample on page 71 of the July-December Mini catalog…

Measurements: 

  • Card Base: Thick Basic White 4 ¼ x 11, score at 5 ½.
  • Cardstock #2: Window with Basic White 3 x 4 ¼, scraps
  • Designer Paper #1:  Festive Foils 4 ¼ x 5 ½, Storybook Gnomes scrap 2 ½ x 3 ¾

Begin by adhering the Festive Foils Designer Paper to the front of the card base. Using the Brick & Mortar embossing folder, emboss your white cardstock and then die cut it using the Window dies. Cut the Storybook Gnomes piece with the window frame in order to get the insert.

Stamp the tree in Early Espresso on the designer paper.  Stamp the house in Real Red and the roof in Soft Suede ink on Basic White scraps.  Cut these out with the corresponding dies and glue to the designer paper.  Using the piece of white that you saved cut a strip along the bottom for the snow and add.

Stamp in Real Red the saying over the top of the window frame. Turn the frame over and the designer paper.  Use scotch tape to tape the pieces together.  Turn back over to the front and glue in the window insert piece.

Use 2 of the Wonderful Snowflakes to add interest to the card front.  Cut the snowflakes in half.  Add in places so that they will be around the window.  You’ll have one of the halves left over.  I taped them in place under where the window will be.  Use the window to help determine placement before you adhere the window.

Add the window to the center of the card with dimensionals. Make a bow of Linen Thread.  Add to the card with a glue dot.

Stamp Merry Wishes in Real Red on a Basic White scrap.  Trim on each side of the saying.  Make a notch at one end using Paper Snips.  Cut up in the middle of the end. Now cut from each corner to the top of the middle cut.  Add dimensionals to the back of the label.  I used some of the side of the pack with the smaller dimensionals.  Do not put any right at the very end.  Put that part over the bow so all will lay straight.

Send to someone special for Christmas! Thanks for stopping by today ~

Christmas Cheer Gnome …

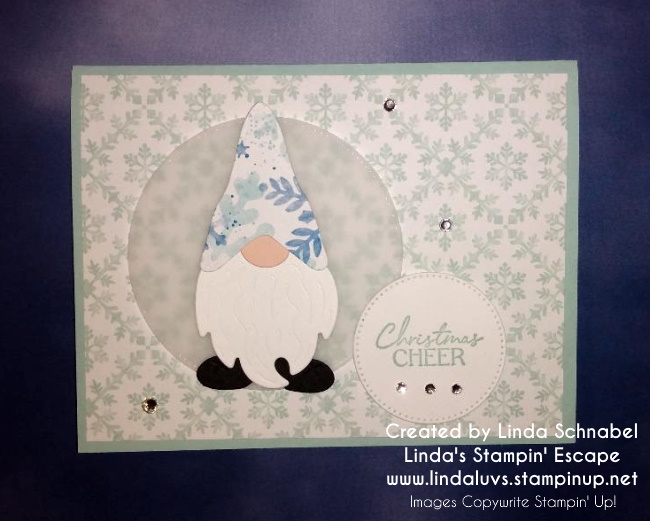
Hello Stampin’ Friends ~ Woo Hooo it’s finally Friday and I am looking forward to the weekend, I’m sure you are too! Today I’d like to share one of the cards we made in my Stampin’ with my Gnomies class.

It’s a fun and easy layout that highlights the Gnome … this one is die cut and put together. His hat and the background comes from the Storybook Gnomes designer series paper. The “Christmas Cheer” greeting comes from the Sweet Candy Canes stamp set and was die cut using the Stylish Shapes dies … I found them to be very versatile and use them a lot!!

The Vellum cardstock was also die cut from the Stylish Shapes … then they were popped up using the Stampin’ Dimensionals. To finish off the card, I added some Basic Rhinestones for a bit of sparkle and shine.

Thank you so much for stopping by my blog today.

Have a great weekend ~

A Sparkling Stunner!

Hello Stampin’ Friends,

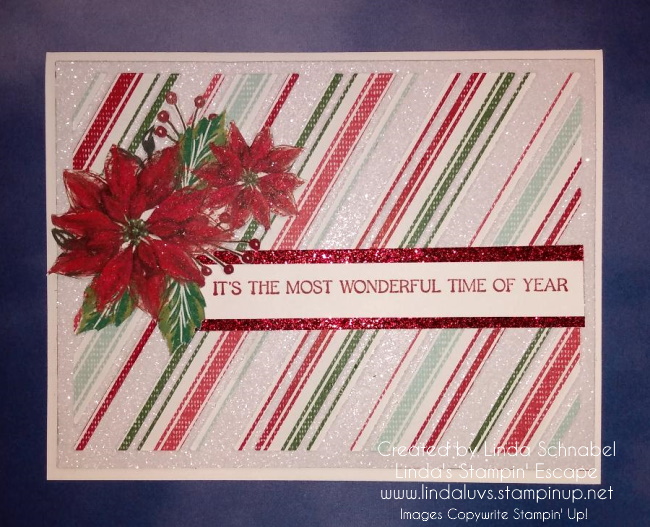
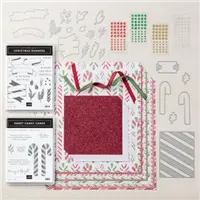
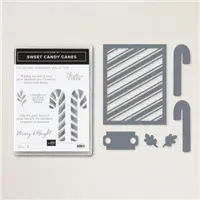
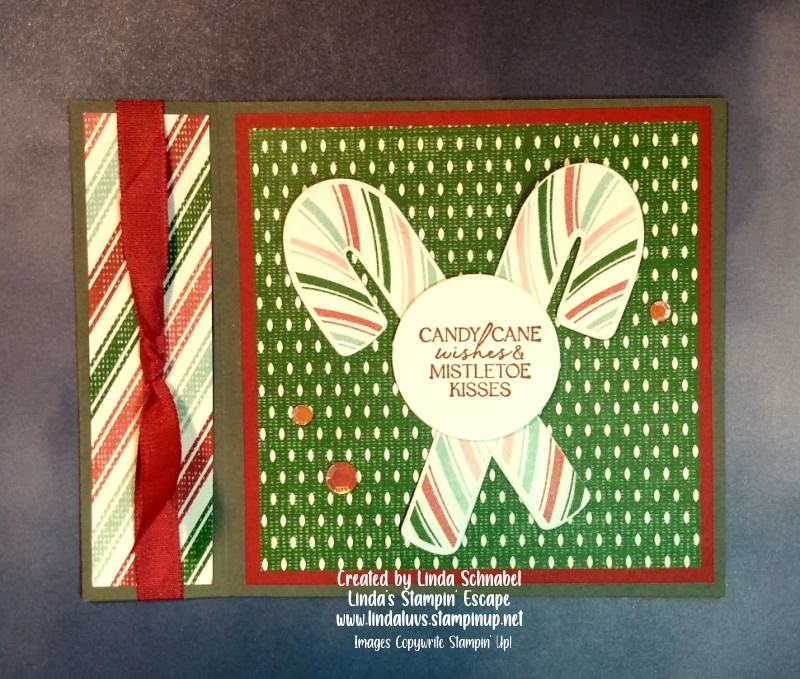
I’m so excited to share today’s card with you, it is a sparkling stunner and the amazing part of it … these were all left-over pieces from other cards!! Let me begin with the Sweetest Christmas Designer paper with the diagonal stripes …. it was just sitting in a pile of cut paper when I noticed the White Glimmer Paper I had die cut using the die from the Sweet Candy Cane Bundle. Well, little did I know that they layered together really nice!

I knew that I wanted to use the pretty poinsettias from the Boughs of Holly Designer paper and had some left over, so I fussy cut one out and framed my greeting. My greeting comes from the Sweet Candy Cane bundle which is part of the Sweetest Christmas suite … I stamped that with Real Red on (you guessed it) a piece of scrap paper. Then I found the strip of Red Glimmer paper so I tucked it under my greeting … WOW.

I decided to pop up the poinsettias to give the card more dimension (the die cut gives it a lot of texture). If you didn’t think there was enough sparkle … I added Wink of Stella to the poinsettia flower. This is definitely a card for our glitter lovers, and those who desire the tradition red and green colors!!

I have more left overs … so you never know what you’ll see next!! Thank you so much for stopping by on this Saturday, I hope you have a good day!

Here is a list of the supplies that I used to create this card. You can click on any item to start shopping for you can CLICK HERE and use the monthly host code & get in the the drawing!

Is is Christmas Yeti?

Hello Stampin’ Friends ~

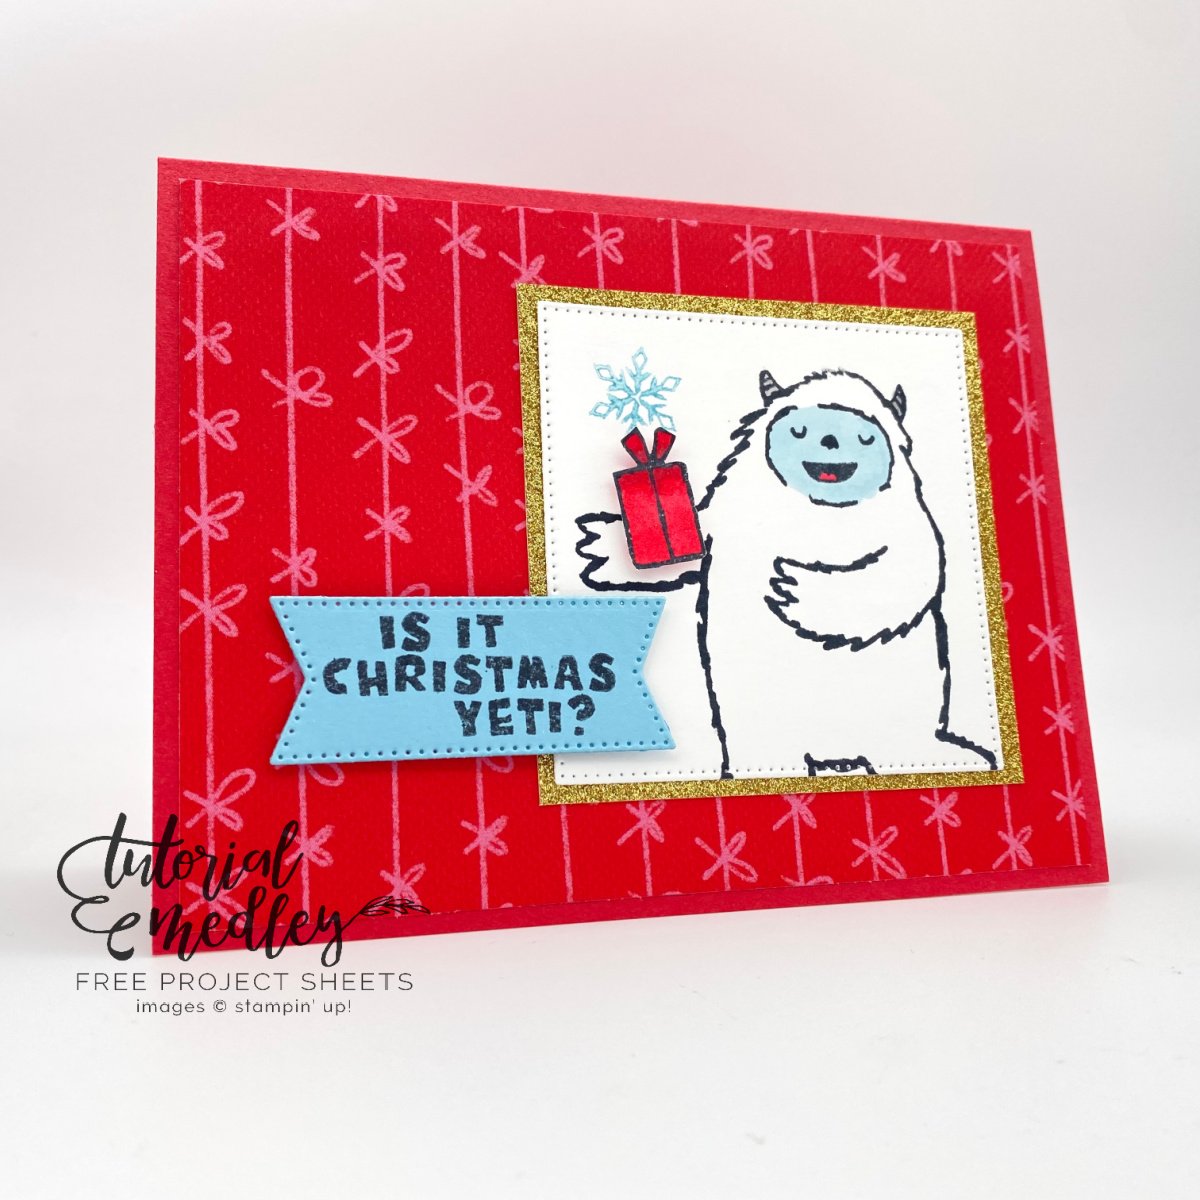
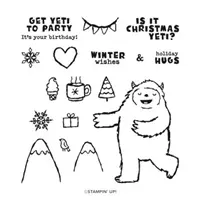
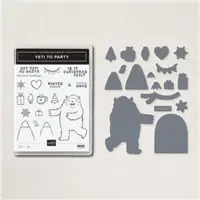
Today I have the cutest card from the Yeti to Party stamp set. It was created by one of design team members and I couldn’t resist sharing it with you today… Is is Christmas Yeti? It sure feels like it! We have “frost advisories” … What? It’s only Septemburrrr!! lol

This fun and easy card is so festive and cute, it’s sure to put a smile on anyone’s face …

Measurements: 

  • Card Base: Sweet Sorbet- 5 ½” x 8 ½”
  • Cardstock #2: Basic White- approx. 3” x 3” and a small scrap piece
  • Cardstock #3: Balmy Blue- 2 ½” x 1 ¼”
  • Designer Paper #1: Glimmer Paper- 3” x 3”
  • Designer Paper #2: Celebrate Everything- 5 ¼” x 4”

You’ll begin by scoring the card base at 4 ¼” and folding it in half. Add the Celebrate Everything Designer Series Paper to the card front . Die-cut the largest stitched square from the Stylish Shapes Dies in Basic White cardstock and stamp the Yeti on the square in Memento Black ink. Then, stamp the snowflake in Balmy Blue. (Tip: The snowflake was stamped off to get a lighter look)

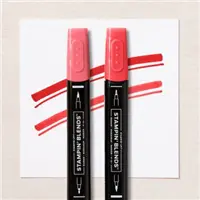
Next, color the Yeti’s face, horns, and tongue with Stampin’ Blends. Then, attach the Yeti square to the glimmer paper square using liquid glue, then add it to the front of your card.

Die-cut a Balmy Blue banner from the Stylish Shapes dies and stamp the sentiment using Memento Black ink. Add the sentiment to the card front using Stampin’ Dimensionals.

Lastly, stamp a present on a scrap piece of Basic White using Memento Black ink. Color the present using Stampin’ Blends in Sweet Sorbet. Add the present to the Yeti’s hand using one Stampin’ Dimensional. Decorate inside as desired.

Easy … Quick …. Cute! That’s the makings for a great Christmas card.

Thanks so much for stopping by. Have a wonderful day.

Here is a list of supplies used to make this card ….

Book Binder Fun Fold Card featuring Sweet Candy Cane Bundle …

Hello Stampin’ Friends ~

If you missed last night’s LIVE Facebook presentation, I will be sharing it with you today, along with close-ups and dimensions shared in the video. The Book Binder Fun Fold is so easy to make but gives you that special touch of fun … and it works great with any occasion!!

Let’s take a look at the video and then I will share the measurements for the card…

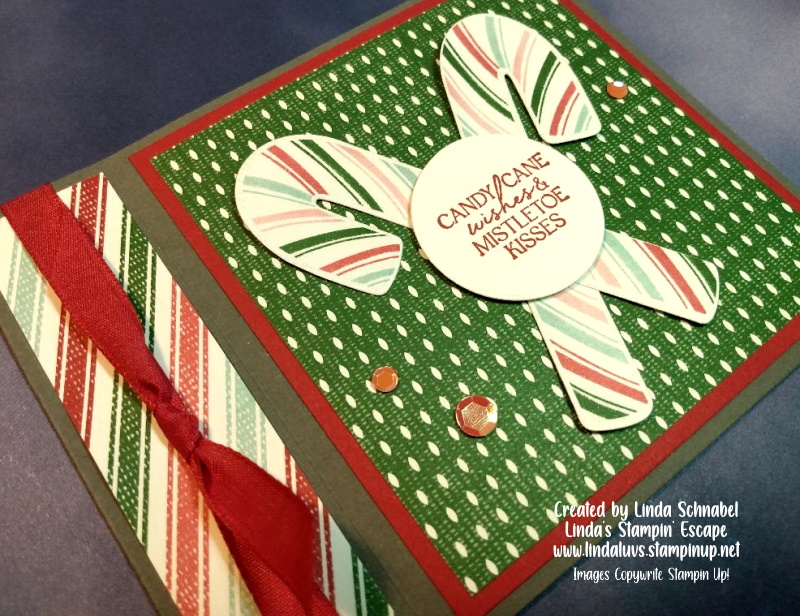
So cute and easy … right! One piece of cardstock, two score lines and some adhesive and you can create the Book Binder Fun Fold. This bundle makes it easy to stamp and die cut your way to “sweet” Christmas cards and treats!

Measurements:

  • Card Base: 11″ x 4-1/4″ then score at 5-1/2″ and 6-3/4″ … the adhesive goes between the 5-1/2″ and 6-3/4″ score lines to create the “binder”.
  • Real Red Mat: 4″ x 4″
  • Designer Paper or White (for inside): 3-3/4″ x 3-3/4″
  • Binder Designer Paper: 4″ x 1″

The layout to this card is so simple that you can use it for any occasion … I’ll share more with you later.

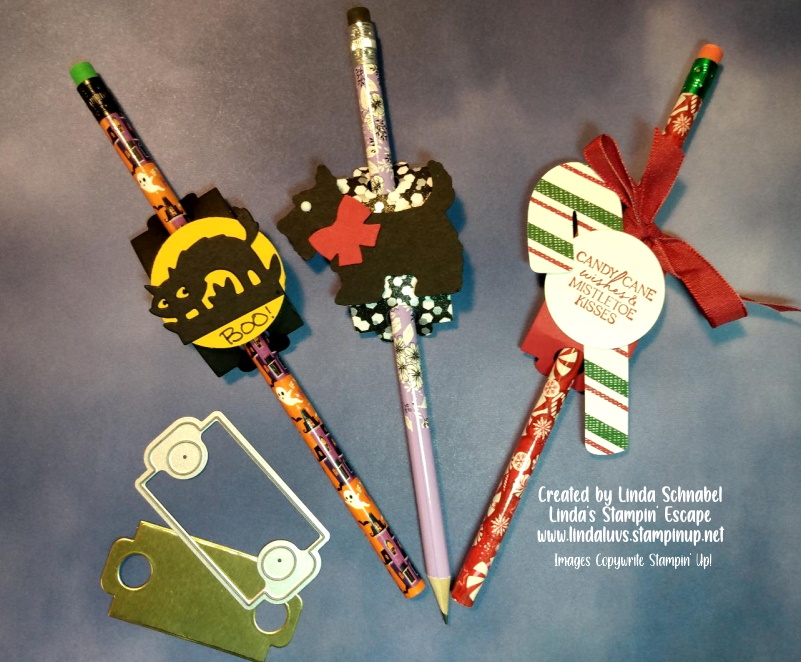
In the Sweet Candy Cane bundle I showed you that one little die that creates a little “wrap” for candy canes but I wanted to share what else you could use them for … non-candy treats / gifts!!

Talk about a quick and easy little gift to give … and inexpensive. I used scrap pieces to cut my little wraps out and the pencils were from the $$tore! I think there are about 8 pencils in each pack, and they always have them for special occasions.

I hope you enjoyed the fun fold and the little treat wraps today. I’ll be back to share more of these with you.

Thank you so much for joining me today, and to those who watched me LIVE last night.

Have an amazing Wednesday ~

Here are the supplies that I used to create today’s Book Binder Fun Fold. If you do not have a demonstrator, I’d be happy to serve your stamping needs. Thank you.

Yeti to Party Card ..

Hello Stampin’ Friends ~

Happy Saturday!! A few days back I shared my version of a card that I cased from the catalog. It was my challenge from my Design Team I’m on … so today I thought I would share another card with you that features the same layout! (The Original card CASED was the “Hello, Baby” card in the upper right-hand corner on page 46 of the Annual Catalog)

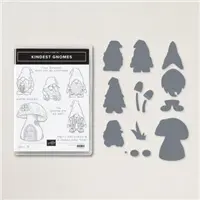
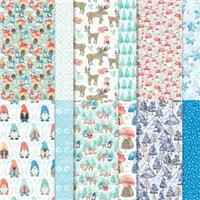
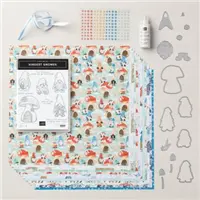
He’s so cute … isn’t he? I liked the layout so that is the card I chose. I decided to swap out the Happier than Happy Bundle for the Kindest Gnomes bundle. I couldn’t resist the pretty Storybook Gnomes Designer paper that would be the backdrop for my cute little gnome.

So today. we’re getting Yeti to Party ….
This card turned out so cute and you can see this layout is perfect for any occasion. Bonus … if you have designer paper scraps, this layout is the perfect one to use them up. Here she is using the Sweetest Christmas Designer Series paper and of course, the Yeti to Party stamp set on page 38 of the July / December Mini Catalog.

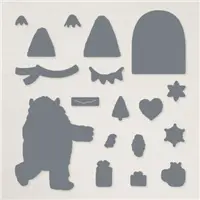
I’m thrilled to tell you that Stampin’ Up! has created a die set for the Yeti to Party and can be found with the Perfect Partners promotion during September ONLY.

If you would like the PDF for my Gnome card … just comment below and I’d be happy to send it to you!

Thank you for joining today, have a great weekend.

Soft Snowflakes & Blending Brushes …

Hello Stampin’ Friends ~

Yesterday I shared a beautiful card that was quick and easy to create using the beautiful Snowflake Specialty Vellum, today I’m sharing one with the flocked snowflakes and blending brushes.

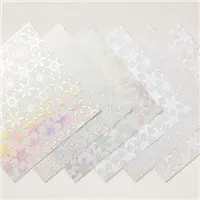
Here is a close up of the stunning Snowflake Specialty Vellum …. three sheets have iridescent patterns and three are flocked in white.

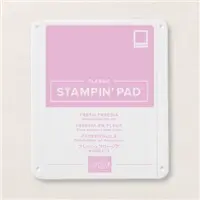
The flocked paper is so elegant and soft and is beautiful in white, but I wanted to give it a special touch, so I brought out my blending brush and used the soft pastel color; Fresh Freesia.

The blending brush leaves a soft hue of color on the vellum but the flocked snowflakes grab a little more so you get a beautiful two tone effect. This technique will be a favorite for those that enjoy a more “non-traditional” card.

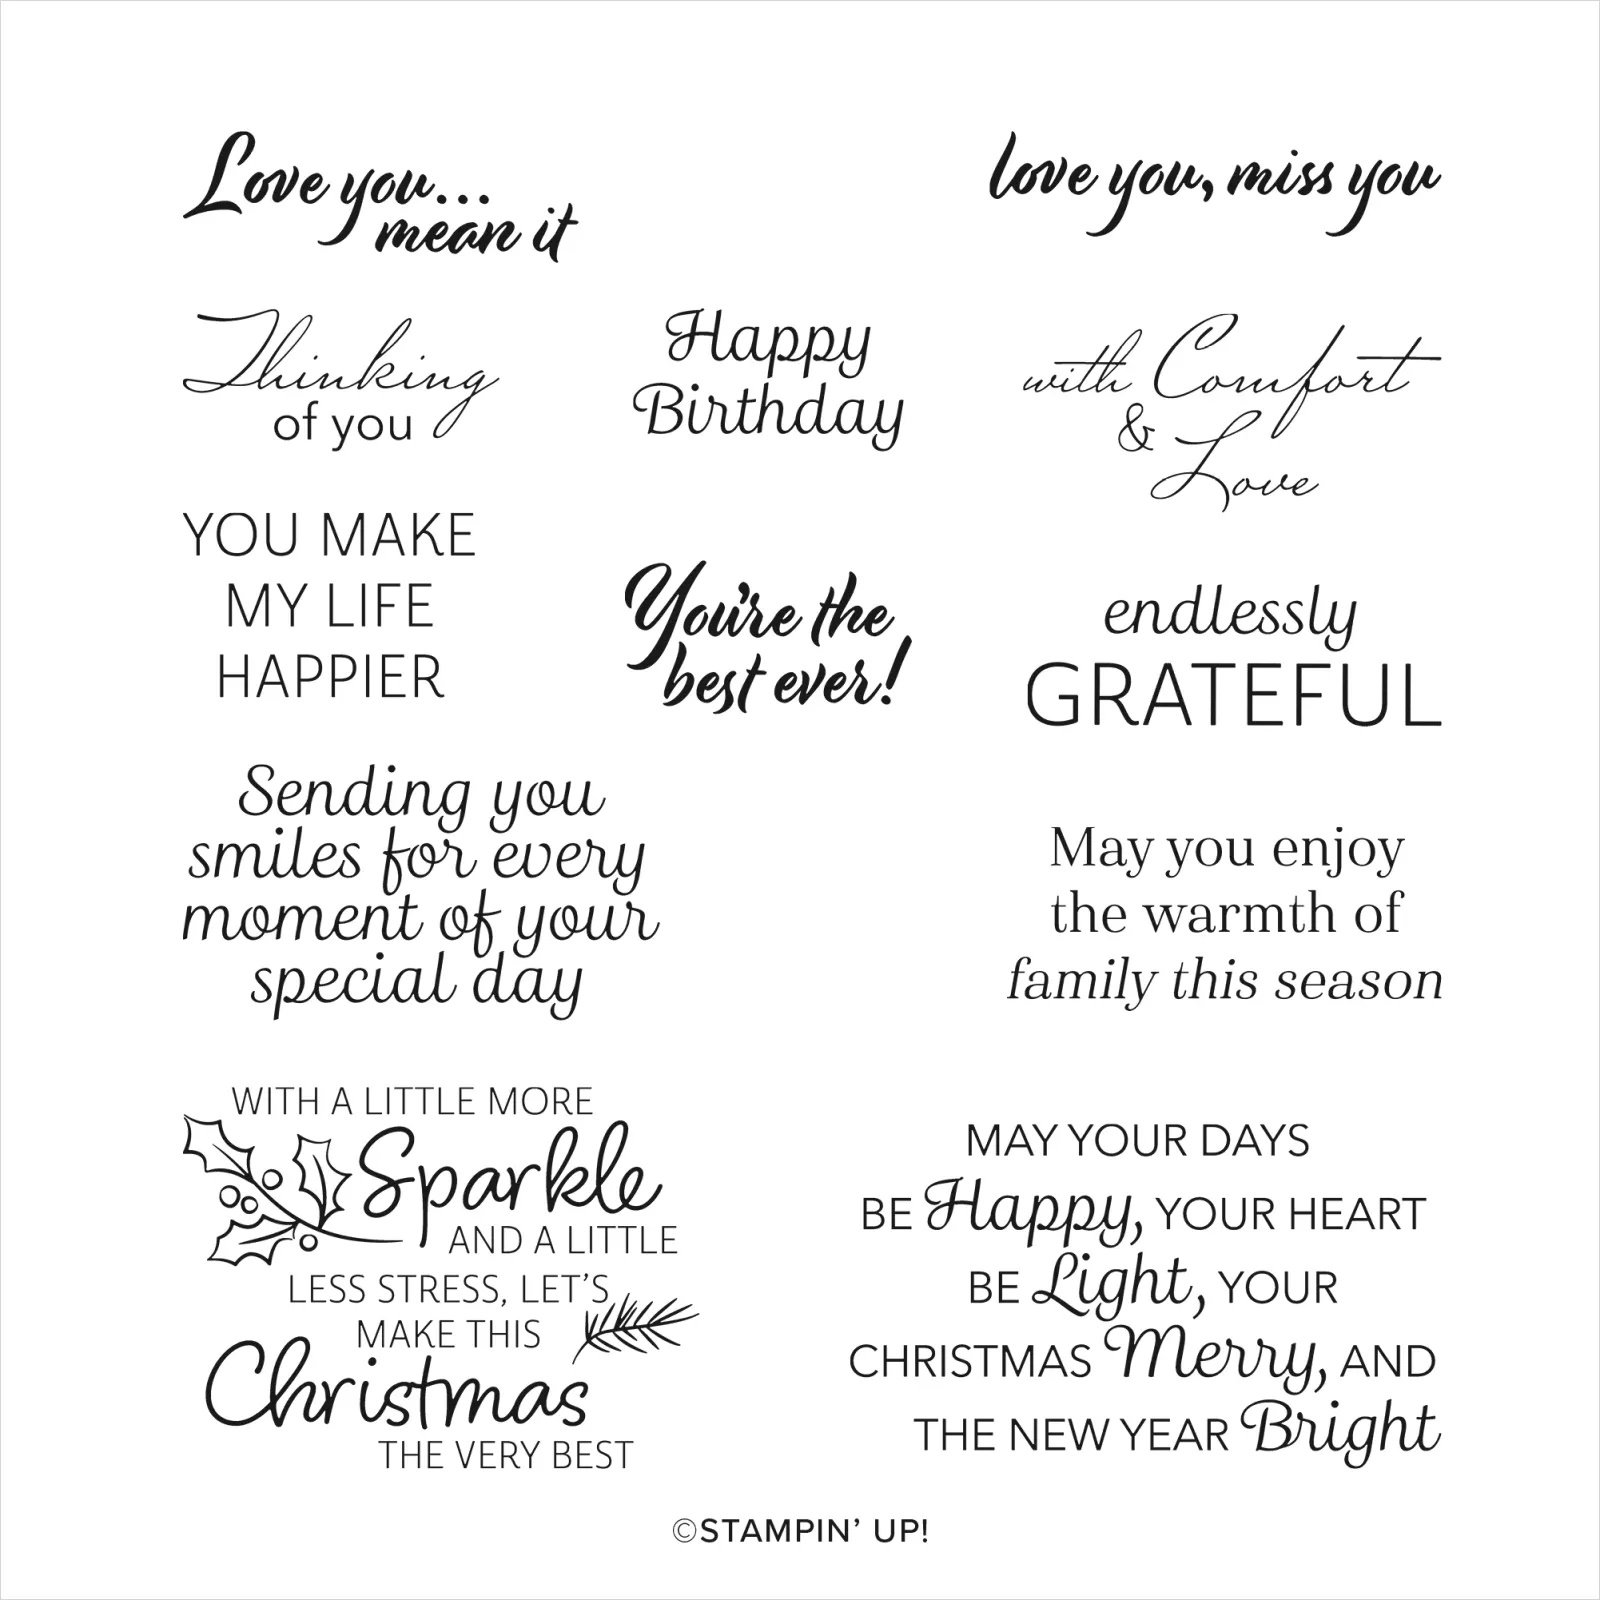
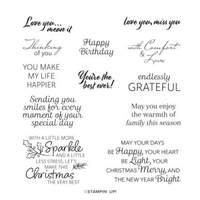
The sentiment for today’s card also uses the Very Best Occasions Stamp Set …. and like I said yesterday, if you do not have this amazing stamp set in your collection, you are going to want to add it to your collection.

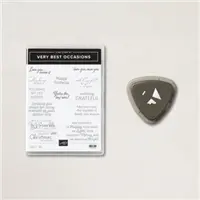
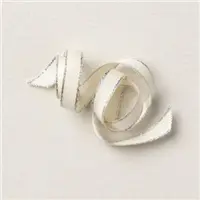
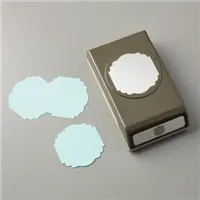
The Very Best Occasions Stamp set is part of a bundle which includes the Very Best Trio punch. That is what gave my greeting the cute edges you see … with a quick push of the punch. To complete my card I added the Silver Metallic Edge ribbon. Imagine creating these pretty cards in any of your favorite colors … oh yes!

Thank you for stopping by today…. Hope yours is a good one.

Here is the list of ingredients I used for today’s beautifully quick & simple card ….
Simply Sunday: A Little More Sparkle

Hello Stampin’ Friends ~

Today I have a quick & easy and very pretty Christmas card that will add a Little More Sparkle and Shine into the lives of your friends and family when they receive this handmade card from you this holiday season.

Just some cardstock, the beautiful Snowflake Specialty Vellum, the Very Best Occasions stamp set, a punch and your ink (oh yes, I also used the new Metallic Woven Ribbon) and you can create a stack of beautiful cards.

Let’s being with the stunning Snowflake Specialty Vellum ….

You’ll add a touch of elegance to your winter crafts and creations with the Snowflake 12″ x 12″ Specialty Vellum. This unique paper includes three different snowflake designs in white vellum and iridescent foil—that’s six different papers to get creative with!

We got that professional touch with ease by layering the snowflake vellum on our Night of Navy card front and backed by the Basic White so that the iridescent snowflakes were the highlight of the card …

The sentiment is so fun and fitting for the times, and is perfect for our handmade cards!! If you do not have this amazing stamp set in your collection, you are going to want to add it before it goes away!

If you’re looking for a stamp set that has heartfelt sentiments for just about everything, then you need the Very Best Occasions Stamp Set. These 12 versatile sentiments celebrate the Christmas season, express gratitude for family and friendships, share positive and uplifting messages, and so much more. Whether you need a simple, “With Comfort & Love,” or an upbeat, “You’re the best ever!” this stamp set has you covered.

My sentiment is stamped in the coordinating Night of Navy to match my cardbase and punched out with one of my favorites … the Label Me Lovely punch. Add some adhesive to the back and then create a little whimsy and texture by running the Metallic Ribbon back and forth before mounting it onto your card with Stampin’ Dimensionals.

Quick … Sparkly … and easy to recreate for your friends and family. I hope you enjoyed today’s card sample … the holiday season can be stressful, I don’t want your cardmaking to be.

I ❤ Simple & Beautiful. Thank you for joining me today.

Here is the list of ingredients I used for today’s beautifully quick & simple card ….

Time for Trimming the Tree?

Hello Stampin’ Friends ~

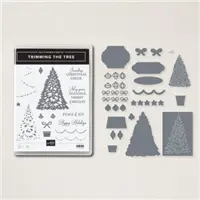
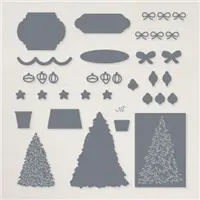
Today I have a card to share with you from the Trimming the Tree Bundle. I have the dimensions and step by step instructions! Free tutorial Friday!

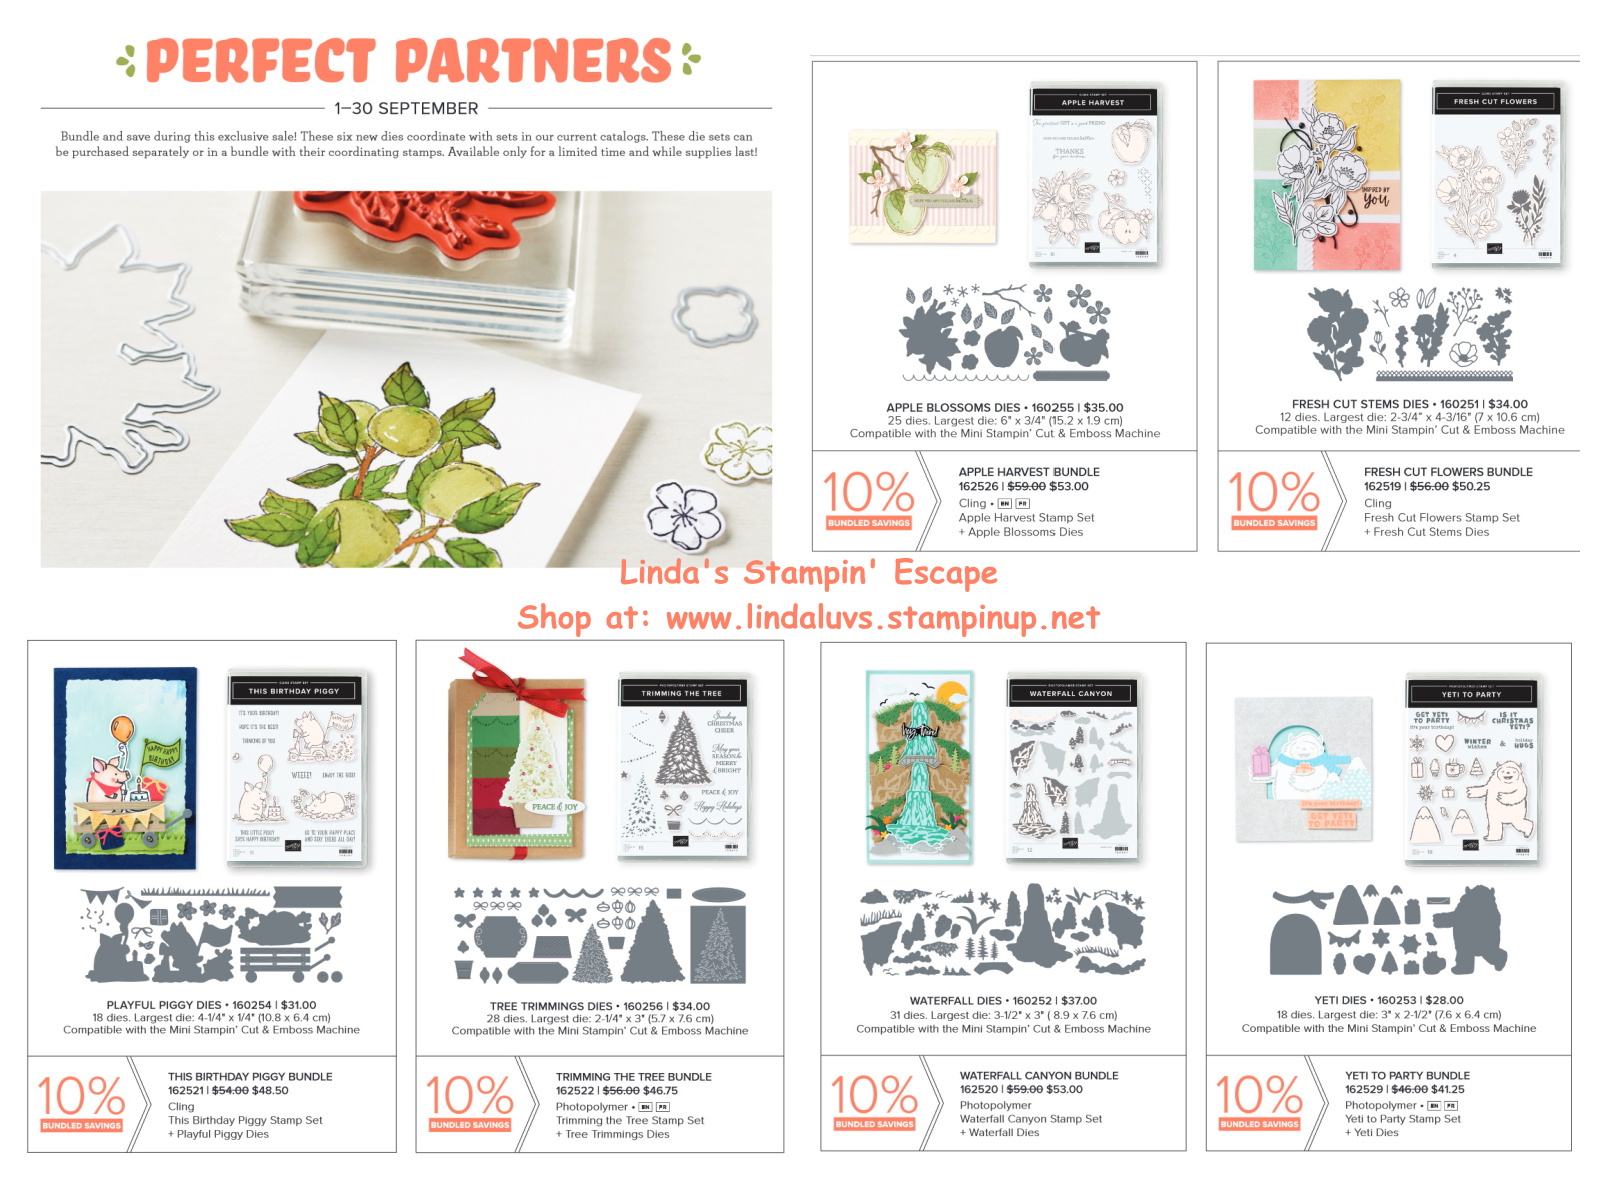
The Trimming the Tree bundle is one of the bundles from the PERFECT PARTNERS promotion … there are six new dies that coordinate with stamp sets in the 2022–2023 Annual Catalog and the July–December 2022 Mini Catalog. These coordinating dies will only be available during this promotion and will not be offered in any catalog. 


MEASUREMENTS:

  • Card Base: Thick Basic White 5 ½” X 8 ½” score at 4 ¼”
  • Cardstock #2: Painted Christmas Designer Series Paper 4 ¼” X 5 ½”
  • Cardstock #3: Real Red cardstock ¾” X 4 ¼”
  • Cardstock #4: Painted Christmas Designer Series Paper 2 ¼” X 5”
  • Cardstock #5: Gold Foil 2 ¾” X 3”
  • Cardstock #6: Garden Green cardstock: 2” X 3”
  • Cardstock #7: Basic White cardstock: 1” X 2 ½”

INSTRUCTIONS:

  • Score your card base and fold in half.
  • Attach the Painted Christmas Designer Series Paper #2 to your card front.
  • Take the Painted Christmas Designer Series Paper #4 and cut up from the bottom and from the sides creating the banner piece.
  • Attach the Real Red cardstock #3 to the backside as shown and attach to your card front.
  • Die cut the Gold Foil #5 with the tree pot, bows, star and label dies.
  • Die cut the Garden Green cardstock #6 with the Christmas Tree Die shown.

Here are the PERFECT PARTNERS Bundles with the item numbers on them along with the discount for bundling …

I also want to share the latest WEEKLY DEALS … these will be available through September 13th.

New products added each week on 8th, 15th, and 22nd of September!

Thank you for hanging out with me today. Hope your day is a good one.

Here is a list of ingredients used to make this card ….

Encircled in Warmth Card …

Hello Stampin’ Friends ~

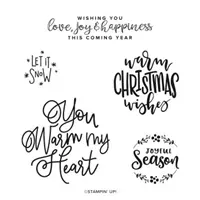
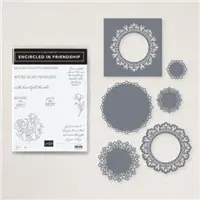
We’re kicking off another week so I thought I would start it out by sharing a very versatile group of stamps -n- dies. I’ll begin with the Encircled in Warmth stamp set that is in our current MINI Catalog which ends soon….

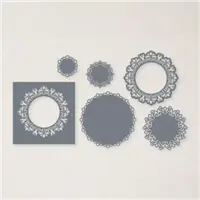
These fabulous greetings were designed to coordinate with the Encircled in Beauty Dies that you’ll find in our Annual Catalog …

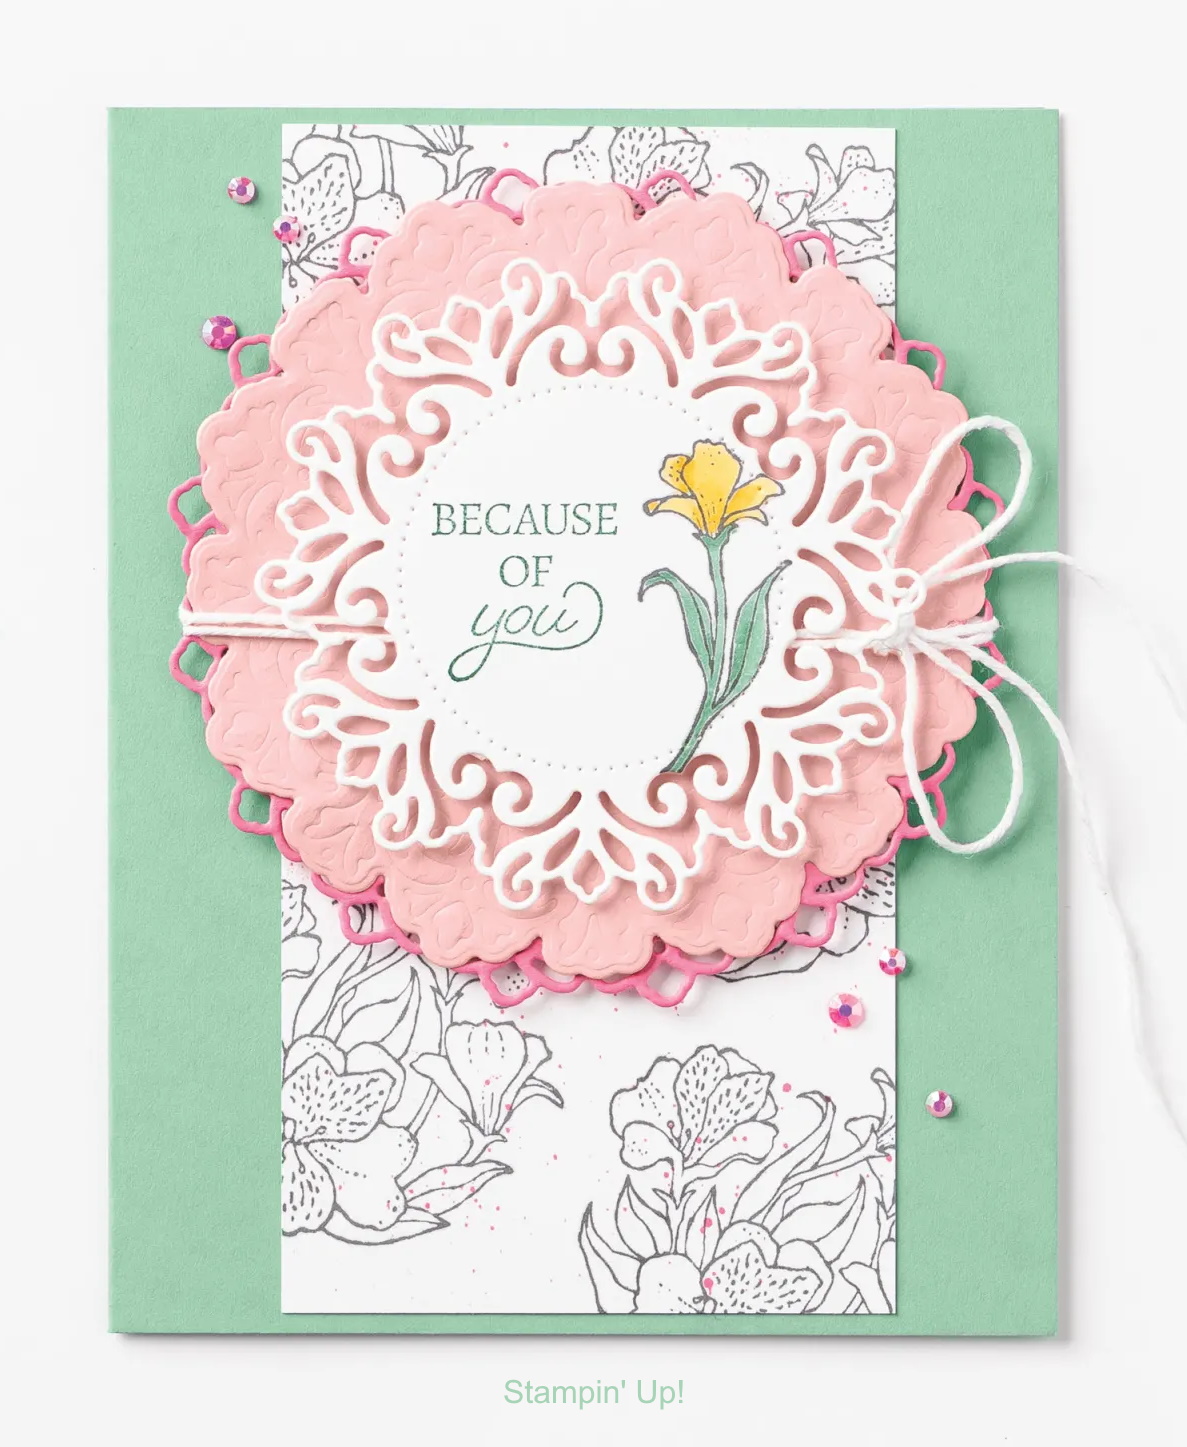
They may not look like much but wait until you start cutting out the delicate designs and layer them … there are so many different creative options, I’ll show you two today! My “Let it Snow” card showcases the Encircled in Warmth Stamp Set and Encircled in Beauty dies ….

I used the die on the bottom left (large outer die) to cut the Basic White mat, and then again with the die on the bottom left to die cut the delicate Mint Macaron pattern and layered them together. I stamped my greeting and die cut that as well.

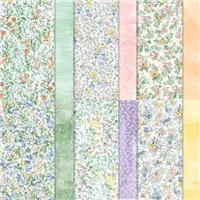
I’m using a Mint Macaron design from the Hand-Penned Designer Series Paper pack, and added texture with the use of the Wintry 3-D Embossing Folder. Although this sample has a Pool Party Ribbon … I like the White Glitter Ribbon on this card better.

Let me share the “bundle” with you …

The bundle is found in the Annual Catalog and will save you 10% when purchased together. And the Encircled in Warmth Stamp set which I used on my card is found in the Mini Catalog. All together these stamp sets and dies make up a force to be reckoned with … and can be used year round for any occasion.

Here is a card from the catalog that highlights the bundle …

So whether your making Christmas cards or a card for any occasion, this trio should be in your stamp room for easy access.

Thank you for joining me today. Have a wonderful week!

TODAY’S STAMPIN’ SUPPLY LIST … If you liked the products used in todays projects, I have links for you below. Just click on the item you would like more information on, or to begin your shopping. It will take you directly to my website. Thank you ❤

Simply Sunday: Happy National Poinsettia Day!

Hello Stampin’ Friends ~

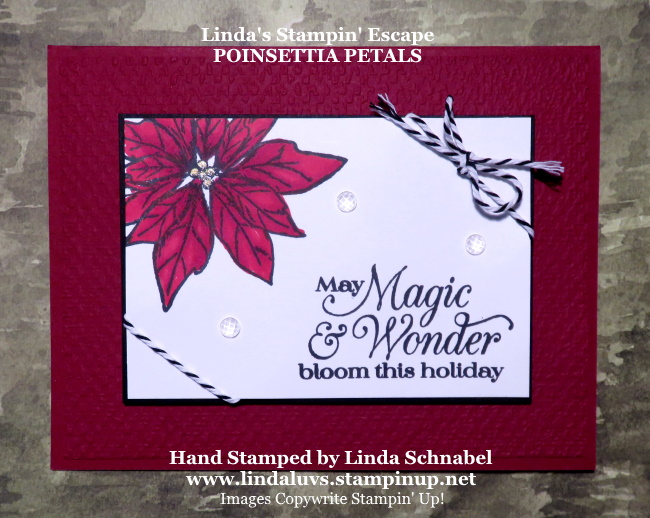
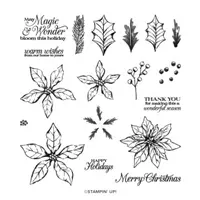
Today I have a beautiful card to share highlighting the Poinsettia Petals Stamp set. Today I began with just Stamp * Ink * and Paper …. then introduced our Stampin’ Blends to create the stunning color on our poinsettia and a little texture on the background.

The card base is Cherry Cobbler as is the piece that I textured using the Tasteful Textile Embossing folder … The texture really makes the focal point of the card pop! My Basic White stamped piece measures 4″ x 2-3/4″ and the Basic Black mat measures 4-1/8″ x 2-7/8″ … you can use 1/4″ measurements on the mat to make it easier cutting (4-1/4″ x 3″).

Next, I stamped the Poinsettia in the upper-left hand corner, and the greeting in the lower-left hand corner.

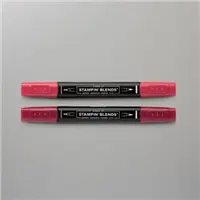
Now it’s time to color … I’m using the Dark Poppy Parade and Dark Cherry Cobbler. I color the entire petal with the Dark Poppy Parade and then use the lines in the image to color in the Dark Cherry Cobbler. They blend so easily together and give you a deep rich color (the photo does not do it justice!) Once finished, I go back with the Dark Cherry Cobbler and color just the area closest to the yellow center … this was colored with Dark Daffodil Delight and highlighted with Wink of Stella.

I finished off the card with three of my favorites, the Elegant Faceted Gems and tied it up with the Bakers Twine from the Playful Pets Trim Combo pack. Don’t ever be afraid to grab items from another bundle / suite to enhance your cards & hand stamped projects!

Thank you for checking in on me today …

Enjoy your Sunday!

TODAY’S STAMPIN’ SUPPLY LIST … If you liked the products used in todays projects, I have links for you below. Just click on the item you would like more information on, or to begin your shopping. It will take you directly to my website. Thank you ❤