Today, I’m excited to share a special card that’s perfect for Easter that I created last year but is still relative – a beautiful and simple Fun Fold that features a striking cross as the focal point. While it may look intricate at first glance, this card is actually quite easy to make, and it creates a dramatic impact when displayed. It’s the kind of card that speaks volumes with its elegant design and heartfelt message, making it perfect for celebrating the true meaning of the Easter season.
Whether you’re sending it to a loved one or displaying it in your home, this card is a beautiful reminder of hope and faith. The fold adds just the right amount of dimension and interest, while still being easy to mail or tuck into an Easter basket. I walk you through the entire process in my video tutorial, so don’t worry if you’re new to Fun Folds — I’ve got you covered!
If you’re craving a little creative time that feels easy, joyful, and totally stress-free, you’re going to love today’s Simply Sunday card. 🌸 This project highlights the Easter Time Mix & Match Ephemera Pack, and it truly is as quick as a bunny’s hop to put together. If your craft table has been calling your name—or if you just need a moment of calm—this is the perfect place to start.
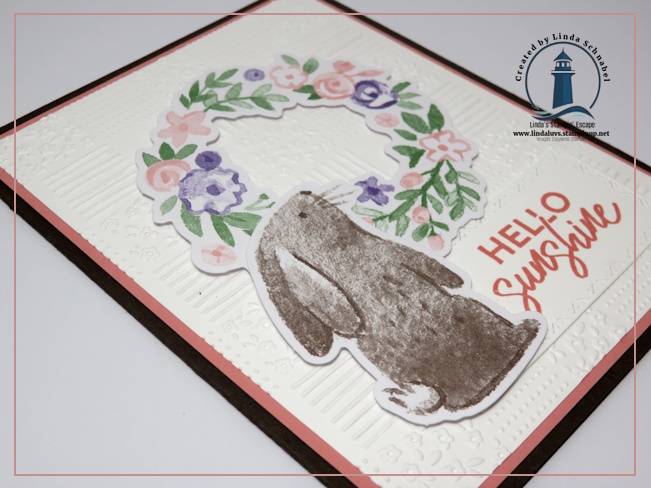
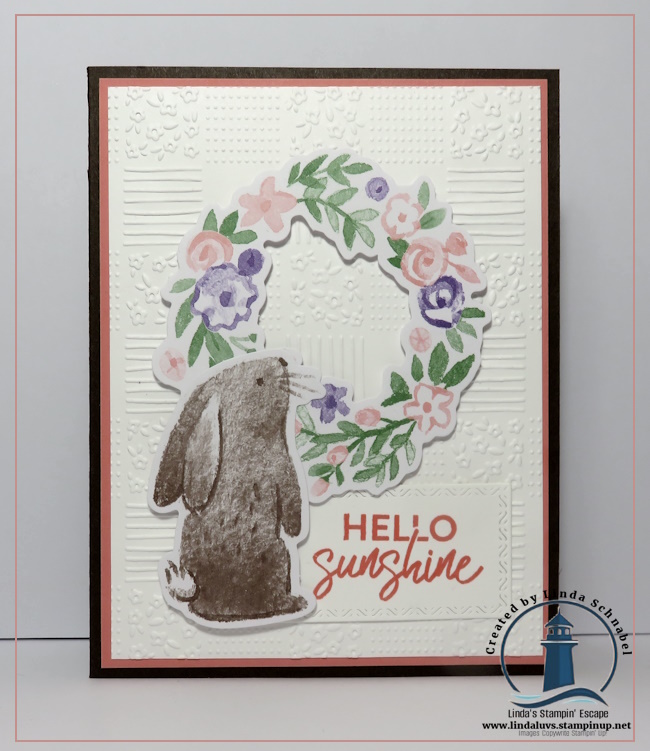
Springtime creativity comes to life with the Easter Time Mix & Match Ephemera Pack, filled with soft pastel colors and charming imagery that instantly makes you smile. Tulips, sweet bunnies, floral wreaths, classic wicker Easter baskets, and blooming water cans make mixing and matching effortless. For today’s card, I chose one of the floral wreath and an adorable bunny, letting the ephemera do all the heavy lifting while still creating a card that feels thoughtful and handcrafted.
To add texture and visual interest, I used the All in a Row Embossing Folder, which is a favorite when I want subtle structure without overwhelming the design. The beautifully embossed grid pattern includes florals, stripes, and dots with deep texture that gives the card such a lovely tactile feel. It’s one of those details that really shines when you see it in person—and makes a simple layout feel extra special. If texture is something you love in your cards, this folder is definitely one to take a closer look at.
The layers for this card are clean and classic, creating the perfect base for our spring focal point. The A2 card base is Early Espresso, measuring 8 1/2″ x 5 1/2″ and scored at 4 1/4″. I added a Flirty Flamingo mat cut to 5 1/4″ x 4″, followed by embossed Basic White at 5 1/8″ x 4 7/8″. These simple layers frame the ephemera beautifully and allow the soft spring colors to really stand out. If you enjoy designs that are easy to recreate but still have that “wow” factor, this layout is one you’ll want to save.
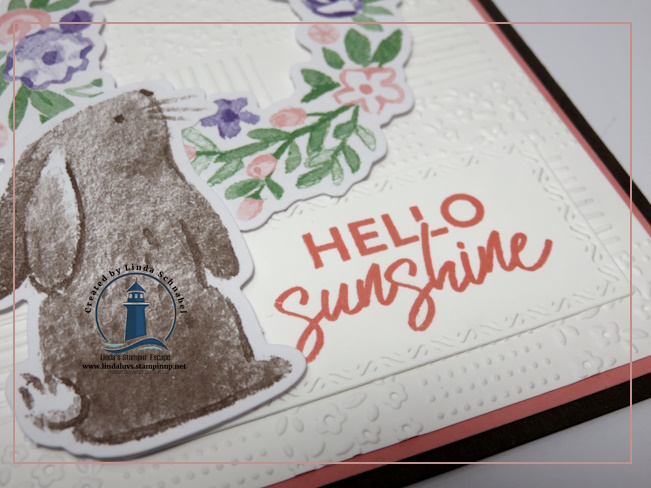
Once the wreath and bunny were in place, all that was left was the greeting. I reached for the Exploring Nature Stamp Set, which is intended as a companion to the scrapbook kit—but I absolutely love using it on cards, too. These sentiment-only stamps are all about embracing adventure, soaking in the sunshine, and celebrating the great outdoors. I framed the greeting using the Textured Notes Die, which adds just the right finishing touch without stealing attention from the main elements.
This sweet little card is wonderfully versatile—it works beautifully for Easter, spring greetings, or even a birthday. That’s one of the things I love most about Mix & Match ephemera: it makes creating fast, fun, and flexible projects so easy. If this card inspired you, I’d love for you to try something similar at your own craft table and see how quickly it comes together.
Thanks so much for stopping by for today’s Simply Sunday inspiration. 💕 Be sure to leave a comment and let me know how you would use this card—and don’t forget to check out the supplies if they’ve found their way onto your wish list.
Until next time, happy stampin’ and enjoy every little moment of spring creativity!
Today, I’m excited to share a special card that’s perfect for Easter – a beautiful and simple Fun Fold that features a striking cross as the focal point. While it may look intricate at first glance, this card is actually quite easy to make, and it creates a dramatic impact when displayed. It’s the kind of card that speaks volumes with its elegant design and heartfelt message, making it perfect for celebrating the true meaning of the Easter season.
Whether you’re sending it to a loved one or displaying it in your home, this card is a beautiful reminder of hope and faith. The fold adds just the right amount of dimension and interest, while still being easy to mail or tuck into an Easter basket. I walk you through the entire process in my video tutorial, so don’t worry if you’re new to Fun Folds — I’ve got you covered!
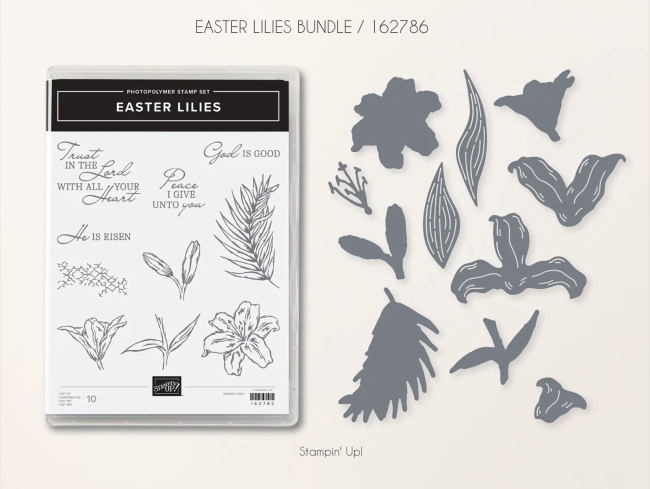
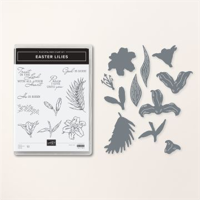
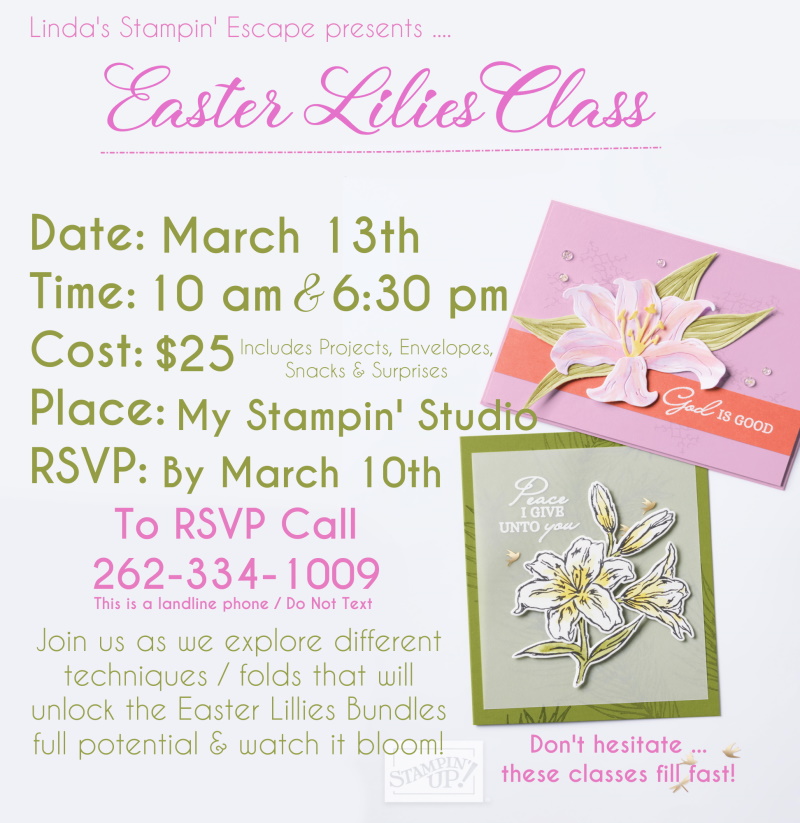
As we approach the sacred season of Easter, it’s a time for reflection, renewal, and reverence. One of the most beautiful ways to capture the spirit of this holy occasion is through heartfelt crafting. And what better way to do so than with the captivating Easter Lilies bundle?
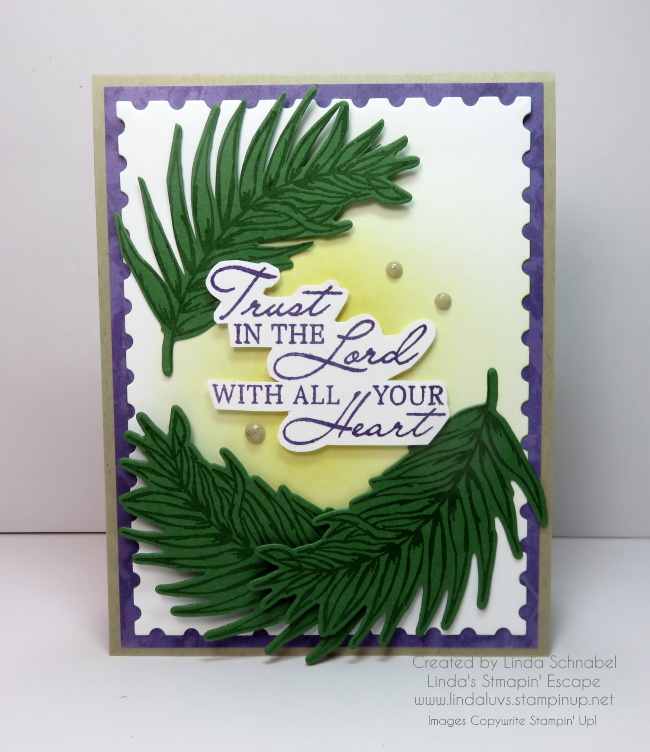
With this bundle, I embarked on a creative journey, selecting the Glorious Grape shade, a color imbued with symbolism that echoes the essence of Lent – penance, humility, and a profound sorrow for the suffering of Jesus. It’s a hue that speaks volumes, reminding us of the sacrifices made and the journey of faith we undertake during this solemn period.
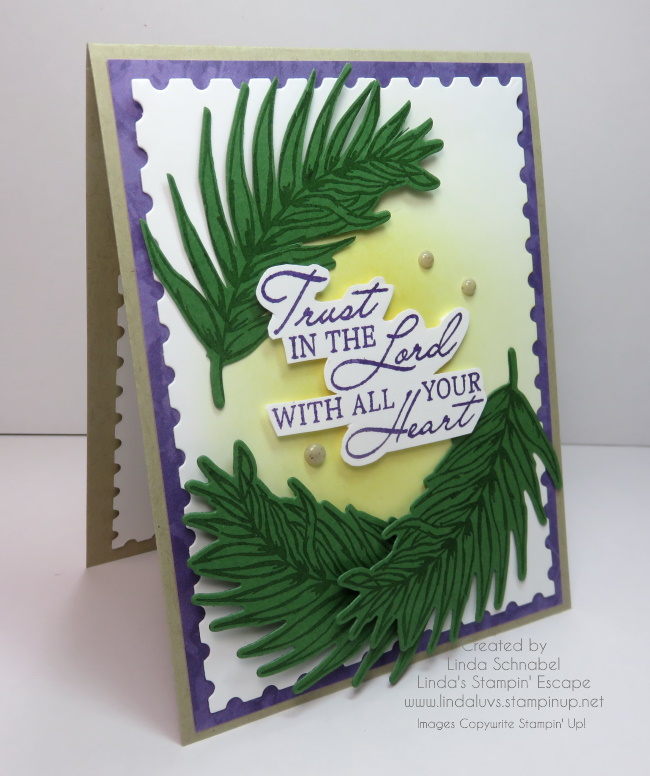
Complementing this regal color, I opted for Crumb Cake cardstock and embellishments, elements that gracefully symbolize the enduring symbol of Christianity – the cross. As I worked with these materials, I felt a sense of connection to the profound narrative of Easter, each choice and embellishment placed carrying the weight of centuries of tradition and faith.
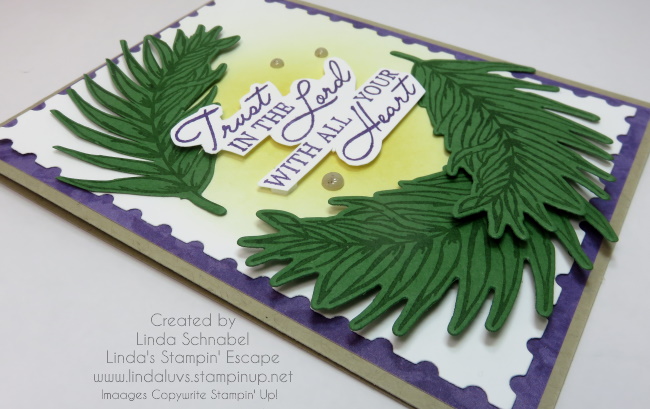
Stamping palms with Garden Green ink onto Garden Green cardstock, I couldn’t help but marvel at the versatility of this bundle. While Easter may be its focal point, its potential extends far beyond the confines of a single holiday. It’s a tool for expressing devotion, gratitude, and joy throughout the year, infusing every creation with a touch of spiritual significance.
This bundle isn’t just about crafting; it’s about crafting with intention. It’s about infusing each project with meaning and purpose, allowing creativity to intertwine with faith in a truly profound way. Whether you’re creating cards, decorations, or keepsakes, the Easter Lilies bundle serves as a conduit for both artistic expression and spiritual reflection.
As we prepare to celebrate Easter, let us embrace the beauty of this season and all it represents. Let us take a moment to pause, to create, and to connect with the deeper significance of the holiday. And what better way to do so than with the enchanting Easter Lilies bundle, a treasure trove of inspiration and symbolism waiting to be explored.
I thank you and appreciate you taking time out of your Sunday to stop by my blog today. God Bless.
My apologies, I did not realize that the embellishments I used had been discontinued. May I suggest the Brushed Metallic Dots as they could represent the nails in the cross.
I’d like to wish all of you a very Happy Easter, and hope you are with family and / or friends on this beautiful day.
I am re-sharing one of the Easter Cards that I made earlier … please know that you can use this technique with any shape, I just love how this one turned out.
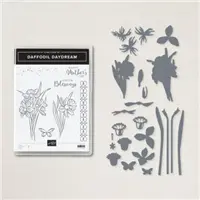
Today I’m going to share a pretty twist to the Daffodil Daydream stamp set as we turn it into an Easter Card. Not only will you see the sample of this pretty card, but you’ll get step by step instructions. This soft and sweet card comes direct from Stampin’ Up!
1. Before you start stamping, cut the following paper pieces: • 8-1/2″ x 5-1/2″ (21.6 x 14 cm) from Pool Party Cardstock • 3-1/2″ x 5″ (8.9 x 12.7 cm) from Pool Party Cardstock • 2-1/2″ x 4″ (6.4 x 10.2 cm) from Basic White Cardstock • 2″ x 3/4″ (5.1 x 1.9 cm) from Basic White Cardstock
2. On the center of the 2-1/2″ x 4″ (6.4 x 10.2 cm) Basic White piece, stamp the single daffodil image from the Daffodil Daydream Stamp Set in Tuxedo Black Memento ink. Repeat this step, stamping onto a sticky note. This will be the mask you use to try the masking technique!
3. From the Daffodil Dies, pick the die that coordinates with the single daffodil image. Align the die with the daffodil stamped on the sticky note and run it through a Stampin’ Cut & Emboss Machine to cut. (Either of our machines will work.)
4. Stick the die-cut daffodil on top of the daffodil stamped on Basic White Cardstock. Using a Blending Brush, gently apply Daffodil Delight ink in a circular motion over and around the daffodil. When done, remove the sticky note from the daffodil.
5. With Calypso Coral ink, stamp the set’s “Easter Blessings” sentiment onto the 2″ x 3/4″ (5.1 x 1.9 cm) Basic White piece. Create the card base by folding the 8-1/2″ x 5-1/2″ (21.6 x 14 cm) Pool Party piece in half and scoring at 4-1/4″ (10.8 cm), then use Stampin’ Dimensionals® to adhere the 3-1/2″ x 5″ (8.9 x 12.7 cm) Pool Party piece to the center of the card base. Adhere the remaining pieces to the card front, then embellish with a few Brushed Brass Butterflies!
I hope you enjoyed this pretty card with it’s soft and sweet simplicity. I fell in love with this bundle so keep an eye out for even more samples!
I thank you for joining me today. Enjoy ~
TODAY’S STAMPIN’ SUPPLY LIST … If you liked the products used in today’s projects, I have links for you below. Just click on the item you would like more information on, or to begin your shopping. It will take you directly to my website. Thank you ❤
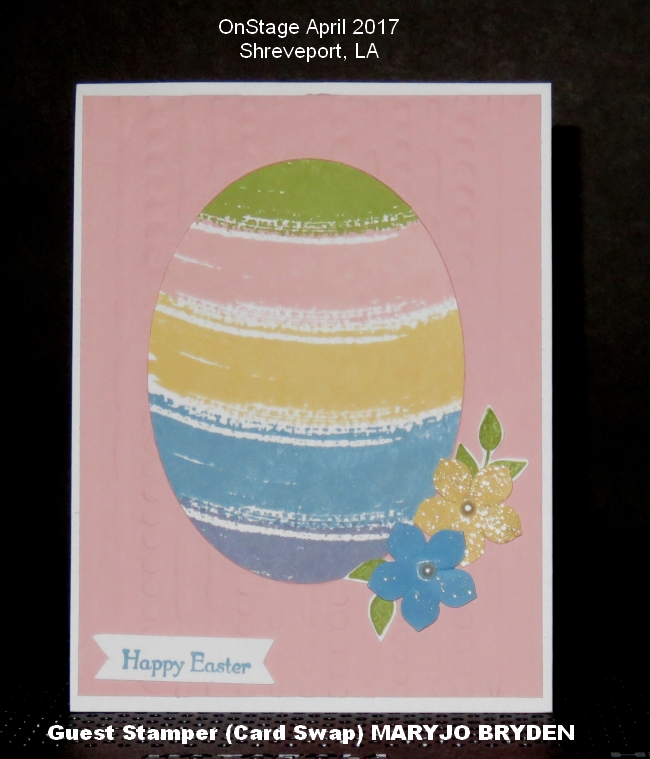
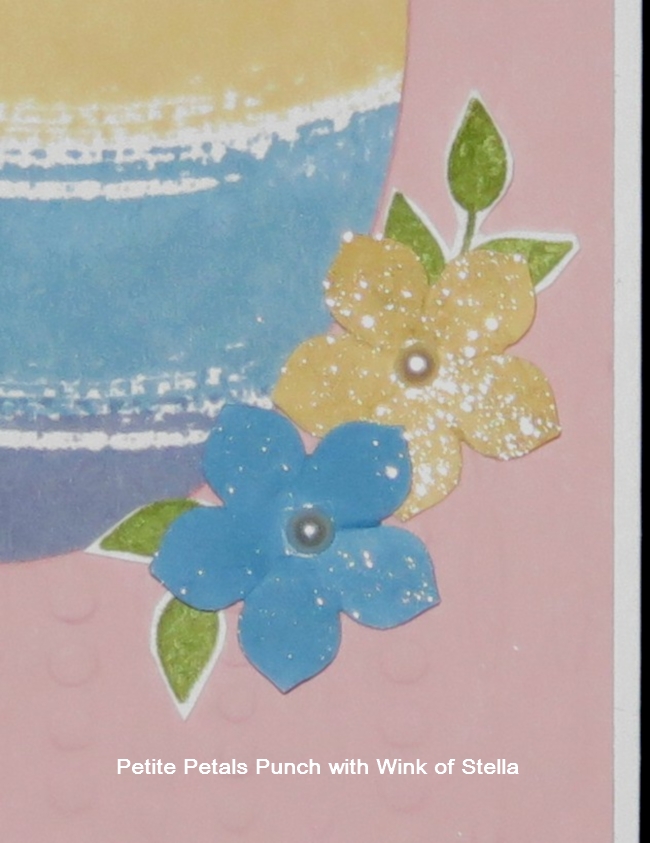
Today I’m going to share MaryJo Brydens card that she gave to me at the Shreveport OnStage Event. I’ve seen this one before but it is so much cuter in your hand! MaryJo did tell me that she cased this card from one she saw on Pinterest … by hey, we ALL do that!
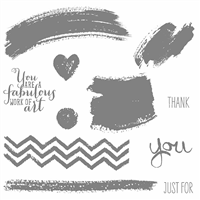
The “SURPRISE” is the cutest egg created by using the Oval Framelits!! Isn’t that a great idea!? Let’s start with the stamp set that MaryJo used to lay down the color for her egg … the “Work of Art” stamp set. Her colors are Pear Pizzazz, Blushing Bride, So Saffron, Marina Mist and I believe Wisteria Wonder.
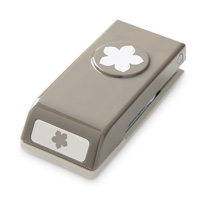
The pretty little flowers were created by using the “Petite Petals” punch and the “Wink of Stella” to give it that pretty sparkle! The pearls add a nice touch.
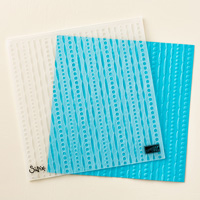
MaryJo added some texture to the pink cardstock by using the “Festive” embossing folder … You can emboss this either before or after you cut out the oval. I prefer embossing with my folders after I cut the image out.
It was so sweet for MaryJo to give me one of her swaps …I love these Stampin’ Up! events! You meet the nicest people. I feel the same way about all the wonderful people I have met who come and stamp with me!
Thank you for sharing a part of your Saturday with me.
I hope you and your family have a wonderful Easter tomorrow. Enjoy the blessings of family, good food and precious friendships.
Today I’m bringing back a really cute Easter card and a scrapbook page! With the products we currently have in our catalog today, you could easily recreate either of these two projects.
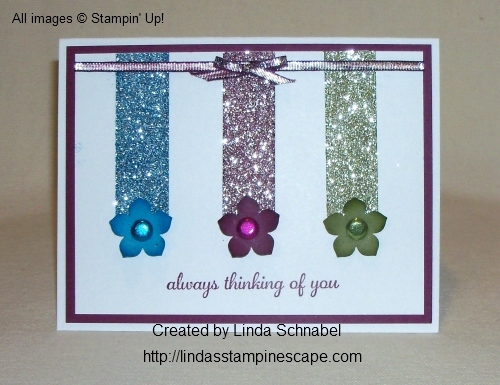
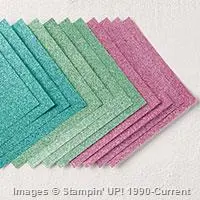
My “technique” that I was teaching when these were created was “Dying your Glimmer Paper”. I taught my classes how to use your ink refills and either a sponge dauber or the Stampin’ Spritzers to color the Glimmer paper … NOW you don’t have too! With the beautiful colors of Glimmer Paper Stampin’ Up! has brought out for Sale-a-bration all you have to do is punch! No fuss required!
The first is my bunny card …
Both the bunny and the eggs were created with a combination of circle and oval punches … now, I think I would use the Layering Circle and Oval Framelits. You will have a greater choice of sizes this way. The little bunny tail was made with a flower punch.
I used the same format on my scrapbook page as I did on my card. That is one thing that I have always taught in my classes. Use what inspires you to create what ever you need. How do you like the little chick I tucked inside the cracked egg? Again, made with the oval 🙂
OK, I have one more card that I want to share with you that I created using the “Dying your Glimmer Paper” technique …
You could easily recreate this card using the Sale-a-bration Glimmer paper. And you know what … the “Petite Petals” punch that I used to make this card is still in the catalog!! You know what else would be cute … the Elegant Butterfly punch.
Just because something is old (Created 2014) … doesn’t mean it can’t be new again!
Thank you for stepping back in time with me today, I hope this inspires you to get creative and have some fun!
Have yourself a wonderful day ~
Below is a list of products I used and suggested products to create that projects shown. You can purchase any of these items by clicking on the item. Remember that you will receive a FREE Sale-a-bration item with a qualifying purchase of $50 or more.
Sorry for the late post, computer troubles again … but my troubles actually worked out in the long run, because I stayed busy in the stampin’ studio creating more cards!
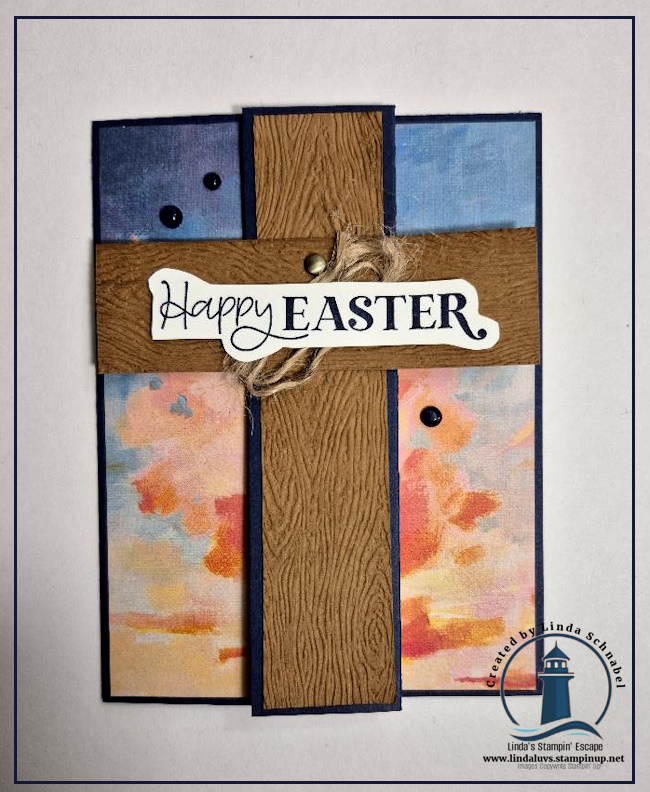
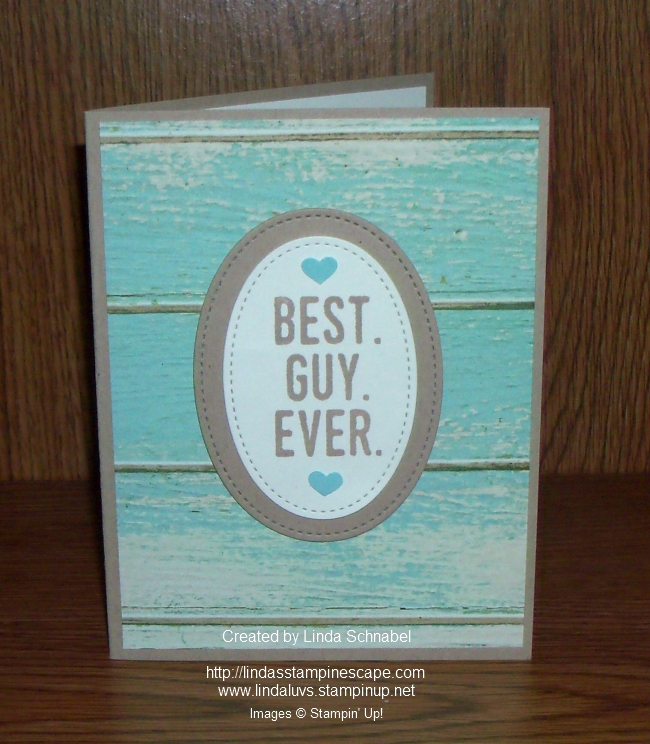
Today I have 3 cards to share with you!! All with the same layout, all with the same stamp set, and all with the same designer series paper pack! By the title of today’s blog: BEST. GUY. EVER. – you can tell that a “man card” was on my mind.
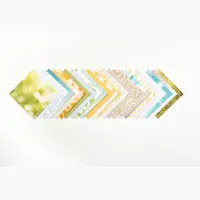
With Valentine’s Day only 8 days away … you’ve seen several cards already but not one specific for males. In the theme of my Simply Sunday’s, nothing creates a quick card like designer paper, and our “Serene Scenery” Designer Paper has awesome patterns for guys! I chose the antiqued wood look …
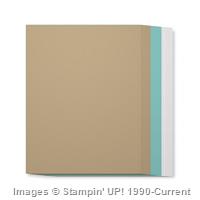
The Crumb Cake base matches perfectly with this paper! And yes, it is one 4 x 5-1/4 sheet … all the texture and depth is actually in the beautiful photography of that paper! Tomorrow I’ll share another card I created with this paper.
Next I chose the stamp set … the wonderful “Suite Sentiments”. I love this greeting set, it has a little something for every occasion. Today you’ll see it used 3 times. I wanted the greeting to be the focal point of the card so I used the “Stitched Shapes Framelits”. Once cut, I mounted it with the Stampin’ Dimensionals to give it some height. With the help from the Confetti Hearts border punch, I punched out some hearts from the Pool Party paper and attached them to my greeting with glue dots. Nice & Simple.
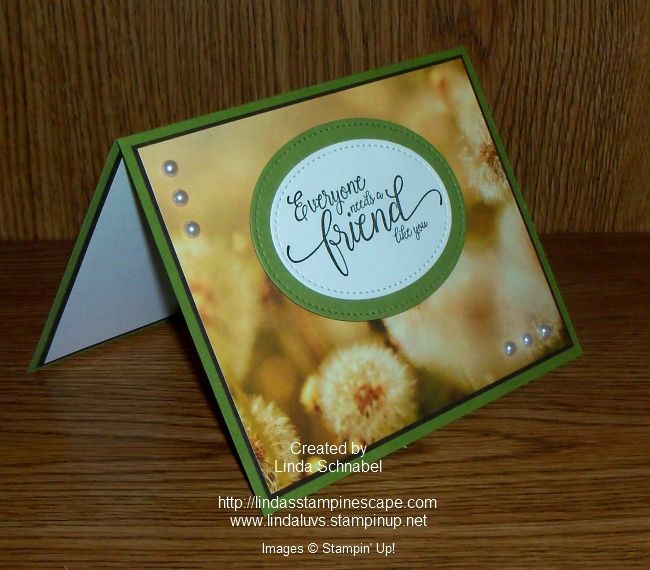
This card is a simply sweet card to give to one of your friends. The designer paper pattern (Again, “Serene Scenery” Designer Paper) reminds me of a warm summer day, full of dandelions just waiting to make a wish upon. The greeting is from “Suite Sentiments” and again was die cut using the “Stitched Shapes Framelits”.
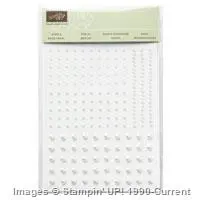
My color pallet for this card is Old Olive and Early Espresso. I added the Basic Pearls to draw your eye around the entire card and create balance. Besides, they are pretty and your friend will love them!
Can you see the theme here? The same layout, with the same stamp set:”Suite Sentiments”, all with the same designer series paper pack:”Serene Scenery” and die cut with the “Stitched Shapes Framelits”.
The final card I created uses the Cloudy Sky designer paper, it’s realism reminded me of the Ascension of Jesus so I used it to create an Easter card. Simply and pretty. I used the smallest flower from the “Blossom Punch” to make my flowers, and since I already had the pearls out from the previous card, I used them again in the center of my blooms.
I know some of you are already gettin’ in the mood for the Superbowl, but I appreciate taking a minute out of your day to check out my post. My team is out so if I watch it’s only for the commercials or takin’ a peek at the 1/2 time show. Best bet is you’ll find me in my stampin’ studio 🙂
May the rest of your day be wonderful and your tomorrow even better.
TODAY’S STAMPIN’ SUPPLY LIST: A purchase of $50 qualifies you for a FREE Sale-a-bration item and a Loyalty (Virtual) Rewards point from me!
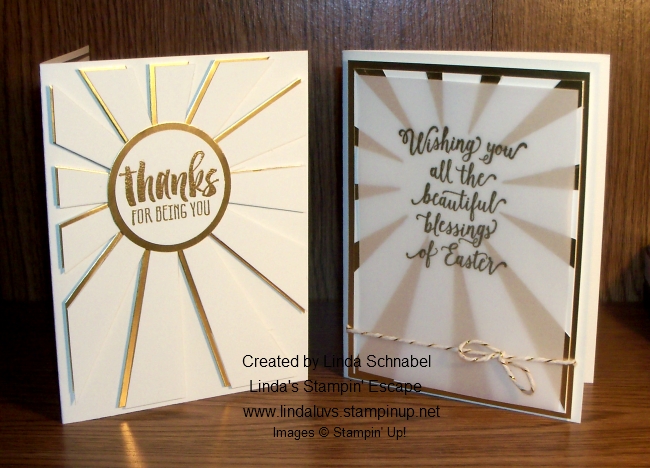
On Monday I shared my “Thanks for Being You” card on my post I called: Friendship is Golden …
So today I thought I would show you what I did with the leftovers!! That’s right – save those tabs!
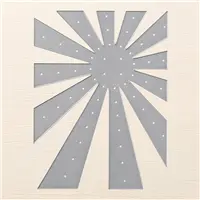
I really like playing with the new Sunburst Thinlits Die … it cuts easily (I did use the Precision Base Plate) and I’ve seen quite a few cute cards done with this die.
STAMPIN’ TIP … I cut out an additional sunburst (in a different color) to use as my template … hold in place with a glue dot or removable adhesive.
I used Very Vanilla card front and placed my template down adhering with a removable adhesive so I wouldn’t damage my card. Then I began tucking the gold cut out pieces into my template. I held them in place by using the Multipurpose Liquid Glue (110755). Once I got all the pieces in place, I removed the template and set the cardfront off to the side.
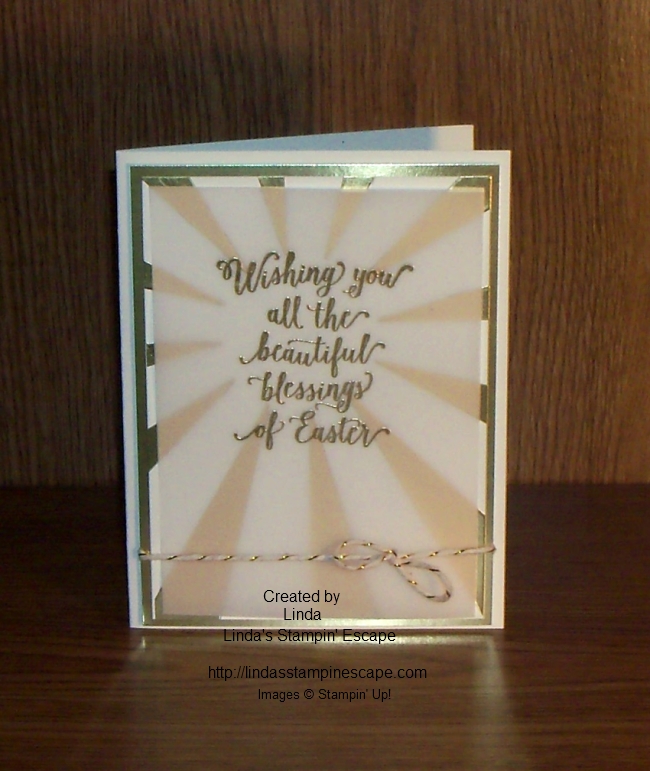
Next, I cut a piece of the White Vellum Cardstock (101856) a quarter inch smaller than my base so that the tips of the “sunburst” beams peeked out from the vellum. I then embossed my greeting in gold. This beautiful Easter greeting also comes from the stamp set Suite Saying. I used this stamp set on Monday’s card too.
Vellum = 3-1/2″ x 4-3/4″
Vanilla Base w/Gold sunburst pieces = 3-3/4″ x 5″
Gold Foil Mat = 4″ x 5-1/4″
I then matted the card front with Gold Foil sheet … I love the way the golden rays stretch out into the gold to frame our Easter greeting. I used the stampin’ dimensionals to pop up the entire card front on the Vanilla base.
I added a bow from the gold twine … not sure I like it! Hmmm … what do you think?
From scraps on Monday to a beautiful Easter card on Thursday …
I hope I inspired you to get a little creative with your scraps, just play and have fun! And thank you for spending a part of your day with me.