Hello Stampin’ Friends ~
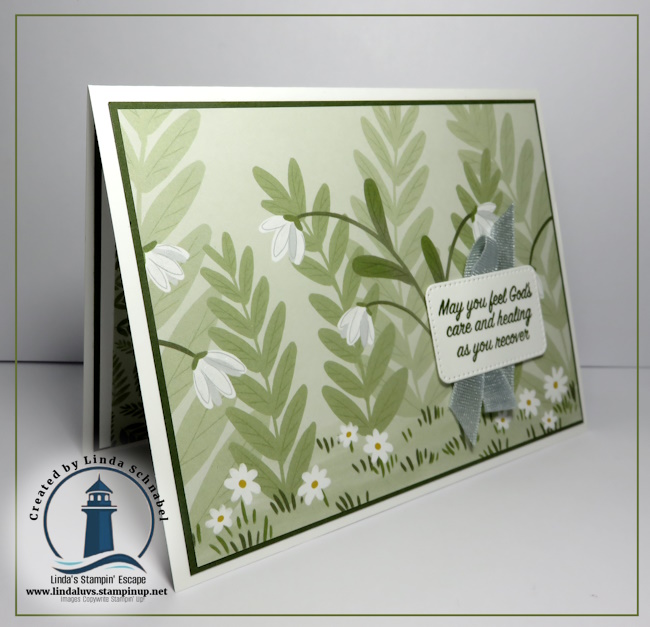
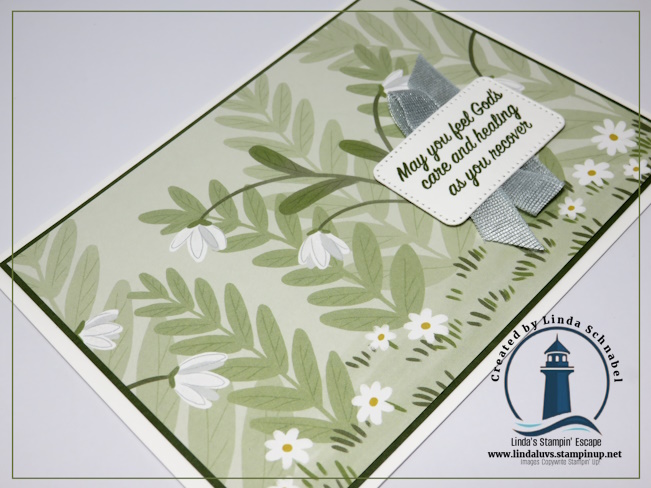
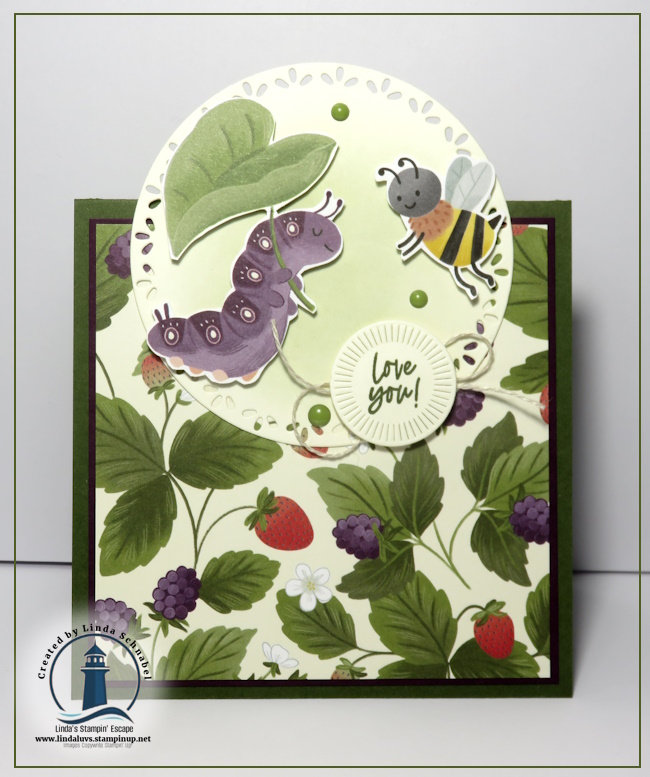
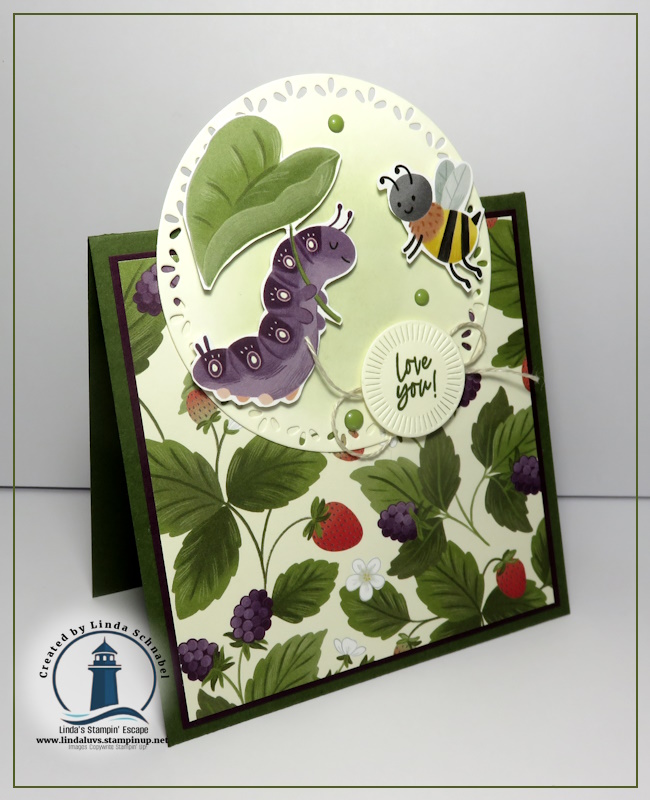
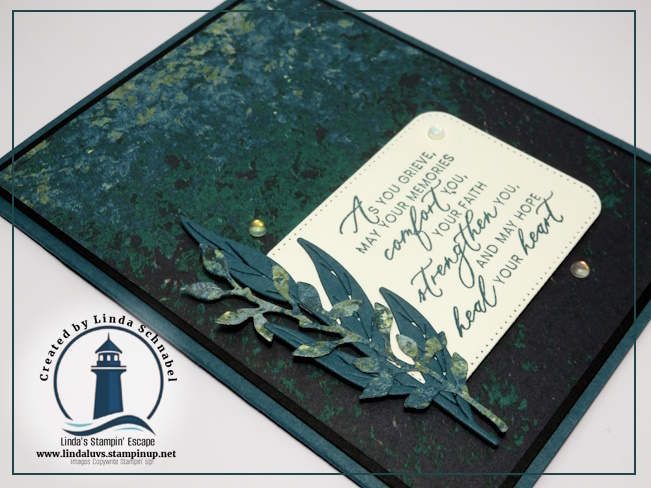
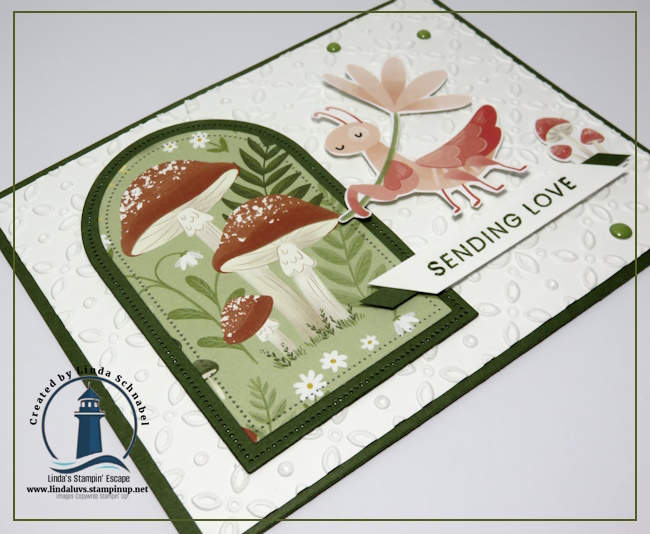
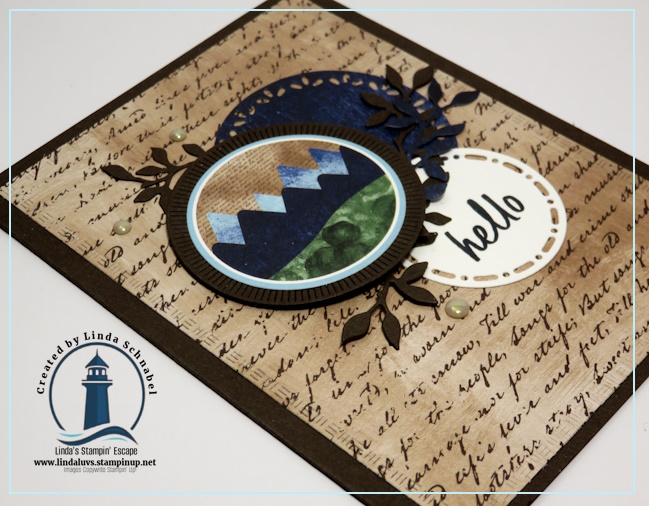
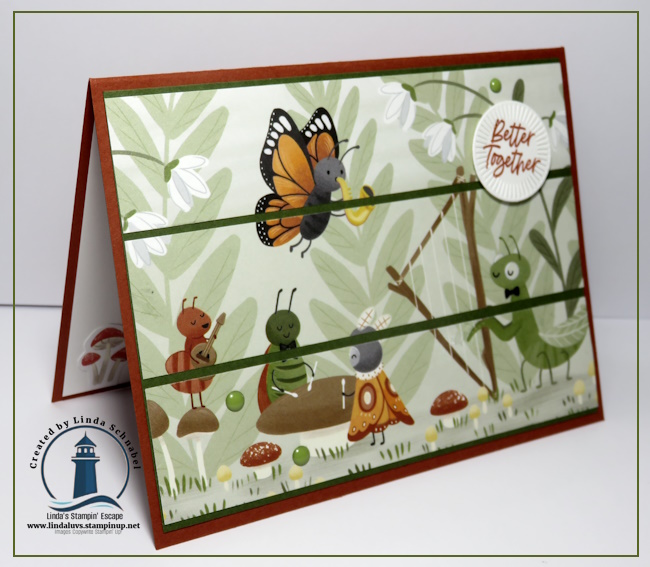
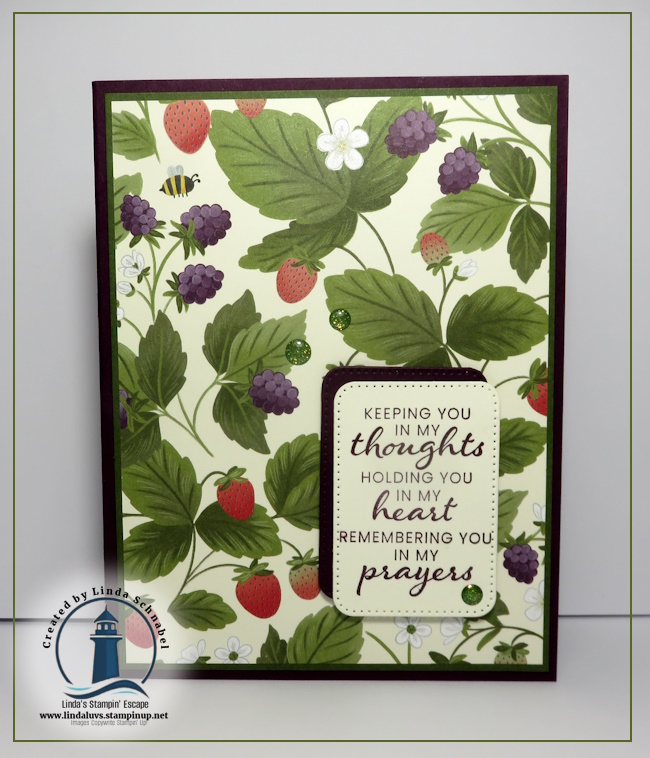
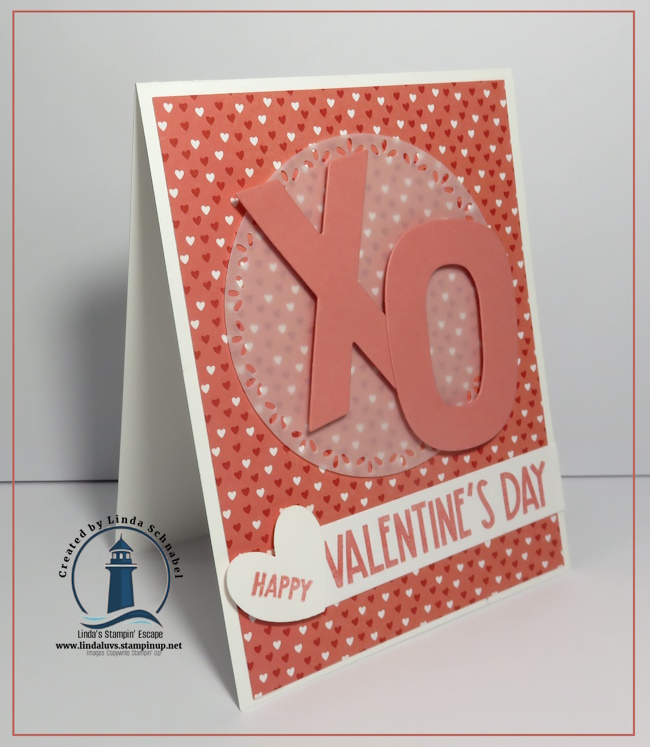
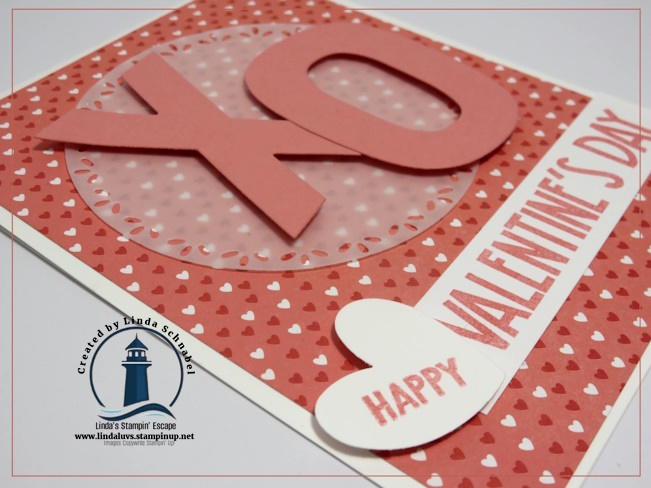
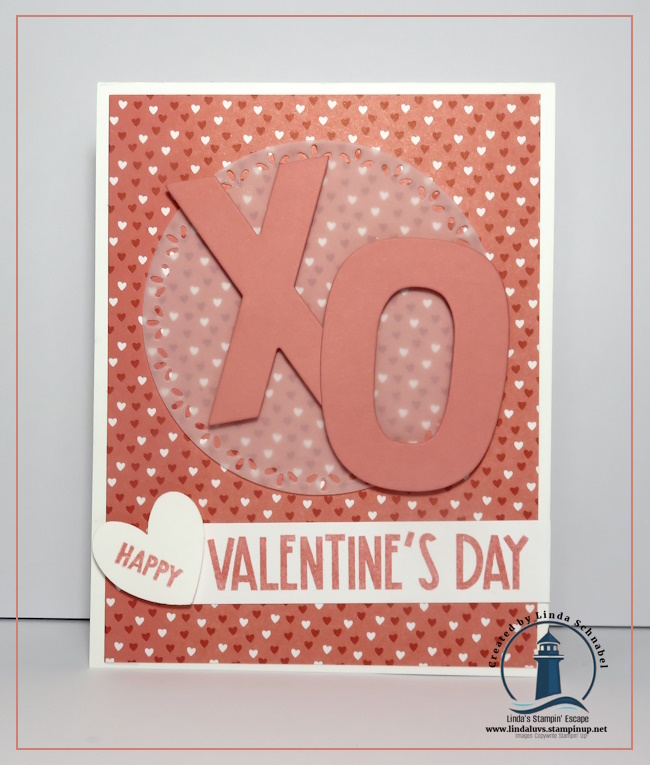
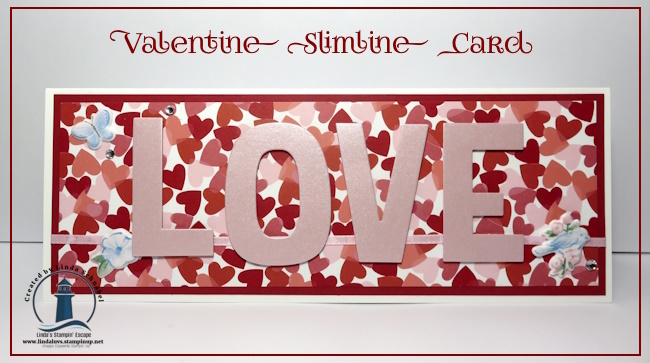
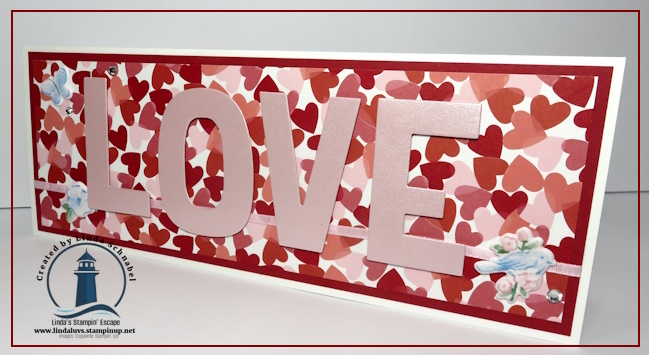
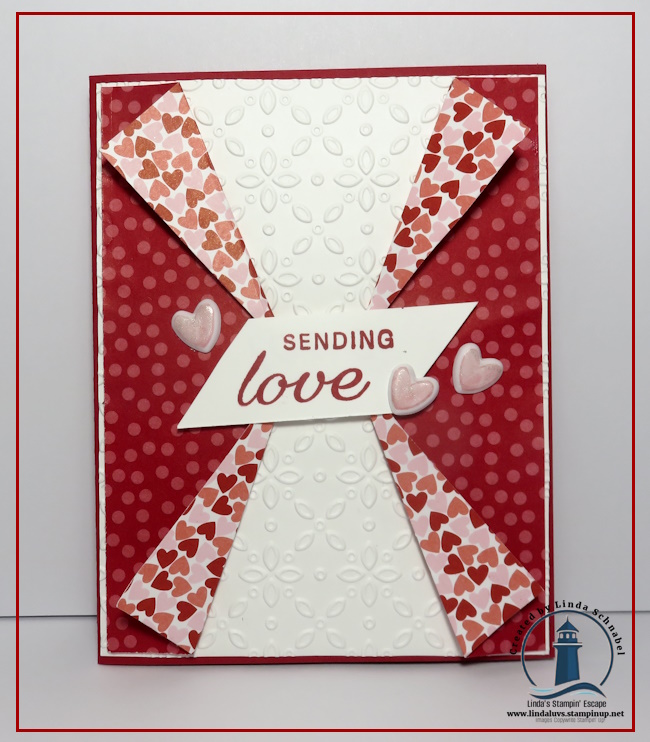
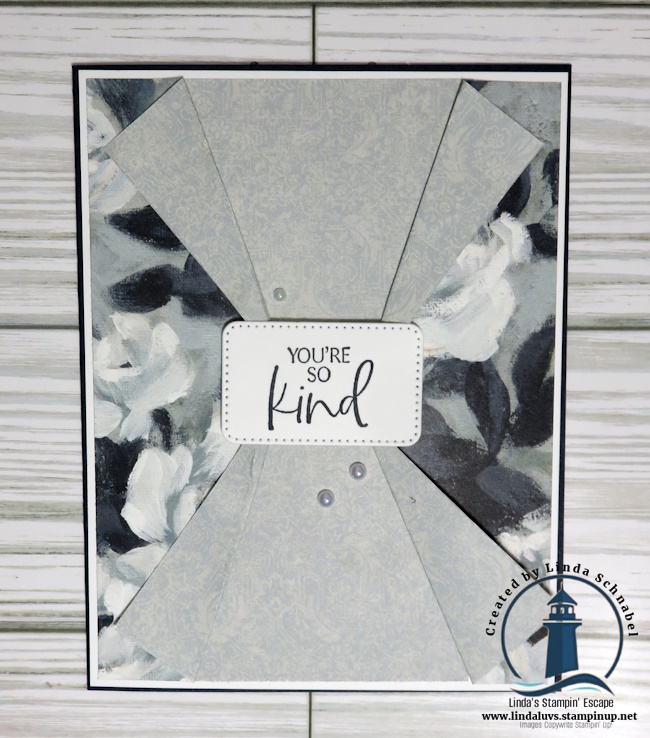
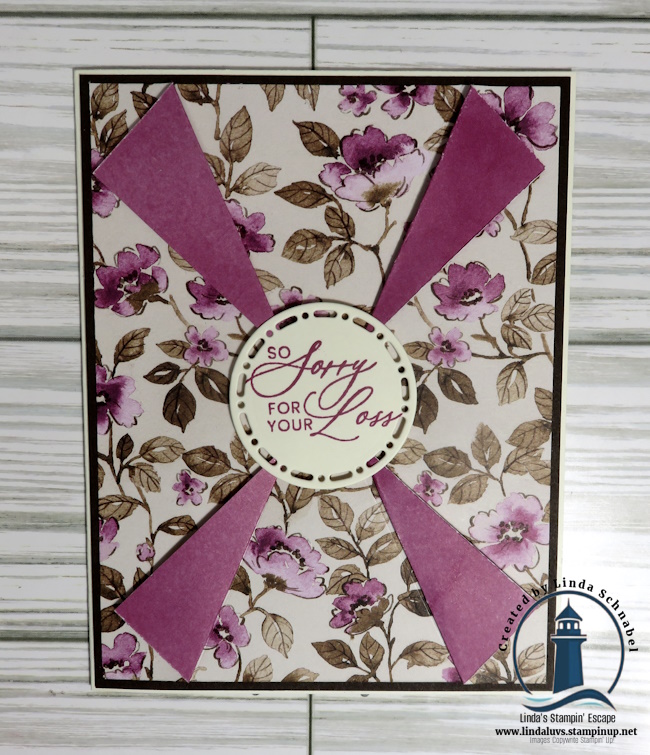
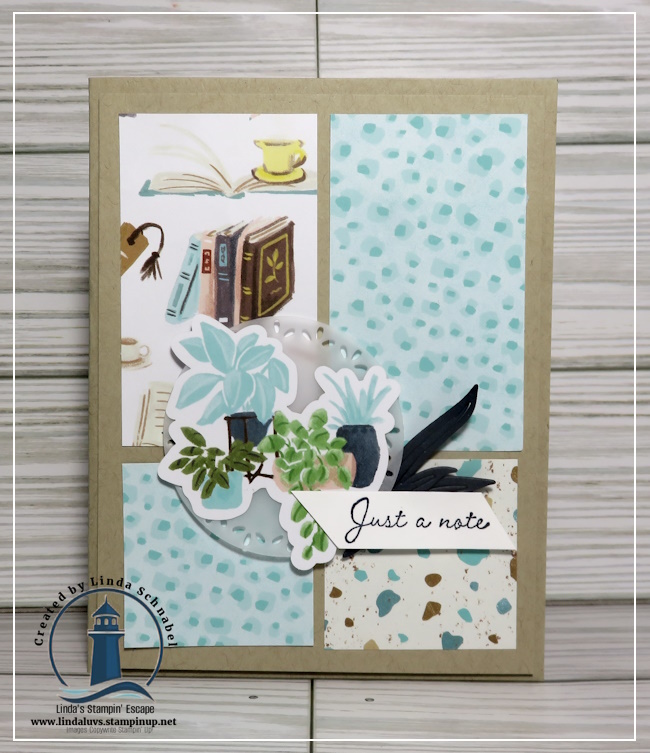
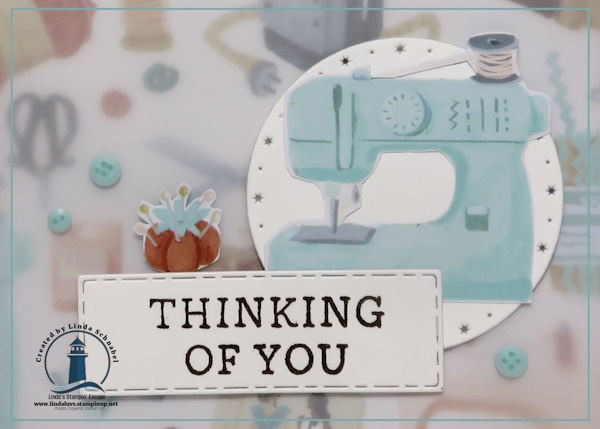
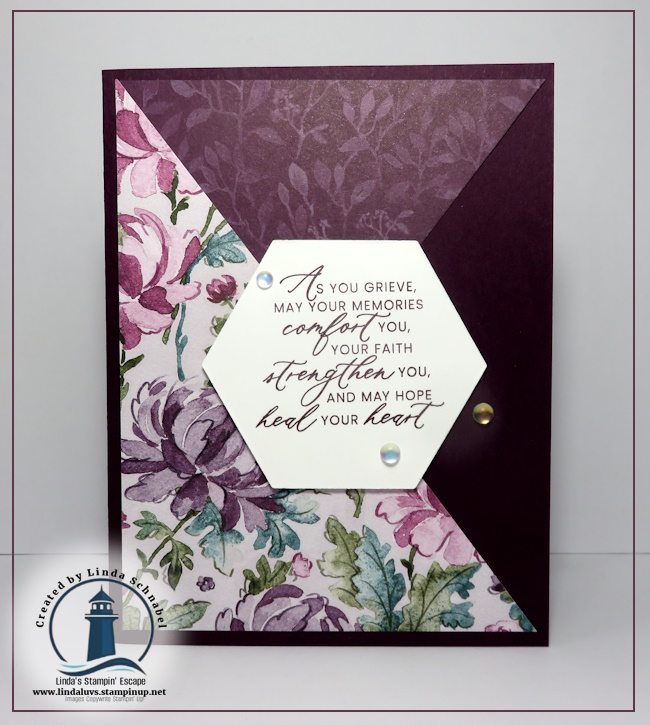
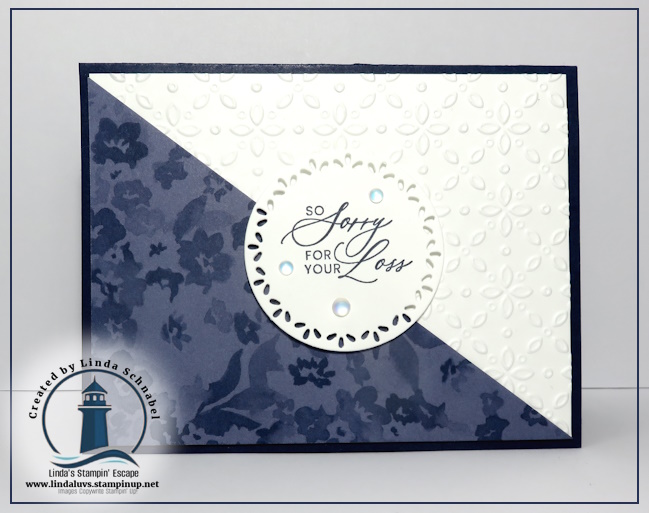
Sometimes you need a beautiful card in a hurry—but you still want it to feel thoughtful, meaningful, and handmade. Today I’m sharing three quick and easy cards created by using an easy Diagonal layout paired with the gorgeous Lovely Florals Designer Series Paper. This simple diagonal design instantly adds interest and elegance, making your cards look extra special without adding extra time at the craft table.
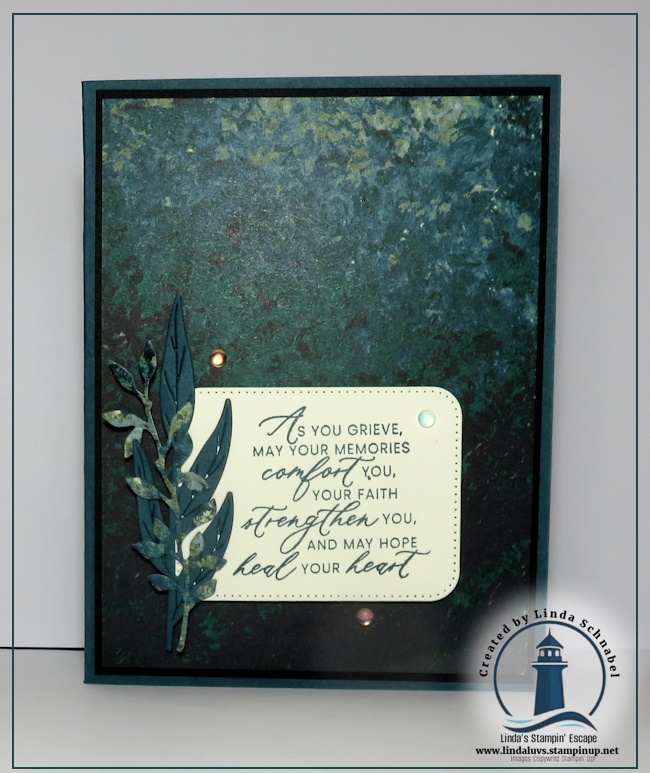
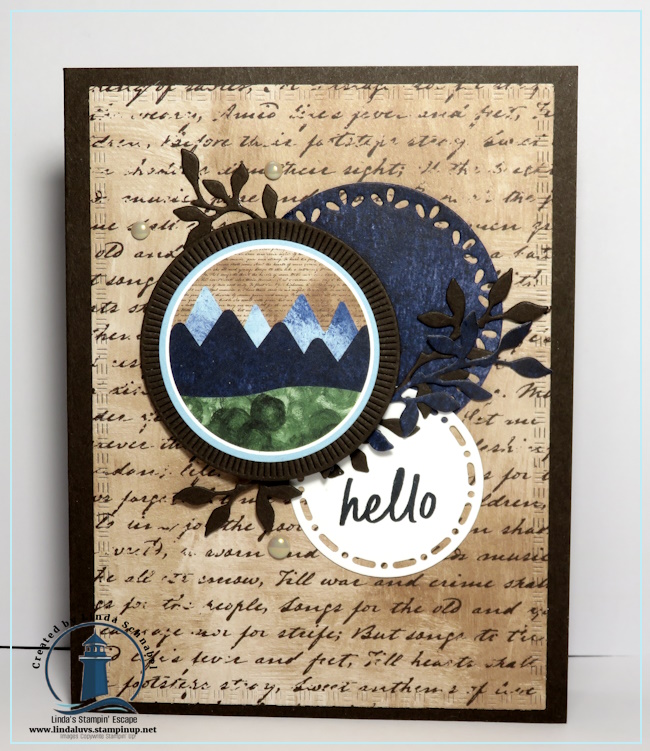
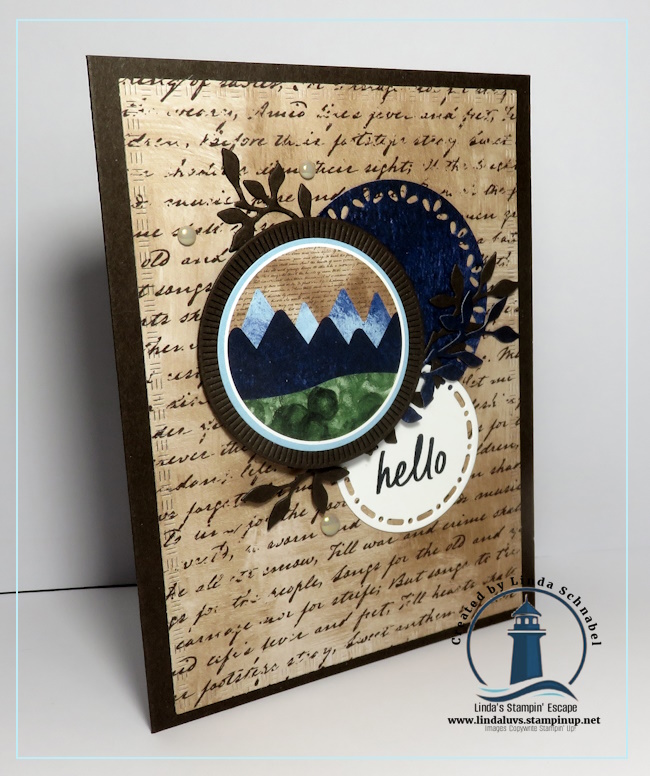
I love layouts like this because once you learn the basic cut, you can use it again and again with different papers, colors, and sentiments. It’s a wonderful way to showcase patterned paper, and the diagonal creates a natural focal point for your greeting or focal element. Whether you’re creating sympathy cards, thinking-of-you cards, or just want a few beautiful designs ready to tuck into your stash, this layout is one you’ll reach for often.

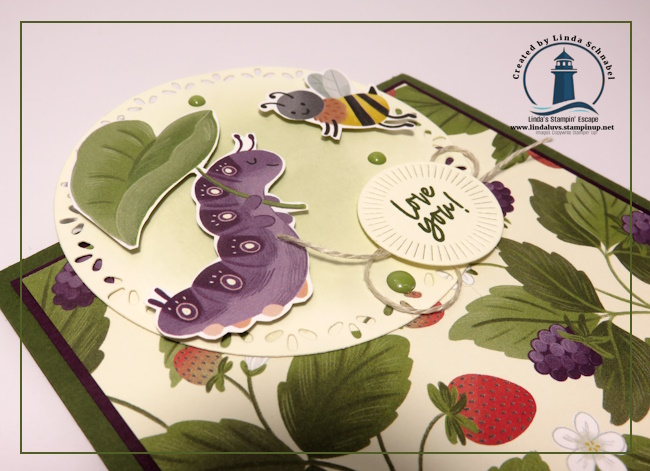
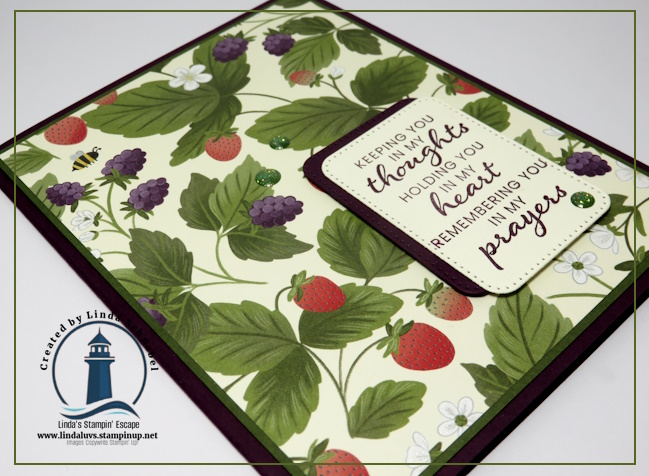
In the video included below, I walk you through how to cut the paper diagonally and create all three cards step-by-step. You’ll see how easy it is to mix and match patterns from the Lovely Florals DSP while keeping a cohesive look. I also share simple tips for adding just a touch of texture and sparkle so your cards feel finished without feeling fussy. These are truly “grab a cup of something cozy and craft with me” kind of projects—relaxing, simple, and so rewarding.
If you enjoy watching along with me, don’t forget to subscribe to my YouTube channel so you never miss a new project! And don’t forget to give me a Thumbs Up or Comment!
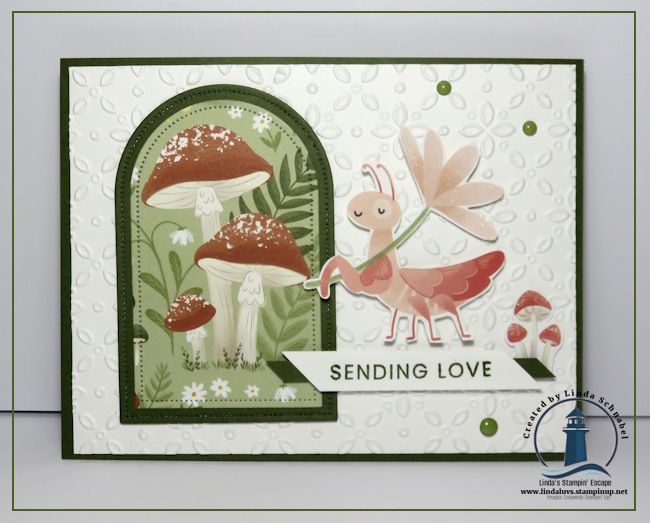
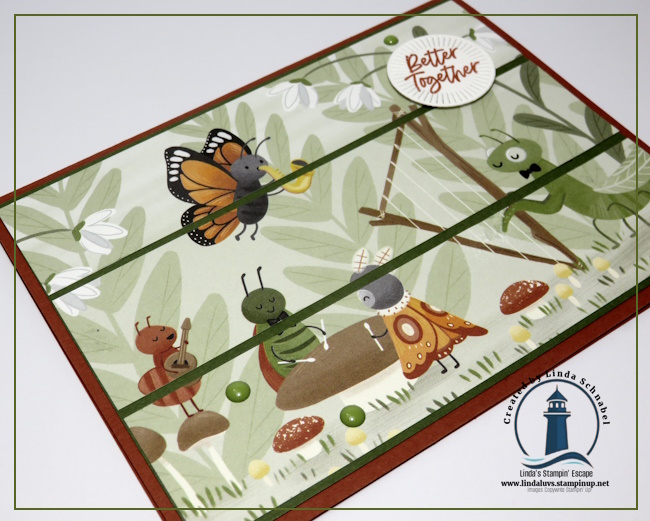
One of my favorite things about these designs is how versatile they are. Swap out the designer paper, change the sentiment, or adjust the embellishments, and you’ve got an entirely new look using the same layout. It’s perfect for using up those pretty papers you’ve been saving “for something special.”
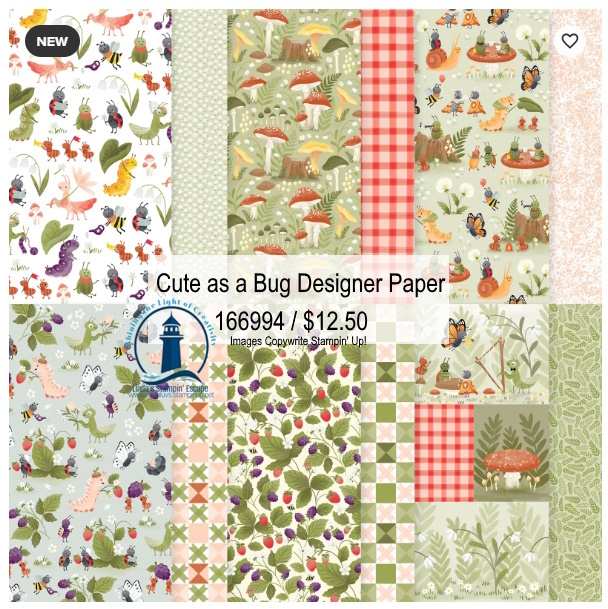
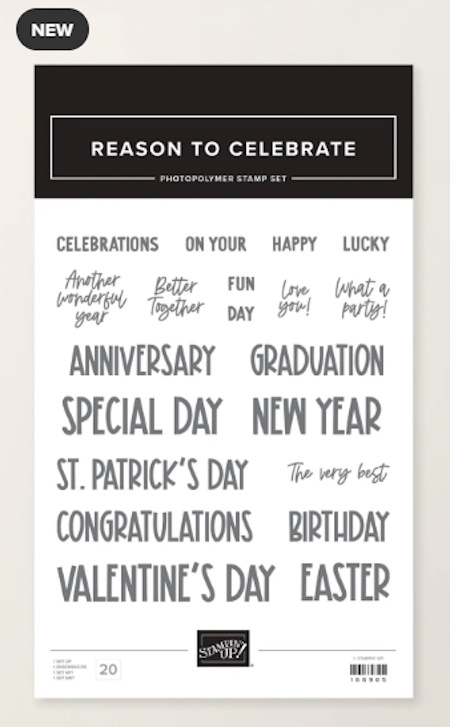
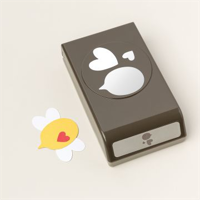
Ready to create these cards yourself? I’ve included a complete list of supplies below—just click to begin shopping and have everything delivered right to your door. It’s an easy way to support my small business while building your craft stash with products you’ll use again and again.
I hope today’s projects inspire you to pull out your patterned paper and enjoy a little creative time for yourself. Cardmaking doesn’t have to be complicated to be meaningful—sometimes the simplest designs carry the most heart. If you give this Delightful Diagonals layout a try, I’d love to hear how you used it and see what you created. Be sure to leave a comment, share your projects, and come back soon for more simple, creative cardmaking ideas.
Have a wonderful day ~