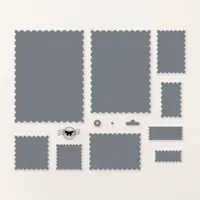
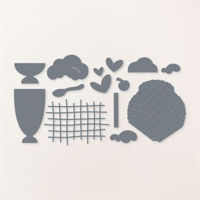
A Perfect Pairing: Perennial Postage Dies and Sending Love Bundle

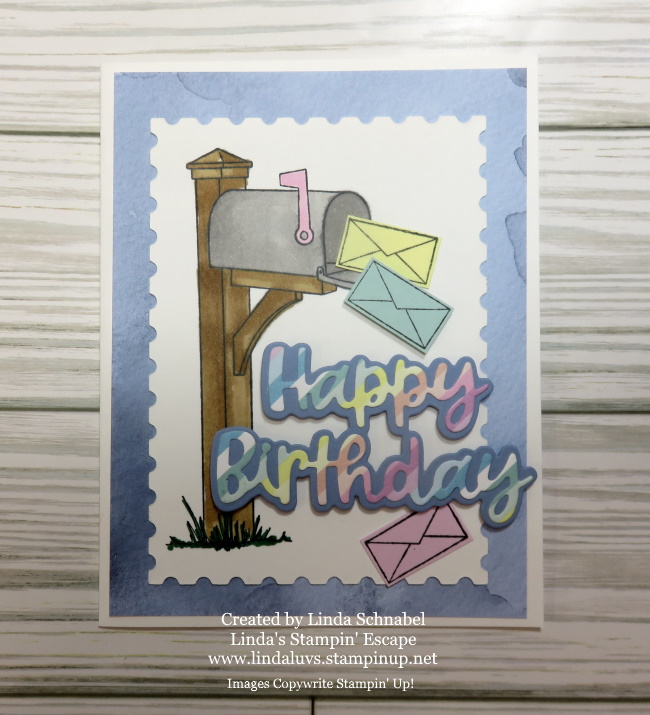
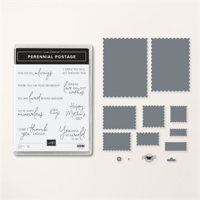
Hello Stampin’ Friends ~ Today, I’m excited to introduce a perfect pairing that takes your handmade cards to new heights – the Perennial Postage Dies and Sending Love Bundle. These two sets seamlessly come together, allowing you to craft beautiful greetings that will surely warm the hearts of your loved ones. I don’t normally share cards from my classes, but today I will. Keep an eye out for my upcoming classes!

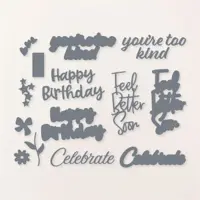
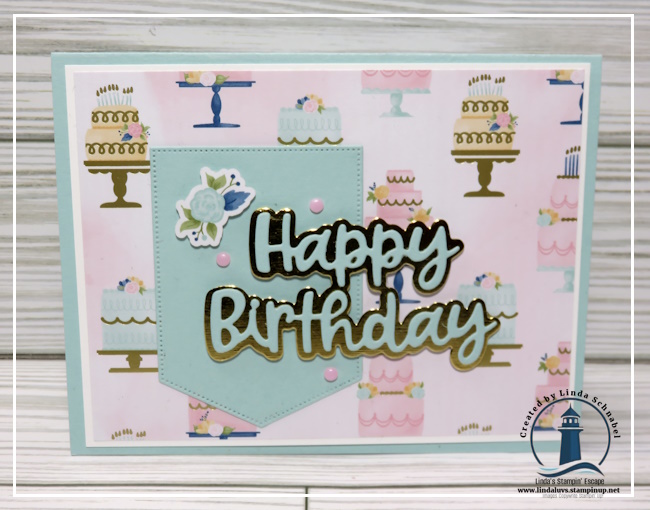
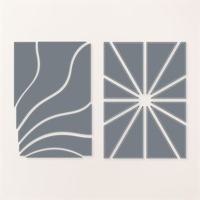
Birthdays are special occasions, and what better way to celebrate than with a personalized touch? The Wanted to Say Dies offer a versatile and elegant way to express your birthday wishes. These dies beautifully complement the Perennial Postage set, creating a harmonious blend of sophistication and sentiment.

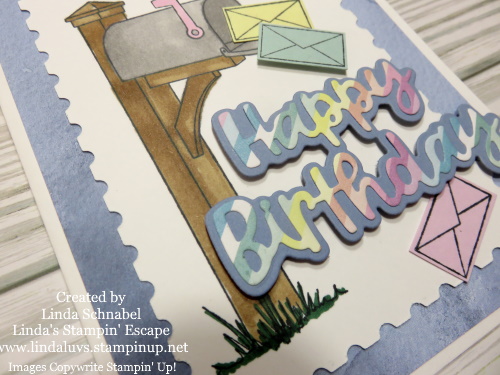
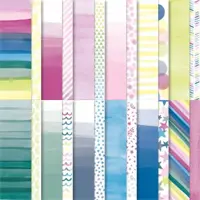
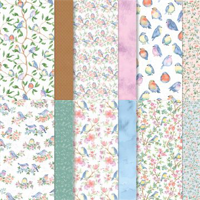
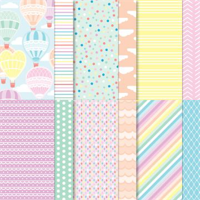
Adding the right background to your cards can elevate the entire aesthetic. For our featured creation, we’ve chosen the Flight & Airy Watercolor design from the FREE Sale-a-bration item collection. This exquisite designer paper brings a whimsical and dreamy element to your cards, creating a perfect backdrop for the Perennial Postage Dies and the Wanted to Say sentiment.

Additionally, the 6 x 6 Lighter than Air Designer Paper from the Spring Mini Catalog adds a touch of elegance to our Happy Birthday Greeting. The delicate patterns and soft color palette of this paper create a visually stunning contrast, making your card a true work of art.

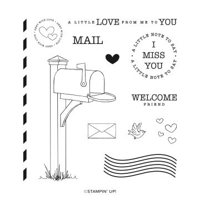
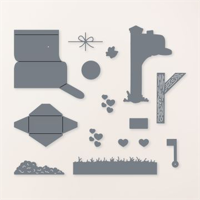
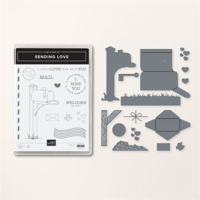
Now, let’s talk about the Sending Love Bundle, which is the ideal companion for the Perennial Postage Dies. This bundle includes a set of coordinating stamps and dies, allowing you to create intricate and charming mailboxes & envelopes to accompany your cards. The attention to detail in both sets ensures that your creations are not just cards but expressions of love and thoughtfulness. 

With the Perennial Postage Dies, Sending Love Bundle, and the carefully chosen designer papers, you have the perfect recipe for creating heartfelt and visually stunning cards. Whether it’s a birthday celebration or any other special occasion, let your creativity soar with this perfect pairing. Create Card, send, and spread love with every handmade creation!

Thank you for spending part of your Sunday with me!
A Birthday Celebration / Celebration of Life …

Hello Stampin’ Friends ~

Today would have been Armani’s 4th birthday, as you know… he passed away unexpectedly last Friday from what they believe was a seizure. I’m sharing the Patchwork Pieces card that I created during a Facebook LIVE for him … he LOVES Orange!! This little guy had to come into my stamp room every time he was over and checked out the cards I have made … he’s was the sweetest little guy 🧡!!

Here is the video replay of my Facebook LIVE ….

Wasn’t that fun and easy to create? And by using the designer paper and cardstock, you have enough left over for a second card. Have some fun and die cut some black and turn it into a Halloween card … the possibilities are endless.

So … Do you think he will love this card? The last one he took had flowers, but it was ORANGE!! He even passed up the spaceship over those orange flowers …. told you he was a hoot!

Thank you for stopping by and checking out my blog post today. Have a great day ~

So Creative: Transform from Halloween to Birthday… Card!

Hello Stampin’ Friends,

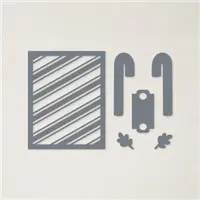
I’m back with a pop of color, and I promised in my last video that I would show you exactly what you can do with the “leftovers”. Are you ready to take your card-making to the next level? If so, you’re in for a treat (no tricks here!) with our Candy Cane Dies from the clearance rack. These versatile dies offer endless possibilities, and today I’ll show you a simple yet creative way to use them to make a spooktacular Halloween birthday card.

The first step in our creative journey is to choose our cardbase / Basic Black and the I’m using Pumpkin Pie cardstock and will then modify the background die. So simple to trim down this die … just follow the lines and cut with your paper snips.

Now, let’s get creative with those leftover pieces from the tag die. Instead of letting them go to waste, we’re going to use them to create a playful polka dot background for your card. Simply adhere the tag die cutouts onto your cardstock in a random pattern. This will give your card a fun and festive polka dot look, perfect for Halloween.

To complete your Halloween birthday card, use the Wanted to Say Dies to add a birthday greeting. Place the greeting strategically on your card to balance the design, and I layered the greeting over some Vellum cardstock to really create a focal point.

Creating this Halloween birthday card using the Candy Cane Dies has been a blast, hasn’t it? The best part is that it was quick and easy to put together, thanks to these versatile dies.

So, the next time you’re in the mood for some creative crafting, don’t forget to check out the clearance rack for hidden gems like the Candy Cane Dies. With a little imagination, you can transform ordinary dies into extraordinary designs that will delight your friends and family.

Have fun, get creative, and enjoy making one-of-a-kind cards that will leave a lasting impression.

Happy crafting! 🎃🎂👻

A Patchwork of Fun: DIY Birthday Card with a Twist!

Hello Stampin’ Friends,

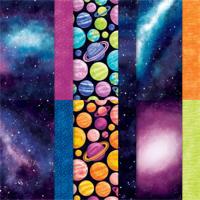
Are you ready to embark on a creative journey filled with a blast of color and a touch of sass? Well, you’re in for a treat today as we dive into today’s birthday card that’s as fun and vibrant as it gets. So, grab your Patchwork Pieces Dies, Stargazing Designer Paper, and Wanted to Say Dies, because we’re about to get crafty!

Start by selecting your Lemon Lime Twist cardstock for the card base. This lively green hue sets the stage for our vibrant creation. Cut the cardstock to 8-1/2″ x 5-1/2″ and fold it in half – this will be the canvas for your masterpiece.

Now, it’s time to incorporate some whimsical patterns into our design. Take out your Stargazing Designer Paper, and die cut one of each of the Lemon Lime Twist and Pumpkin Pie patterns … This gives you enough for 2 cards. I added a piece of black and white dotted designer paper from some I had laying around to add some fun pops of white. Cut a piece of Basic Black 4″ x 5-1/5″ (same as the Polka dot paper) …This will be the backdrop for our patchwork pieces.

This is where the magic happens! Grab both colors of your Patchwork Pieces and adhere them to the black to create a medley of funky shapes. Arrange them on your card in a random, patchwork-style pattern. Don’t worry about perfection – the more whimsical, the better! Now, trim down the black cardstock to create a border around your funky pattern.

The greeting comes from the Wanted to Say Dies. Cut out the base sentiment from the black and the detail “birthday” from your Lemon Lime Twist cardstock. Stack them and glue them together with your Liquid glue. You can even add a touch of Wink of Stella for some glitz!

Your card is almost ready to dazzle! To really make that greeting POP, punch or die cut a circle from your Vellum Cardstock and attach to the front of your card. If you like, add a few embellishments like sequins, rhinestones, or even a ribbon bow. These little details can take your card to the next level.

There you have it, friends – a DIY birthday card that’s bursting with color, personality, and a sprinkle of sas. Perfect for all ages, this card is sure to bring a smile to anyone’s face. Time to embrace your creative side, laugh a little, and send some handmade joy to your loved ones.

Happy crafting, and even happier birthdays! 🎉🌟🎈

If you enjoyed today’s fun and colorful card and found it inspiring, here’s a list of the supplies you’ll need to recreate the card. Spread joy and connect with others through your handmade creations.

Simply Sunday: Gold Celebrations Card

Hello Stampin’ Friends,

Let me take you into a sparkling world where you’ll dazzle your friends with our Gold Celebrations Card! This is a step up from your basic stamping, but with your Stampin’ Emboss & Die cut machine, you’ll be able to crank out 6 of these cards in just minutes!

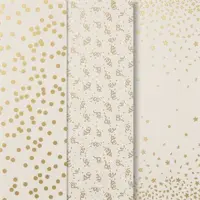
Let’s begin with our supplies: You will need Very Vanilla Cardstock, the Gold Celebrations 12 x 12 Specialty Designer Paper, and the Gold Foil … Yep, that’s it!! Oh, and your Multipurpose Liquid Glue and Stampin’ Dimensionals!

Your dimensions for the card include:

  • Vanilla Cardstock: 8-1/2” x 5-1/2” scored and folded at 4-1/4” plus one piece 5” x 3-3/4”
  • Gold Celebrations paper: 5” x 3-3/4” (You will get 6 pieces from one sheet)
  • Gold Foil Sheet: 5-1/4” x 4” (You will get 6 pieces from one sheet)

Now that you have your basics cut, it will be easy to recreate this card. Let’s do our die cutting next. Using the Gold Foil sheet for your card, use the bold / bottom part of your Celebration greeting … this comes from the “Wanted to Say” Dies … and the stars that are included as well. ***Be sure to use a bottom cutting plate that is not too scuffed up, as those may come through on your foil. I always keep one plate for foils (until it looks like my other “very” loved plates!)

Cut the detailed “celebrate” with the left-over 1/4 sheet of the vanilla cardstock. Using your glue, adhere them together.

Now it’s time to put the card together …. flip your Gold Celebration acetate sheet upside down and place a dot of glue behind many of the stars and graffiti, this will hold your Gold Celebrations onto the small piece of vanilla. You will notice in the cutting dimensions that these are cut to the same size. Attach the “celebration” and the stars (I cut some apart) onto your sheet using dimensionals … you’ll have to trim them down. I use the edges for this part.

Now you can layer this piece over the gold foil sheet … no one will see that you’ve cut out your greeting, and you didn’t waste any gold foil!! Clever. Now, you may glue your card front onto the base or you can attach it with more of your Stampin’ Dimensionals … the choice is yours.

Who wouldn’t love this fun, sleek and sexy card … and it’s so easy to make! It looks like you’re already throwing the party. It’s perfect for a 50th Wedding Anniversary, someones “Golden” Birthday, or maybe a Retirement card, because just retiring from my job just months ago … It’s a CELEBRATION!! lol

Thank you for taking time out of your Sunday to stop over and visit. Hope this inspires you to celebrate someone, or yourself … you deserve it too! I have listed the product links to the bottom of this post if you are interested in making the card I shared today.

Thanks again & enjoy this beautiful day ~

Too Cool Ice Cream Cone Card

Hello Stampin’ Friends ~

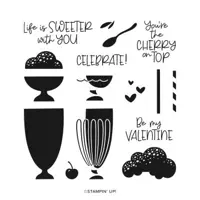
Have you ever made a card … thought it was cute …. but the more you looked at it, the more you thought it needed something? That is how I felt about this card I created with the Share a Milkshake stamps & Dies, along with the Wanted to Say Dies.

My cardbase is Early Espresso to coordinate with my chocolate ice cream, or if you’re a Chocolate Shoppe Ice Cream fan (out of Madison, WI) we call that deep rich chocolate; Zanzibar! My background is the Stargazing Designer paper and matted with Basic White. The cone is made from the Pecan Pie cardstock. It looked a little plain so I used the “waffle” die and pow ….. gave my pop I was looking for.

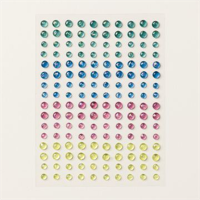
The Happy Birthday base or mat, is also die cut from the Stargazing designer paper and then topped off with the Basic White … a touch of Wink of Stella on our Happy Birthday. Just like building our cone! A few Berry Burst Tinsel Gems (4-pack) to embellish our cone … or you could call them “sprinkles”.

Making ice cream cones is pretty easy with these few ingredients and soooo tasty looking too. And that cone is going to be so good with all the warm weather we’ve been having

Thanks for joining me for a cone… Enjoy your weekend!

Patchwork Pieces Video

Hello Stampin’ Friends,

Today I’m going to share the video that I created going through step by step how I created the cards I shared with you yesterday. I will leave the cards on today’s post so you can check them out again, along with the key ingredients I used to make my cards … Enjoy the video!

Once all your colors are cut, I pull them apart and create a rainbow pattern. I used the Tombo Liquid glue to secure my pattern …

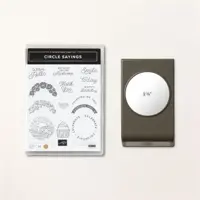
I stamped my greeting from Circle Sayings in Daffodil Delight and Starry Sky, then punched out with the coordinating 2-3/8″ punch. I used Stampin’ Dimensionals to pop it up and embellished it with the blue Tinsel Gems.

My next card is assembled as the first and then stamped with VersaMark ink … it’s a watermark ink so it works perfectly on the rainbow of color. This is a simple technique that many of us forget about, but it looks so cool ….

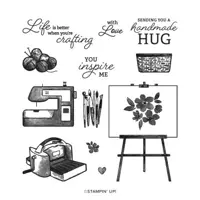
The flowers come from the Crafting with You stamp set as does the greeting that I stamped in Starry Sky. It was then die cut with the Stylish Shapes dies. I put a few scrap pieces on the back and trimmed them down to embellish my card.

The last card was assembled as the rest were but before I assembled it to the cardbase, I ran it the the Cut & Emboss Machine ….

Any one of our embossing folders would look great on these patterned die cuts in the Patchwork Pieces dies, and just another easy technique to change up your card and add some texture to your card.

I’ve got several more cards to make with the left over pieces … I’ll warn you, once you get started, you will have so much fun creating with these die. Have fun!! Thanks for checking in with me today.

Two for Tuesday Cards & Stamp Sale!

Hello Stampin’ Friends,

We’re going to have some fun today with Two cards for Tuesday and a fun new Stampin’ Up! promotion. Let’s begin with the great news that was just announced … A STAMP SALE!

If you’ve had your eye on stamps from the 2023–2024 Annual Catalog, then we have some exciting news! On 19 July, these stamps will be 15% off for 24 hours (this offer does exclude host stamp sets). You heard us right, for one day only you can snag your favorite stamp sets for a stellar price!

Amazing right … all the stamp sets in the Annual catalog (the big one) are on sale for one day only. PLUS … While you are shopping, don’t forget the Clearance Rack. It was just updated recently, and that brings me to my 2 cards for this Tuesday!!

Both cards were created with the All Together 6 x 6 Designer Series paper …

I wanted to show how fun and versatile that this black & white paper can be. You can see more cards samples HERE from a previous post featuring the All Together Paper.

Tomorrow when you begin your sales shopping; you can use this link: https://www.stampinup.com?hostcode=PJ4UWCQB If you are spending more than $150 – Do Not use this link because you will qualify for Free Host Benefits & more!!

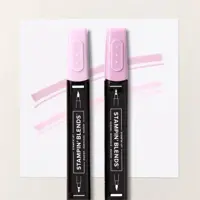
Both of today’s cards were “jazzed” up with my Stampin’ Blends! My first card is a fun Autumn card and I used the Pumpkin Pie Stampin’ Blends to add a strip of color between the stripes on the designer paper ….

I used several items from the Stargazing Suite; the Designer paper and the dies! The fun pumpkin was created with both of those items … all I did was sponge the edges of the circles to create an illusion of depth. The greeting was also cut from the same designer paper pattern than I cut the circles. The “celebrate” comes from the “Wanted to Say” dies.

Next up is a Christmas Card ….

This plain black & white background was transformed by my Cherry Cobbler and Shaded Spruce Stampin’ Blends … just drag your marked across the designer paper / I didn’t even use a ruler, it’s all free hand and easy but creates a fun colorful background. It is adorned with the trees and snow from the One Horse Open Sleigh Bundle.

One more thing while you create your shopping list …. Bonus Buys!! For each $50 you spend, you’ll receive a $5 coupon to shop with in August. So feel free to bundle your discounted stamp sets, with more savings from the Clearance Rack and pick up your Bonus Coupon too!

Those will be emailed to you by Stampin’ Up! so make sure you have an email address and you save your codes. Message me if you have any questions or if you would like help placing your order tomorrow.

Again, here is that link to shop: https://www.stampinup.com?hostcode=PJ4UWCQB

One more thing … I invite you to join me LIVE tonight on my Facebook page for another Free Class / Demonstration.

Thank you for joining me today and I hope I see you tonight.

National Ice Cream Day Birthday Card!

Hello Stampin’ Friends ~

Happy National Ice Cream Day!! We’re going to celebrate using the Share a Milkshake stamps & Dies, along with the Wanted to Say Dies. What’s your favorite flavor? Today’s treat consists of a waffle cone with a scoop of vanilla, chocolate and topped off with raspberry! YUMMY

My cardbase is Early Espresso to coordinate with my chocolate ice cream, or if you’re a Chocolate Shoppe Ice Cream fan (out of Madison, WI) we call that deep rich chocolate; Zanzibar! My background is the Stargazing Designer paper and matted with Basic White. The cone is made from the Pecan Pie cardstock.

The Happy Birthday base or mat, is also die cut from the Stargazing designer paper and then topped off with the Basic White … a touch of Wink of Stella on our Happy Birthday. Just like building our cone! A few Berry Burst Tinsel Gems (4-pack) to embellish our cone … or you could call them “sprinkles”.

Making ice cream cones is pretty easy with these few ingredients and soooo tasty looking too.

Enjoy your Sunday and I hope you get out and grab some ice cream to celebrate National Ice Cream Day.

Thanks for joining me for a cone!