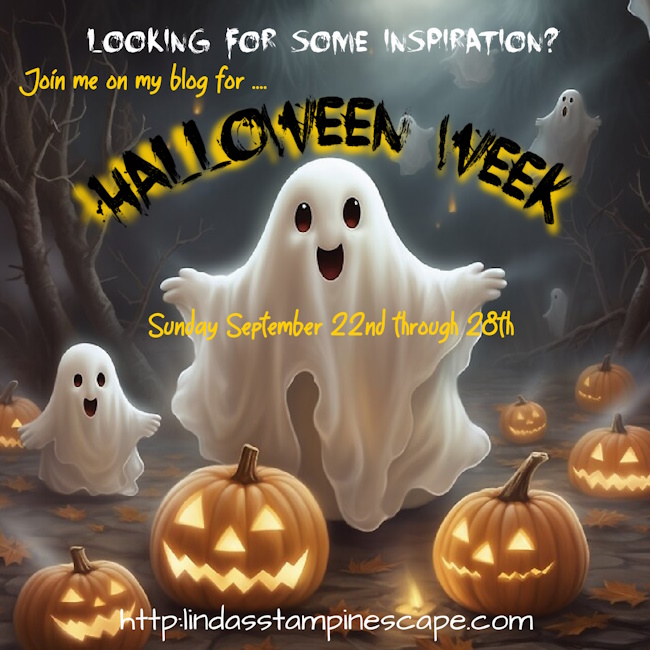
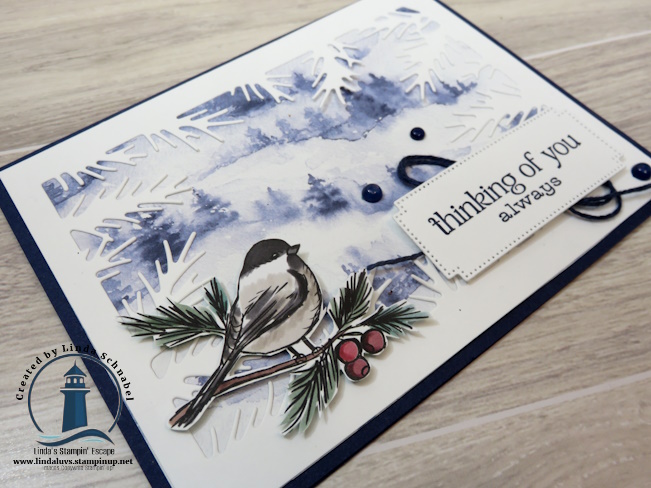
Hello Stampin’ Friends ~
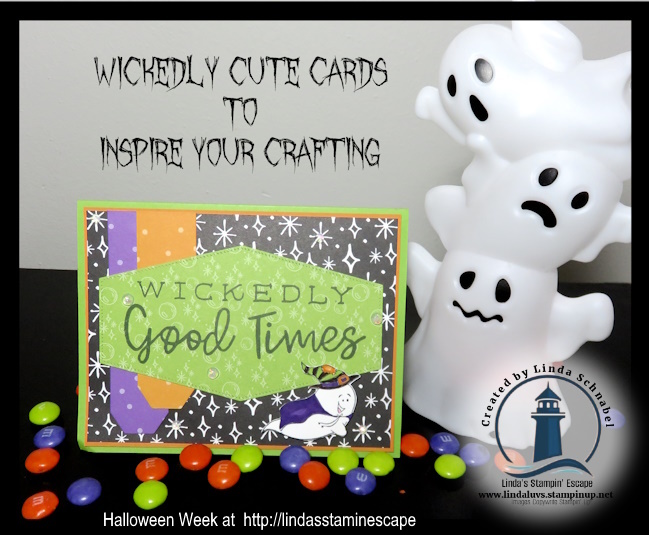
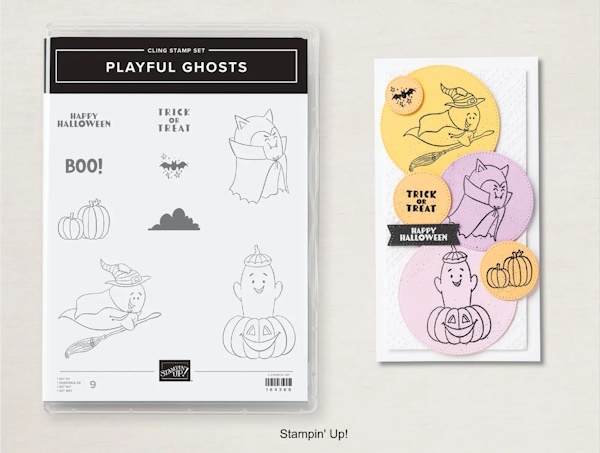
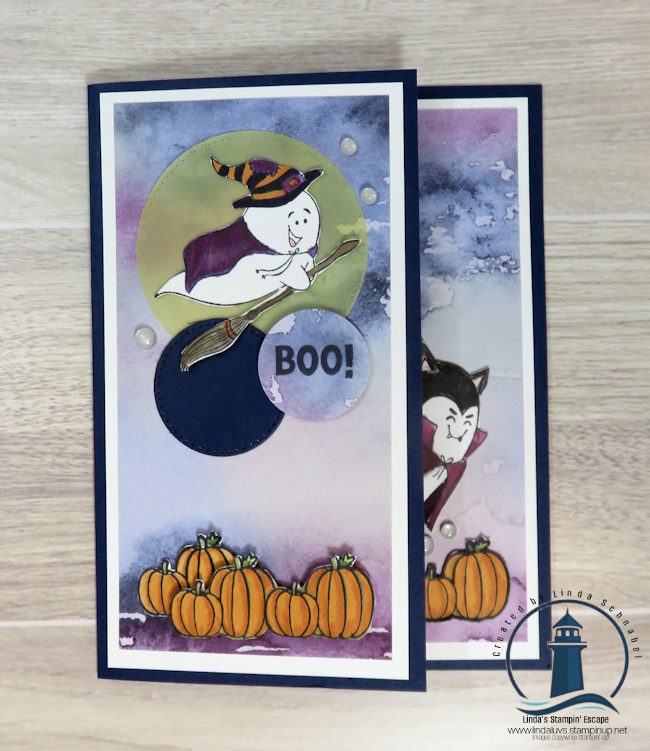
Welcome back, crafty friends! It’s Day 3 of our Halloween Week, and today I’m bringing a bit of spooky fun into the mix with the Playful Ghosts stamp set. If you’ve been following along, you know we’re keeping the Halloween vibes going strong with the Halloween Spells Designer Paper, and today’s project is no different! Let’s dive into how this charming ghostly creation came together, step by step.
To start, I used the starry pattern from the Halloween Spells Designer Paper as the backdrop for our spooky scene. Measuring 3 7/8″ x 5 1/8″, this piece sets the perfect Halloween night tone when mounted onto a 4″ x 5 1/4″ piece of Pumpkin Pie cardstock. This pairing really makes those stars pop! The card base is Granny Apple Green—a must for our Halloween color palette, adding a playful and eerie contrast to the deeper tones of the card.

Now, for a bit of layering fun! I die-cut two banners using the Take a Bow dies: one in Pumpkin Pie and another in the Gorgeous Grape polka dot pattern from the same designer series paper. These playful colors work together to create a whimsical, spooky feel.
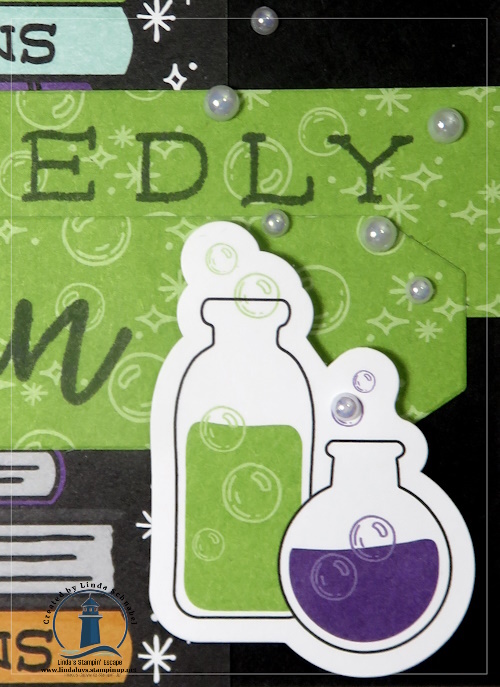
Next, I reached for the Granny Apple Green “bubbly” pattern from the designer paper and stamped the greeting “Wickedly Good Times” in bold black ink. I love how the pop of green brings this sentiment to life! To give it that finishing touch, I die-cut the greeting with the Nested Essentials Dies, giving it a sharp and clean look.

And now for the star of the show—our Playful Ghost! I stamped the adorable little “witch” ghost using Memento ink and brought her to life with markers. You can really have fun with this one by adding bright pops of color to her hat or gown. She’s spooky, but let’s face it, she’s way too cute to scare anyone!
By layering all of these elements together, you’ve got a fun, playful card that perfectly captures the Halloween spirit! Whether you’re sending this card to a friend or adding it to your stash of handmade holiday creations, it’s sure to bring a smile to their face.
All the supplies used in this project are available in my Stampin’ Up! store, so if you’re loving this card as much as I am, be sure to grab your Playful Ghosts stamp set, Halloween Spells Designer Paper, and coordinating dies before they vanish like a ghost in the night! Stay tuned for more Halloween fun coming your way tomorrow—there’s plenty more tricks and treats to come this week! 🎃
Happy stamping, and don’t forget to add these must-have Halloween supplies to your crafting stash! Until tomorrow, keep crafting wickedly good times! ✨👻 OR … You join me LIVE tonight on my Linda’s Stampin’ Escape Facebook page; I’ll be showing you how to make some cute “Trick or Treat” gifts.