Frosted Impressions Tutorial & Card

Hello Stampin’ Friends ~

I hope you had a nice weekend and that you are staying warm.

It’s about -7° as I write this post … burr!! So with warm thoughts on my mind, I have created a “tropical” look for my card share today.

As promised … I have a step by step tutorial for you for the “Frosted Impressions” technique. I did not create this technique but fell in love with how easy it is to do, and the fact that it gives your card a unique look.

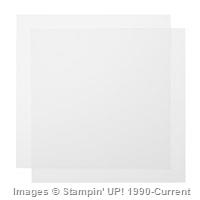
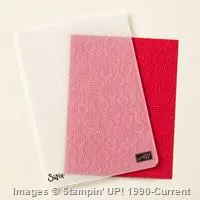
First, let’s begin with your window sheet.  Yesterday you saw my card that had just a small piece, but today the card will use a full quarter sheet. Pick out the embossing folder you want to use, place your window sheet into the folder and emboss.

000_3035

Stampin’ Tip … When you emboss your window sheet, you may want to use a shim (a piece of paper) to give a little more height to your sandwich which will put more pressure on your window sheet and create a deeper impression.

Once you have embossed the window sheet, lay it flat onto a scrap piece of paper and with a sanding block begin gently sanding the embossed images until you it looks white / frosted. Colored scrap paper works best – you can see the sanded area better (we learned this is our stampin’ clubs). Wipe off any dust from sanding.

000_3038

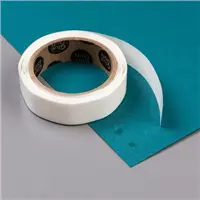
You are now ready to assemble your card … Use glue dots to hold down your embossed window sheet. I like to place the glue dots where it’s embossed & frosted so it’s harder to see.

000_3040

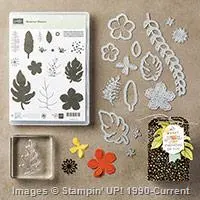
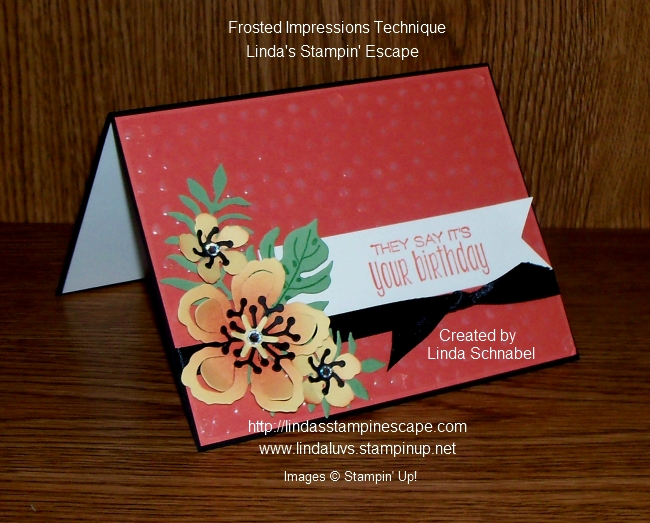
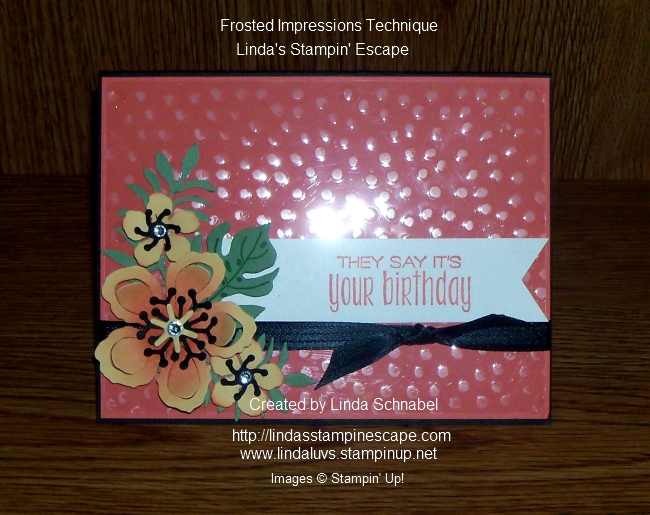
Now for the card … think tropical!!  I used the awesome new “Botanical Builders” Framelit Dies. If you love this you will surely want the to purchase the bundle because it comes with the coordinating stamp set and designer paper. I love, love, love this product suite. You’ll find it on page 26 and 27 in the Occasions Catalog.
000_3045

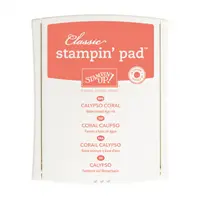
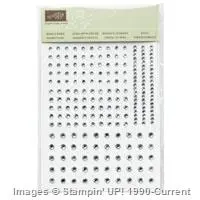
The flowers were made from So Saffron cardstock and enhanced with a sponge dauber with Calypso Coral ink. The color combination is so warm and tropical … so pretty! Had to add a little bling with a rhinestone to finish them off.

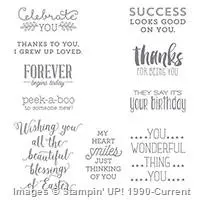
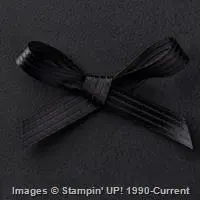
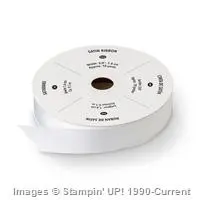
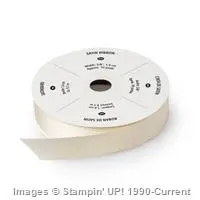
The greeting comes from the stamp set “Suite Sayings” … very versatile! I love all the different fonts and greetings for different occasions. I finished it off with a little black bow using the 3/8″ Stitched Satin Ribbon.
000_3043

I did stamp on the inside of the card with a coordinating flower … and don’t forget to stamp your envelope. You know anyone would want to open that piece of mail first!

So you now that the step by step instructions for the “Frosted Impressions” technique … I hope it inspires you to sit down and try this quick and easy technique.

000_3045

Please let me know if you have any questions about the technique or the card itself.  I’d love to help.

Thank you so much for spending some of your day with me.

I wish you a warm and sunny Monday!

blog-closing-small

Today’s Stampin’ Supply List ….
 

Simply Sunday: Frosted Impressions Technique

Hello Stampin’ Friends ~

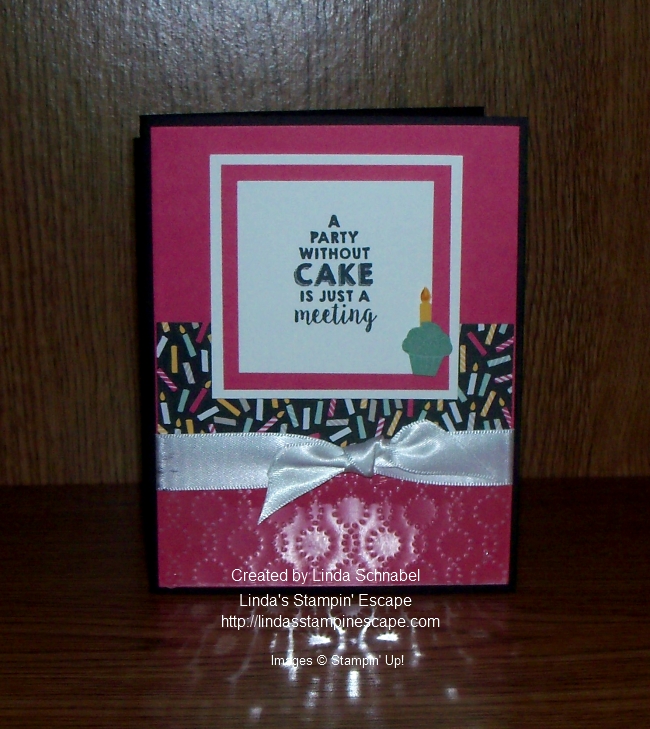
I am back today with a quick and simple card that highlights a new technique that my technique clubs learned this month … Frosted Impressions Technique

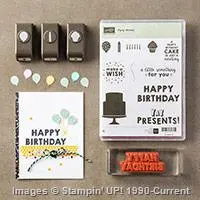
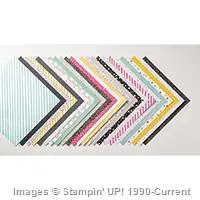
Let me start with the great new product suite: It’s My Party! I picked the “Party Wishes” and “Party Punch Pack” bundle. This cute stamp set and the coordinating punches are the focal point of the card. I also used the “It’s My Party” Designer Series Paper.

000_3029

The cute greeting “A Party Without Cake is Just a Meeting” is embellished with a cute little cupcake which coordinates so sweetly with our candle designer paper.

The bottom of the card has the “Frosted Impressions” technique made created with the “Elegant Dots” embossing folder and Window sheets! Once you run it through the Bigshot you sand the impressions to give it that “frosted” look.

We even continued the party on the inside of the card by wishing you a “Happy Birthday” … with a cute little stamped cupcake!

000_3032

Stop back tomorrow and I’ll have a Step by Step Illustration and another card sample for you!

Till then … Thanks for stopping by and have a great day!

blog-closing-small

TODAY’S STAMPIN’ SUPPLY LIST …


Time to Play …

Hello Stampin’ Friends ~

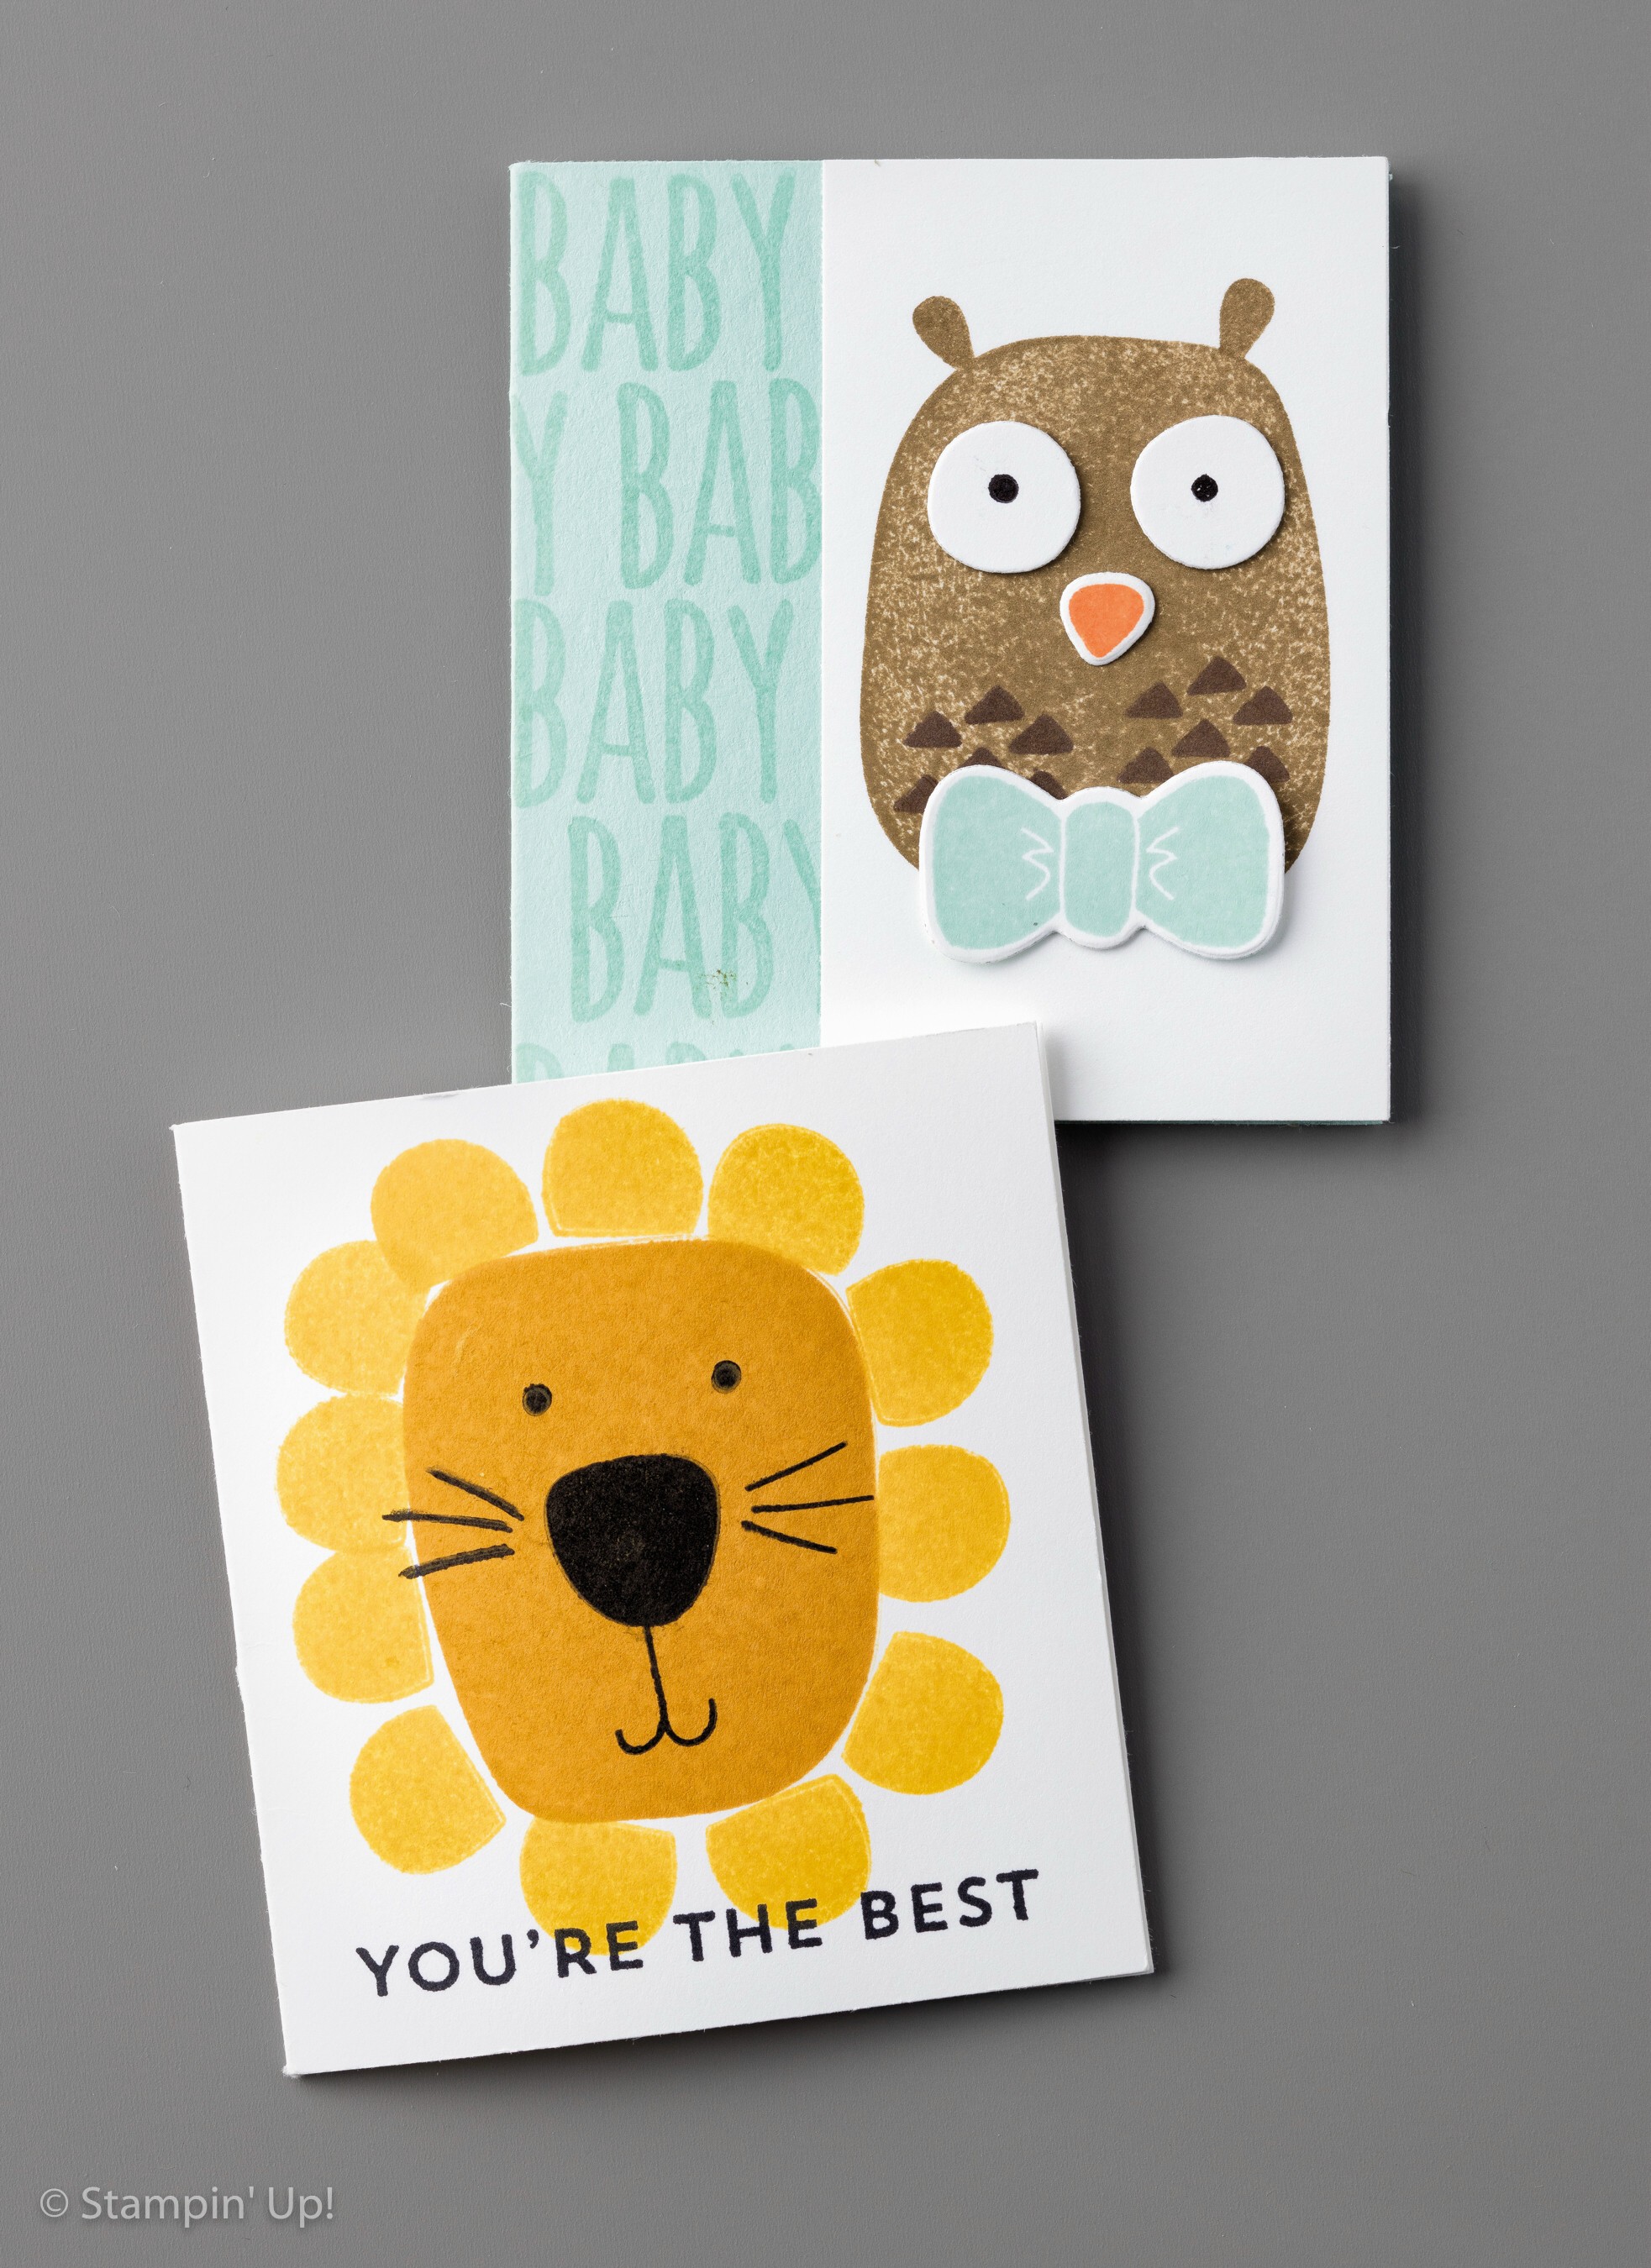
Today I’d like to share with you a fun new product bundle …. Playful Pals!

Occasions16_p44_3

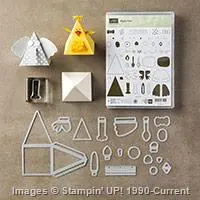
Time to play like Dr. Frankenstein and build your own creatures. But in this case, the lab is your home, the science is a stamp set, and the creatures are whimsical pets that will be adored by one and all. Combine the Playful Pals Stamp Set with the Pyramid Pals Thinlits Dies to create 3D animals. Learn how to create your own playful pals …

Here are the cute little note cards that Brandi showed you in the video …

Occasions16_p44_1

So … what do you think? Pretty fun right!! I think I’m falling for that little doggie… to cute.

Thank you for stopping by my blog today. Let me know if you have any questions on these products.

Have an awesome Friday!!

blog-closing-small

TODAY’S STAMPIN’ SUPPLY LIST … Remember, purchases over $50 will qualify you for a FREE Sale-a-bration item!


Birthday Balloons …

Hello Stampin’ Friends ~

Today I want to share with you a card that I have “stepped up” from the Simply Sunday card I posted …

000_2991

On Sunday’s card I stamped a single balloon, today’s card we have multiple balloons. This is done by the “Masking Technique”.

Here are the step by step instructions …

1]   Stamp image on card stock.

2]   Stamp it again on a piece of scratch paper.

3]   Cut carefully around the scratch paper image, cutting just inside the lines; this will be your mask.

4]   Place the mask on top of the card stock image.

5]   Stamp another image over a portion of the mask to create layered, interacting images.

6]   Remove the mask to see the finished look.

7]   To stamp a partial image, use tape to cover the part of the stamp you don’t want to appear, ink the stamp, remove the tape, and stamp the image.

QUICK TIP
To ensure that the mask stays in place, stamp image on a Post-It® note.

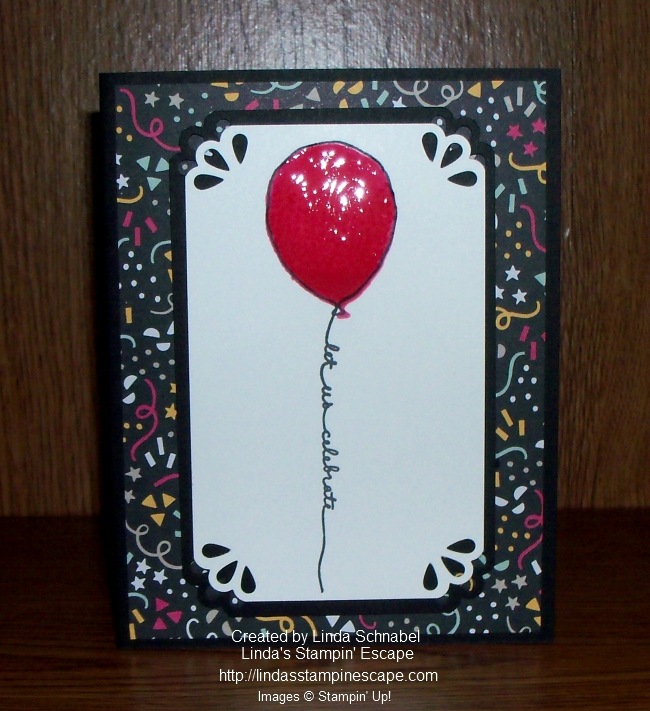
Here is my “Stepped Up” card using the Masking Technique …

000_3025

When you stamp your secondary balloons – you go over the first, your mask will cover (protect) the first balloon. Your secondary balloons will appear as if they are behind the first one!  It’s so cool and so easy to do.

Just like the first card, I used the “Party Wishes” stamp set and the “It’s My Party” Designer Series Paper Stack. I added highlights to the balloons using the “Chalk Pen” and then covered the balloons with Crystal Effects.

I used the Bow Builder punch to get the cute little edges on my birthday banner. Just because it’s a punch to create bows … don’t let that stop you from finding other ways to use it!!

Hope you enjoyed today’s card … I thank you for checking it out.

Have a wonderful day today!

blog-closing-small

Today’s Stampin’ Supply List …

000_3025

Love you always!

Hello Stampin’ Friends ~

Today I would love to share with you the cute card that I made using some of the Weekly Deals. If you would like to see them again CLICK HERE.

Valentine’s Day is just around the corner and I think our “Hearts Border Punch” and “Something to Say” stamp sets are a great combination to have around! Let’s not forget the Envelope Paper … I’ve combined them all for today’s post  …

000_3005

This card is dedicated to our dear friend Alice … We loved stamping with you, your sense of humor, and your wit. You will be deeply missed, and we know there is a special angel watching over us ❤

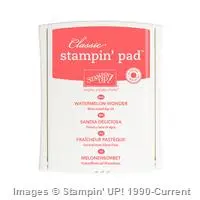
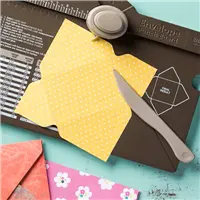
I started with the Envelope paper because it would help determine my color pallet … I chose the “Watermelon Wonder” for my card. At this point I pulled out the “Envelope Punch Board” because I not only used the paper for my card but created a matching envelope. How fun is that!

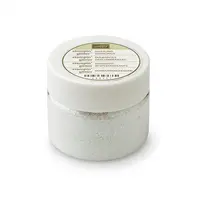
Next I punched a strip of hearts with the “Hearts Border” punch and decided to put a strip of “Dazzling Diamonds” Glimmer paper behind it … gotta love that sparkle!

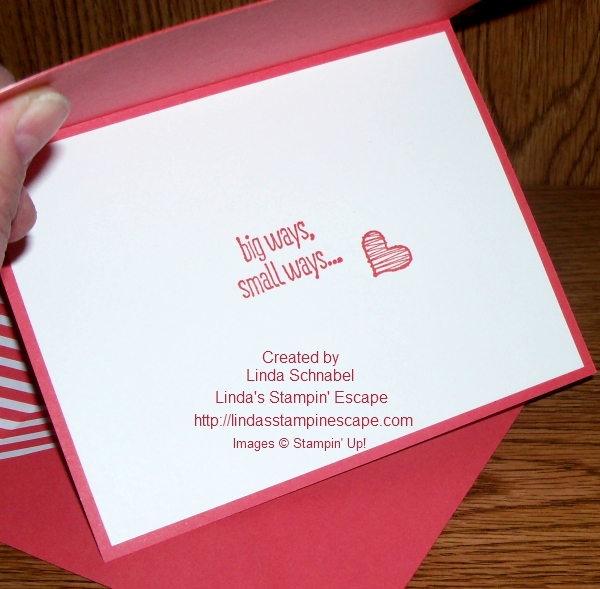
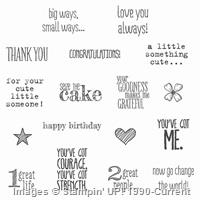
With so many greeting types in the “Something to Say” you think it would have been hard to chose from, but I was focusing on Valentine’s so the “love you always” was easy. It has a coordinating stamp “big ways, small ways” that I stamped on the inside of my card.

000_3007

The little heart also comes in the “Something to Say” stamp set and I stamped that on the front greeting and on the inside of my card. On the front I added “Crystal Effects” to my heart and then sprinkled it with some “Dazzling Diamonds” while it was still wet … LOVE that effect!!

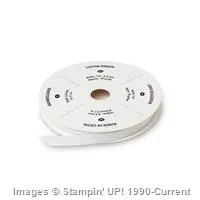
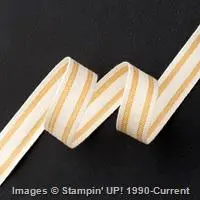
I finished off my card with a simple bow made from the 1/4″ White Cotton Ribbon. It’s so easy to use and I keep plenty on hand because it goes with everything!

000_3005-small

Now you can see why I love our Weekly Deals this time (well, to be honest … they’re always good!)

Thank you for joining me today … I love the company!

We’re fighting some mighty cold weather here in Wisconsin … so stay warm! If you’re in one of those nice warm states … send some our way. Thanks again.

blog-closing-small

TODAY’S STAMPIN’ SUPPLY LIST … Please let me know if you need help or have questions on any of the items listed below. You may click on anyone for more details or to begin shopping.


Weekly Deals are here …

Hello Stampin’ Friends ~

I’m here with the Weekly Deals.

6a00e554f4a3a4883401a511ebad82970c-800wi

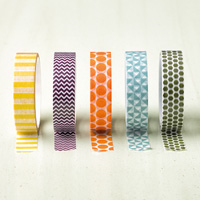
We have some fun products for you this week like the 2014-2016 In Color Designer Washi tape (will retire this year) and the 2015-2017 In Color Envelope Paper – which I added a video to explain more about it! Great time to stock up.

With Valentine’s Day right around the corner you are going to want the Hearts Border Punch handy and the “Something to Say” stamp set by your side. Stop back tomorrow to see what I have created with these products.

Here are the Weekly Deals …  I hope you like them as much as I do!

Sale: $6.00 • Price: $8.00
Hello Honey, Blackberry Bliss, Tangelo Twist, Lost Lagoon and Mossy Meadow.
Sale: $4.50 • Price: $6.00
Sale: $12.00 • Price: $16.00
Sale: $5.25 • Price: $7.00

Supply List

Built for Free Using: My Stampin Blog

Skip plain and boring and make your own pretty patterned envelopes. This thin, text-weight paper makes perfect envelopes: it’s stronger than regular paper and less bulky than cardstock. Learn how to make custom envelopes that are slim, trim, and gorgeous. Here is a video …

Thank you for checking in …

I hope you have a wonderful day.

blog-closing-small

You’re Invited …

Hello Stampin’ Friends ~

I have been teasing you this past week with samples from the new Occasions and Sale-a-bration catalogs, and have told you that I would be hosting a FUN Stamp Camp focusing on all the wonderful stamp sets and accessories! Here’s the details …

Occasions16_p00_Cover

You will be creating 10 fabulous cards w/envelopes! 

DATE: Monday, January 25th

TIME: Doors Open at 6 pm

PLACE: Moose Lodge Hall / West Bend, WI 53095

RSVP by Friday, January 22nd

When good people gather, great things happen! Spend the evening stamping, snacking, chatting, and checking out all that is new in the Occasions and Sale-a-bration Catalogs!

You never know what surprises I will have planned …   Plus, it’s Sale-a-bration, and who doesn’t like FREE Stuff!!

Click Here to RSVP  / or call 262-334-1009

Please let me know if you have any questions about my Occasions / SAB Catalog Kick-Off Party.

Thanks much for stopping by …

Have a wonderful day!

blog-closing-small

Simply Sunday: Let Us Celebrate

Hello Stampin’ Friends ~

I hope you are having a peaceful weekend (unless your hoping for a fun packed one!).  I have had the pleasure of meeting with two of my clubs this weekend so mine was good … anytime shared with friends is a good time.

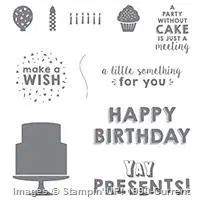
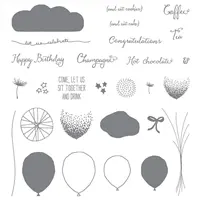
Today we are bringing it back to basics … with a focus on stamping. I am using the “Balloon Celebrations” stamp set from the Occasions Catalog. It is a two-step stamp … one in which you can use multiple stamps to layer color onto your image.

000_2991

You can see that my first stamp was the bold (solid) balloon done in Melon Mambo. Then it was stamped with the speckled (partial / detailed) stamp directly over the top – I used Melon Mambo again and stamped it twice to get a darker color. My last stamp was the line image the outside of the balloon – I chose the Black Momento pad to create more of an impact.

My greeting – the balloon string was also stamped in the Momento Ink. I punched the corners for a bit more flair and then popped it up onto the “It’s My Birthday” Designer Series paper also from the Occasions Catalog.

Only one more step to finish off my card … I added “Crystal Effects” to the balloon to make it shine! Simple, basic techniques can still make a fun, colorful card.

000_3001

The purchase of the “Balloon Celebrations” stamp set and the “It’s My Birthday” Designer Series paper Stack (48 sheets, 4 each of 12 double-sided designs) will get you a FREE Sale-a-bration Item (VIEW HERE)

Thank You for taking time out of your Sunday to stop by and visit with me. I hope you enjoyed the card and feel inspired to get back to basics and create fast and fun birthday cards!

Have an awesome day ~

blog-closing-small


TODAY’S STAMPIN’ SUPPLY LIST …


What I Love …

Hello Stampin’ Friends ~

Hope today finds you feeling good and ready to stamp! What I love about being a demonstrator is sharing great products and some awesome samples!

Today I’d like to feature the “What I Love” stamp set from our Sale-a-bration catalog. You can get this stamp set FREE with a purchase of $50 (before shipping & tax).

This stamp set falls in the category of “two-step” stamping. Glad to see this style of stamping is still going strong. It’s for those people who love adding color to their projects but aren’t real fond of the time it takes to color … with two-step stamping you just stamp the color!

US_AU_EU_16_SAB_Demo_Images-13

This sample highlights the Pacific Point and Tempting Turquoise colors and they really pop off the card! Like I said, this is a sweet way to get some quick color on your card.

But …

Don’t stop there! The detailed images of this stamp set work great for embossing! You can emboss this image in white or clear and then use your dauber to add a deeper color to your project.  WOW … that really softens the flower but still makes an amazing impact to your card.

US_AU_EU_16_SAB_Demo_Images-24

Either way … this is a great stamp set to add to your collection.

Thanks for dropping in, I’ll see you tomorrow for my Simply Sunday Series.

Have an awesome day!

blog-closing-small

“Going Places” is fun, fun, fun!

Hi Stampin’ Friends ~

If you’ve been waiting for new stamps and accessories to create those cards for the men in your life, then the Occasions catalog has answered your prayers!

Check out our “Going Places” product suite … you will find it on pages 38 and 39 of the Occasions catalog.

I didn’t have to look twice to know this product suite was going to be top on my Wish List.

2de375dcd7d28303dcbb5ef29dfc6542

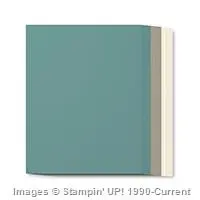
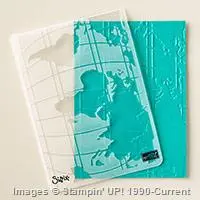
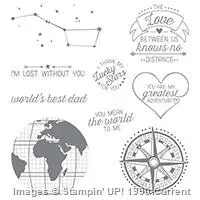
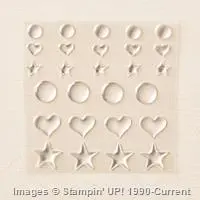
The Lost Lagoon card was created with the “World Traveler” Embossing folder and the “Going Global” stamp set. If you look closely you will also see the “Itty Bitty Accents” Epoxy sticker … they add a nice touch to finish off the card.

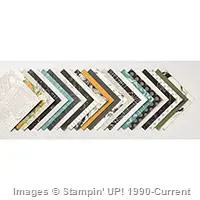
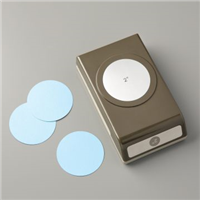
The treat bag was created using the “Going Places” designer series paper stack, the “Going Global” stamp set and the coordinating 2″ circle punch.

This product suite will be featured at my Stamp Camp later this month …  SAVE THE DATE: January 25th. I’ll be sending the notice out by this weekend.

Thank you for joining me today.

I hope your day is a great one!

blog-closing-small

TODAY’S STAMPIN’ SUPPLY LIST …

These items when purchased would qualify you for a FREE Sale-a-bration item!!


Experience the Magic …

Hello Stampin’ Friends ~

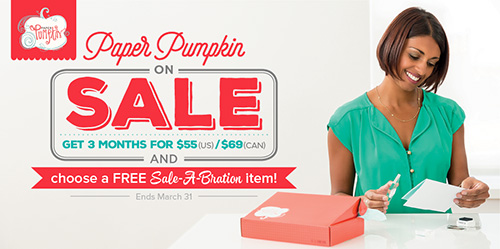
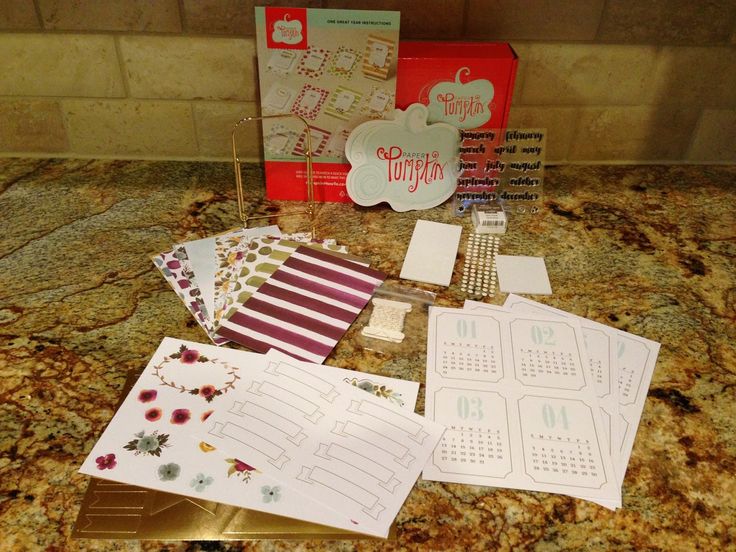
Hey, have you heard the good news? Paper Pumpkin 3-month subscriptions are on sale! Plus, you can choose a FREE Sale-A-Bration item. Win-win!

PP_SAB_2016_Header

OR … Surprise yourself every month for a year! Get a 12-month Paper Pumpkin subscription and you’ll save $2/month, get Stampin’ Rewards, and earn 4 FREE Sale-A-Bration product item! Click Here

I am absolutely blown away each month when my PAPER PUMPKIN kit arrives, and December was NO exception I couldn’t wait to put this adorable 2016 calendar project kit together!

05425ef6997859f06b085e2d9792812a

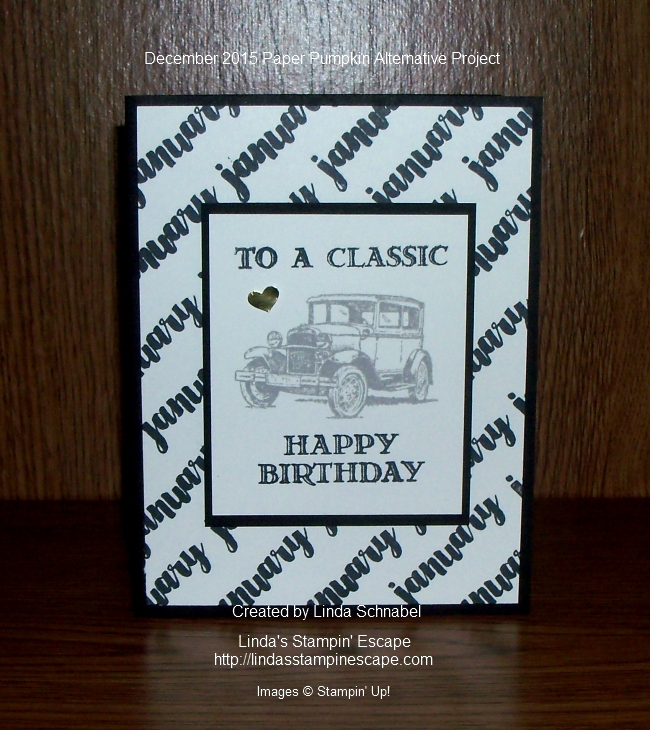
Here’s an alternative project that I came up with from my December kit ….
000_2985

(I used the the “month” stamp to create a background for my card, you can personalize a card for every month! Every occasion!  *Guy Greetings was also used to create this card)

A big benefit of being a subscriber is that you get to purchase past kit and refill kits!! If you missed a kit and it’s available, as a subscriber you can now purchase it! And if you LOVE one of the kits you received and want more … Just buy the refill!! I have done that a number of times, and used them for gifts and / or giveaways.

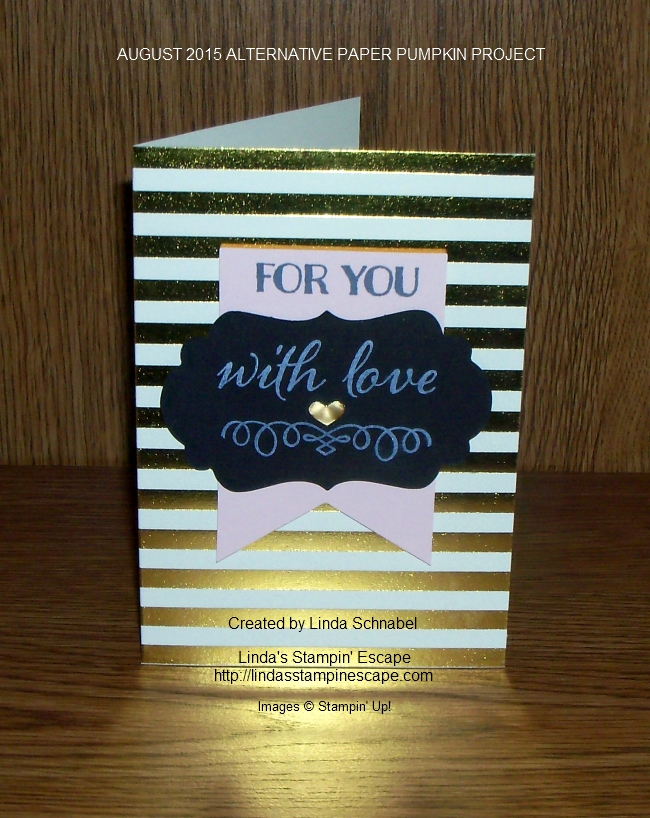
Here’s the August Kit (available) and an alternative project you can make for Valentines day …

000_2982

(All of the stamps used to create this card came from the August 2015 stamp set included in the Paper Pumpkin kit.  I love the script and find I use that stamp set a lot. Just one more benefit of being a Paper Pumpkin subscriber … exclusive stamp sets!)

Already A subscriber to Paper Pumpkin?   How about purchasing a subscription as a gift for a friend, spouse, child, or parent… then you’ll have a crafting buddy every month!

Never tried Paper Pumpkin? Then now is the perfect time … get a discount, grab a free Sale-A-Bration item, and get three months of papercrafting bliss!

Banner_PP_SAB_OLO_12.29.2015_USand get a FREE Sale-a-bration item too!!

Ready to Order? Click Here to begin … then set up an account

Please let me know if you have any questions about Paper Pumpkin or if you need help placing your order.

Thank you for stopping by …

Have a great day!

blog-closing-small


New Stampin’ Products Introduced ….
Hello Stampin’ Friends ~

While I’m away I want to share with you a few videos explaining some of the fabulous new items you will find in the Occasions / Sale-a-bration catalog!

Let’s begin … Wink of Stella Glitter Brush

Add sparkle to your projects without the mess. The Wink of Stella Glitter Brush is perfect for writing and adding subtle controlled glitter to stamped images. Watch this video to learn how you can easily add sparkle to your projects.

This is great for those of you who like the “sparkle” but don’t like the mess of glitter! And it works as easy as our blender pens!!


Next Up … Enjoy the Little Things

Make it, display it! Create an artwork display for each month of the year, then make it part of your home décor. It’s super easy—we’ll show you how.

I have set aside February 19th for our “Enjoy the Little Things” class.  You will have to pre-order your supplies through me by February 5th.  Contact me if interested … I will also be sending out class announcements soon, and / or you will find in on my calendar page.


Last but not least … Memories in the Making Project Life Specialty Card Collection

Project Life makes memory keeping super simple: just slip your photos and our cards into Photo Pocket Pages, and you’re done. Simple, but beautiful—watch as we show you how the specialty finishes on these cards add extra pizzazz to your scrapbooks and memory albums.

I hope you have enjoyed the preview of just a few of the awesome new products available in the Occasions / Sale-a-bration catalogs. As you can see, there is something for everyone… great stamp sets, accessories, project kits and scrapbooking.

Please let me know if you are interested or have any questions on any of the products shown above. I’d love to help you.

Thank you for checking in on me …

Have a fantastic day!

blog-closing-small

TODAY’S THE DAY!!

Hello Stampin’ Friends ~

Today’s the day we kick off the Occasions and Sale-a-bration Catalogs!  Woooo Hoooo!

I have shown you samples from the Botanicals bundle and that there is a Sale-a-bration stamp set that was designed to coordinate, so today you can see them combined!!

US_AU_EU_16_SAB_Demo_Images-6

One more surprise … see the beautiful vellum over the “thanks” card? It’s also a Sale-a-bration item!! The beautiful “Botanical Gardens” Designer Vellum can be yours with a $50 min. purchase (before ship/tax).

Vellum sheets embossed with white printing make gorgeous accents, invitations, and overlays. Or layer it over your favorite cardstock or Designer Series Paper to add color. See what you can do with a simple but elegant stack of paper.

Watch the video …

I am so excited to share these projects with you … I look forward to sharing some of the other stamp sets and accessories as well.

Please let me know if you have any questions on how you can get any of the Sale-a-bration items!!

I didn’t forget ….
6a00e554f4a3a4883401a511ebad82970c-800wi

CLICK HERE TO VIEW WEEKLY DEALS

Thank you for joining me today~

blog-closing-small

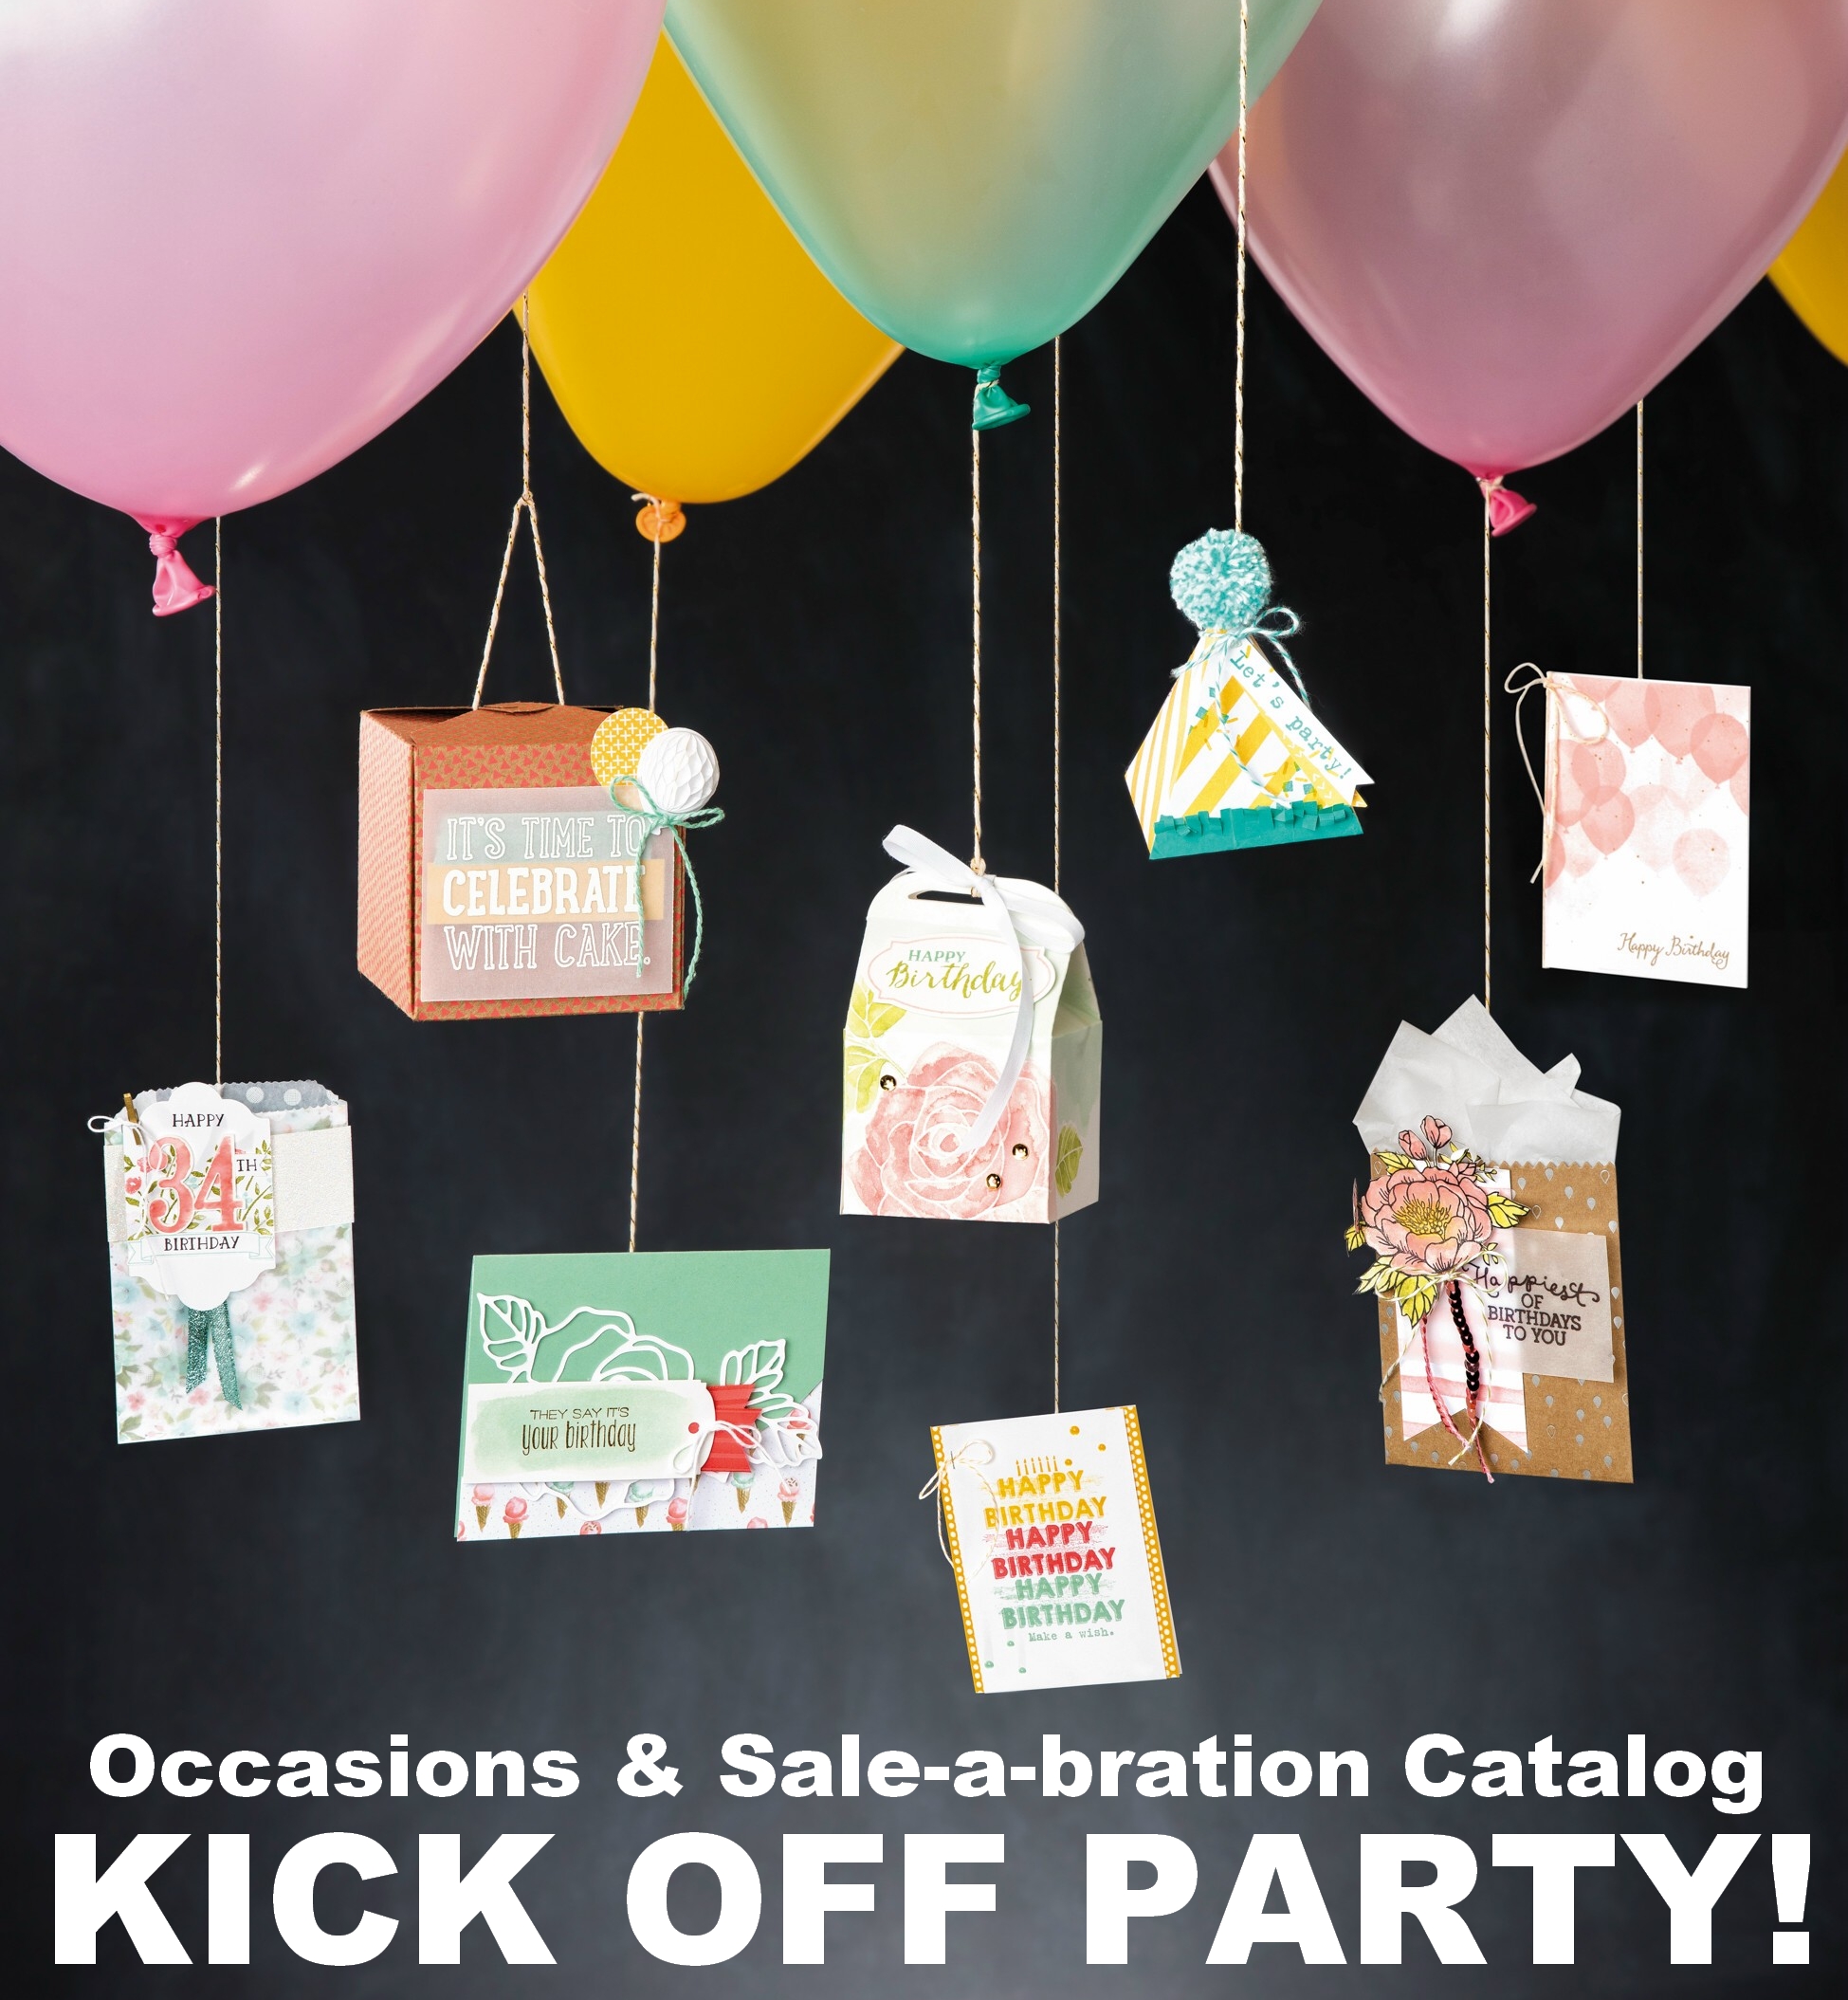
A taste of “eye candy” … Stampin’ Up! Style

Hello Stampin’ Friends ~

Quick post today as I run out of the house and begin my mini vacation! I found there is not much to do in Wisconsin in January if you don’t ski, tube or snowmobile, or ice fish … well there is a lot to do, but I was thinking a bit more of the “indoor” activities.
I’ll give you an update when we return, till then …

US_AU_EU_16_SAB_Demo_Images-30

A little “eye candy” for you from our Occasions and Sale-a-bration catalogs!!  How fun is this?

I will definitely be sharing so much more with you along with some dates for upcoming stamping events! I’m also working on a way to include some of my long distance stampers … I’ll keep you posted!

Enjoy your day and thanks for stopping by~

blog-closing-small

Simply Sunday: Sale-a-bration Sneak Peek

Hello Stampin’ Friends ~

We are only days away from our exciting Sale-a-bration celebration! There are so many cute products you can choose from!

Today I’m going to share some sweet and simple cards created with the “Honeycomb Happiness” stamp set.

US_AU_EU_16_SAB_Demo_Images-12

This cute set coordinates with the “Honeycomb Embellishments” that can be found on page 9 of the new Occasions Catalog. They come in Whisper White, Blushing Bride and Mint Macaroon!

Try spritzing the white “Honeycomb Embellishment” with your choice of ink to achieve the color you desire, just like Stampin’ Up! did with the little chick!

I hope you are getting just as excited as I am that Sale-a-bration is around the corner … make sure you’re on my e-mail list so you get our Stampin’ Events updates, I’ll be sending them out shortly.

Don’t forget … Tomorrow is the last day to shop from of our “End of Year” Sale!

Main_Year-End-Sale_OLO_1210_USCLICK HERE TO VIEW SALE ITEMS!

YEAR END SALE ENDS JAN 4th
• No minimum purchase required.
• Items offered during the Year-End Sale are while supplies last.
• Year-End Sale orders are eligible for Stampin’ Rewards with qualifying orders.
• Following the Year-End Sale, some remaining items may stay in the Clearance Rack.

Deadlines:
• Phone orders: January 4, 2016 6:50 PM (MT)
• Online orders: January 4, 2016; 11:50 PM (MT)

Thank You so much for sharing your Sunday with me. Let me know if you have any questions or if you are interesting in hosting a Stampin’ Party during Sale-a-bration for you and your friends, because you want to be sure to get your share of the fabulous Freebies!

Have an awesome day!

blog-closing-small