Hello Stampin’ Friends ~
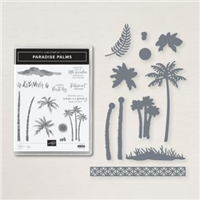
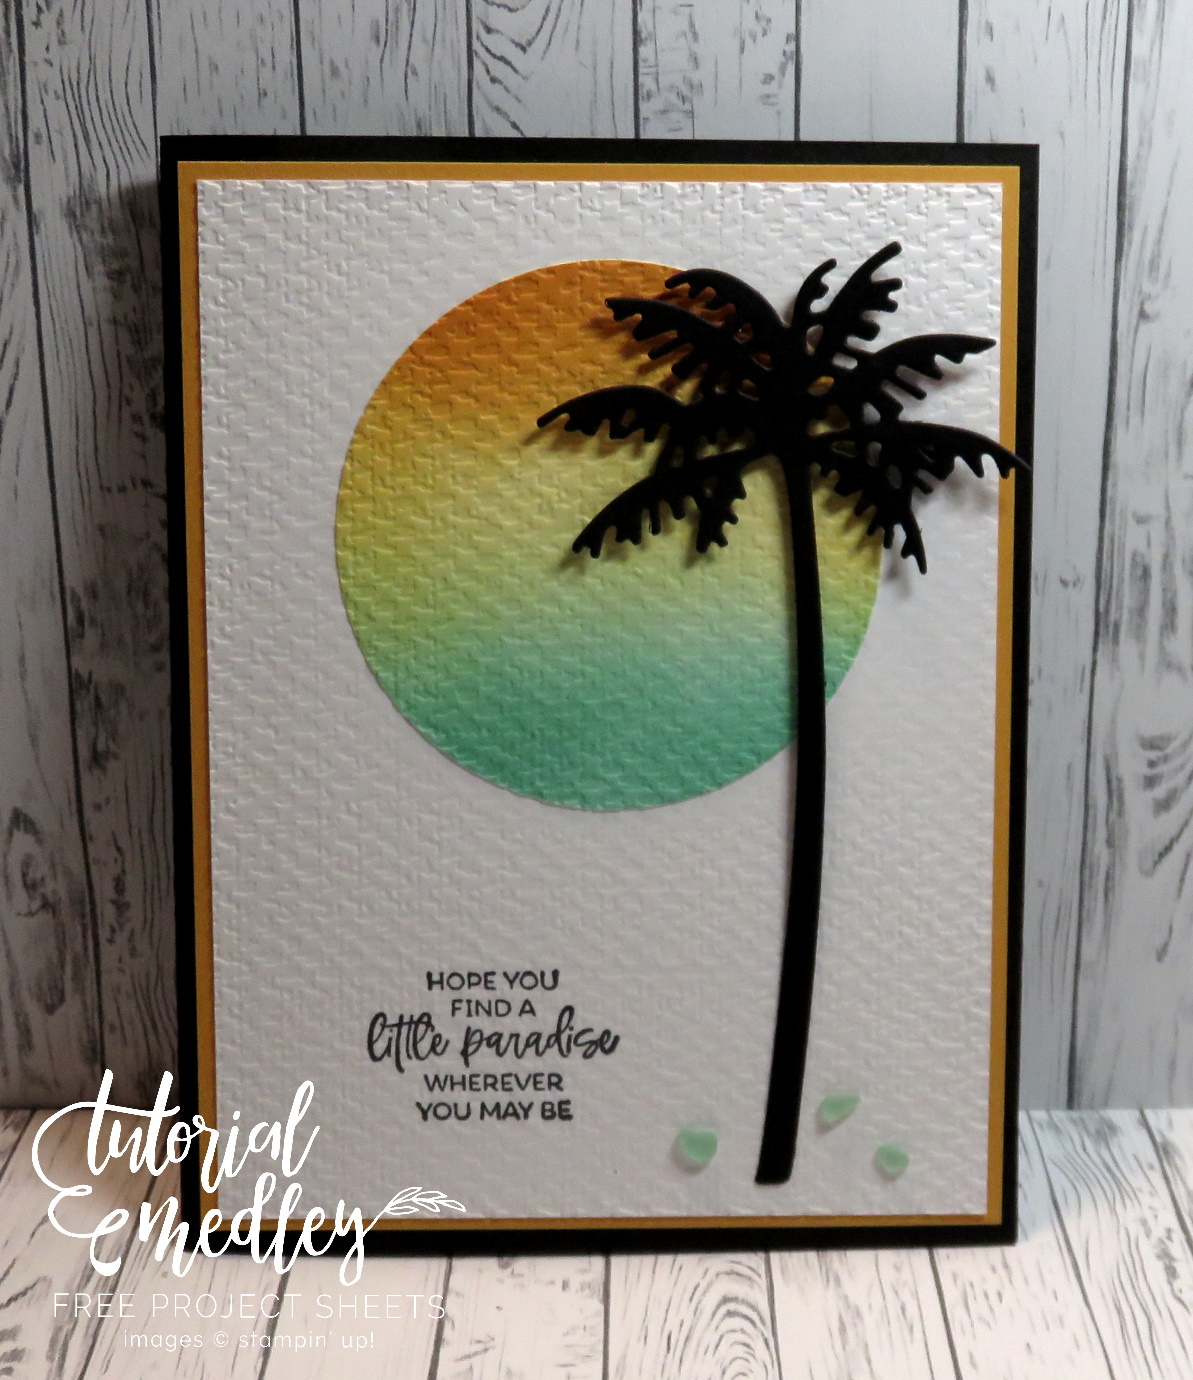
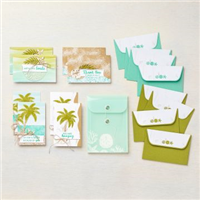
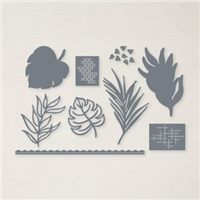
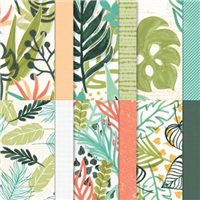
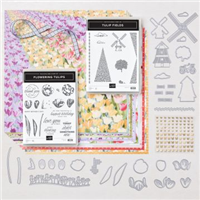
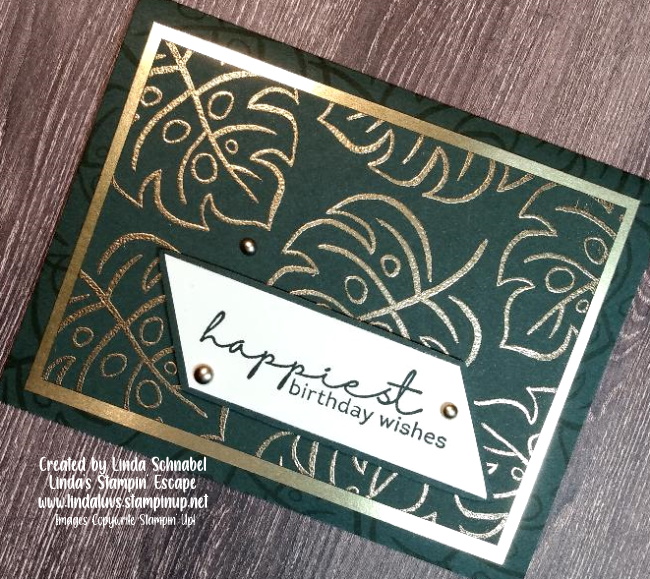
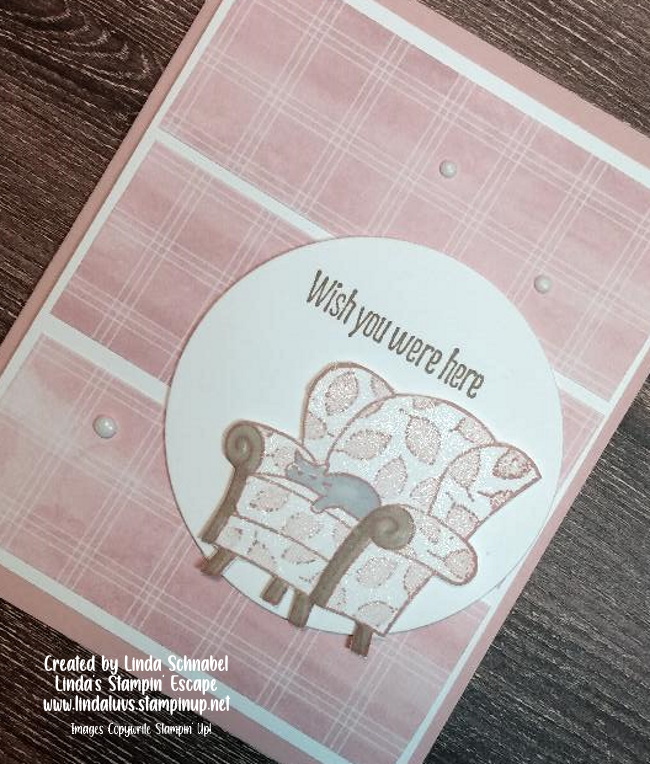
Today I’m going to share another Paradise Palms Card with you… with a TROPICAL VIBE! This card and transport yourself (or your friend) someplace warm and relaxing! It’s created with a simple technique that adds some fun texture to the card ….

You have a card base of Basic White cut to 8-1/2″ x 5-1/2″ then scored and folded at 4-1/4″. Then your front is 4″ x 5-1/4″ … here is where your texture comes in: Bring out your Simply Score or use your Paper Cutter to add score lines every 1/2″. I love this technique as it’s so simple but gives you that beach shiplap look!!
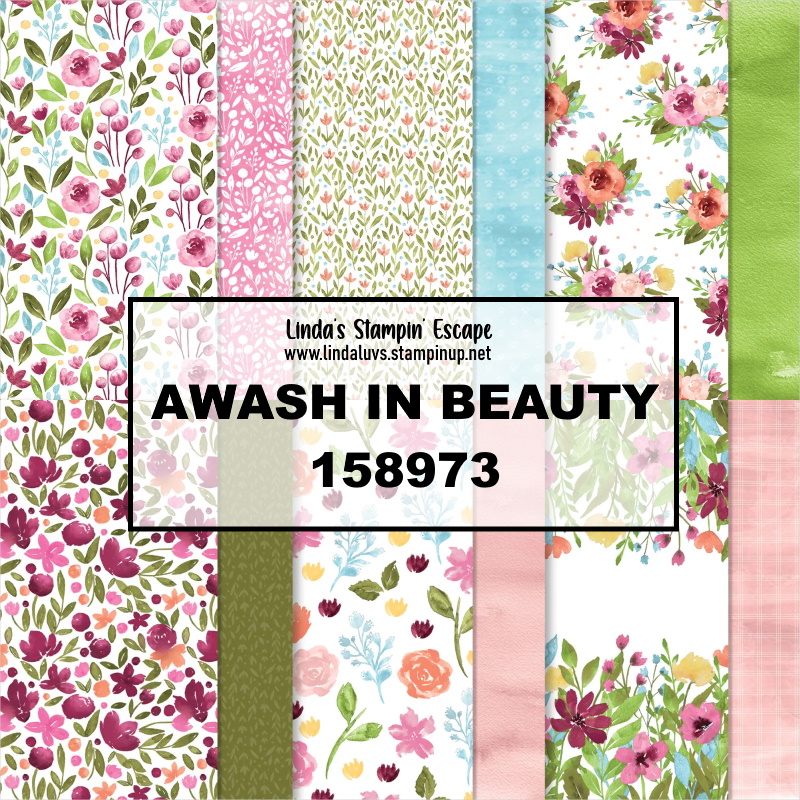
To create that colorful sun behind your tree, simply cut 1/2″ strips of Mango Melody, Bermuda Bay, Coastal Cabana and Daffodil Delight … all four of these colors come from our Brights Collection, so if you’re new to stamping, you can just purchase the collection of cardstock on page 126 of our annual catalog instead of buying each color of cardstock. It’s a nice way to gradually get into the colors without breaking the bank.
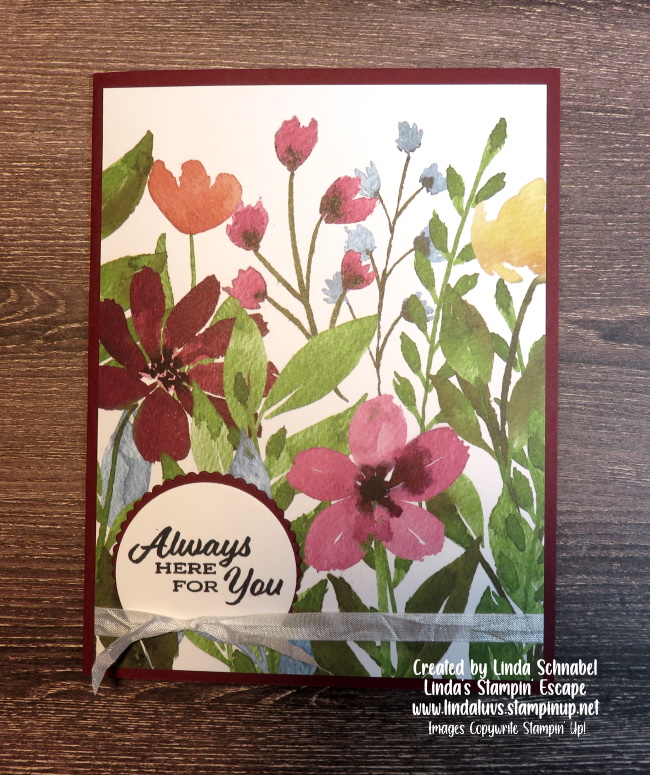
Once all your strips are cut, I like to attach mine to the adhesive sheets (you can cut it down to the size you need, which I made slightly larger than the circle die. It’s two sided so you simply layer the strips onto one side. Then you’ll die cut using the largest circle die from our Layering Circle dies … then simply peel off the backing and attach it to the scored card front.
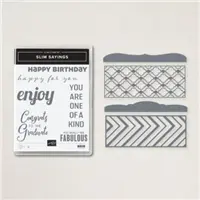
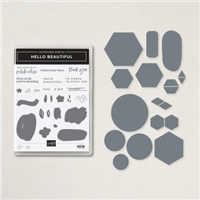
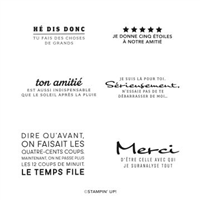
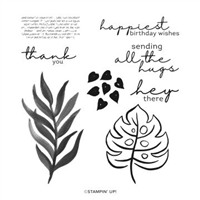
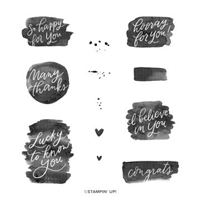
The greeting is embossed in white and die cut using the Stitched Rectangle dies. Both the Layering Circles and the Stitched Rectangle sets of dies are must haves in your stamp room, so very versatile!
Hope you enjoyed another look at the Paradise Palms Bundle and today’s TROPICAL Card. Thank you for stopping by ~
Have a wonderful day!!

TODAY’S STAMPIN’ SUPPLY LIST … If you liked the products used in todays projects, I have links for you below. Just click on the item you would like more information on, or to begin your shopping. It will take you directly to my website. Thank you ❤