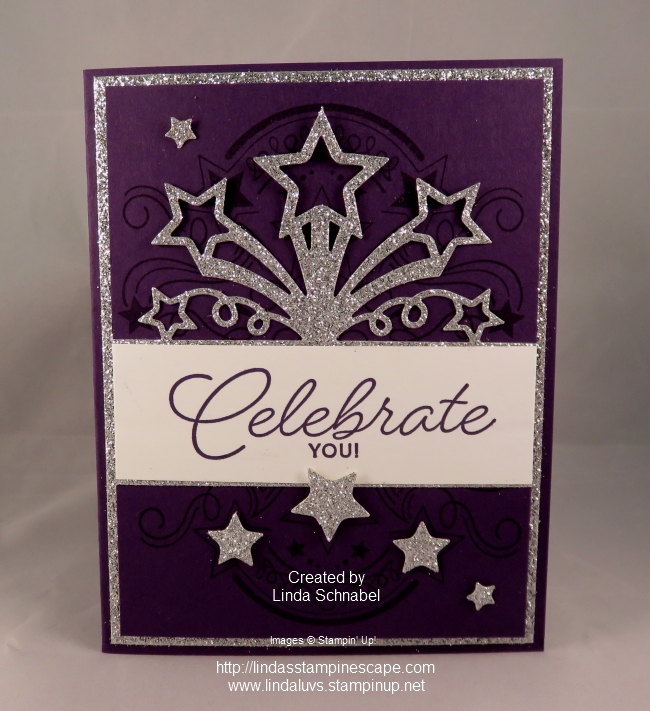
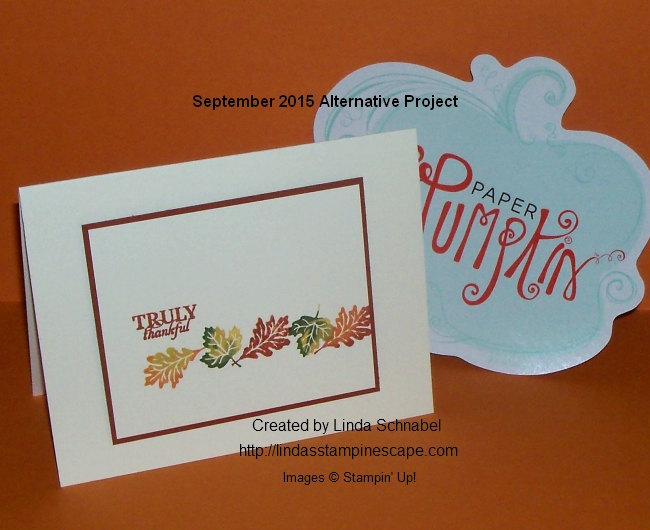
Hello Stampin’ Friends ~
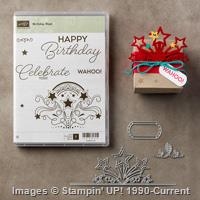
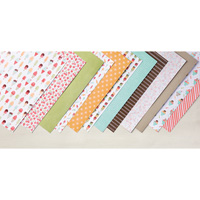
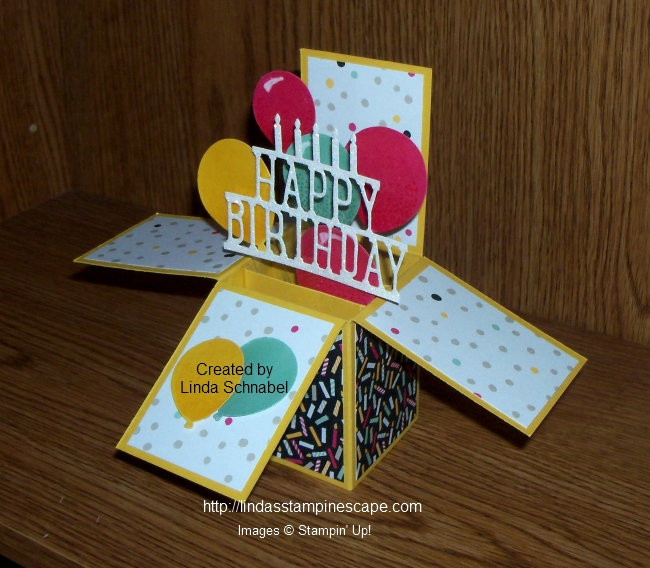
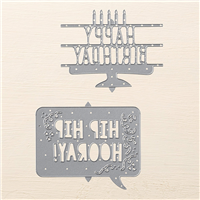
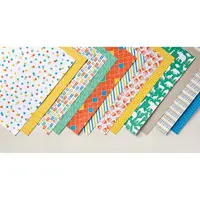
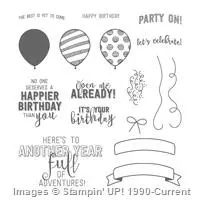
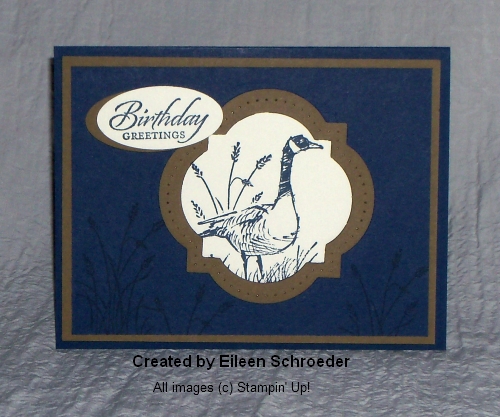
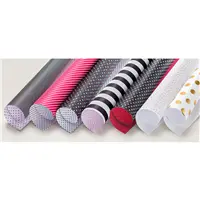
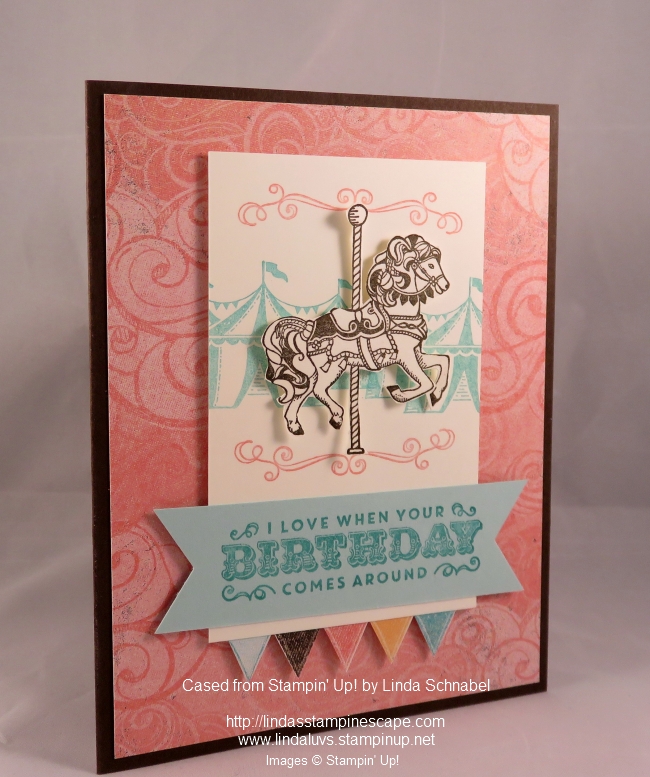
Today we are going to continue the celebration with a Birthday Card! The birthday card was cased from the Occasions Catalog … I put my twist to it! I am using the “Carousel Birthday” stamp set and “Cupcakes & Carousels” Designer Series paper…

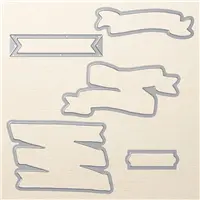
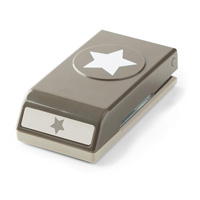
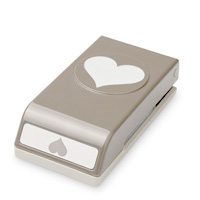
Did you know that the stamps in the “Carousel Birthday” stamp set coordinate with the Up & Away Thinlets dies (cuts our the cupcake & frosting for you). Also … the cloud dies from the Up & Away Thinlets dies can be used with the “Cupcakes & Carousels” Designer Series paper … there are fluffy cloud patterns (see a sample on page 8 of your Occasions Catalog).
The little banners also came from the “Cupcakes & Carousels” Designer Series paper, just a simple trimming of the paper and you will have plenty of banners to use!
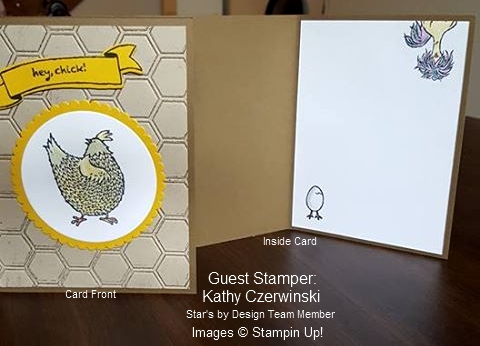
There is a little surprise on the inside of the card, but I am saving that to surprise those who choose this card as one of their choices. Anyone in the US can choose 5 of the 10 cards presented or all 10!! Here’s how …
$50 Order: Choose 5 of your favorite cards featured plus a FREE Sale-a-bration Item!
$100 Order: Get ALL 10 Cards plus 2 FREE Sale-a-bration items!!
$150 Order: Get ALL 10 Cards plus 3 FREE Sale-a-bration items AND Hostess Dollars!!!
All cards you choose will be sent to you fully assembled & with full instructions & tips.
Thank you for joining me today!
Find a reason to celebrate and enjoy ~