New In Colors & Better Together …

Hello Stampin’ Friends ~

Yesterday I shared some sweet -n- simple cards that you can make with the new 2016-18 Stampin’ Up! In Colors and the Floral Affection Embossing Folder (set of 2), so today I thought I would “step it up” and create another set of cards using the other image in that set!

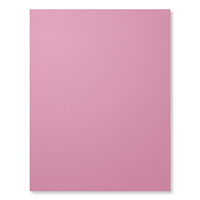
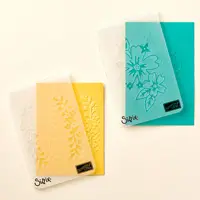
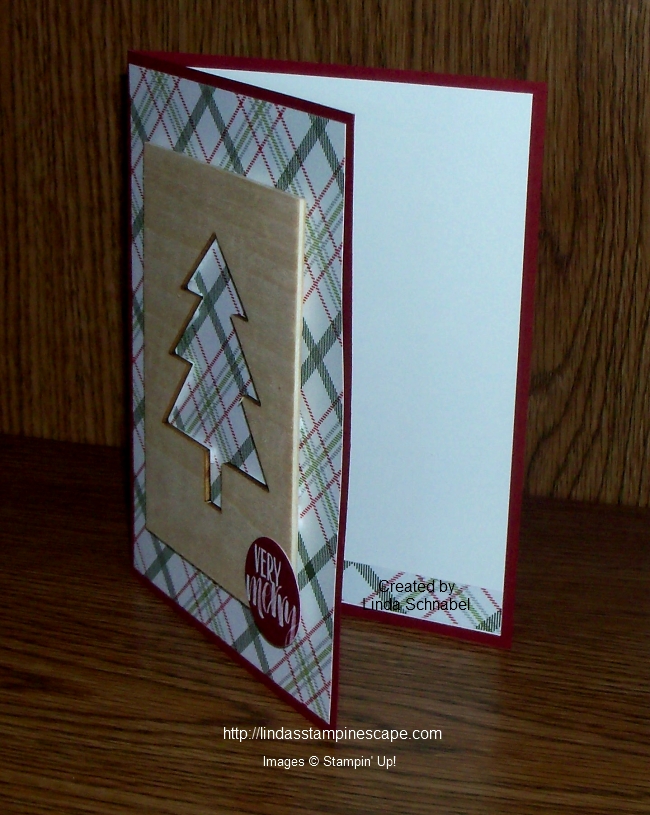
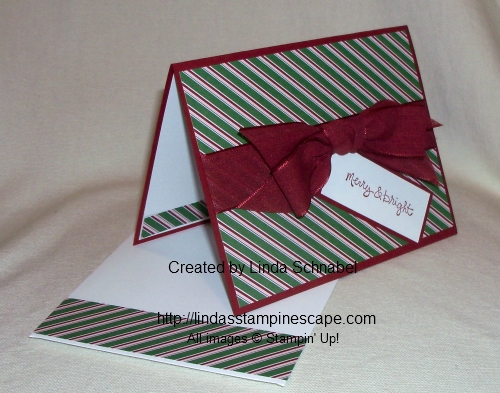
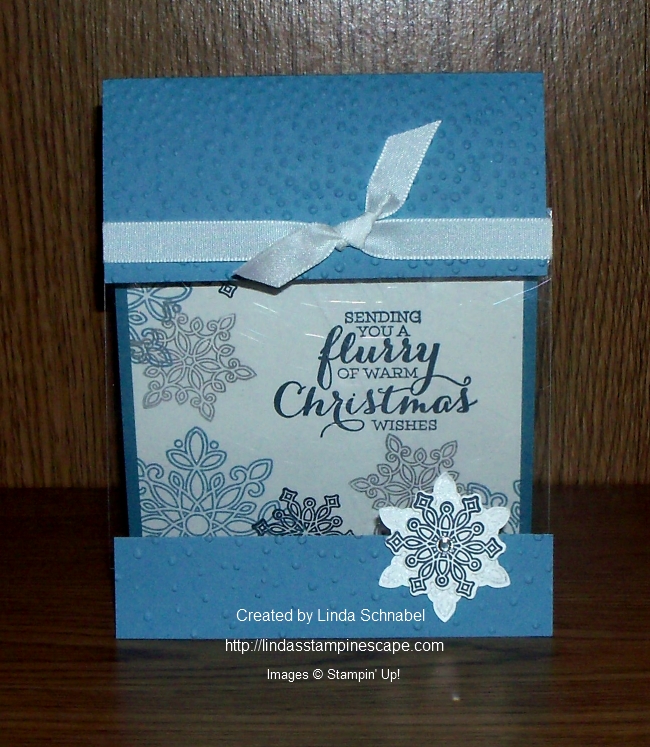
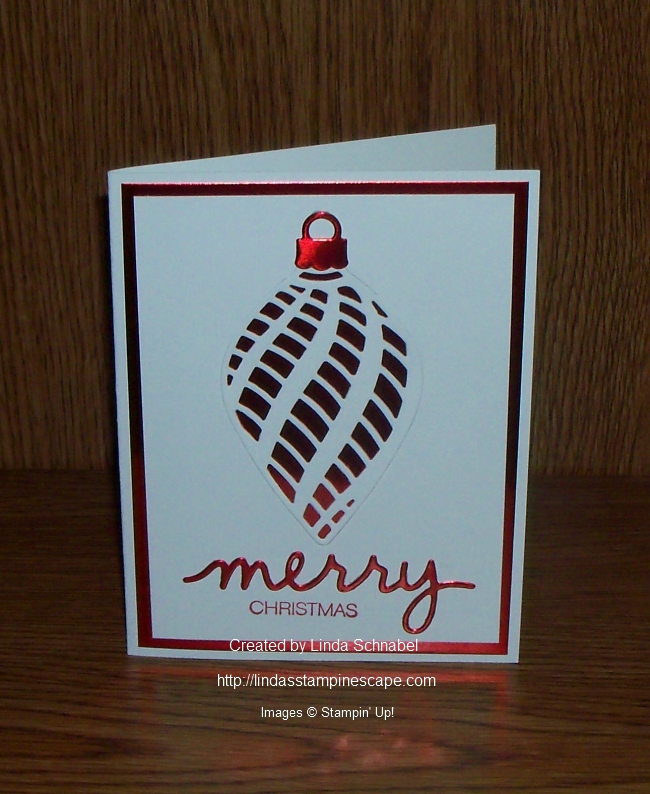
I also decided to feature the cardstock more on this card and use it for the base!

000_3443

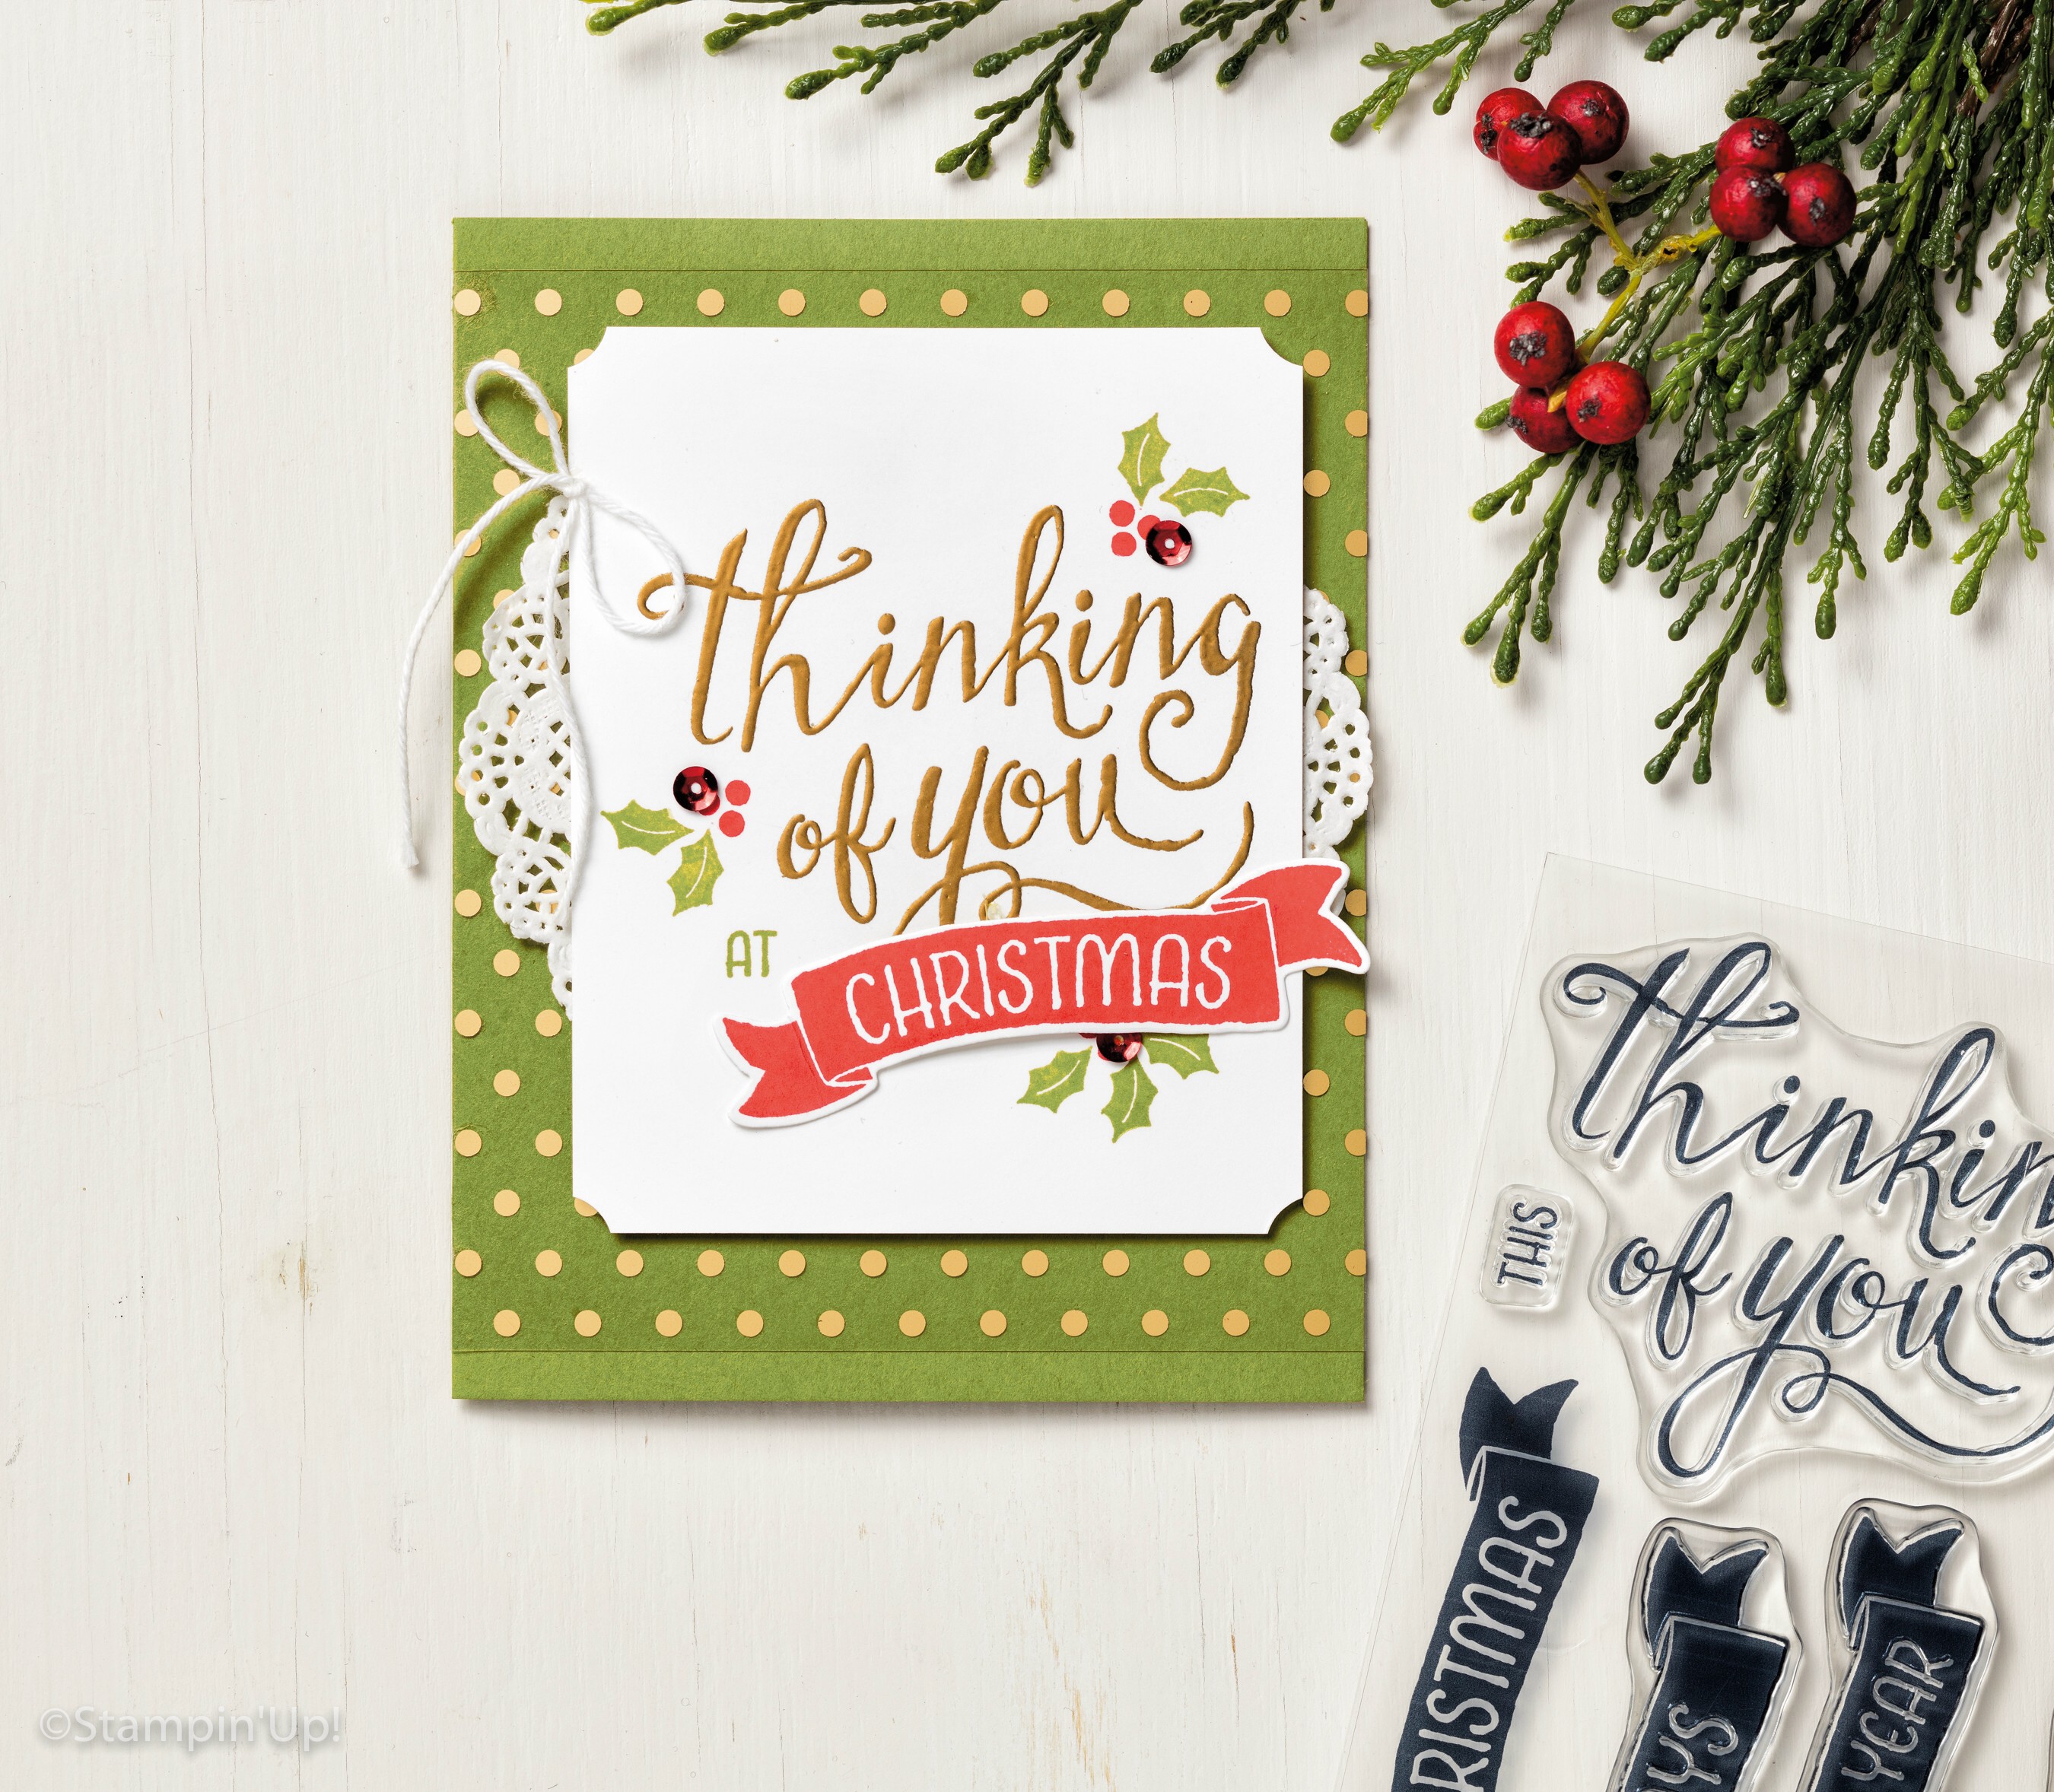
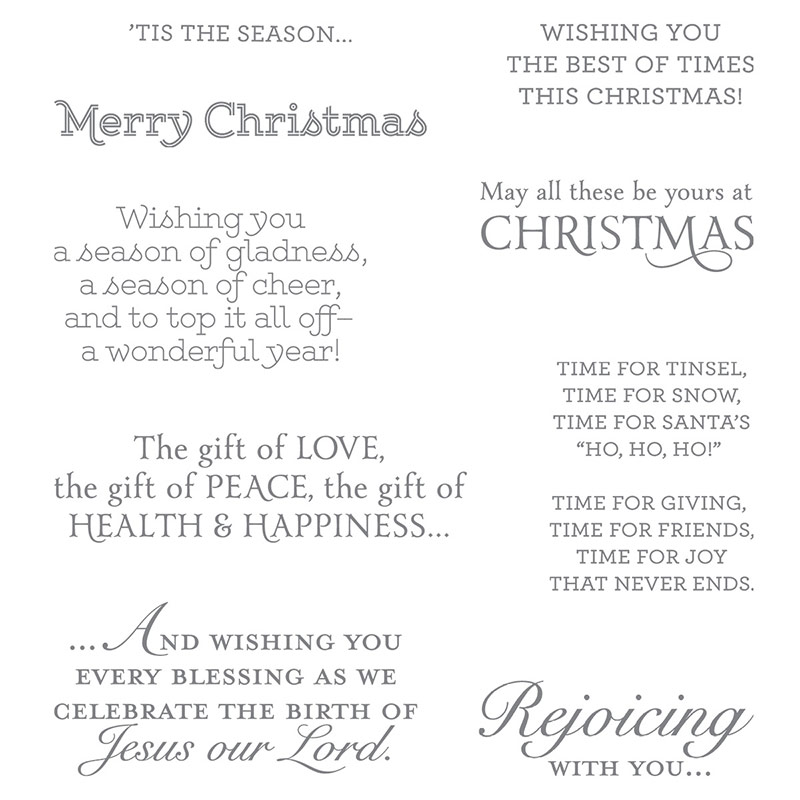
Yesterday’s cards were all made without a greeting, so today I have incorporated the “Better Together” stamp set! 

I love this stamp set because it not only has your greeting but it has verses for the inside as well! On the card below I used the verse that would normally be on the inside and used it at my “greeting” …

000_3444

000_3442

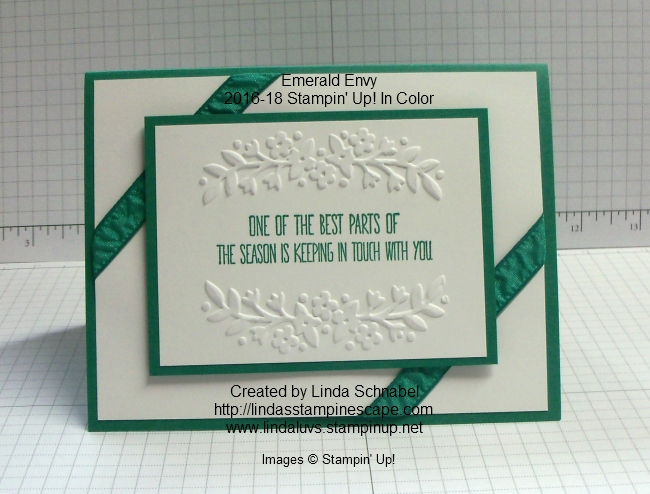
Then, I took the greeting and stamped it on the inside of my card.  There are no rules in stamping so you can do it however you choose!

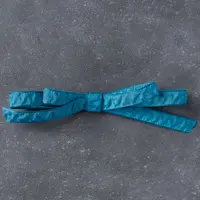
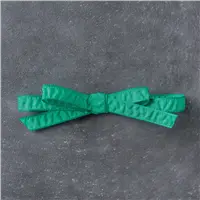
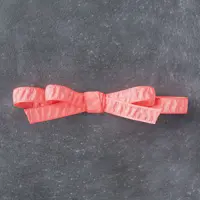
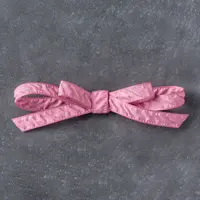
Now … have you noticed that I have been changing up the ribbon as well? I used it differently on each of the 5 cards!

000_3447

000_3446

Oh yes … all of these greetings come from the same stamp set (and includes the verse for the inside as well). The Sugarplum is the last of my cards … one in each of the new 5 In Colors and each with their own greeting!!

000_3448

I hope you enjoyed today’s showcase of cards and that it inspires you create. If you are looking for quick -n- easy cards to create that have a clean, pretty style, than today’s and yesterdays cards are for you.

I’d love to hear what “YOU” think about our new In Colors!  Just comment below 🙂

Thank you so much for stopping by today.

Have a simply wonderful day!

blog-closing-small

TODAY’S STAMPIN’ SUPPLY LIST …


Sharing 5 Reasons to say YES!

Hello Stampin’ Friends ~

Today I’d like to share with you 5 fabulous cards, highlighting 3 new stamp sets. You can create cards for all occasions with these fun new stamp sets … and they’re FREE!

Let’s start with the fabulously FUN “Pun Intended” stamp set …

Annual16_p200a-378

You can easily make these fun cards … or we can make them together! These cute cards come from one of our newest Hostess Sets. Stamp sets you can get for FREE with your hostess $$ dollars when you host a qualifying stampin’ party.

One of my favorites is the beautiful “Gift of Love” stamp set … I can’t resist the beautiful flowers and words in this set…

Annual16_p200c-376

So simply done with the water color wash background. This is a two-step stamp set which makes your card making quick -n- easy.

The next two cards in this showcase are from the stamp set “Time of Year” … which simply states you can use this stamp set all year long.  Let’s begin with Spring (something we’ve all been waiting for) …

Annual16_p200b-374

Simple, pretty and done in some of our new In-Colors … again, I can help you and your friends make any of these cards at your party.   Why stop there?  Let’s move into one of our biggest cardmaking times of all … Christmas!

Annual16_p200d-371

Told you this was a versatile stamp set. Now … think about combining any of these stamp sets together, the possibilities are endless.

I love our hostess stamp sets because they stretch your Hostess $$ dollars even further, just remember when your party/order is $350 or more in June, enjoy an extra $35 in hostess rewards (in addition to the rewards shown in the chart below)!  Spend your Stampin’ Rewards $$ on hostess sets or on anything in the catalog!

6a00d8354941d869e201b8d1ef5fd7970c-500wi

Gather your friends or orders from them (I can help you with a hostess code for everyone to order online), or, place your own shopping spree order to enjoy the extra rewards! 

Remember.. ALL orders of $150 or more enjoy the Stampin’ Rewards (Hostess $$) to spend any way you wish!

Contact me … I’d love to help you get all the Hostess goodies on your wish list!

Thank you for coming to visit my blog today, hope yours is a good one.

blog-closing-small

Merry Christmas …

Hello Stampin’ Friends ~

Christmas is here and I’m feeling very blessed. I have my family around me, a business I love, and an group of fellow stampers (YOU) who make it fun to come to work every single day.
snoopy-christmas
I hope you are surrounded by your favorite people and that you get exactly what you’ve wished for this Christmas, whatever that may be.
Thank you for all your support this past year.
I look forward to working with you again in the coming New Year.
blog-closing-small

Oh Christmas Tree & Weekly Deals!

Hello Stampin’ Friends ~

Each day brings us closer to Christmas and I have share cards with you that have focused on the Christmas tree, so today I’d like to share with you … my tree!


000_2950

I have used a smaller tree the past few years but brought out the big one and decided to use “twinkle” lights, and a red and silver pallet. There are a few more presents under the tree now … can’t wait for the grandkids to come over!!

Now … on to the Weekly Deals. Stampin’ Up! has added some sparkle to this sale!

6a00e554f4a3a4883401a511ebad82970c-800wi

We hope you enjoy this week’s Weekly Deals!

138439G Color Me Irresistible Specialty Designer Series Paper Item # 138439
Regular Price: $13.00
Discounted Price: $9.75
Silver Glimmer Paper Item # 135314
Regular Price: $5.00
Discounted Price: $3.75
Daffodil Delight 1/4″ Cotton Ribbon Item # 134559
Regular Price: $6.00
Discounted Price: $4.50
Be The Star Wood-Mount Stamp Set Item # 135731
Regular Price: $29.00
Discounted Price: $21.75

Please let me know if there is anything you need help with. If you’d like to place an order … I encourage you the use the Hostess code below and get your name in for a drawing for a FREE Stamp Set!

Snoopy-End of Year Sale

Thanks so much for dropping in on me today.

I hope your day is a good one!

blog-closing-small

Merry Christmas Wishes

Hello Stampin’ Friends ~

Hope you had a chance to check out my Simply Sunday Christmas tree yesterday, because today I’m going to use the second part of that tree for my card.

This time I dyed the wood piece Old Olive by sponging on the color from the ink pad. It colors nicely and I added a bit of chocolate chip marker to the trunk of my tree.
000_2956

Of course my tree comes from the “Seasonal Snapshot 2015” a Project Life kit as I stated yesterday, there are just so many more pieces that include Halloween, School and Thanksgiving!

I used the “Merry Moments” Designer Series Paper again to give you more ideas for your paper.

Again I mounted the tree onto the front with our Stampin’ Dimensionals.  I also used the cute stickers to create my greeting. My greeting comes from the “Oh What Fun” stamp set!

000_2960

Hope you enjoyed … I’ll be back tomorrow with the Weekly Deals!

Thanks for stopping by my blog.

Have a fabulous Monday ~

blog-closing-small

TODAY’S STAMPIN’ SUPPLY LIST …


Simply Sunday: Christmas Tree

Hello Stampin’ Friends ~

I’m back today after a one day break to do some Christmas shopping and to plan an upcoming “Sale-a-Bration” stamp camp!! Oh the new stamps … Oh what fun!!

Today my card comes from the “Seasonal Snapshot 2015” Project Life Accessory Pack.  This kit is fabulous for accenting your Project Life scrapbook pages, but it also works great for quick cards too!

000_2952

I chose the Christmas tree die-cut wood specialty card from the packet and popped out the tree … you see, they die cut the card but you get both pieces!!

I love the “Merry Moments” Designer Series Paper and picked one of the plaid patterns. I used the Cherry Cobbler from the “Merry Moments” Cardstock pack … this is a great way get all the colors you need for your cardmaking.

Then I simply mounted the tree onto the front with our Stampin’ Dimensionals … super simple.  I also found the cute little greeting sticker in my kit, so I added it to complete my card.

000_2953

Hope you enjoyed … Stop back tomorrow and see what I did with the other part of the tree die-cut!

Thanks for spending a part of your day with me.

Have a beautiful Sunday ~

blog-closing-small

TODAY’S STAMPIN’ SUPPLY LIST …


Joy for All

Hello Stampin’ Friends,

Today I have a card to share that was created by our Stampin’ Up! team at the home office. A quick and easy Christmas card using the Boughs & Berries Bundle (p. 30)!

JoyForAll_SW_Sept2915

Bundle and save! Buy these two coordinating products and save 15%.


Berry Merry Photopolymer Stamp Set … Make your holidays berry merry. With so many image options, this will be your holiday go-to stamp set.

This is a Two-Step Stampin’ set. Combine individual stamps to build the final image you want in the colors you want.

Hope you enjoyed the card …  Thank you for stopping by!

Have a wonderful day ~

blog-closing-small

Throw-back Thursday: Christmas Past

Hello Stampin’ Friends,

Today I wanted to share with you some of my favorite Christmas cards from Christmas’ past.  I’m taking cards that can still be made with a change of designer paper or so.

I’d like to start with my JOY card using the  “Wondrous Wreath” stamp set and “Wonderful Wreath” Framelits … that is where the Joy and the Bow come from. This card comes from my November 2014 files and is still current today!

000_1652-BThe wreath framelit coordinates with our new “Peaceful Wreath” in the Holiday catalogs and is still available.

This quick and easy card can also be made today with our “Star’s Framelits” and any designer paper you love, and a touch of ribbon!

000_1625

We also have some great holiday greetings sets. My favorite is the Versatile Christmas stamp set (CLICK HERE).

140392G

My tree card comes from the “Festival of Trees” stamp set and the “Tree” punch which are both still available to order.

000_1734_0001You could add any designer paper as a background to add more color. This year we have then new “Peaceful Pines” stamp set which can be bundled with the Perfect Pines Framelit Dies!

Looking for a super simple card to make? So true … some of us do not have our cards done yet, so here’s the answer … Designer Paper, a greeting and a bow!

000_1545

This card is so easy to make and will still leave quite an impression! Just think of all the beautiful designer papers in the holiday catalog.

I hope this gave you a few more ideas. The last one would work great for birthdays too!

Thank you for joining me today.

Have a wonderful day ~

blog-closing-small

STAMPIN’ SUPPLY LIST …

Simply Sunday: Holiday Designer Foil Vellum

Hello Stampin’ Friends ~

Today I’m sharing the cards that my clubs made this month … Quick and easy Christmas cards that highlighted the “Holiday’s Fancy Foil Designer Vellum” … it contains 3 sheets each of 3 different patterns. Wonderful news … the fancy foil is NOW on Sale!! Click the link above to view.

The first card also uses the “Home for Christmas Designer Series Paper” . We cut out the little Santa and mounted him to a 2-1/2″ Circle. The banners were created with the “Triple Banner Punch”.

000_2941

Our Ho Ho Ho comes from the “Oh, What Fun” stamp set on page 5 of the Holiday Catalog, the inside greeting I used came from the “Versatile Christmas” stamp set. You would not believe that they did not come from the same set!

My second card uses the beautiful trees paper, and we used the “Sleigh Ride Edgelits Dies” for the front … Look Closely. Our greeting “Oh What Fun” and our die is a “One horse open sleigh”. Love it!

000_2937

Unfortunately the Sleigh Ride edgelits have been discontinued and no longer available, but I don’t want you to miss out on this beautiful vellum and it’s on sale!!  Don’t miss out on any more! Just click the link below to view the sale items.

See the savings now!

Main_Year-End-Sale_OLO_1210_US

Here is a third card to show you the third designer vellum that is included in the package. Remember, you get 9 sheets of this beautiful vellum paper … 3 each of 3 designs. Click the links to view.

000_2738

Place an order of $35 or more and receive a Thank You card and 5 more cards! You will also get your name entered in a drawing to win a stamp set of your choice.

Snoopy-End of Year Sale

Thank you so much for stopping by today ~

Please let me know if you have any questions or if I can help in any way…   lindaluvs2stamp@aol.com

Have a wonderful day ~

blog-closing-small

Stampin’ Supply List …


Oh What Fun!

Hello Stampin’ Friends ~

This month I am making Christmas cards with my groups and we are using the “Oh What Fun” stamp set, so today I’d like to share with you the post from Stampin’ Up!s Get Inspired by blog …

You know when you make a project and you love it SO much you just have to stare at it a lot and show it to everyone and admire it for days? That was me with the Oh What Fun Tag Project Kit (item 139602)!

Just last week I cracked open this kit for the first time and fell completely in love. Here’s the thing. I knew that the kit would have all the precut consumables to make 30 tags . . . but what surprised me were all the gorgeous details, how much fun I had, and how I loved them so much that I needed them out on my desk for days.

oh-what-fun-full-kit

You can put these tags together however you want. I changed up the stamping a little since I wanted most of my tags to say “to/from” on the front. The images in the coordinating Oh What Fun Stamp Set (item 140386) were perfect! I used them on all the tags.

oh-what-fun-1

oh-what-fun-2

oh-what-fun-3

And as if all this cuteness wasn’t enough, this kit is on a great deal too! Grab your own and before you know it you’ll be falling in love with your own set of Oh What Fun handmade tags.

Happy Stamping,
Brandi B. Curriculum Developer & Trainer

I hope you enjoyed these tags as much as I did. Thanks to Brandi for the great samples.

Have an awesome day ~

blog-closing-small


Let’s Be Jolly

Hello Stampin’ Friends ~

Today I’d like to share with you a quick and simple way to whip up a card! One of the easiest way’s to create a quick card is by using one of our “Project Life” Card Collections. My card today was made with the “Seasonal Snapshot 2015” Card Collection.

000_2930

The double sided, color coordinated cards come in 3 sizes, so it’s easy to layer coordinating pieces for your card. Because they are sized for a scrapbook pocket, the larger pieces may need a bit of trimming, but hey … put that piece inside your card!

000_2934B

I really thought the “Let’s Be Jolly” was fun and that it looks great against the background card, but I wanted a pop of color … my solution was to add one of the cute holiday buttons from the “Home for Christmas” Designer Buttons and white bakers twine.

Thank you for spending part of your day with me …

Hope you have a “Jolly” kind of day!

blog-closing-small

TODAY’S STAMPIN’ SUPPLY LIST …

000_2934B


Flurry of Christmas Wishes

Hello Stampin’ Friends,

First I’d like to send my respects to all our past and present military … As we remember Pearl Harbor.

Today I’m going to share one of the two cards that I designed for our November Technique Club. We are focusing on the different techniques and ways to use the “Window Sheets” … part two of our class will be in their January club dates.

This card illustrates the “window” as the front of our card. The majority of the stamping is done on the inside and the window allows you to see it all.

000_2926

I cut the cardstock … Marina Mist to 4-1/4″ x 11″. Then we score at 5-1/2″ … cut at 7-1/2″ and 8-1/2″. You will need that 1″ piece for the bottom of your card. Your window sheet needs to be cut to 4-1/4″ to at least 3-1/2″ or 4″ depending on how much of the window you want to secure to the back.

We used the “Softly Falling” embossing folder to create a nice pattern on the front of the card, then secured the window sheets to the inside front.

The inside is stamped in Marina Mist, Night of Navy and  Silver Encore ink with the beautiful “Flurry of Wishes” stamp set. I bundled my stamp set with the coordinating punch “Snow Flurry” to receive the 15% discount. We all love a savings a Christmas time.

CHRISTMAS WISHES

We completed our cards with a simple bow using the 1/4 cotton ribbon.

If your in my neighborhood you could join us during our Saturday club session … we have a few spots available.  Check my “CLASSES & EVENTS” Click to View. Club Date is January 9th @ 9am.

Let me know if you have any questions, I’d love to hear from you.   lindaluvs2stamp@aol.com

Thanks for joining me today.

Have a wonderful Monday!

blog-closing-small

TODAY’S STAMPIN’ SUPPLY LIST …


Simply Sunday / Guest Stamper: Jenny F

Hello Stampin’ Friends,

Today I’d like to share with you a card I received from my sideline & stampin’ sister, Jenny F.

Jenny used the beautiful “Winter Wonderland” Specialty Designer Series and teamed it up with the Elegant Ornaments Bundle.

000_2920

This specialty paper has a sheen to it that also adds to the elegance of the card.

The simplicity of the black and white pallet gives an elegance to the card and works great for a gender neutral card.

Hope you enjoyed it as much as I did.

Hope your Sunday is Simply wonderful ~

blog-closing-small


Wonder Peace Miracle Card

Hello Stampin’ Friends ~

Today I have a quick post … it’s a great card I wanted to share with you. This cute little number was created by Stampin’ Up! You can find this card and many other project ideas on my website! www.lindaluvs.stampinup.net (click here)

DBWS_MiracleCard_Gallery_9.2015_NA_SP_EU

Stamps
• Flurry of Wishes Stamp Set

Paper
• Pool Party, Vellum, and Whisper White Cardstock
• Winter Wonderland Designer Vellum Stack

Ink
• Pool Party and Soft Suede Classic Stampin’ Pads®
• VersaMark® Pad

Stampin’ Up! Accessories
• Gold Stampin’ Emboss® Powder
• Whisper White Baker’s Twine
• Vintage Faceted Designer Buttons
• Stampin’ Dimensionals®
• Mini Glue Dots®
• Snow Flurry Punch
• Big Shot™
• Banners Framelits™
• Heat Tool

blog-closing-small


Easy & Elegant Christmas Card …

Hello Stampin’ Friends ~

I’m back with one of the cards that we made at our Holiday Stampin’ Retreat. This card is elegant but easy to create! What an awesome combination when making Christmas cards.

Let’s begin with the “Delicate Ornament” Thinlits Dies … I chose the longer thin one. I really like the soft swirl in the design. Whisper White cardstock was used for my base and the front of my card. Using the BigShot and the Precision Base Plate I cut out the ornament. You will save both pieces as the ornament is laid back into the cut out.

(Note: the Delicate Ornament Dies are bundled with the Embellished Ornament Stamp set ~ A great buy)

000_2913

The Red Foil Sheet is used for the mat and becomes the focal point as it makes the ornament pop! Look closely at my card … you will see that I had enough space to cut my greeting and the ornament top out of the foil before I adhered the card together. Just make sure you are not cutting into the area of the ornament.

My greeting comes from the Holly Jolly Greetings (Christmas) & Christmas Greetings (Merry) Bundle! I love using these two items together … so much you can do with it.

Wow … you’ve just finished the card! Wasn’t that easy … and it’s so pretty. I love the shine of the red foil paper. You can use either the Multipurpose Liquid glue to adhere the ornament and “merry” … however, the new Fine-Tip Glue Pen works slick on the “merry”.

000_2915

As I said, this was one of my Holiday Retreat cards, now with the new Occasions catalog out (for demonstrators now) I’m planning projects for our Spring Stampin’ Retreat. I’ve got an April date planned … make sure you’re on my mailing list to get your invitation!

Thank you so much for stopping by today.

Have a wonderful Friday!

blog-closing-small

TODAY’S STAMPIN’ SUPPLY LIST …