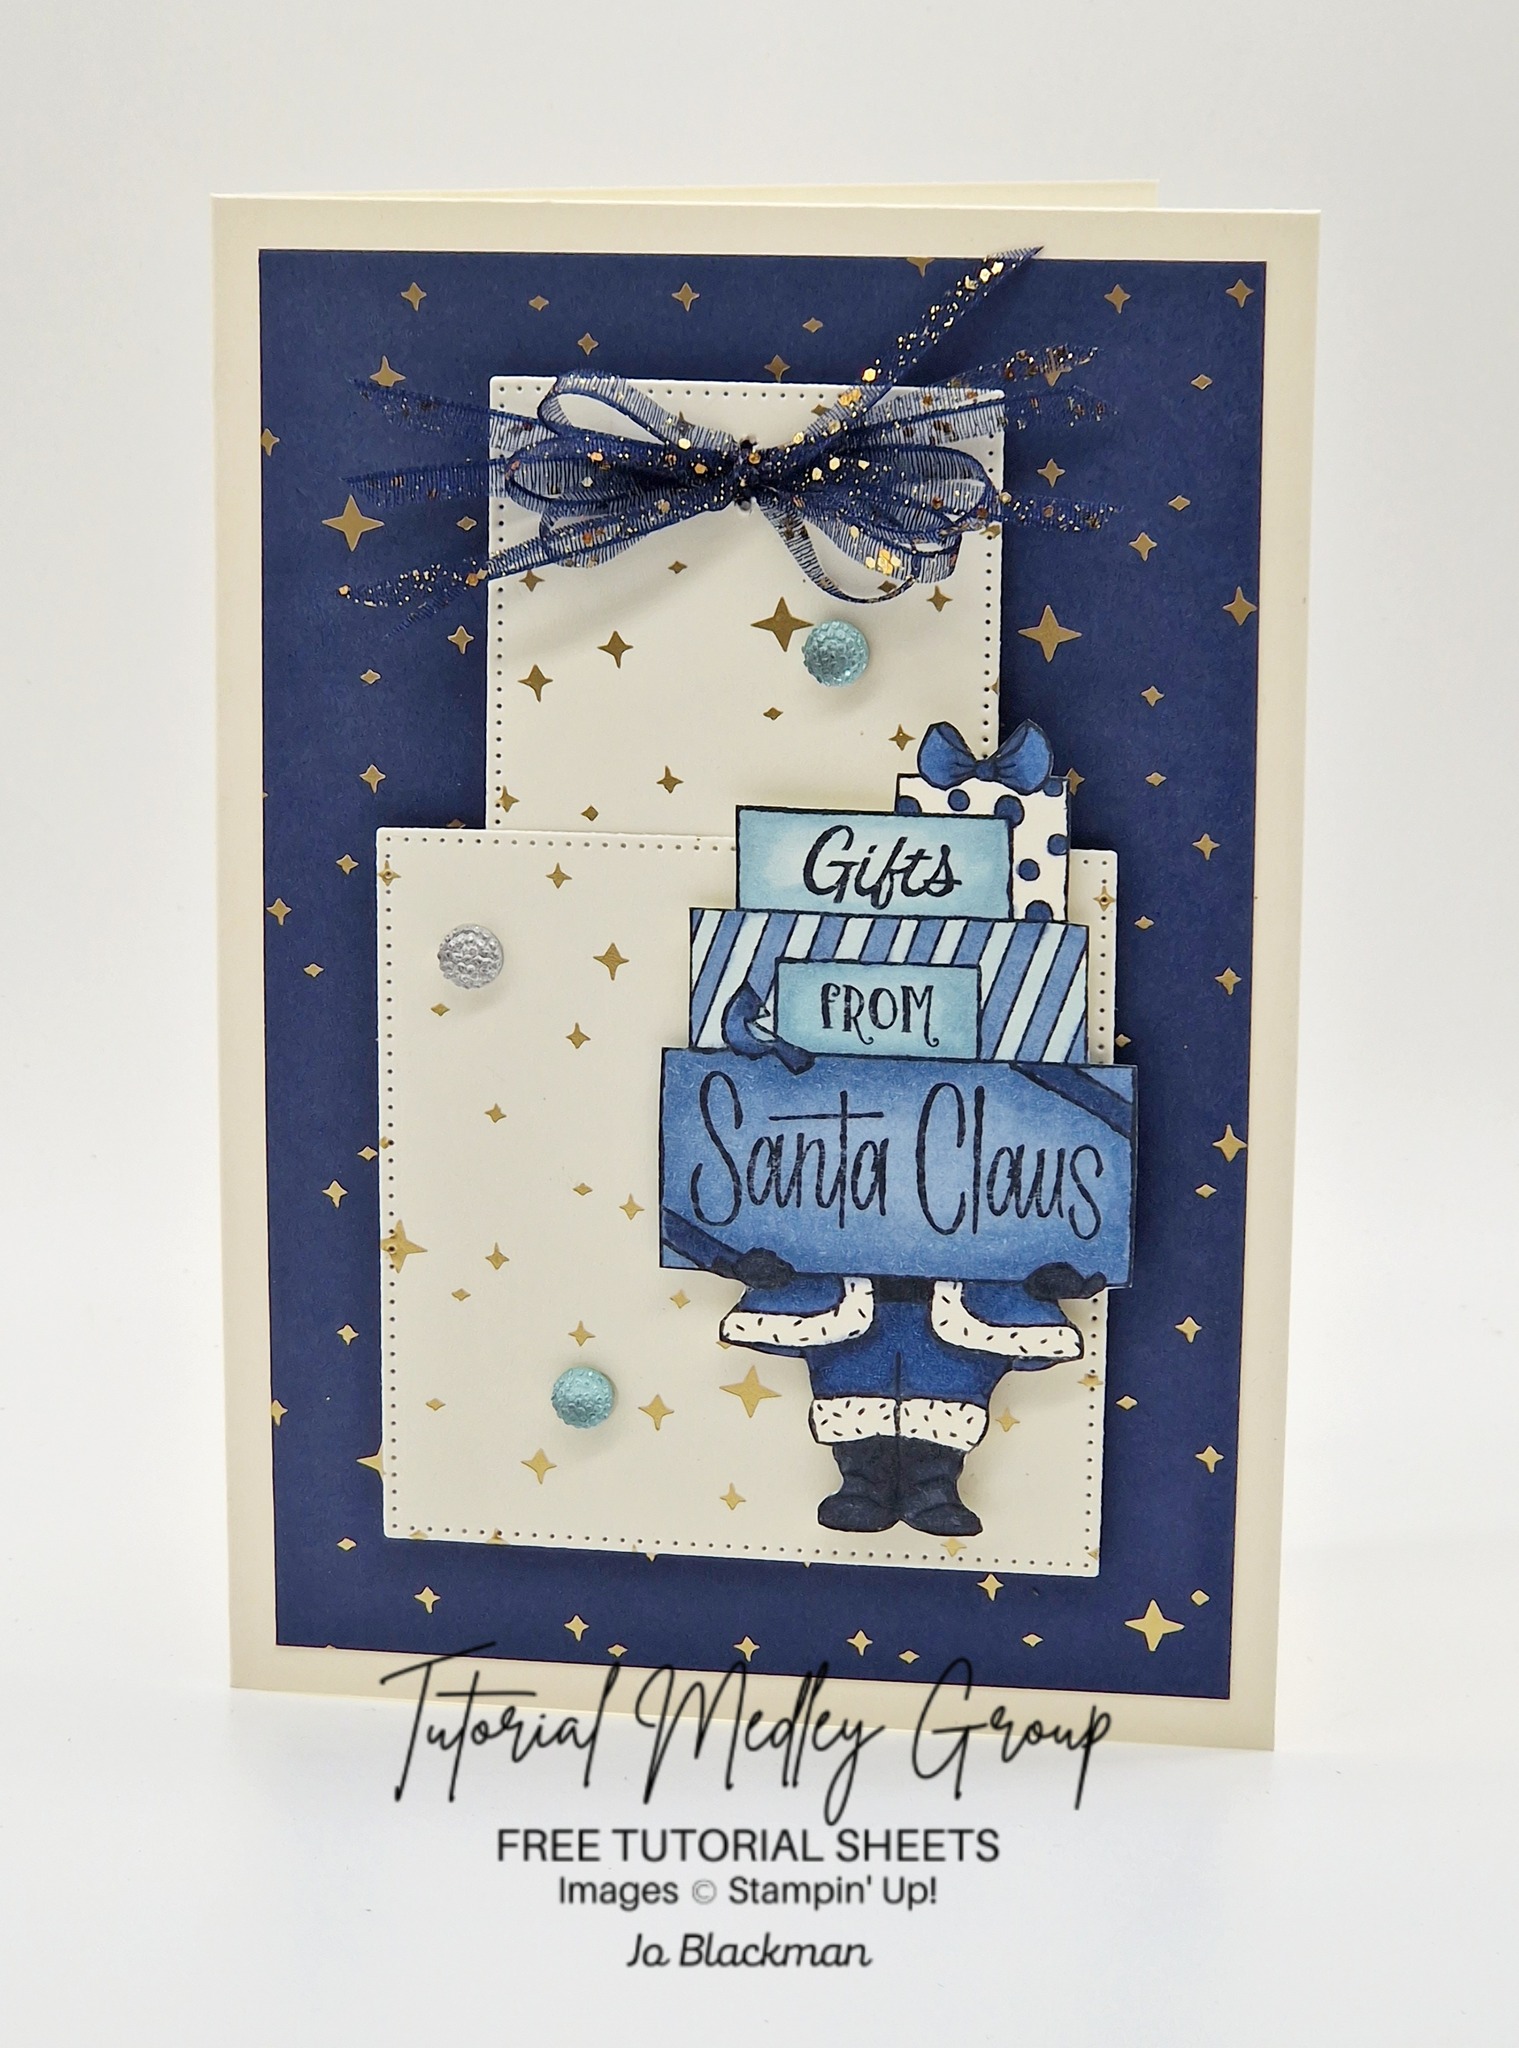
Gifts from Santa Claus …

Hello Stampin’ Friends,

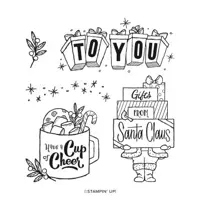
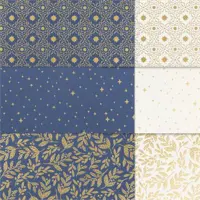
Prepare to be charmed by the heartwarming holiday spirit embodied in this adorable Christmas card created with the “Gift of Giving” stamp set and “Shining Brightly Specialty Designer Series Paper” from Stampin’ Up!

The “Gift of Giving” stamp set features endearing images, perfect for conveying the warmest wishes of the season. Pairing it with the “Shining Brightly Specialty Designer Series Paper” adds a touch of festive elegance, with its rich colors and sparkling accents.

Measurements:

  • Very Vanilla Thick:  8 ½” x 5 1/2”, scored at 4 ¼”
  • Navy Star DSP: 5” x 3 ¾”
  • Vanilla Star DSP: Largest square and Second square from Stylish Shapes Dies
  • Vanilla: Scrap for Santa

Instructions:

  • Glue the Navy Star DSP to the card front.
  • Cut the two squares from the Vanilla Star DSP.
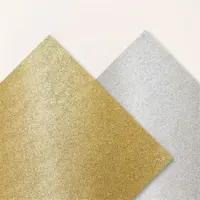
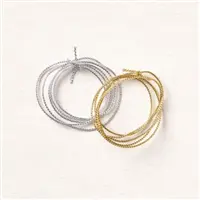
  • Pierce two holes into the smallest square, as shown.  Take a length (8”) of the Night of Navy & Gold Glitter Ribbon and cut it lengthways into 4 thin strips.  Thread one of the small strips through the holes from the back.  Take the other three strips and wrap them around your fingers.  Carefully remove the ribbon from your fingers and squash the centre to create two loops (held with tweezers).  Place the loops on to the square and tie in place with the ribbon ends on the square.  Arrange the bow as you wish and trim the ends.
  • Stamp Santa in Memento ink and colour using Stampin’ Blends.  Cut out.
  • Attach the two squares (parcels) on to the card front using Stampin’ Dimensionals.
  • Attach Santa to the card front using Stampin’ Dimensionals.
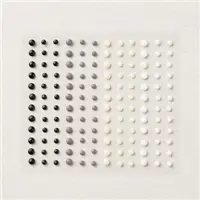
  • Add a few gems to complete your card.

Today’s card not only captures the joy of giving during the holidays but also adds a delightful dash of whimsy and style. It’s a true testament to the magic of handmade cards, where every detail conveys love and thoughtfulness. Share the joy of the season with a card that radiates warmth, created with the “Gift of Giving” stamp set and “Shining Brightly Specialty Designer Series Paper.”

Have a wonderful Sunday and thanks for stopping by ~

Delighting friends with the Joy to You stamps

Hello Stampin’ Friends,

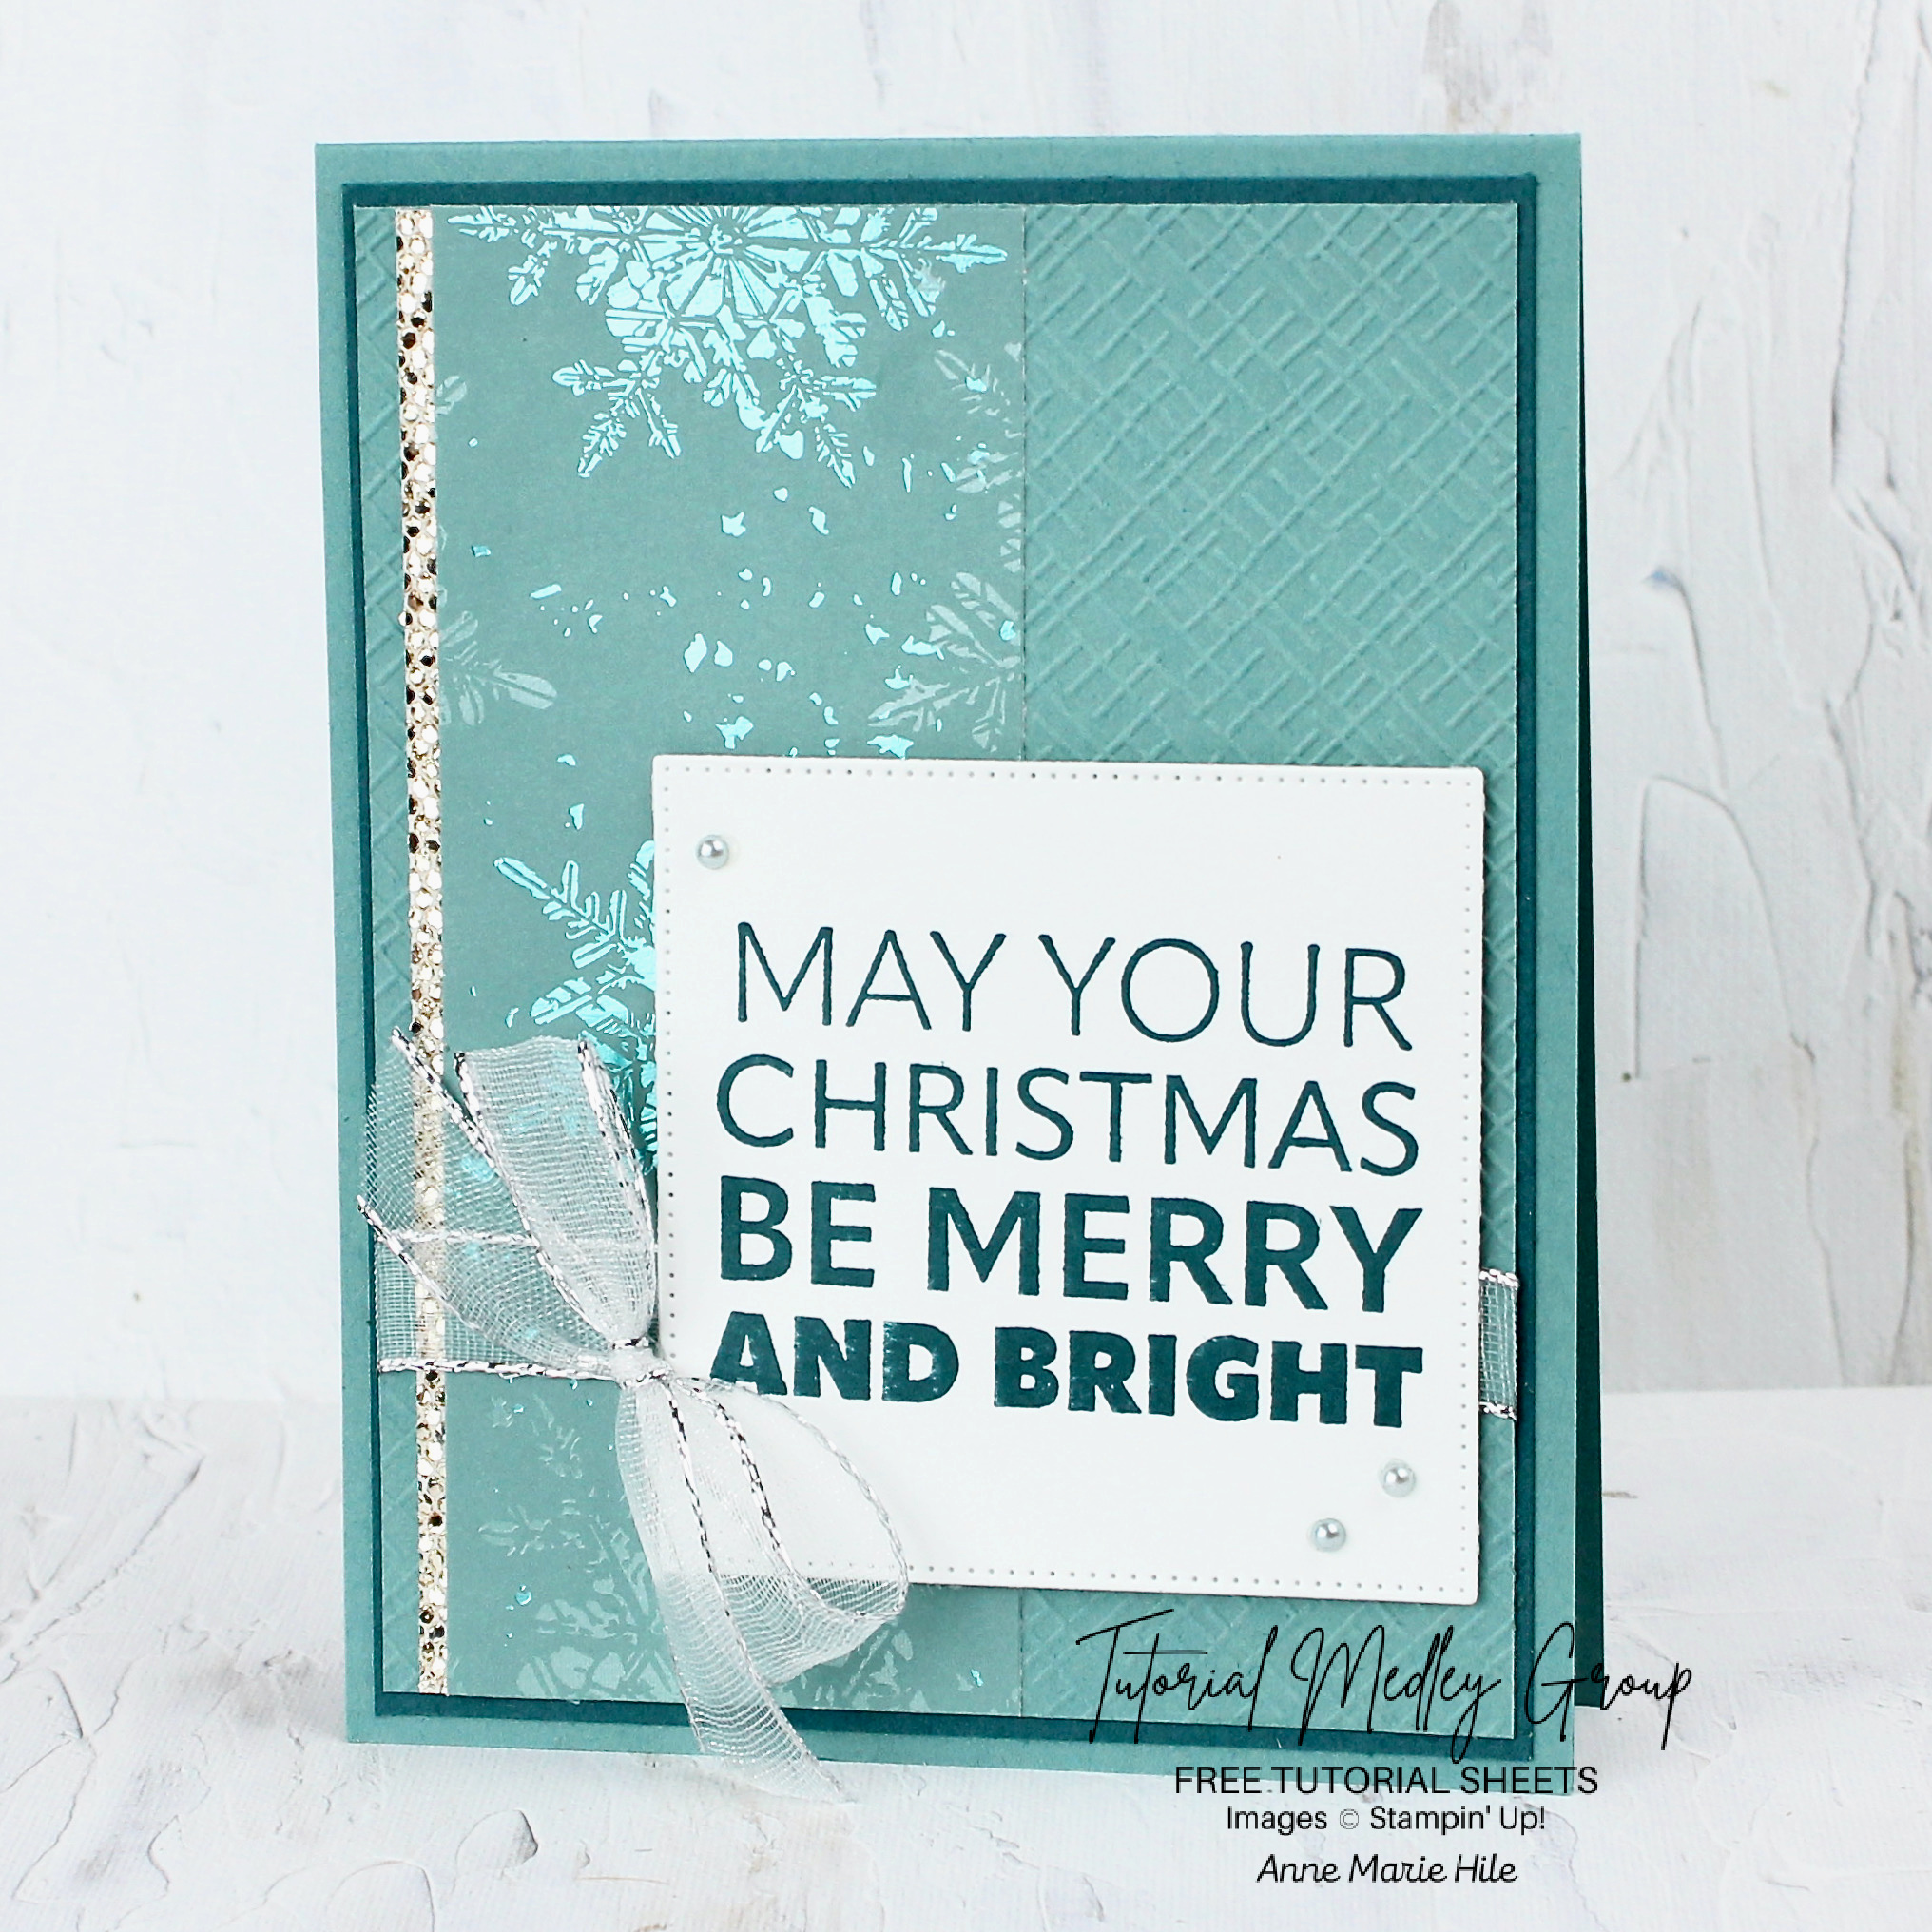
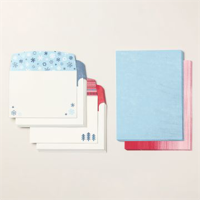
Today I’m introducing the delightful “Joy to You” stamp set from Stampin’ Up!’s Mini Catalog, a delightful collection of holiday-themed stamps designed to spread joy and warmth. Paired with the exquisite “Snowflake Magic Specialty” paper, today’s card creation is nothing short of magical.

The “Joy to You” stamp set offers a versatile array of seasonal sentiments, perfect for sending your heartfelt holiday greetings. Meanwhile, the “Snowflake Magic Specialty” paper, with its intricate snowflake designs and shimmering accents, adds an extra layer of elegance and sophistication to your projects.

Measurements: 

  • Card Base: Lost Lagoon 4-1/4” x 11”, scored at 5-1/2”
  • Cardstock #1: Pretty Peacock 4” x 5-1/4”     
  • Cardstock #2: Lost Lagoon 3-7/8” x 5-1/8”
  • DSP: Snowflake Magic Specialty 2” x 5-1/8”
  • DSP: More Dazzle Specialty 1/2” x 5-1/8”
  • Cardstock #3: Basic White 3” x 3” for die-cut sentiment

Instructions:

  • Fold the Lost Lagoon card base in half at the score line and burnish the fold.
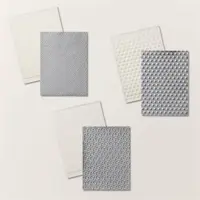
  • Emboss Lost Lagoon layer with Basics 3D Embossing Folder.
  • Adhere strip of More Dazzle Specialty Paper to left side of Embossed Lost Lagoon layer with Stampin’ SEAL.
  • Adhere Snowflake Magic Specialty Designer Paper to the Lost Lagoon layer with Stampin’ SEAL, slightly overlapping More Dazzle layer . Leave approximately a 1/8” border of More Dazzle paper visible.
  • Wrap a piece of Silver & White Sheer ribbon around embossed Lost Lagoon layer (approx 1-1/8” from bottom) and secure ends of ribbon on back with Stampin’ SEAL, or tape.
  • Adhere Lost Lagoon layer to Pretty Peacock layer with Stampin’ SEAL, then adhere to card base with Stampin’ SEAL.
  • Stamp sentiment on Basic White Cardstock in Pretty Peacock ink.
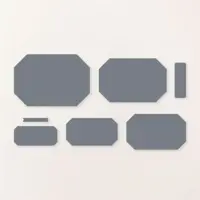
  • Die-cut sentiment with largest square in Stylish Shapes Dies.
  • Adhere the sentiment layer to card Stampin’ Dimensionals.
  • Tie a bow with Silver & White Sheer Ribbon and adhere to left side of die-cut square with a Mini Glue Dot.
  • Add (3) Festive Pearls to the card front, as shown.

Together, the “Joy to You” stamp set and “Snowflake Magic Specialty” paper create a harmonious blend of festivity and beauty, making your cards and crafts truly stand out this holiday season. Whether you’re sending wishes to friends and family or creating stunning holiday decor, the “Joy to You” stamp set and “Snowflake Magic Specialty” paper will undoubtedly make your creations sparkle with joy and charm.

Thank you for joining me today ~

Embrace the Beauty of the Season: Graceful Deer Stamp Set

Hello Stampin’ Friends ~

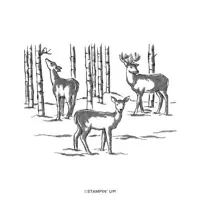
Today we embrace the beauty of the season with the Graceful Deer Stamp Set. The holidays are a time when we come together with our loved ones to create lasting memories and exchange heartfelt greetings. And what better way to convey your warm wishes and spread the festive spirit than with beautifully crafted, hand-stamped cards and projects?

The Graceful Deer stamp set is a masterpiece that captures the serene beauty of nature in the wintertime. This set is perfect for anyone who appreciates the elegance and grace of deer against a backdrop of snow-covered trees. Today’s card was created by one of my fellow Design Team members.

Measurements: 

  • Thick Very Vanilla: 8 ½” x 5 ½”, scored at 4 ¼”
  • Pool Party: 5 3/8” x 4 1/8” and 2 ½ x 1
  • Very Vanilla: 5 ¼” x 4” and scrap

Instructions:

  • Cut card base & fold at score line.
  • Glue Pool Party to card front.
  • Stamp Graceful Deer image on Very Vanilla piece using Pecan Pie ink. Color using Stampin’ Blends: Wild Wheat deer, Cherry Cobbler bird, Pool Party snow drifts, Crumb Cake Antlers, Petal Pink ears.
  • Add sparkle using Wink of Stella on the snow drifts.
  • Glue to Pool Party layer.
  • Stamp sentiment on Very Vanilla scrap using Wild Wheat ink then cut out using Countryside Corner Dies.  Glue to small Pool Party piece, then pop it up using Stampin’ Dimensionals.

The Stampin’ Up! Graceful Deer stamp set from the Holiday Mini Catalog is a must-have for anyone looking to add a touch of elegance and warmth to their holiday crafting. Whether you’re creating cards, gift tags, home decor, or heartfelt gifts, this versatile set will help you capture the beauty and grace of the season. So, embrace your creativity and let the Graceful Deer stamp set bring a touch of magic to your holiday projects this year.

Happy crafting!

Simply Sunday: Christmas Everywhere Cards

Hello Stampin’ Friends,

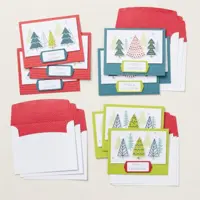
The holiday season is fast approaching, and what better way to spread the Christmas cheer than with heartfelt greetings sent to your loved ones? If you’re looking for a creative and meaningful way to send warm wishes, our “Christmas Everywhere” card kit is the perfect solution to holiday cardmaking.

One of the best things about our “Share the Joy of Christmas” card kit is that it comes with everything you need to create nine charming Christmas cards. No need to scramble for supplies or spend hours browsing for the perfect decorations; we’ve got you covered.

This kit includes: 

  • Enough supplies to create 9 cards—3 each of 3 designs
  • 9 coordinating envelopes
  • Christmas Everywhere photopolymer stamp set
  • One Lost Lagoon Ink Spot
  • Printed card bases, printed die-cut labels and images with red glitter, adhesive, and a clear block
  • Finished card size: 5-1/2″ x 4-1/4″ (14 x 10.8 cm)
  • Coordinating colors: Granny Apple Green, Lost Lagoon, Pecan Pie, Pretty Peacock, Real Red

This holiday season, let our card kit be your companion in sending warm Christmas wishes to friends and family across the globe. Make this Christmas truly special by sharing the beauty of trees from around the world and spreading the joy of the season.

With three unique card designs and three copies of each, you can send warm Christmas wishes to a variety of recipients. Whether it’s family, friends, coworkers, or distant relatives, these cards are the perfect way to let them know you’re thinking of them during this special season.

The “Share the Joy of Christmas” card kit is more than just a creative project; it’s a meaningful way to send love and warmth to the people who matter most to you. Celebrate the diversity of our planet and the magic of the holiday season with these beautifully crafted cards. Order your kit today and start spreading the joy of Christmas, one card at a time!

Thank you for sharing a part of your Sunday with me.

Have a beautiful day ~

The Hidden Treasures of Clearance Racks: A Crafters Delight

Hello Stampin’ Friends, Today I’m sharing a few Hidden Treasures on the Clearance Rack. To me, it’s a secret treasure trove just waiting to be discovered. You can find incredible deals on a wide range of your favorite crafting supplies. If you like a deal like me, you know the thrill of finding those hidden gems that can elevate your projects. Today, I want to share some of my current favorites from the clearance rack, and why I believe these items can be used year-round, transcending their initial holiday designs.

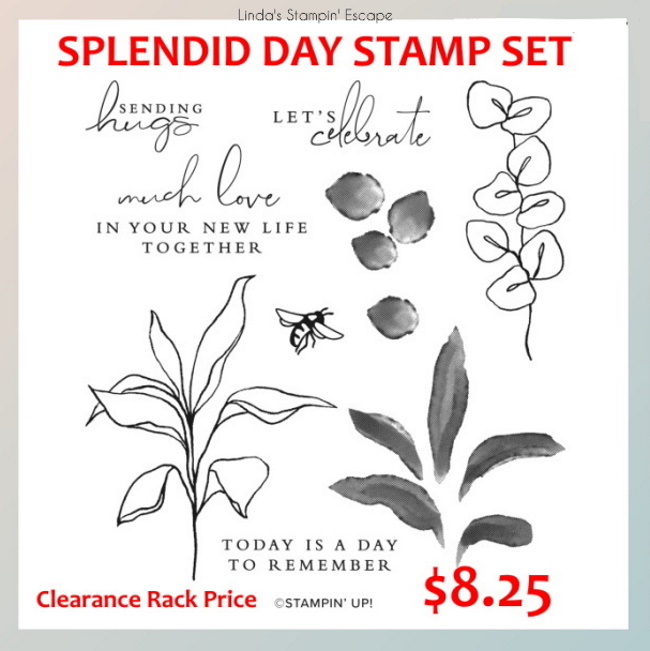
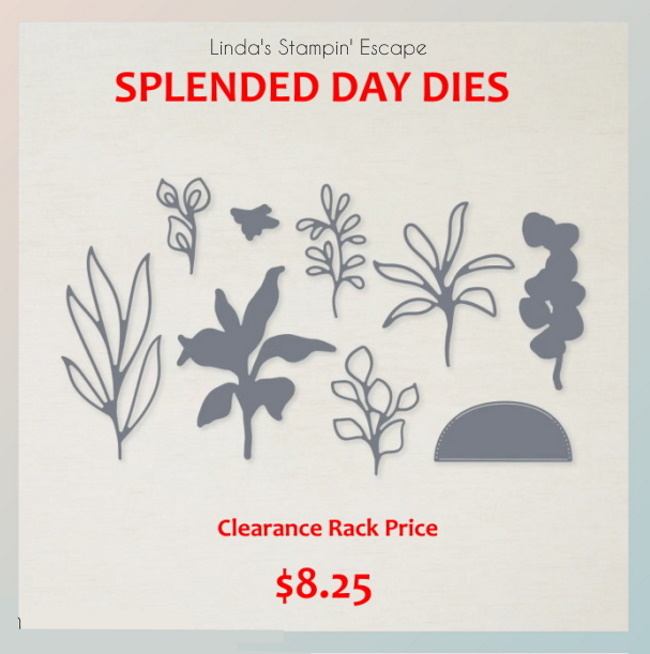
The Splendid Day stamp set and coordinating dies are a must-have for any crafter. While they may seem tailored for specific occasions, their versatility knows no bounds. The beautiful floral designs and heartfelt sentiments can be used to celebrate birthdays, anniversaries, or simply to send a heartfelt message to someone you care about. By selecting different ink colors and paper textures, you can easily adapt these stamps and dies to fit any occasion, whether it’s a spring wedding or a summer garden party.

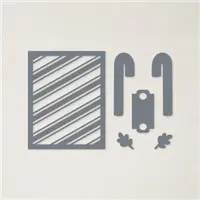
Candy Cane dies are a must-have in your crafting arsenal, not just for their delightful holiday charm but for their incredible versatility. Don’t you love it when crafting supplies multitask? The tag die in the Candy Cane set is a prime example of this. While it’s designed to hold candy canes during the holidays, it’s also a fantastic tag for any celebration or gift-giving occasion. Birthdays, anniversaries, graduations, or even a simple thank you—you name it, and this tag die can transform your presents into a work of art.

The diagonal background die adds texture and elegance, the tag die suits any celebration, and the leaves bring nature’s beauty to your projects, no matter the season. So, the next time you’re brainstorming crafting ideas, remember the Candy Cane dies—you’ll be surprised at how they can add a touch of magic to your year-round creations.

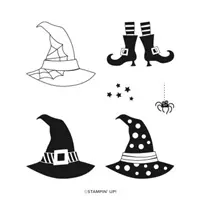
One of the joys of crafting is the ability to mix and match different elements to create something truly unique. The Bewitching stamp set can be combined with the Candy Cane dies to weave a tapestry of creativity that transcends seasons and occasions… image the possibility.

Shopping the clearance rack is not only a treasure hunt but also a smart way to stretch your crafting budget. The Bewitching stamp set’s presence on the clearance rack is a fantastic opportunity to invest in quality stamps without breaking the bank. The money saved on any of these fabulous finds can be used to stock up on other crafting essentials or explore new creative avenues.

If your looking for some creative ideas, join me tonight at 6:30 pm on my Linda’s Stampin’ Escape Facebook page ….

Thanks for stopping by today and I hope you join me tonight for some tricks -n- treats!

Crafting Holiday Magic: A Merriest Trees Christmas Card

Hello Stampin’ Friends,

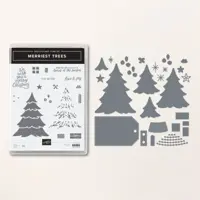
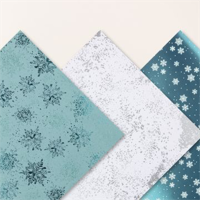
The holiday season will soon be upon us, and what better way to spread some festive cheer than by sending heartfelt Christmas cards to your loved ones? Today, we’re going to create a stunning Christmas card using the Merriest Trees Dies and the Snowflake Magic 12 x 12 Specialty Designer Paper. This card not only captures the spirit of the season but also showcases some must-have products for your holiday crafting collection.

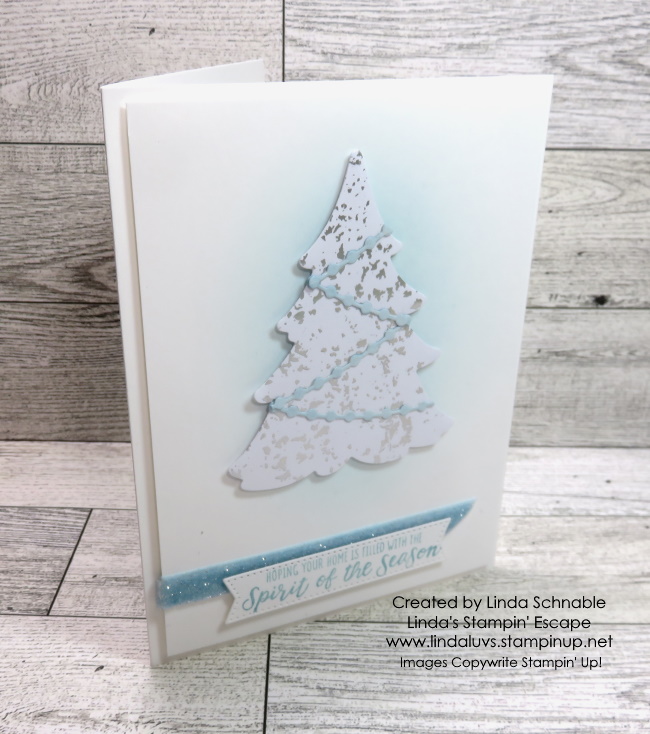
Let’s begin with a piece of Basic White Cardstock for your card base 8-1/2″ x 5-1/2″ that will be scored at folded at 4-1/4″ . You will also need a card front (white) 5-1/4″ x 4″ and your blending brush with Balmy Blue Classic Ink. Apply a small amount of ink to the brush in a circular motion apply the ink to the card front, this will create a soft glow for behind your tree.

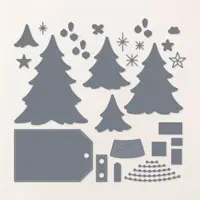
Now, it’s time to bring out the star of the show: the Merriest Trees Dies. Choose a beautiful design from the Snowflake Magic Designer Paper, and die-cut your tree. This paper is ideal for creating intricate and elegant holiday-themed die-cuts.

Carefully place your die-cut tree onto the Balmy Blue background you created earlier. The soft blue glow behind the tree will give it a magical appearance, as if it’s nestled in a snowy forest.

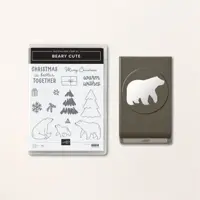
For the finishing touch, let’s add a heartfelt message. The Beary Cute Stamp Set comes to the rescue! I used the “Merry Christmas” to convey my holiday wishes, and stamped onto a scrap piece of cardstock and adhered it near the bottom of the card.

Time to decorate the tree to add your personal touch to the card. Die cut the garland in Balmy Blue that’s included in the Merriest Trees stamp set and add a little sparkle with your Wink of Stella. Lastly you’ll tuck a little Balmy Blue Sparkly ribbon behind the greeting.

Your Merriest Trees Christmas card is now complete and ready to spread holiday joy to your friends and family. Whether you’re sending it in the mail or delivering it in person, your handmade card will surely bring smiles and warmth to those who receive it.

This Merriest Trees Christmas card combines the beauty of Snowflake Magic Designer Paper, the elegance of the Merriest Trees Dies, and the heartfelt sentiment from the Beary Cute Stamp Set. With a touch of Balmy Blue ink, you’ve created a masterpiece that captures the enchantment of the holiday season.

As you embark on your holiday crafting journey, remember that the magic of Christmas lies not only in the materials you use but in the love and thoughtfulness you put into your creations. Happy crafting, and may your holiday season be filled with warmth, joy, and creativity!

Thanks for hangin’ with me today ~

Simply Sunday: A Beary Christmas

Hello Stampin’ Friends,

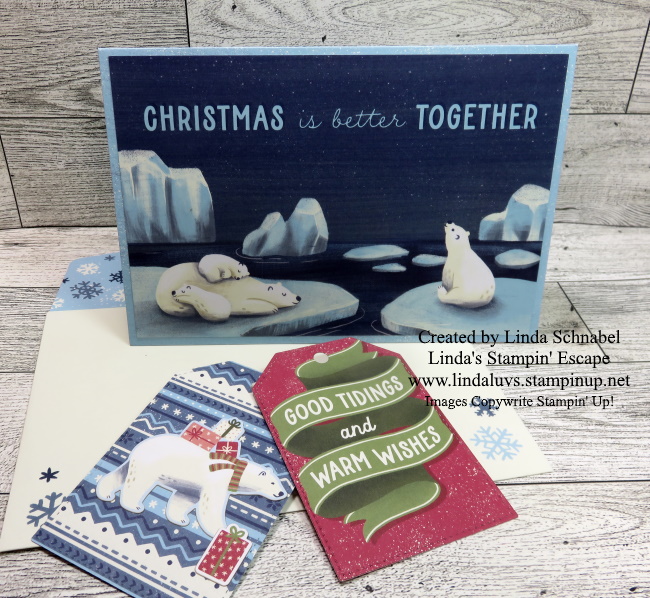
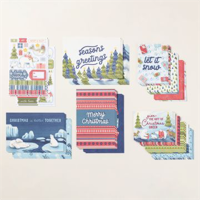
The Beary Christmas suite shines in the joy of simple, delightful crafting! Today, we’re taking a step back from the complexities of life and crafting to embrace the art of simplicity. We’ll be exploring how to create charming Christmas cards and gift tags effortlessly using the Beary Christmas Memories and More Card Pack in combination with the Beary Christmas Memories Cards & Envelopes by Stampin’ Up!

Before we dive into the crafting magic, let’s talk about what’s included in the Beary Christmas Memories and More Card Pack. This pack is a treasure trove for crafters, especially those seeking an easy and enjoyable creative experience. Inside, you’ll find:

  1. Cards: A variety of beautifully designed, double-sided cards that come in different sizes. These cards feature delightful Christmas-themed artwork, perfect for spreading holiday cheer.
  2. Stickers: An assortment of coordinating stickers that match the card designs. These stickers are great for adding extra flair to your projects.
  3. Journaling Cards: Some cards are designed for journaling or adding personalized messages, making them versatile for different crafting projects.
  4. Memories Cards: These cards are designed for scrapbooking but can be repurposed for other creative endeavors, as you’ll see in our project today.
  5. Coordinating Colors: The color palette in this pack is classic Christmas with shades of red, green, and white.

Now, let’s get to the fun part! When you combine the Beary Christmas Memories and More Card Pack with the Beary Christmas Memories Cards & Envelopes, you can create adorable Christmas cards in no time at all. The pre-scored and pre-folded cards and envelopes make crafting a breeze, especially if you’re new to cardmaking.

Creating Christmas Cards:

  1. Select a Card Base: Start by choosing a Beary Christmas Memories Cards & Envelope as your card base. These cards already have a festive design on the front, saving you time and effort.
  2. Embellish with Memories and More: Pick a Memories and More card or stickers from the Beary Christmas Memories and More Card Pack that complements your card base. You can use double-sided tape or glue to attach these elements.
  3. Personalize: Add a heartfelt message or greeting to the inside of the card using the journaling cards or simply write your own message.
  4. Envelope Decoration: Don’t forget to decorate the envelopes with matching stickers or a touch of your creativity.

But that’s not all; these supplies aren’t just for cards. You can also use them to create easy and charming gift tags for your holiday presents. Here’s how:

  1. Die-Cut Tags: Use the tag die from the Merriest Trees Bundle (or any tag die you prefer) to cut out tags from the Memories Cards or other cardstock in the Beary Christmas Memories and More Card Pack.
  2. Add Festive Touches: Decorate the tags with stickers, additional embellishments, or even some ribbon for that extra holiday charm.
  3. Attach to Gifts: Use a hole punch to make a hole at the top of your tag and thread a ribbon or string through it. Then, attach the tag to your beautifully wrapped gifts.

Crafting doesn’t have to be complicated or time-consuming. With the Beary Christmas Memories and More Card Pack in tandem with the Beary Christmas Memories Cards & Envelopes, you can effortlessly create delightful Christmas cards and gift tags that will bring smiles to your loved ones’ faces. It’s the perfect crafting experience for beginners or anyone seeking a simpler, more joyous way to celebrate the holidays through handmade creations.

So, grab your supplies, put on some holiday tunes, and enjoy the magic of simple crafting this Sunday. Happy crafting! 🎄✨

Celebrate the Season with the Joy of Christmas Suite

Hello Stampin’ Friends ~

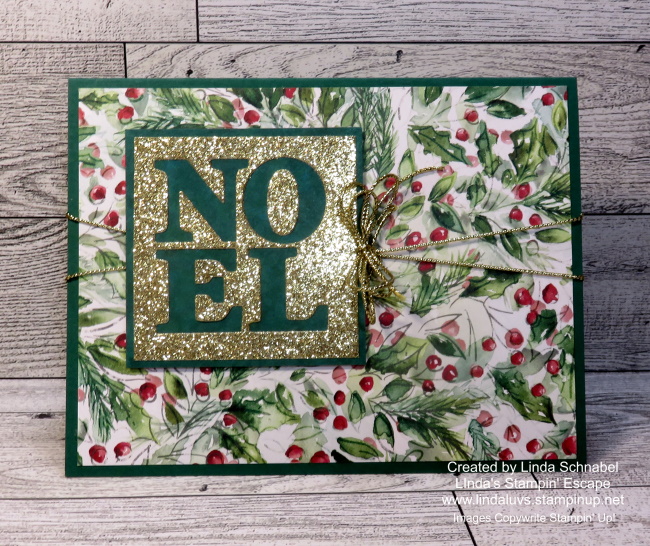
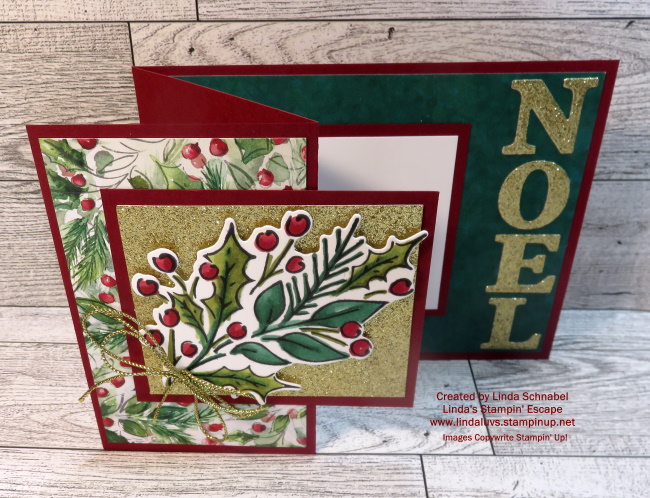
Today we will be celebrating the upcoming season with the Joy of Christmas Suite. Many of you are beginning your holiday cardmaking, and what better way to do so than with beautiful handmade Christmas cards? The Joy of Christmas Suite from Stampin’ Up! offers everything you need to create stunning holiday greetings that will warm the hearts of your loved ones.

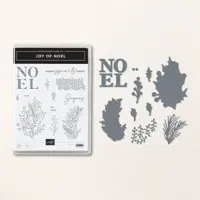
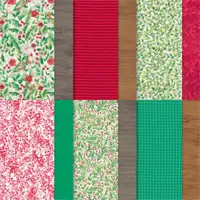
In this blog post, we’ll focus on two exquisite components of this suite: the Joy of Noel dies and the Joyful 12 x 12 Specialty Designer Paper. I’ll also demonstrate how to make a simple yet elegant Christmas card, embellished with Gold Festive Pearls, using Cherry Cobbler cardstock and Gold Foil. Let’s dive into the world of festive creativity!

The Joy of Noel dies are the perfect addition to your crafting arsenal this holiday season. These intricate dies allow you to effortlessly create stunning holiday-themed designs that will leave a lasting impression. One of the standout features of these dies is the word “Noel,” which adds a touch of elegance to any project.

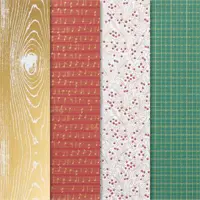
The Joyful 12 x 12 Specialty Designer Paper is a delightful collection of holiday-themed patterns and designs. With its rich color palette and intricate patterns, this paper is ideal for creating beautiful cards and projects. It includes metallic accents that add a touch of opulence to your creations, making it the perfect choice for your Christmas-themed projects.

  • Cherry Cobbler cardstock (8.5″ x 5.5″, folded in half to create a 4.25″ x 5.5″ card base)
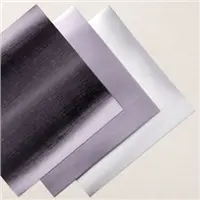
  • Gold Foil (4″ x 5.25″)
  • Joyful 12 x 12 Specialty Designer Paper (3.75″ x 5″)

Using the Joy of Noel dies and a die-cutting machine, cut out the word “Noel” from the Gold Foil. This is a great paper saving technique. Now you can attach the Gold Foil to your Cherry Cobbler Cardbase, and the Joyful Designer paper over that. Using Dimensionals, attach your “NOEL” to the cardfront.

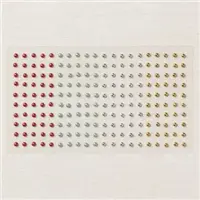
Add Gold Festive Pearls to the card to enhance its elegance. You can place them strategically around the “Noel” die-cut or as you prefer.

With the Joy of Noel dies, Joyful 12 x 12 Specialty Designer Paper, and other coordinating products, you can create beautiful, heartfelt Christmas cards that will bring joy to your loved ones. This simple yet elegant card, adorned with Gold Festive Pearls, is just a glimpse of the endless possibilities this suite offers.

So, gather your supplies, let your creativity shine, and share the magic of Christmas with handmade cards that truly convey the spirit of the season.

Happy crafting ~

Countdown to the Mini Catalog Party: A Week to Remember!

Hello Stampin’ Friends!

I know I’ve been little MIA lately, but there’s a perfectly good reason for it – I’ve been having a blast with many of you on my Linda’s Stampin’ Escape Facebook page for the Countdown to the Mini Catalog party! It’s been three incredible days filled with creativity, games, prizes, and live demonstrations, and I can’t wait to tell you all about it.

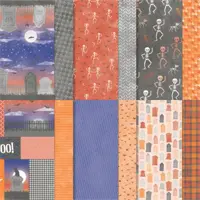
Our party kicked off with a bang, diving straight into the spooky spirit of Halloween. We explored the exciting new products in the Mini Catalog designed for this hauntingly delightful holiday. From whimsical ghosts to eerie pumpkins, there was something for everyone to fall in love with. The comment section was buzzing with ideas and inspiration as we shared our favorite picks and creative tips.

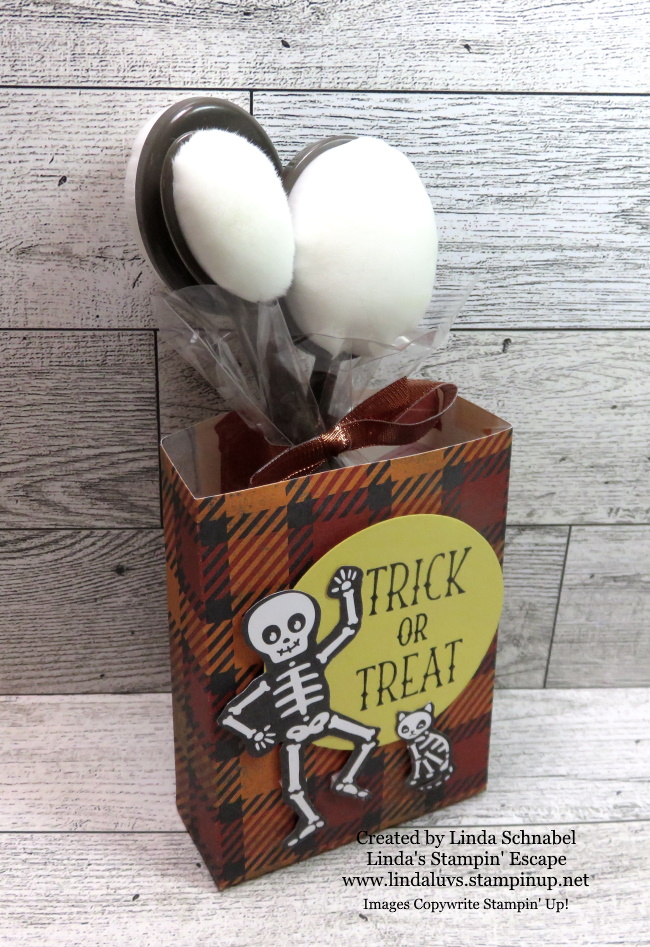
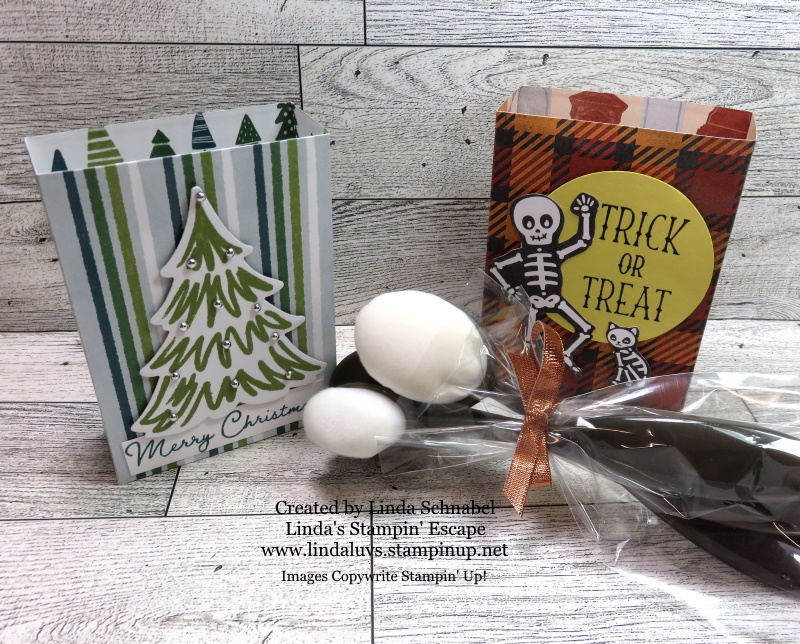
This cute little bag was just one of the products shared during a LIVE demonstration. It comes from the Tricks and Treat Bundle, and includes the die to cut your favorite designer paper. It’s so simple, just cut 2 pieces out, fold on the score lines and glue the small flaps to the sides … then don’t forget to glue the bottom flaps!! And yes, I fussy cut the skeleton and his scaredy cat!!

As we rolled into the second day of the party, our focus shifted from pumpkins to twinkling lights and ornaments. The Mini Catalog’s Christmas-themed products had us all giddy with excitement. We explored festive card designs, handmade gift ideas, and elegant decorations for the holiday season. The virtual party room was filled with the sound of joyful anticipation for the most wonderful time of the year. I have so much to share with you yet.

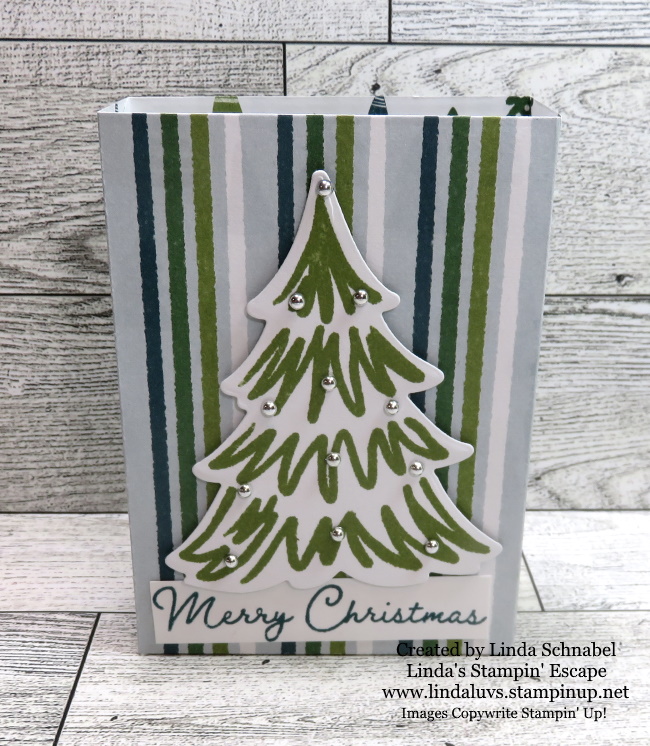
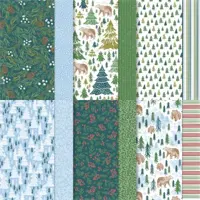
Till then, let me show you the cute Christmas bag we made using the same bag die …. I used “A Walk in the Forest” Designer paper. The tree is also from the designer paper and was die cut from the Merriest Tree’s Bundle.

The “A Walk in the Forest” Designer paper… Is not just another designer paper, it’s a heartfelt contribution to Stampin’ Up!’s Making A Difference campaign. For every package of this beautiful paper sold, Stampin’ Up! is committed to donating $3 to Toys for Tots. It’s such a wonderful way to make a difference while indulging in our crafting passion. So, when you use this paper for your projects, know that you’re not only adding charm and creativity to your creation but also spreading joy to children in need during the holiday season. What could be more heartwarming than that?

Just when we thought the party couldn’t get any better, I had a little surprise up my sleeve. I announced that I would be turning this fantastic gathering into a Mystery Hostess Party! The excitement in the virtual room reached a fever pitch – what an incredible twist! One lucky participant will get to shop with the party rewards.

Throughout these three days, I was reminded of why I love what I do. Being able to share my passion for stamping and crafting with all of you, my Stampin’ Friends, is an absolute joy. I want to thank each and every one of you for making this Countdown to the Mini Catalog party so special.

But let me tell you a little secret – this won’t be the last surprise you’ll see from me at my parties, events, or retreats. I’m always looking for ways to make our stamping adventures even more memorable, so stay tuned for what’s coming next!

Thanks for joining me today ~

Here is a list of supplies used to create both of my Gift Boxes … All items are available as of this morning 9/7/2023

Simply Sunday: Season of Cheer

Hello Stampin’ Friends,

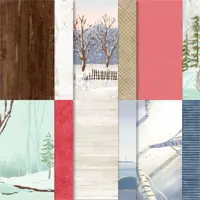
Today I want to share a simple card that I created in just minutes … the One Horse Open Sleigh designer series paper has so many pretty patterns that the hardest part you’ll have making these cards is trying to pick out which pattern you want to use.

I chose the A-Frame log home with a simple black mat and then secured it to the Cherry Cobbler base. A simple greeting with a few Classic Mat Dots … popped up with our Stampin’ Dimensionals… simple. Pretty. Done.

Hope you enjoyed today’s Simple Season of Cheer card. Thank you for stopping by and enjoy your day.

Most Wonderful Time of Year …

Hello Stampin’ Friends ~

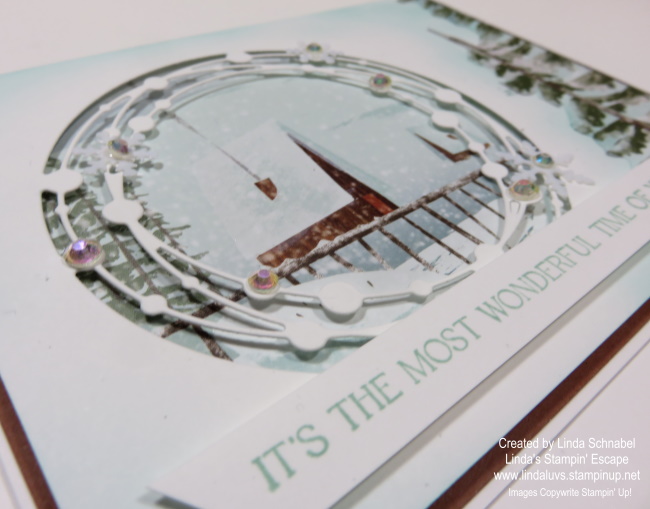
With the heat wave going on, I thought it would be nice to “chill” things out a bit and I’m doing so with some of the One Horse Open Sleigh and Irresistible Blooms On-Line Exclusive items. This card turned out stunning if I do say so myself!

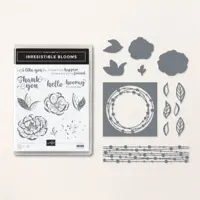
I missed using the beautiful circle die image from the Irresistible Blooms and thought it would work perfect with the gorgeous One Horse Open Sleigh Designer paper… I chose the pattern with the A-Frame home so the die cut would frame the house.

I began with Basic White cardstock and die cut the circle out. Cut my designer paper so that it would “peek through” … I used dimensionals to pop up the white. The left over designer paper was “fussy” cut and glued to the front on my card.

I felt the white was too stark so I used Pool Party and my Blending Brush to soften the difference between the white and the designer paper and noticed how beautifully it enhanced the look of the card. When finished with the brushing, I mounted my card front onto a piece of Pecan Pie to pull the color of the house.

Next, I began the embellishing … first with the Adhesive Backed Snowflakes and then with the Iridescent Rhinestones. I places them on the little circle spots on the die cut.

The greeting I chose “was” from a set in the Clearance Rack but has since sold out … so chose what works best for you. It was stamped in Pool Party and when attached to the front, I attached then entire cardfront / mat onto my Basic White cardbase.

It reminds me of those old fashioned Christmas cards that we all loved, but updated with the beautiful die cut and embellishment.

Thanks for joining me today, and I hope my card took you back to the Most Wonderful Time of Year.

Sparkling Season … Find out how!

Hello Stampin’ Friends,

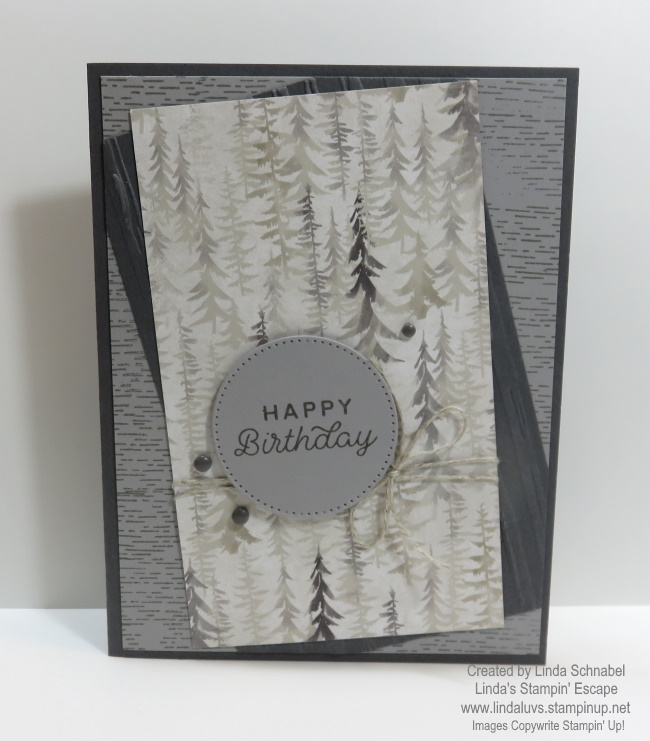
Today I’m going to the second card using the One Horse Open Sleigh designer paper… I even have another 3″ x 3″ piece left to make another. Yesterday I shared this pretty woodsy card that cold be used for any occasion, I did a birthday card.

I used the Smoky Slate again today but highlighted it with the Mossy Meadow cardstock and ink. Because I am making this a Christmas card, I wanted just a hint of a traditional color… and the Mossy Meadow plays nice against the gray and brown tones of the One Horse Open Sleigh designer paper.

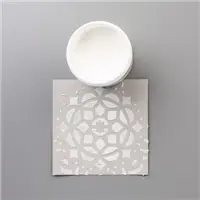
Wondering how I got that sparkle background? It also adds some fun texture to the card … I used the Shimmery White Embossing Paste found on page 136 of your Annual Catalog. I used the long Palette Knife to drag it across my cardstock and create my background.

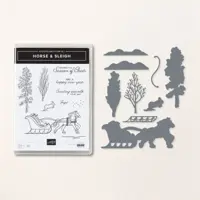
I popped up my 3″ x 3″ piece of the One Horse Open Sleigh designer paper after matting with with a 3-1/8″ x 3-1/8″ piece of Mossy Meadow. I stamped my greeting from the Horse & Sleigh stamp set. I ordered the bundle which includes the dies to save 10% because you’re going to want the dies too.

No fancy punches or dies used for my greeting, just a scrap piece of paper and a diagonal cut using my scissors. I scrap piece of the designer paper in Mossy meadow was tucked behind the greeting to tie into the cardbase and mat.

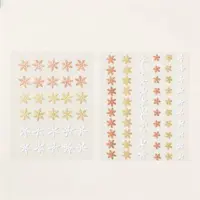
The photo above that is on an angle really highlights the change in your cardstock when you use the Embossing Paste. It creates a two-tone look and adds that shimmer … so with that, I added a snowflake from the Adhesive Backed Snowflake Assortment and 3 of the gray Classic Mat Dots.

Thank you for stopping in or coming back to see the second of these two cards … one more to go! And to think, I only used one sheet so far.

Have a great day.

Two for Tuesday Cards & Stamp Sale!

Hello Stampin’ Friends,

We’re going to have some fun today with Two cards for Tuesday and a fun new Stampin’ Up! promotion. Let’s begin with the great news that was just announced … A STAMP SALE!

If you’ve had your eye on stamps from the 2023–2024 Annual Catalog, then we have some exciting news! On 19 July, these stamps will be 15% off for 24 hours (this offer does exclude host stamp sets). You heard us right, for one day only you can snag your favorite stamp sets for a stellar price!

Amazing right … all the stamp sets in the Annual catalog (the big one) are on sale for one day only. PLUS … While you are shopping, don’t forget the Clearance Rack. It was just updated recently, and that brings me to my 2 cards for this Tuesday!!

Both cards were created with the All Together 6 x 6 Designer Series paper …

I wanted to show how fun and versatile that this black & white paper can be. You can see more cards samples HERE from a previous post featuring the All Together Paper.

Tomorrow when you begin your sales shopping; you can use this link: https://www.stampinup.com?hostcode=PJ4UWCQB If you are spending more than $150 – Do Not use this link because you will qualify for Free Host Benefits & more!!

Both of today’s cards were “jazzed” up with my Stampin’ Blends! My first card is a fun Autumn card and I used the Pumpkin Pie Stampin’ Blends to add a strip of color between the stripes on the designer paper ….

I used several items from the Stargazing Suite; the Designer paper and the dies! The fun pumpkin was created with both of those items … all I did was sponge the edges of the circles to create an illusion of depth. The greeting was also cut from the same designer paper pattern than I cut the circles. The “celebrate” comes from the “Wanted to Say” dies.

Next up is a Christmas Card ….

This plain black & white background was transformed by my Cherry Cobbler and Shaded Spruce Stampin’ Blends … just drag your marked across the designer paper / I didn’t even use a ruler, it’s all free hand and easy but creates a fun colorful background. It is adorned with the trees and snow from the One Horse Open Sleigh Bundle.

One more thing while you create your shopping list …. Bonus Buys!! For each $50 you spend, you’ll receive a $5 coupon to shop with in August. So feel free to bundle your discounted stamp sets, with more savings from the Clearance Rack and pick up your Bonus Coupon too!

Those will be emailed to you by Stampin’ Up! so make sure you have an email address and you save your codes. Message me if you have any questions or if you would like help placing your order tomorrow.

Again, here is that link to shop: https://www.stampinup.com?hostcode=PJ4UWCQB

One more thing … I invite you to join me LIVE tonight on my Facebook page for another Free Class / Demonstration.

Thank you for joining me today and I hope I see you tonight.

Favorite Things II

Hello Stampin’ Friends ~

Today I have a few more items on my list of favorite things on the Clearance Rack … I will also be showing you the #1 Buy!!!

I’m going to start with a “tasty” find and a die I love to use!! The striped background die is worth the money alone …. and if you are worried because the coordinating designer paper is no longer available for your candy canes, not to worry … I used the left over strips from the large die to make my own candy canes and I love the texture it provides.

The first card used the background die with the Red Glimmer paper … We’ve got some fun paper in the annual catalog or you can find some on the Clearance Rack as well. Don’t forget what I told you about those candy canes!

Did you know that you can easily layer the background die back 2 back to create a crisscross pattern … just check it out below. By the way …. I think those banner dies are on sale too!

I couldn’t leave the Leaves of Holly stamp set off my list. My house is adorned with holly every Christmas … even decked out my entire tree with holly garland one year! I simple love it.

This card really highlights the stamp set, done in Night of Navy and Balmy Blue to show you don’t always have to go the green and red route. Add a little glimmer paper and blending brushes and you have a stunning card.

Now for my next product, I actually have 3 together because surprisingly enough … all 3 of the Splendid Day items in the Clearance Rack … a rare find!! AND my #1 BUY is the Splendid Day “Specialty” Designer Paper for ONLY $2.25!!

The Splendid Day 12″ x 12″ Specialty Designer Series Paper is a beautiful way to add a touch of elegant imagery to your papercrafting. You can use it as a background on scrapbook pages or card fronts, or cut smaller accent pieces to add interest to your projects. The soft, leafy images will add grace to all types of projects. One side of each sheet is foil with white printed accents.

Foil colors: copper, Fresh Freesia, Petal Pink, Pool Party, Sahara Sand, Soft Sea Foam

The card above was done in Early Espresso with the Copper Designer paper along with the stamp set stamped directly onto the cardstock for a dimensional look and then the leaf dies in the basket die. I love this card.

The second card is done in the Soft Seafoam ….

So easy to make beautifully elegant cards with this specialty designer paper, stamps and dies … You can buy all three for less than what you would have paid for the dies alone! Check out the Splendid Day products today. Don’t forget it’s BONUS DAYS … for every $50 you spend, you will receive a Bonus Coupon for $5 to spend in August!

Thank you so much for joining me today. Remember … I go LIVE tonight at 6:30 CT on my Linda’s Stampin’ Escape Facebook page.

Hope to see you tonight. Have a great day!!

Favorite Things: Clearance Rack

Hello Stampin’ Friends ~ Today I wanted to share a few of my favorite items from the Clearance Rack. I’ve already shown you the All Together Designer Paper, so lets see what else is on my list!

First up …. I had to pick the cute little Scottie Dog Punch

Here’s a cute Christmas card using the Scottie Dog punch ….

If you would like to see how I created the holiday pattern on this card CLICK HERE. I have another card sample for you … Halloween and using up some of my scrap designer paper.

Since we’re talking Halloween, let’s look at the Scary Silhouettes Dies ….

Here is a fun card that I created with these dies and a watercolor wash background ….

I have one more product to show you today along with several card samples; the Rustic Harvest Designer Series paper ….

You will notice that these sheets have colorful designs on one side, and black and white on the other. If you look back at my Halloween Scottie Dog you will find some of these patterns on that card too!

My first card uses the black and white for the background, then with my blending brushes, just added some color!

The next card shows how you can bring the color level up a notch (or leave it just the way it is) I used the Stampin’ Blends because the work so well on designer paper too ….

And the last card highlighting the Rustic Harvest Designer paper, shares the before and after using the Stampin’ Blends on the Dahlia’s ….

So many uses for this paper …. take it beyond Harvest time and use the black & white for any occasion … grab some ink or markers and discover the possibilities!

These are just three of the great finds you will discover while shopping the clearance rack … I noticed that my favorite “Glitter Washi Tape” had already sold out! I will be tomorrow with a few more that I just loved using!

Thanks for stopping by, and have a happy Monday!