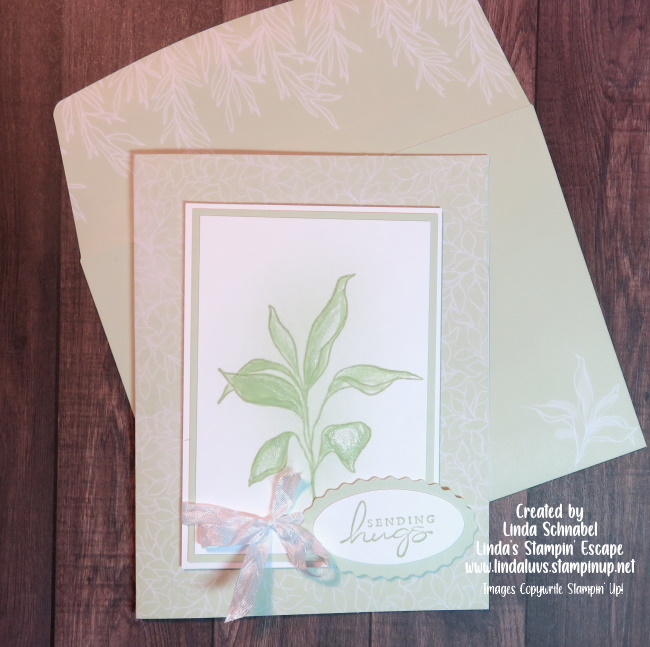
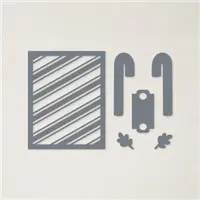
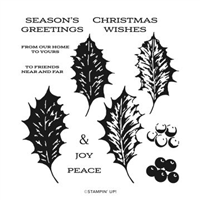
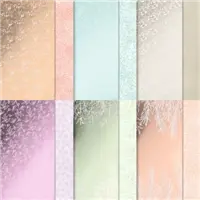
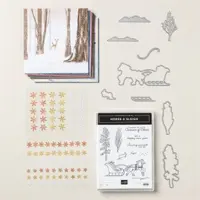
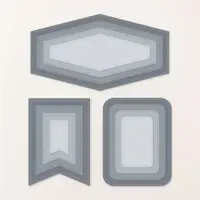
Today I have a sweet card that invites you to take a walk into nature. I’m using the Triple Time Technique on today’s card with the One Horse Open Sleigh Designer Paper and the New Nested Essentials Dies. So simple to make but with a very dramatic effect.
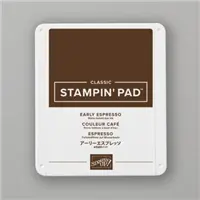
Ready? Pick out your favorite pretty paper pattern and some fun dies. I used two dies for my card, you will also need a sheet of coordinating cardstock. I am using Early Espresso …. cut in half 8-1/2″ x 5-1/2″ then score at 4-1/4″ for you fold.
Next we will cut your 6″ x 6″ designer paper down to 4″ x 5-1/4″. Position your dies evenly onto your designer paper and run it through your die cutting machine.
Use your extra cardstock to “mat” your die cut designer paper …. I actually glues my die cuts directly out of the designer paper and fussy cut around it, but if your a bit more of a perfectionist, you could line it up in your paper cutter and trim it to your desired width. You can see that mine is not perfectly even but just as effective.
Attach the outer piece of designer paper directly to your cardfront, then you’ll align the largest of the two die cuts to the pattern of the paper … I used Stampin’ Dimensionals to attach it, then you’ll do the same with the smaller one.
To finish off the card I stamped the greeting directly onto the designer paper. Yes, I know that’s risky but the photopolymer stamps make it so much easier! I used the bronze snowflakes from the suite to complete it. Again, super simple to make yet it has such an impact!
Thanks for hangin’ out with me today. Enjoy your weekend, I’m entertaining two of my great grandchildren ❤ so much fun!
Today I’m going to share two card with you that will give you a peek at the ONLINE Exclusives being released tomorrow the 6th of July. The online exclusives cannot be found in any publication … annual or mini catalog. This allows us to release new products any time of year, we’re not restricted to a catalog… How fun is that.
The two cards will be from two different bundles … I’m showcasing the One Horse Open Sleigh and the second card is from our Artisan Team member Charlet Mallett, she’s highlighting the Trucking Along stamp & punch bundle.
I can’t tell you a lot about this card but from the looks of it, she stamped the trucks to create a background and then punched one out as a focal point. The banner she used behind the truck comes from the All That Dies. The designer paper is Let’s Go Fishing. This is such a cute take on this bundle, it’s been the talk of the internet! Can’t wait to order one for myself on the 6th.
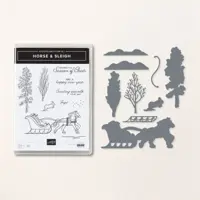
The second is mine, and I am using the One Horse Open Sleight Suite …. This was one of the sets that we as demonstrators could pre-order so I have just started playing with mine. Getting ready for my class but here is one of my first designs …
I knew I wanted to use the sleigh so I stamped it onto Basic White with the Memento Ink and then began coloring with the Cherry Cobbler, Pecan Pie, Night of Navy and Misty Moonlight Stampin’ Blends. After die cutting it, I used it to pick out what designer paper pattern I wanted to use. I cut it down to 3-7/8″ x 5-1/8″ matted it with Misty Moonlight at 4″ x 5-1/4″ and mounted it onto Early Espresso.
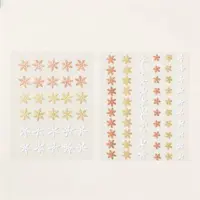
The die cut sleigh was glued at the bottom and popped up on the top half! I stamped the greeting in Misty Moonlight and die cut it, then added a bit of Bakers Twine to it before popping it up onto my card front. I added some of the adhesive backed snowflakes with an Iridescent Rhinestone on top to finish off the card.
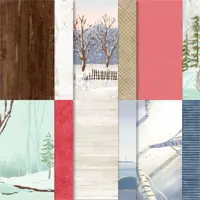
The left over designer paper was added to the inside of the card. I also added a small strip of Misty Moonlight cardstock in there as well … just made the card look finished on the inside too. The designer paper in this suite is fabulous. The winter scenes are so pretty and the other side has great patterns you can use anytime throughout the year.
Don’t forget the Online Exclusives go LIVE tomorrow July 6th and you can take a look then on my website at http://www.lindaluvs.stampinup.net
I hope you enjoyed your holiday … and I thank you for stopping by today.
I hope everyone is fairing well in this crazy weather … I’m not the biggest fan of snow and cold, but it’s crazy cold here! I had to take a little break to warm up so I made some “Christmas Poke” Cake and Deviled Eggs for the family get together.
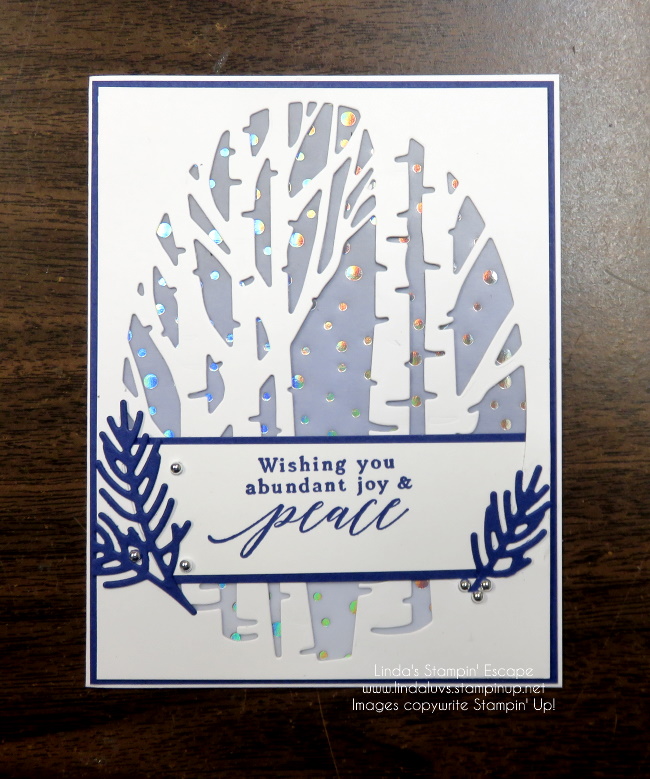
Today I’m highlighting the “Perched in a Tree” bundle. Let’s get started 🙂 The first card was cased from Pinterest and I just loved the cool color and blue and paired with white.
Cardbase is your A2 size (8-1/2″ x 11″) and the die cut piece was cut to 4″ x 5-1/4″ and so was the pretty Snowflake Specialty Vellum, which is also on the Last Chance List 😦 The blue is the Starry Sky … so pretty. This is a great card choice if you like layers but need something on the simple side to get your Christmas cards done quickly.
My next card I changed up to show this beautiful bundle can be kept in your stamp collection all year long ….
With a simple change of sentiment you can change the entire feel of your card, and easily turn this from a Christmas card to a Birthday Card!
Thank you for spending a part of your day with me, enjoy this holiday with your family and friends ~
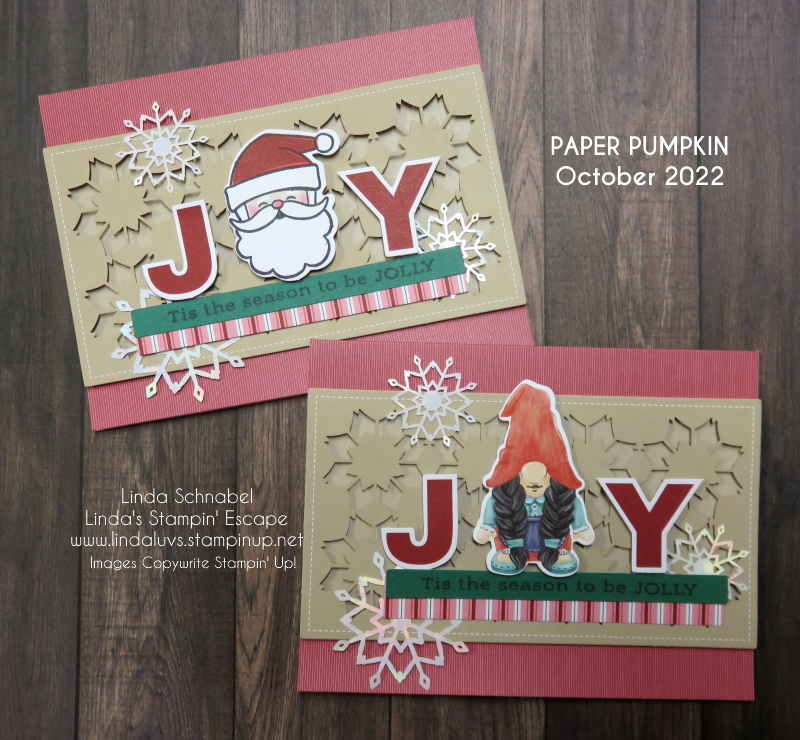
I was assembling my October kit and noticed a bag of “Gnomes” that I had pre-die cut so … I thought what more fun than a sleigh ride than invite my die cut gnomes to join Santa Claus!! lol Here are the original cards from the kit (upper left hand) and my Gnomes cards (lower right).
Let’s begin by sharing a little JOY ….
The kit had 3 different designs so on my next card “Santa Clause is Comeing to Town) I did change up the layout a little bit ….
Just a little change on the next card …. Have a Merry Christmas my friends!
Just in case you wanted to view the video … I added it for you to see ….
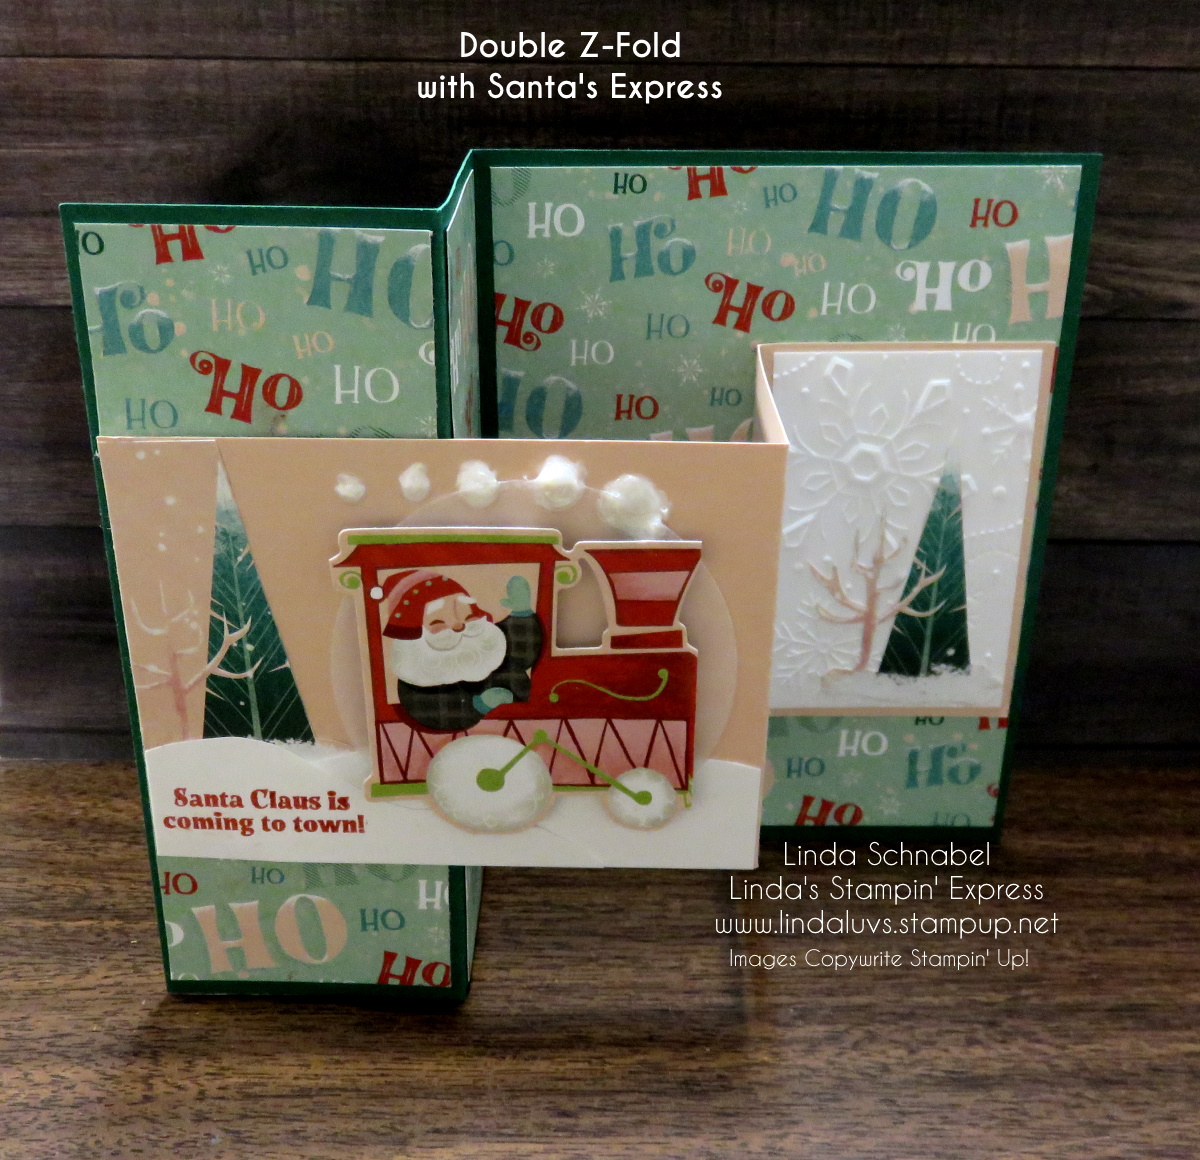
I’m thrilled to share with you my “finished” cards from last nights Facebook LIVE presentation. I will not be sharing the video here today, not my best moment! Right before I went Live … I dropped all the parts to my card, so let’s just say “I had a few pieces missing” and I was a bit flustered BUT the cards turned out awesome and I can’t wait for you to see them!
Let’s begin with our first card … and I will include the measurements!
My card base is Shaded Spruce and is cut 8-1/2″ x 5-1/2″ … Score at 2-1/8″ and 4-1/4″. You will fold the card in half at the 4-1/4″ score and then fold the front “back onto itself” at the 2-1/8″ score line. The first two panels were cut to 2″ x 5-1/4″ and then cut your designer paper to 5-1/4″ x 4″ for the larger area.
Your second “Z” is Petal Pink and cut 8-1/2″ x 3″ and will be scored at 4-1/4″ and 6-3/8″ (or use the dimensions above … just flip it around). From a piece of scrap … I cut some snow on the bottom of my larger front panel and then glued a piece of the designer paper (with tree) into the upper left hand corner.
I die cut the Santa and the vellum circle behind him. Sink of Stella was added to the snow on the ground and on my trees. Then I stamped my greeting into the corner with Poppy Parade. My smoke puffs were created using the Pearlized Enamel Effects.
The two Basic White panels are cut to 2-7/8″ x 1-7/8″ for the smaller panels and the one of the far right is embossed with the Wintry Embossing Folder and I fussy cut a tree to match the one on the front panel. The center panel was left plain so you could write your sentiments in there.
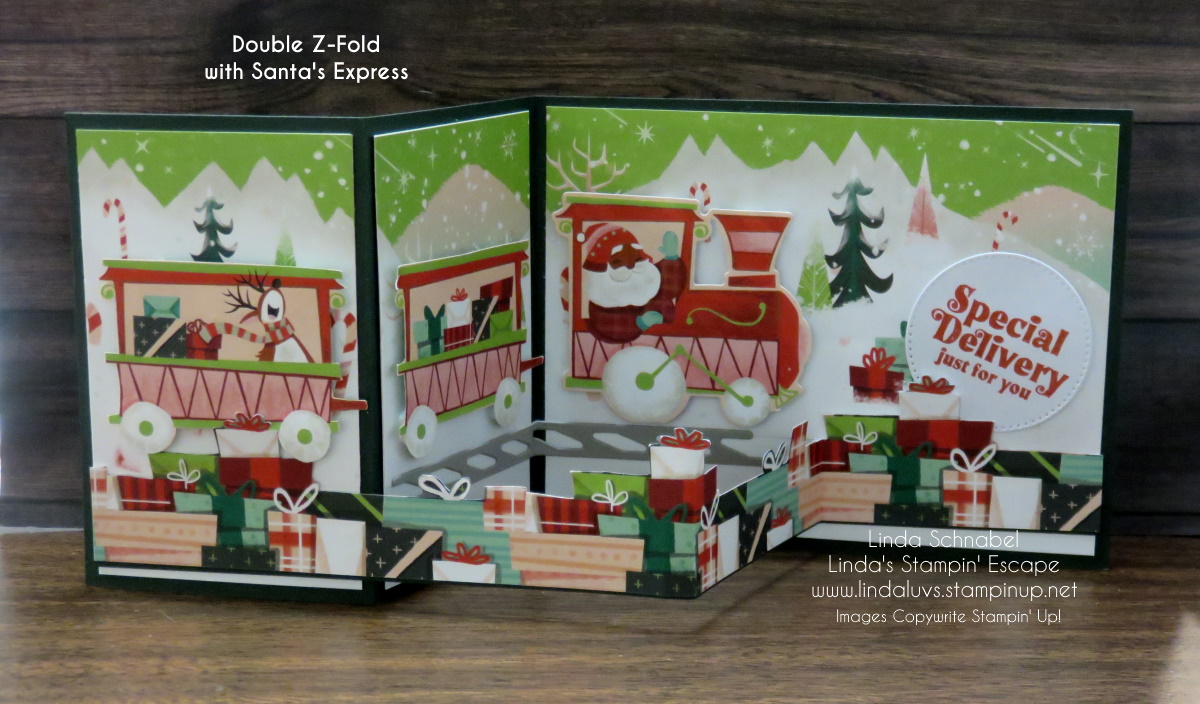
My second card has the card base cut lengthwise on the 11″ x 4-1/4″ ….
The card base is Shaded Spruce and scored at 2-3/4″ and 5-1/2″. I began with cutting panels for my card … two at 4″ x 2-1/2″ for the two smaller panels and the two at 4″ x 5-1/4″ … one for the front and one for the back if you’d like to write a note to the receiver.
I used the designer paper that has the four backgrounds … it cuts to 3″ x 12″. I cut it down starting from the “right” because I liked the pattern better!! With 3″ tall, I made my first cut at 4″, then the next two panels to 2-1/2″ Now you can secure them to the panels aligning from the top. The gap will be covered by your second “Z” which is placed near the bottom, where as our first card we centered the “Z”.
The second “Z” is cut to 11″ x 3/4″ … then our “Presents” Designer paper is fussy cut to about 1-1/4″. Then attach it to your second “Z”. I then die cut the 3 train parts from the Santa’s Express designer paper and the train tracks. The train cars are all popped up to give it some dimension and then I added the tracks.
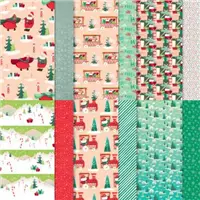
I stamped my greeting Poppy Parade and die cut it and tucked it behind my “Z”. Looks like Santa has some fun coming down those tracks … even his reindeer is along for the ride!! The Santa Express Designer Paper is sooo fun to create with. It’s ON SALE for Only $7.20!! Don’t wait to get yours, it will be gone. Grab it now while we have FREE SHIPPING … Today Only.
I can’t promise it will arrive before Christmas but it’s a great time to enjoy some savings. Let me know if you would like some help.
Thank you for joining me today, I enjoyed sharing these cards with YOU!
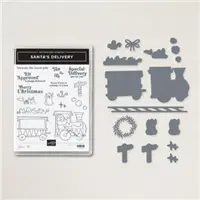
Here is a list of supplies used to create today’s cards …. Click on the image for more information on that product or begin your purchase.
I have two super cute cards to share with you today … Both from suites that I purchased from the Mini Catalog (retiring soon) because I just had to have them. With all my grands and greats they are just what my stampin’ stash needed … something for kids! Please not these cards were created by my stampin’ sisters from the Design Team I am on.
First up the amazing Santa’s Express ….
The adorable back ground comes from the Santa Express Designer paper … as does Santa! He was cut out using the coordinating dies. He is popped up on a layer Petal Pink and Evening Evergreen die cut from the Layering Circle dies.
The greeting comes from the Jingle Jingle Jingle stamp set (also in the mini pg.26) Stamp “tis the season to” with Evening Evergreen ink on Basic White layer masking off the word “be” with a post it note. Stamp the outline of “Believe” with Poppy Parade and the inside with Petal Pink.
Now this next card is for my Gnomies ….
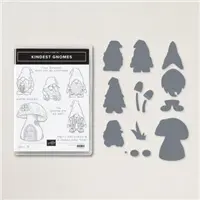
Our second cute card was created with the Kindest Gnomes and Christmas to Remember stamp sets. The multi pattern designer paper makes for a fun background and comes from the Storybook Gnomes Designer paper.
Cut the largest circle from the Stylish Shapes Dies in Basic White cardstock and stamp the sentiment in Poppy Parade ink. The gnome is stamped in Memento ink and is colored using Stampin’ Blends then cut out.
Thanks for stopping by and checking out these little cuties … Don’t forget to LIKE my blog is you liked these cards as much as I did.
Have a great day ~
Here are the main supplies used to create these cards …. If the designer papers do not show, it’s because they have SOLD OUT already.
Today I had a request to share how I created a cute little Gift Basket from the Pillow Box Die … You’ll be surprised at how easy this is to make! The designer paper being used is discontinued but if you have this die … you can create baskets for ANY occasion!
I have the dimensions for the inner box in the video but I thought I would share them again. Start with a 7-1/4″ x 5-1/2″ piece of cardstock and score at 2″ on all for sides. Then you will cut on the score lines on the 7-1/4″ length sides (ref. Video) You should have also seen the cute little baskets I made for the Mantle Gifts for my Holiday Stampin’ Retreat!
The ladies watching LIVE had plenty of ideas they could use these for … Baby Showers, Wedding Showers, Birthday Parties, on the table for the Holiday’s … a teachers Gift or a cute little gift for a co-worker. The possibilities are endless, and that cute little basket is priceless!
I have listed the ingredients below for your shopping convenience. Let me know if you have any questions.
On Tuesday I shared the Twisted Ribbon Technique with you which included a video replay of my LIVE presentation … TODAY I want to share how to use the left overs of that Pretty Paper to make quick cards.
I shared how I save 3″ x 3″ squared when cutting, now let’s see how those make simple and quick cards. Great way to get those Christmas cards done if you haven’t!! (I know that feeling). Simple does not mean that your cards can’t be pretty.
Here we have our 3″ x 3″ square in it’s simplest form ….
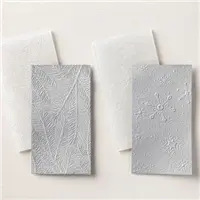
An easy way to step up your card is simply stamp a background … You could even use an embossing folder to add texture instead of ink. The greeting ends were punched to create a tag, and anchored with embellishments.
If you didn’t catch my LIVE presentation or did not take a look at the video yet, here it is ….
Sometimes it’s just nice to create cards with our scraps / leftovers that are easy, and simple … and pretty!
Thank you so much for joining me! Have a wonderful day.
Woot Woot … It’s finally Friday and I have a pretty little card to share with you today. I did a mash-up of a some of my favorite items in the Holiday Mini Catalog … the Boughs of Holly Designer Paper, Holly Berry Dies and the Perched in a Tree Bundle.
My card base is Shaded Spruce and I used Cherry Cobbler to mat the beautiful Boughs of Holly Designer Series paper. I used the Holly Banner from the Holly Berry Dies to highlight my greeting (Old Olive was used behind the leaves to coordinate with the leaves on the designer paper).
I stamped the bird on Basic White using Momento Ink and then colored it with the Stampin’ Blends, making it easy to create multiple cards. I perched my bird on the “Textural Elements” which are also colored with my Blends!
You can see in this close-up that I added a touch of Wink of Stella on the leaves and the wooden element … who doesn’t like a little sparkle on a Christmas Card.
Thank you for joining me today. I truly appreciate the visit … If you like what you see on my page, please click on the LIKE button. It helps others find my blog ❤
Have an amazing day ~
Here are the supplies I used for my card (the ones still available) The last chance list is out so products are selling out fast.
Today I have some creative ideas for gift giving during the Holiday Season … whether you are doing the giving or you need a little “hint” for your stamping needs.
I do Gift Certificates for you and enclose them in a beautiful hand made card … and they can be for any amount you desire.
If you need to drop a hint or two on what you would like for Christmas … Here is a “Wish List” that you can click on and download to print out. To get your orders by Christmas, the best bet is to contact me before the 10th to ensure timely shipment.
I’d love to help you with your gift giving needs. Please let me know if I can assist you in anyway. Here’s a little giggle for your Thursday … everyone needs an “Elf” during the holidays.
I am so excited to share my cards and video with you today. Christmas is full of pretty paper and ribbons, and today I’m thrilled to show you the “Twisted Ribbon” Technique. In the video, you will also learn two different tips to creating this technique with ease.
Let’s watch the video and then I will share the cards with you …..
How fun is this technique!?? Oh my gosh …I am addicted!! And with the use of my template, it makes creating these cards fast and simple. Let’s talk “Core” dimensions / What you need to create the card. The punches or dies you can add for greetings and such are endless!! Just have fun with it.
Card Base: 8-1/2″ x 5-1/2″ then score at 4-1/4″.
Panel for ribbon technique: 5″ x 2″ … this allows you to add a mat and still layer!
Ribbons (Designer Paper): 3″ x 1/2″ (Sorry I said 1/4!)
I’ll begin with the card that I demonstrated in the video ….
This card highlights the “Boughs of Holly” Designer Series paper. I complimented that with Real Red and Mossy Meadow cardstock. My greeting comes from the Sweet Candy Cane Stamp Set and Real Red ink.
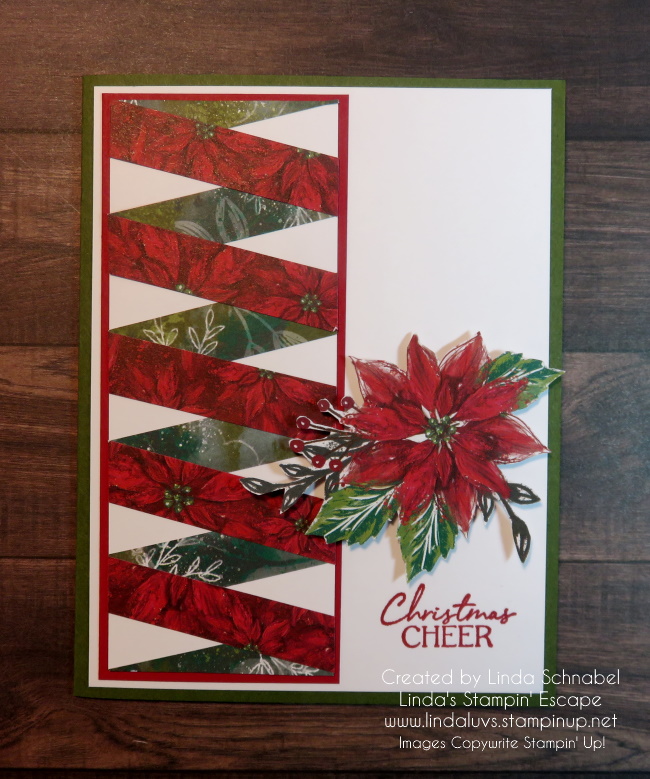
On this card I used the Framed Florets bundle and the Framed & Festive Stamp Set. The designer paper to create the “Twisted Ribbon” is the Fitting Florets! I also used the Timeworn Type Embossing Folder to add some texture to the card.
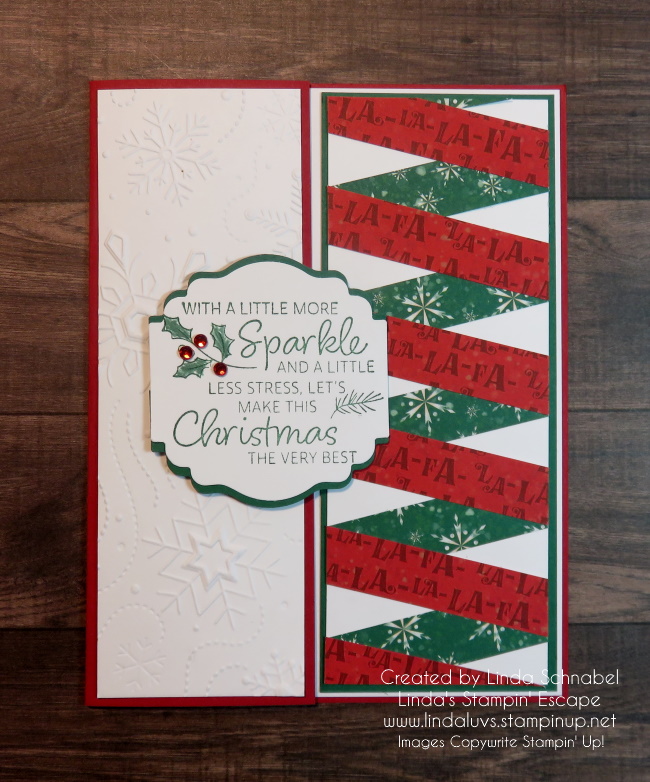
I got a bit more creative with this card … I cut 2-1/4″ off the front flap of my card and placed my “Twisted Ribbon” on the right side of the card. Now it shows with the card is open or closed!! My designer paper of choice is the “Santa Express” full of fun and whimsy!
To create the texture on the front flap, I used the Wintery 3-D embossing folder. My greeting comes from the Very Best Occasion stamp set and was punched out using the “Label Me Lovely” punch. Cardstock colors are Poppy Parade and Shaded Spruce.
My last card I shared also used the Santa Express Designer paper ….
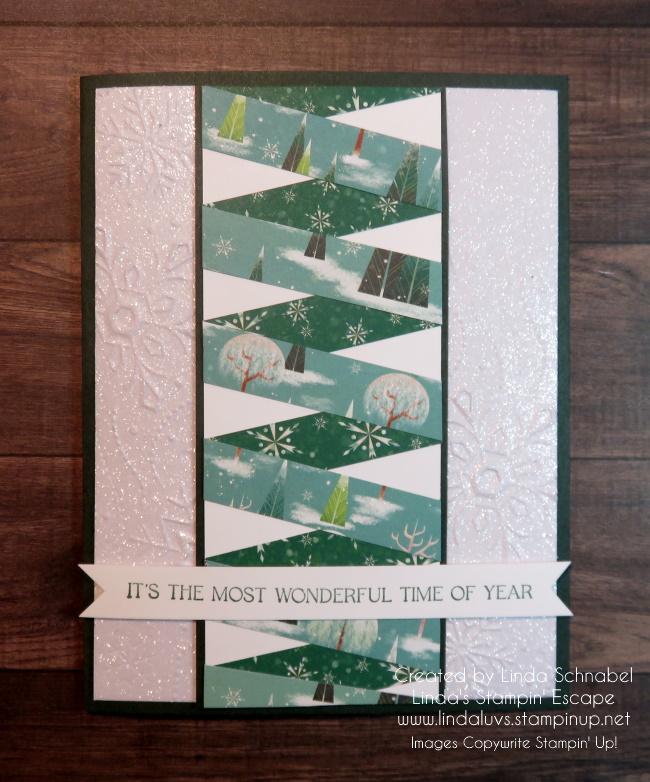
I also used the Wintry on this card but I embossed the beautiful White Glimmer paper! I centered my “Twisted Ribbon” to give it another different look. The greeting comes from the Sweet Candy Cane stamp set and fits this card perfectly.
I had so much fun making these cards and I hope I inspired you to grab some of your designer papers and try out this technique.
Thank you so much for joining me! Have a wonderful day.
Here are some of the supplies used to create my cards. Don’t forget that there are many beautiful designer papers on the Clearance rack at low, low prices!
Today I’m going to share one of my heartfelt favorites that hit the retirement list … Christmas Barn. This set brings feelings of my grandparents. I also created this card using the Book Binder Fun Fold, so I will be sharing one of my demonstration videos with you. I will be sharing it with you today, along with close-ups and dimensions shared in the video. The Book Binder Fun Fold is so easy to make but gives you that special touch of fun … and it works great with any occasion!!
Besides the Fun Fold, I’ll also be highlighting the “Masking” technique. Masking allows you to create dimension on your card without the use of dimensionals and such. First, you will need to stamp the barn, once on your cardstock, I’m using Shimmery White here, and then again on a piece of scratch paper …. then cut out your barn.
Now that you have your barn cut out, use a removable adhesive to attach your cut barn onto your stamped barn. Now you can stamp your trees around the barn … Remove your mask and it looks like the trees are behind your barn!! Now you can color your barn as desired. Now onto the Fun Fold Directions …..
Let’s take a look at the video and then I will share the measurements for the card…
So cute and easy … right! One piece of cardstock, two score lines and some adhesive and you can create the Book Binder Fun Fold. This bundle makes it easy to stamp and die cut your way to “sweet” Christmas cards and treats!
Measurements:
Card Base: 11″ x 4-1/4″ then score at 5-1/2″ and 6-3/4″ … the adhesive goes between the 5-1/2″ and 6-3/4″ score lines to create the “binder”.
Real Red Mat: 4″ x 4″
Designer Paper or White (for inside): 3-3/4″ x 3-3/4″
Binder Designer Paper: 4″ x 1″
The layout to this card is so simple that you can use it for any occasion … I’ll share more with you later.
In the Sweet Candy Cane bundle I showed you that one little die that creates a little “wrap” for candy canes but I wanted to share what else you could use them for … non-candy treats / gifts!!
Talk about a quick and easy little gift to give … and inexpensive. I used scrap pieces to cut my little wraps out and the pencils were from the $$tore! I think there are about 8 pencils in each pack, and they always have them for special occasions.
I hope you enjoyed the two cards highlighting the fun fold and the little treat wraps today.
Thank you so much for joining me today, and to those who watched me LIVE last night.
Have an amazing Wednesday ~
Here are the supplies that I used to create today’s Book Binder Fun Fold. If you do not have a demonstrator, I’d be happy to serve your stamping needs. Thank you.
Are you a paper hoarder like me? I always love having a stash of designer paper in many different patterns that I can use at a moments notice, and creating a gift bag is such an occasion.
Creating your own Gift Bag is so easy and then you can create a coordinating card to go with it. Today’s post has a cute bag highlighting the Santa’s Delivery paper ….
I love this Santa Express gift bag created by Stampin’ Up! Concept Artists for the July-Dec Mini Catalog.
Here are the measurements to recreate this project at home:
1- Start with 8-1/2″ x 11″ piece of designer paper.
2- On 11″ side, score at 4-1/4″, 5-1/4″, 9-1/2″, 10 1/2″.
3- On 8-1/2″ side, score 1″ and 6-1/2″.
4- Fold at 6-1/2 mark first for the flap and then glue the rest of the bag together.
Enjoy making gift bags for your friends and loved ones.
Here are the products used in today’s post … Click on the item for more information or to purchase.
I am really excited to share today’s card with you as it comes from one of the first suites I had to get my hands on when this Mini Catalog game out, and now it’s on the retiring list 😦
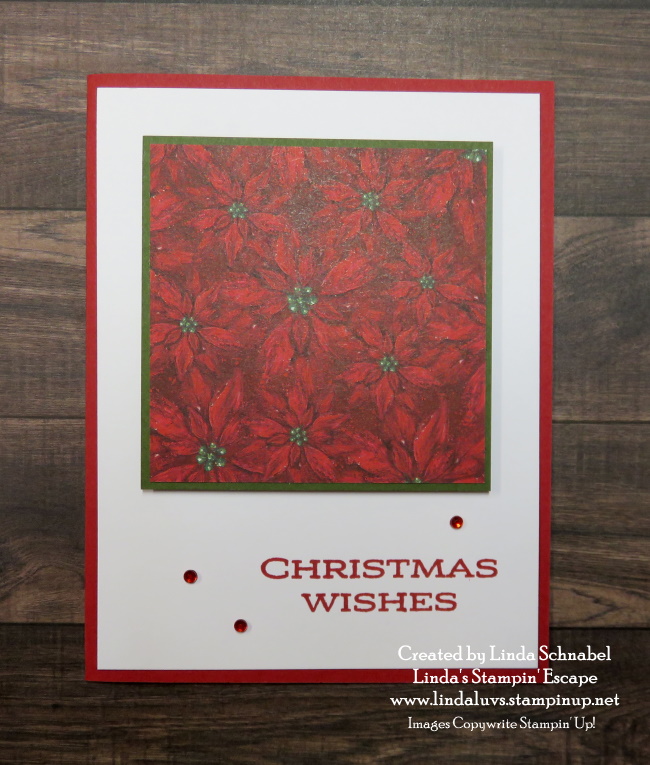
The Boughs of Holly Designer Series paper is simply stunning and is the backdrop for my card. I layered the poinsettia pattern with the Evening Evergreen and Cherry Cobbler which creates such a beautifully rich look.
To add a holiday touch, I die cut the frame from the Gold Metallic Specialty paper and it seems to make the centers of the poinsettia really pop out. I also die cut a piece of the designer paper with several green shaded to put behind the leaves.
To keep the deep rich them of my card going … I heat embossed a piece of Cherry Cobbler with Clear Embossing powder and die cut the cherries. I also cut the detailed part of the cherry in the Gold Metallic paper. To bring in the deep green from the designer paper, I cut 3 sprigs from the Evening Evergreen cardstock.
A simple piece of white Bakers Twine behind the leaves complimented the white used for the greeting. Then I added a few of the Gold Holly Leaves to balance out the entire assembly. To complete my card, I added a piece of the designer paper onto the Basic White and then layered a piece of Evening Evergreen behind the Basic White.
If you take a good look at my card, then flip to page 24 on the Mini Catalog you will see where I got my inspiration from!! I think our catalogs are a great place for inspiration, and if you have shopped with me in the past year … You are on my mailing list and will be receiving the upcoming Jan – June Mini and Sale-a-bration Catalogs!! Woot Woot!! Just my way of saying “Thanks” for choosing me as your demonstrator ❤
Thank you so much for joining me today, I hope I inspired you with these rich, warm colors.
Have a great weekend!!
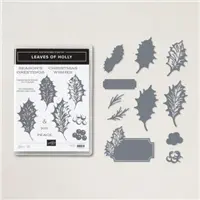
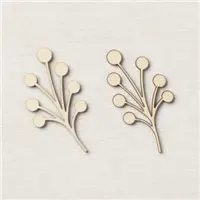
Here is a list of supplies that I used to create today’s card ….