Hello Stampin’ Friends ~
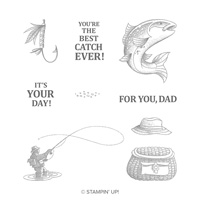
Sorry I missed you yesterday (Technical problems) however I have two for you today! We are all looking for masculine cards and I have two today that should fit the bill … Best Catch. I must say though, girls love to fish too!! That is a wonderful memory I have of my Grandpa, my Dad … and my Mom.
My first card will take you to a slow running stream where the sun hits the ripples of the water and creates a sparkling dance. Don’t you just love the sound of water … it’s so calming.

The card is “almost” monochromatic … Monochromatic color schemes are derived from a single base hue. The reason I say “almost” is because I’ve added a touch of Balmy Blue to the water, and the rest is shades of Early Espresso.
We began with stamping the trees across the background. The oval on the card is actually “cut out” so it recessed on the card front. Our fisherman is popped up and has dimension and sits within a fun frame. And added the basket and greeting to balance out the card.
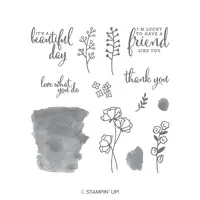
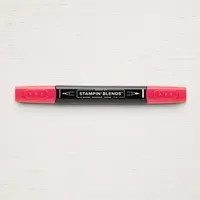
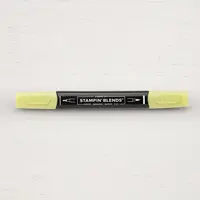
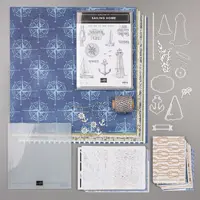
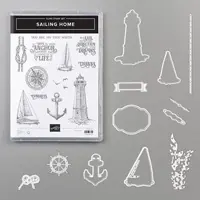
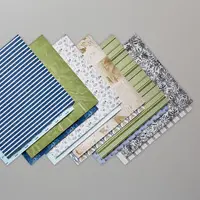
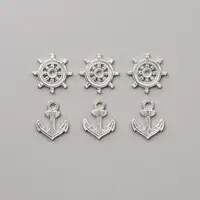
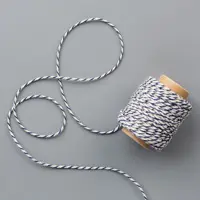
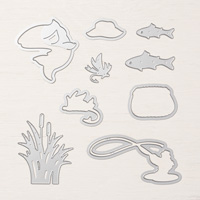
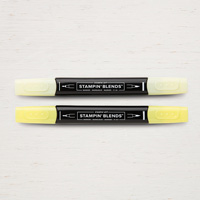
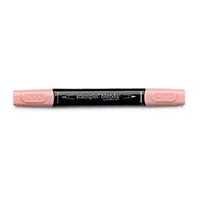
These are the items I’ve used creating these cards …


My next card is a “Double Z Fold” Card …

Double Z fold makes great cards that add so much “fun” and the inner piece can be made in any size … best of all, they fold down to fit perfectly into your standard size envelopes!
This card front picks up where the other card left off … the catch!! The inner piece has our greeting and the back flap is lightly stamped to be used for your sentiment. When all folded up, you will not see that at all.
The front of our card picks up where the last card left off … the catch!!

Sponging a little Balmy Blue on the background to give you a watery effect and our fish puttin’ up a good fight! The fish and cattails were colored with assorted Stampin’ Blends. The blend so beautifully on the fish and make our cattails dimensional, without “real” dimension.
If you like this fishing side of life, make sure you pick up the Best Catch stamp set and Catch of the Day Dies … they are both on the retiring list.
Hope you enjoyed today’s cards and maybe it brought back some wonderful memories for you as well. Thanks so much for stopping by.
Enjoy the day ~