No Toil … No Trouble … Just treats!!

Hello Stampin’ Friends ~

To the catalog went LIVE yesterday and of course I had to put another order in (you know, things I didn’t pick up on the pre-order) lol.  Truth is, is buy in stages … my Halloween and Fall first, with a touch of Christmas. Yesterday, a few more Christmas items for my upcoming Holiday Stamping Retreat. (Which is Sold Out) Thank you ladies!!

Today however, I’m focusing on Halloween … before you know it, those little ghouls and goblins will be ringing our doorbells in celebration of the holiday.  I like to make special little treats for my grandkids and this year decided not to recreate the wheel but copy the cute projects in the catalog!!

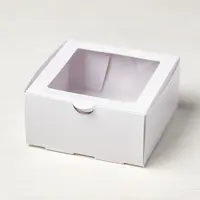
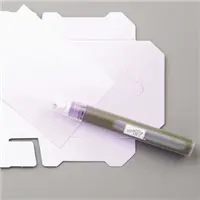
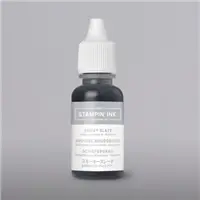
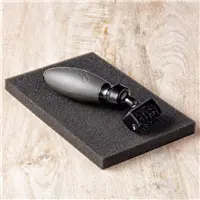
My Bakers Boxes should be arriving tomorrow! I’m going to create the cute little green box with the spider webs.  So easy to color … just fill your Stampin’ Spritzer with alcohol, then add a few drops of the ink refill. The alcohol allows your ink to dry much quicker than if you would use water.

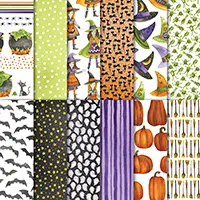
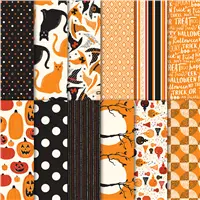
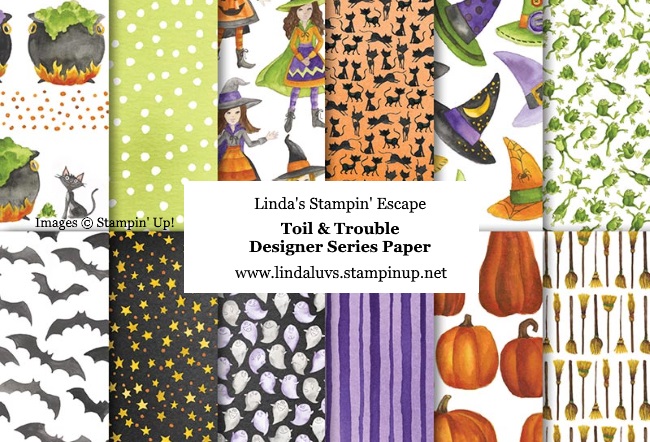
The tag is quick -n- easy to make with the Toil & Trouble Designer Series paper! There are so many cute patterns, I don’t know which one I like best (but that little ghost does pull at my heart strings).
Here is my little ghost card …

And since we are having fun with the Designer paper, what do you think about the “bat” pattern?  I took this paper and sponged on some fun color effects and this is what I ended up with …

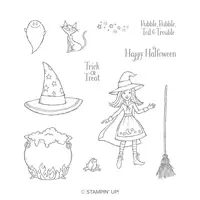
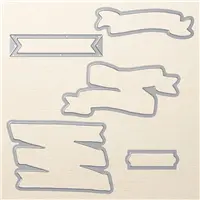
You can get full details … just CLICK HERE.  And while I’m bragging about this amazing designer paper, lets talk about how it coordinates so nicely with the Cauldron Bubble stamp set and Cauldron dies.  Some of the dies actually cut images from the Toil & Trouble designer paper!!
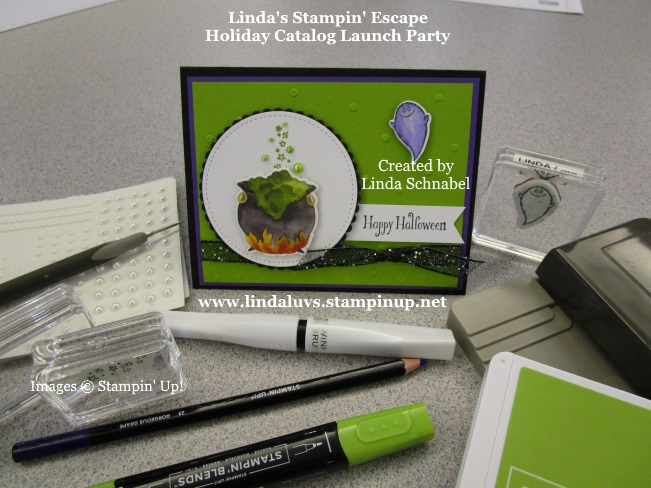
There’s my little ghost again! He just seems to keep turning up throughout this entire blog post! This entire product suite will make your card and gift making as easy as a ghost floating through air.  A totally versatile product suite… so stop back tomorrow because I have another cute project for you to “gift” your little ghouls and goblins!

Thank you so much for sharing a part of your Friday with me! I’ve listed the products used for the projects I shared today. Click on any item for more details or to begin your shopping.  Don’t forget I’m tracking your Virtual Rewards Points … I will be sending out more on Monday!!

Have a wonderful weekend ~

TODAY’S STAMPING SUPPLY LIST …


Chasing Ghosts … Halloween Card

Hello Stampin’ Friends ~

Happy Labor Day!! Hope the sun is shining where you are.  We have been inundated with rain for days, so I headed down to my Stampin’ Studio (fancy word for basement craft area) and began to play with all my new goodies from the Holiday Catalog.  Whenever I’m creating something with my hands, all my stress instantly melts away. It’s so satisfying.

If you’re looking for that escape to melt away your stress and get some of your creative mojo going … join me at my Annual Holiday Stampin’ Retreat – November 2nd thru the 4th. I had a cancellation so we now have one room open and you are welcome to join us.  This does not happen very often!

Our retreat is like no other, we’re All Inclusive … just contact me and I can answer any questions you may have.

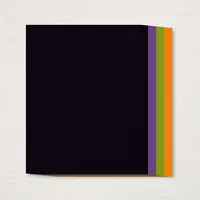
While I was in my craft room, I created a sweet -n- simple Halloween card … the Toil & Trouble product suite is really fun to work with (or should I say play). You really get a good look at the entire product suite with today’s card.  I used the stamps for the ghost and greeting, used the designer paper, the dies and the “really cool” Black Foil Sheets and cardstock pack.

The Toil & Trouble Designer paper is so stinkin’ cute! From these friendly little ghosts, to happy frogs, hats, cauldrons, bats and more! Did you know some of the images from the designer paper can be cut out with the coordinating dies in this bundle … Fabulous!

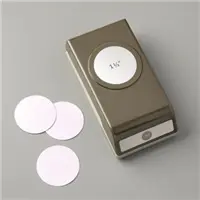
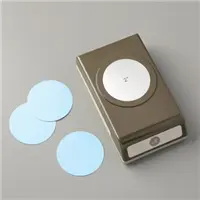
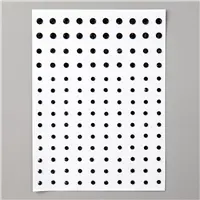
The spider webs were cut from the new Black Foil Sheets with the dies included in the bundle. I even brought out the punches: 1-1/4″ Circle and 1-3/8″ Scallop Circle to highlight my greeting.  Whenever I use ghosts I have to make sure there is some ectoplasm present … lol, so you will recognize it as the Glitter Enamel Dots.

I love fun, simple cards … they are easy to create and oh so fun to share.  Using designer paper on your cards adds so much without all the work.  You can get a better look at the products I used below.  The Toil & Trouble product suite will be available for purchase on September 5th … see you then.

Thank you for hanging out with me … or should I say “Ghost Hunting” on this Labor Day!

Have a great day ~

TODAY’S STAMPIN’ SUPPLY LIST…


A Spooky Little Peek into the Holiday Catalog …

Hello Stampin’ Friends ~

Today a I have a spooky little Halloween card from the Holiday Catalog. I’m featuring the Toil & Trouble Product Suite on pages 48 and 49. Today’s card highlights the Cauldron Bubbles Designer Series paper and the “Sponging” technique and has a fun little twist!

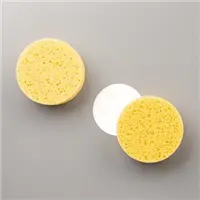
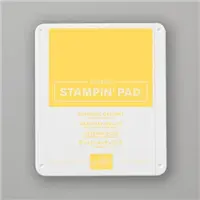
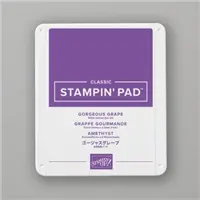
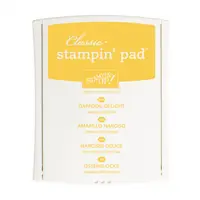
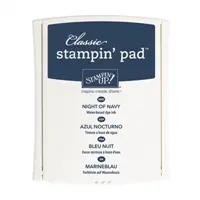
First … let’s start with our designer paper, grab the pattern with the bats on, bring over the Daffodil Delight, Gorgeous Grape, and Night of Navy ink pads and some sponges.  Wait … I have another technique for you! Masking!! You will need your 1-1/4″ Circle punch.

First you will use the paper that you punched the hole from and align it onto your cardstock so you can sponge yourself a moon.  Now take the circle you punched out, add a touch of removable adhesive (so your mask comes back off) and place it over you moon on your batty paper.

Once your moon is done and you have placed your mask over the top … you can begin sponging your Gorgeous Grape around the sky.  The fun part is … your bats are already there.  Now I added some Night of Navy to create a deeper nighttime color.  I also sponged a little color over the moon to create a spooky little effect.

Now I’m sure you noticed that the bats were flying high about the houses … I love the silhouette look that using the die cuts from the Hometown Greetings Edgelits.  Who said it just had to be used on Christmas cards! I like to cross-over a lot of my stamping supplies – gives me the best value for my buck!

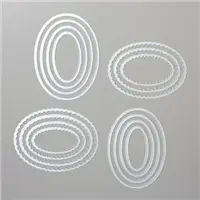
Sponging creates so much dimension on your card and it’s so simple to create. The greeting comes from the Cauldron Bubbles stamp set and was cut out with the Layering Ovals Framelits.  Wow … that at that, you just created this really cute card in minutes.

Thank you for hanging out and stamping with me today.

Make today a good one … enjoy.

Today’s Stampin’ Supply List … Don’t forget Bonus Days. I appreciate your order and choosing me as your demonstrator.  Thank you.


Technique Tuesday: Embossing Paste

Hello Stampin’ Friends ~

Today I have a cute little Halloween card for you, and it has a technique the was requested by Olivia. She wanted to learn more about the Embossing Paste … and that was a good choice, because I’ve had it for some time now, but never used it!!  Thanks Olivia for challenging me to use the stuff I bought!! lol  I think we all have a tendency to do that once in a while.

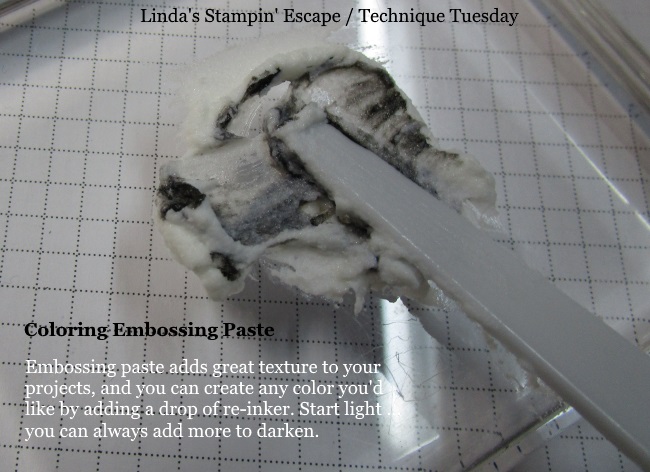
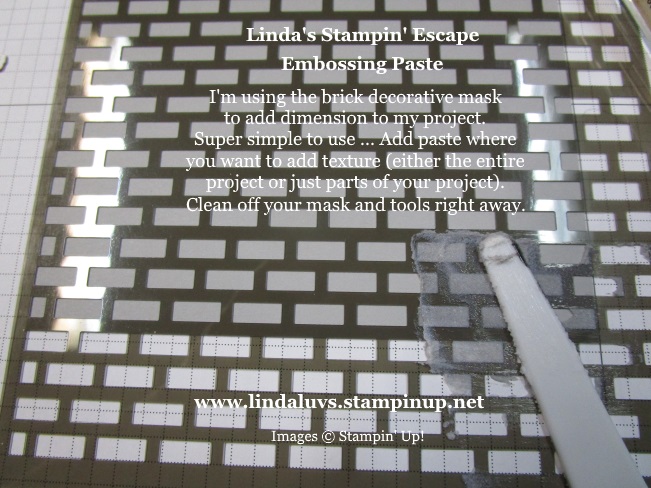
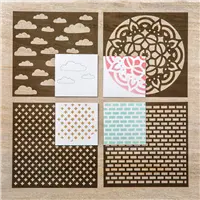
First; What is Embossing Paste? It’s a product that is super easy to use and adds great texture to your projects! Apply it over decorative masks, then let dry for easy texture. This paste can be changed to any color you desire with a drop or two of your ink refill! In fact, this paste is so fun and can be used in so many ways … I have decided to host a class!

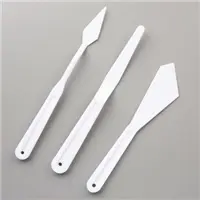
Now you are ready to create your textured backgrounds on scrapbook pages, cards and more. You see that I am mixing the paste with a drop of my ink refill, with one of the 3 pallet knifes that we offer.  They are plastic with no sharp edges and the work well for applying and scrapping off the excess paste.  It’s also a good idea to have some warm soapy water near so you can clean up right away … before it dries onto your tools.  I use an old cake pan and towel … they work great!

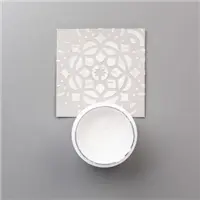
There are 4 masks included in the decorative mask package offered by Stampin’ Up! I will be using the brick pattern in the project today and will be doing just partial texturing verses adding the paste over the entire project …

The three different pallet knifes make it easy to apply the paste where you want it, others work great for taking off the excess paste.  Once it’s applied you can take off your mask and allow it to dry. (Clean off your supplies in the warm soapy water) It doesn’t take too long to dry … depends on how thick it is, humidity, etc. You can use your heat gun, although that may “puff” it up a bit.

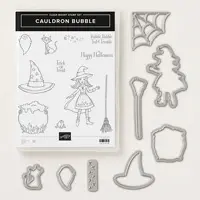
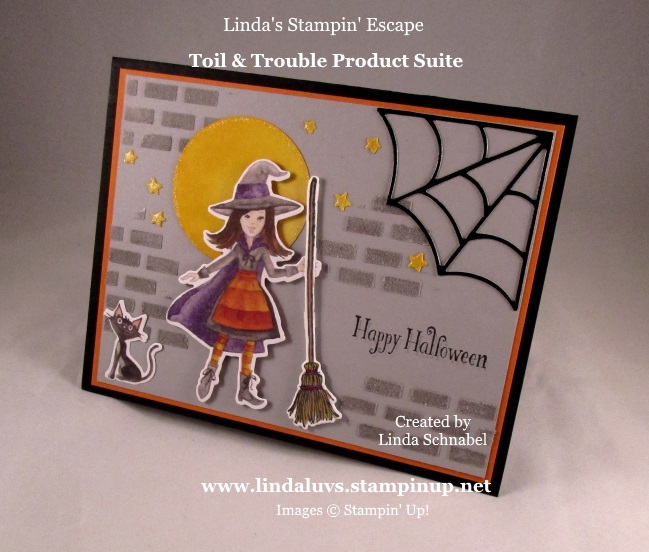
Here is the card I created using my paste … I am using the Cauldron Bubble Stamp set, the Cauldron Framelits Dies, and the Toil and Trouble Designer Series Paper… just too cute!!

I actually colored my paste Smoky Slate, same as my card front … the texture is so cool on the card!! There are actually several techniques used on todays card! Besides the Embossing Paste, did you know that the dies in our bundle coordinate with some of the images in our Toil and Trouble Designer Series Paper!! Only the broom is stamped and colored … the cat and witch are from the designer paper.

I also brought back “sponging” … I’ve sponged the punched moon to create a dimensional effect. I did coloring on my broom and finally I did a “double stamp” on my greeting… I stamped my greeting and then stamped again but slightly off because I wanted to create a “shadow” effect. Looks great for Halloween.

My spider web was created with the new Black Foil Sheets in the Holiday Catalog and the Cauldron Framelits Dies. Well … I couldn’t let the spider web outshine my stars to I added a touch of the Wink of Stella on each star and around the edge of the moon.

I hope you enjoyed seeing how the Embossing paste is used, I’m sure I’ll be making many more cards with this now that I found out how easy it is to use!

Watch for an upcoming class on the Embossing paste … my guess I’ll schedule it sometime in September or October.

Thank you for sharing a part of your day with me, and I hope I inspired you to pull out something in your stamp room that you haven’t used yet.

Have an awesome day.

TODAY’S STAMPIN’ SUPPLY LIST …
 

Not Just for Cards …

Hello Stampin’ Friends ~

I know I was going to share a couple more projects from Quilted Christmas (fear not – I’ll share tomorrow) but today I wanted to share an awesome project Stampin’ Up! shared with us, just in time for Halloween.

Remember, our stamps, ink, and paper are versatile enough to create not only beautiful cards, but also unique home décor pieces?

Wonderful creations like this—whether you keep them for your own home or gift them away—can be saved and treasured for years to come. Just imagine what you could create for your own home!

This amazing décor piece was created with the Graveyard Gate Bundle and the Spooky Nights Suite, and you can’t forget the Large Letters Framelits dies (these are a must in everyone’s crafting collection).

The frame you can pick up at your local craft store … I always check out the Dollar store first, I found cute ones and then just spray painted them the color I wanted.  Either one of these places will have inexpensive frames for your crafting.

Hope you enjoyed this cute project, and it’s just in time for Halloween!

JUST A REMINDER …

ONLY one week left in the Merry Patterns Stamp Set promotion! Every order totaling $300 or more earns the Merry Patterns set for FREE. This is a fantastic way to add the free stamp set your stamp collection.(in addition to all the regular Stampin’ Rewards!).

There’s only one week left for you to buy three packages of select Designer Series Paper and get one FREE! Spread the word …Who doesn’t like to save on paper!

I will be back tomorrow to share as promised, till then …

Have yourself an awesome day!

Today’s Supply List …


Create Cheer, Any Time of Year

Hello Stampin’ Friends ~

What’s nicer than having a hot drink on a chilly day in fall or winter? Whether for Halloween, the holidays season, or for cheering up a friend, this set has it all… The Merry Café Stamp set!

Use the versatile Merry Café Stamp Set to create festive cider or peppermint cocoa images to invoke cozy warmth during the holiday season.

Perfectly paired with the Coffee Café Stamp Set, Merry Café can be used to make heartfelt gestures year-round, as there is no seasons’ end to the joy of reaching out and sharing a cup to reconnect and renew friendships.

This stamp set coordinates with the Coffee Cup Framelits dies. If you already have the Coffee Café Bundle, you will definitely want the Merry Café Stamp Set to complete your set!

Don’t forget the Designer paper to coordinate with your holiday cards … On Sale Now … Buy 3 … Get 1 FREE, may I suggest the Coffee Break, Spooky Nights, Painted Autumn and the Be Merry Designer Series Paper.

Thanks for dropping in …

Hope you have a wonderful day ~


Halloween Week: Meet me at the Gate!

Hello Stampin’ Friends ~

Today is my last post for “Halloween Week” … and I’ve saved the best for last! I’m using the Graveyard Gate bundle and this gate is extraordinary! I love it!!

Make sure you keep following my posts, because you will see this gorgeous gate many more times!!

I started by cutting my gate with the help of the Precision Base plate and the Die Brush … makes creating this detailed gate much easier. Once the gate closes … you must lock it, and that is done with the dies that are included in the bundle.

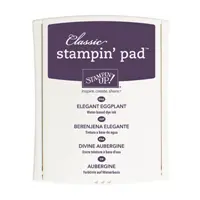
Next, I worked on my background. I began with Whisper White paper and a 1-1/4″ circle punch and used it as a mask for my moon.  I sponged Daffodil Delight around the moon, then Elegant Eggplant, and Night of Navy after that. When I removed my mask, a bright white moon showed above! I dabbed the sponge over the moon just a bit to make it look more realistic.

I then sponged the bottom of the card with the Archival Black ink… I did not wait till it was fully dry, I stamped my gravestones over the top using Craft Whisper White! The white picked up some of the colors from the other inks and created an aged gravestone … so cool!

Here is a sneak peek at the inside… all done with one ink pad, just stamping off the ink on the gate so it looks lighter.

This entire bundle is so much fun, and don’t think that it’s only for Halloween. Make sure you follow my blog because I will be sharing more ideas from this great bundle.

There’s only 1 more month to Halloween so I shared the list of ingredients that I used to create this card.

Thanks so much for walking through the graveyard with me. I hope you enjoyed the techniques I used to create this card.

Happy Friday and enjoy your weekend!

TODAY’S STAMPIN’ SUPPLY LIST…

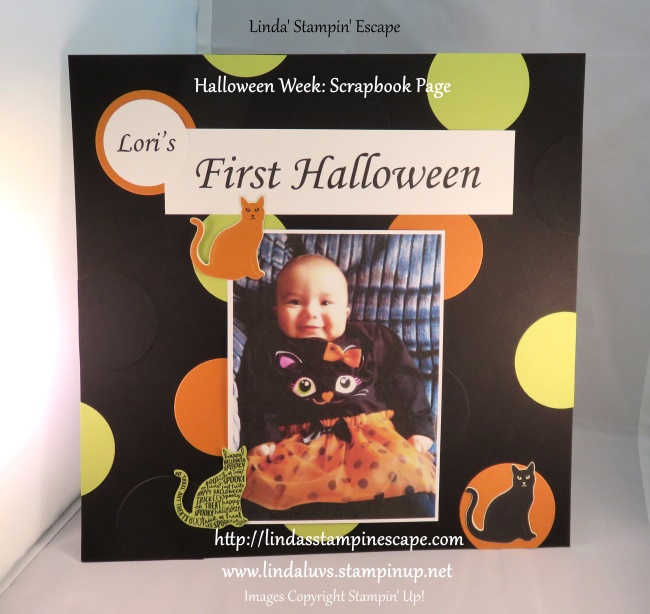
SCRAPBOOKING: Lori’s First Halloween

Hello Stampin’ Friends ~

Today I’m going to share with you a quick -n- easy scrapbook page that was created out of scraps! A couple of weeks ago our Stamp Club made a Halloween card …

And I used the cut out circles to create the background for today’s scrapbook page.  I simply just glued the circles on using the Tombo Multi-Glue.

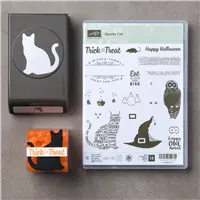
The title was created from my computer, the kitty’s were created from the “Spooky Cat” bundle and “Spooky Night” Designer Series paper. I thought it was appropriate since she was dressed as a little kitty cat!

You won’t want to miss out tomorrow … I’m using the Graveyard Gate Bundle. It’s been a HOT search on Pinterest!

Thanks for checking out my blog today.

Hope you day is a beautiful one!

Today’s Supplies used to create the scrapbook page …


Halloween Week: Treat Boxes

Hello Stampin’ Friends ~

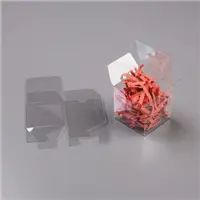
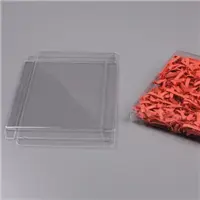
Today I have a quick -n- sweet little treat for you today! I’m showcasing our Acetate Boxes! These boxes are a quick -n- easy way to share a sweet little treat with a neighbor or loved one.

Our first little box is found on page 195 of the Annual Catalog and is perfect to share a yummy treat with. The belly band around the box is from the “Halloween Nights” Designer paper  … even the cute little pumpkin was cut from another sheet/pattern of the designer paper.

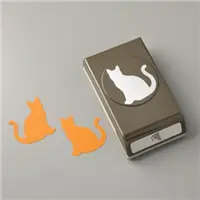
The larger acetate box can be found in the Holiday Catalog on page 13, and holds a little bit bigger type of treat! I’m sure that you can think of all types of goodies to put inside. Again the belly band is from the “Halloween Nights” Designer paper … and so is our cat. The cat is actually punched out with our new cat punch, also found in the Holiday Catalog on page 53.

So if you’ve got some specials little ghouls or goblins that are expecting a Halloween treat … make them something special in just a wink of the eye!

Thank you for joining me today for this little treat …

Have a great day!

Here is a list of the supplies used in today’s projects. Just click on them for more information or to begin shopping. Thank You!


Halloween Week: Technique Tuesday

Hello Stampin’ Friends ~

Hope you have kicked off a good week! Today I’d like to invite you to my Technique Tuesday being held during my Halloween Week!

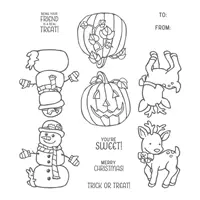
Our technique today is masking … but I have a special stampin’ tip to share with you that will make masking with the Seasonal Chums stamp set possible.

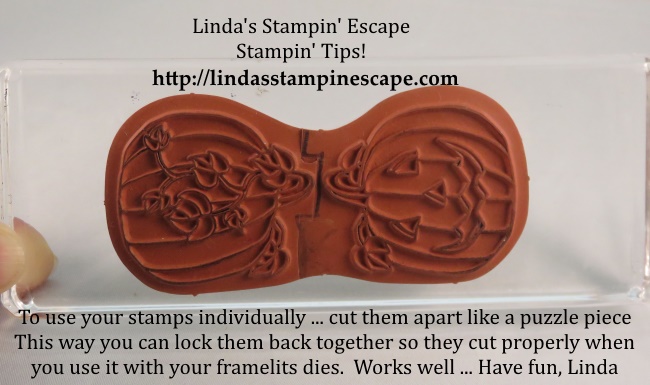
Because the stamps are created as “tags” … they are placed “head to head” so when folded, you can die cut a cute little tag that has a front and back … you can see this on my blog yesterday.

You can see the lines that I’ve drawn on my stamp … that is where I’ll cut them apart. I call the cut a “Puzzle Cut” so that the two pieces can be put together tightly and will then work properly with the it’s coordinating dies.

Now you are ready to stamp as your single stamp has now turned into two!!

When doing the masking technique, I stamp my image on a scrap piece of paper (not cardstock) and then cut inside the line. This way you don’t get the “unstamped” space or gap.

Stamp your Jack-O-Lantern in the center of your cardstock, then place the paper pumpkin (mask) over the top. Now you can stamp your plain (back) pumpkins … remove your mask and your plain pumpkins will appear as if they are behind the Jack-o-Lantern!

Color your desired way …. Watercolor pencils, Aqua Painters or you can use markers like I did here.  I matted my artwork on Basic Black cardstock and then onto two different patterns from the Spooky Nights Designer paper.

I finished off my card with some of the left over Bakers twine from my September Paper Pumpkin kit. I like the orange bling on it … lol.

Hope you enjoyed today’s tutorial, tips … and card. I would appreciate if you could like my post (bottom left hand corner) or drop me a comment.

Thanks so much for stopping by today. Hope you join me for my Wednesday … WOW!!

Have a great day ~

TODAY’S STAMPIN’ SUPPLY LIST …


Seasonal Chums: Jack-O-Lantern

Hello Stampin’ Friends ~

Today is day 2 of my “Halloween Week” … oooooh we are going to have so much fun!! There will be cards, projects and even a scrapbook page!

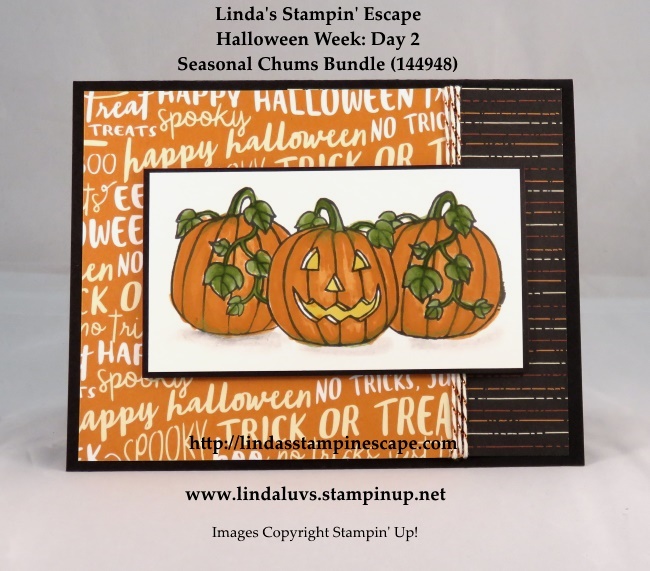
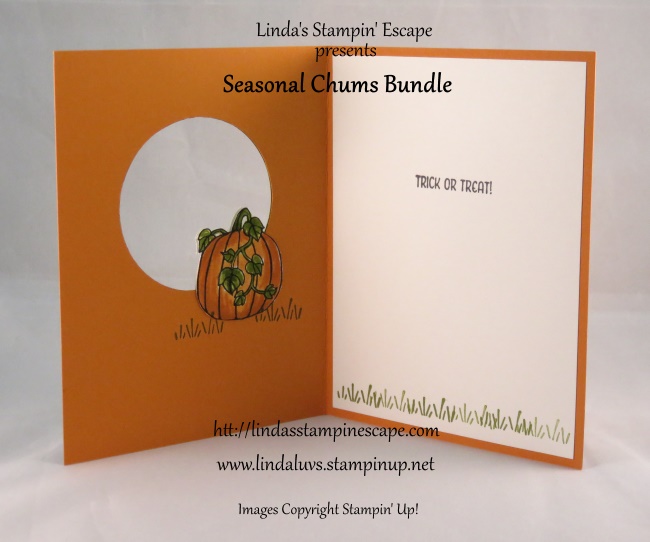
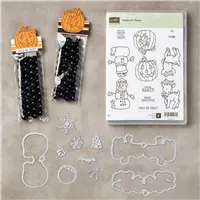
Today’s card is one of the projects we made at our September Stamp Club. The Seasonal Chums bundle is a cute new item in the Holiday catalog (page 47) and are more than just “tags”. Look what we did …

We made a cute little window card that exposes our greeting and highlights our Jack-o-lantern. The images are easily cut out with the coordinating framelits dies.

The background was created with the “Brick Wall” embossing folder and gives our card the added texture it needed. 

The Circle and Stitched framelits were used to create our window … a double cut on the Lemon Lime cardstock gives us a pop of color and draws your eye to the focal point.

Our little Jack-o-lantern was colored with the Blender pens and ink pads … including his backside! The grass was pulled from the “A Little Wild” stamp set which also has the double stamps.

Thanks for joining me today. Stop back tomorrow to see what else you can do with these cute little stamps!

Have yourself a wonderful week!

TODAY’S STAMPIN’ SUPPLY LIST ….

Simply Sunday: Trick or Treat

Hello Stampin’ Friends ~

Today I’m so excited to kick off “Halloween Week” … All week long I’ll be sharing Halloween cards, projects and more with you! Can’t believe that Halloween is just around the corner, so here we go!

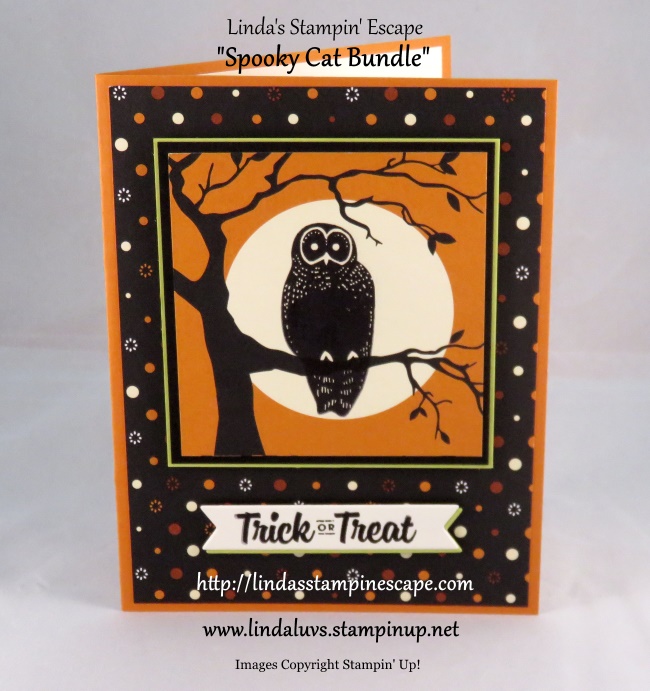
Today’s card is super simple!! I began with the “Spooky Night” Designer Series paper. The piece I’m using was designed to stamp on … Isn’t that cool!!

Can you see the one in the center with the moon and tree branch?

That’s what I used. It cuts to a perfect 3 x 3 square, or you could trim it a little smaller to add a mat behind it … which is what I did. I also used what I call the “fun dots” designer paper as my background!

Super cute … Super easy! Take your 3 x 3 moon with branch designer paper and stamp your owl directly onto the designer paper!! I used the Archival Black ink and the owl from the Spooky Cat stamp set!

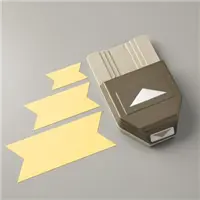
Our Trick or Treat greeting also comes from the “Spooky Cat” stamp set and then was cut out with the single banner from the “Bunch of Banners” framelits dies.

Did you notice the Lemon Lime In-Color cardstock behind the owl and greeting? I just wanted a pop of color and this did the trick!

I want to Thank You for stopping by today. I hope you hang with me all week to see all the fun and creative Halloween projects I have in store for you!

On that note … I wish you a good day!

TODAY’S STAMPIN’ SUPPLY LIST …
 

Spooky Halloween Cat …

Hello Stampin’ Friends ~

Yesterday I shared a video that showed the new Designer Papers from the Holiday Catalog … Nice, right!  We’ll today I want to share one of those designer papers with you …

Potions, pumpkins, witches’ hats, cats, and eerie trees; this Halloween-themed Designer Series Paper has it all!

Spooky Nights Designer Series paper is the heart of this card.  Let’s start with the fun background … this cute paper sure lets you know what holiday it’s trying to get across!  We’ll the other side has a nice stripped pattern and was used as the small banner that has our greeting.

The spooky little kitty is actually designer paper too! And has a coordinating punch!!  And, of course the stamp set was designed to coordinate as well!! WOW!!! Oh yes, and our larger banner is the backside of the kitty!

I did use the Spooky Cat Bundle to help me create this card – so easy and fun! You can either stamp a cat image or punch it right from the designer paper. The cat punch so far is a BIG hit!

I used the 2″ Circle Punch and So Saffron cardstock to create my moon, which really creates a focal point for my cat.  I added a sassy little hat to my kitty which is also another pattern from the designer paper.

To finish it off… I added a Black Rhinestone to anchor my banners and one to the hat to add a bit more sass! A few dimensionals to pop up my kitty and the card is complete.

I hope you enjoyed my Halloween card as much as I enjoyed making it. I being sharing more from this spooky little in the future!

Today’s Color Pallet …

Thank you so much for joining me today on this holiday weekend.

Stay safe and have fun ~

Today’s Stampin’ Supply List: Just Click on any item for more information or to begin your shopping experience …


Pick Your Potion …

Hello Stampin’ Friends ~

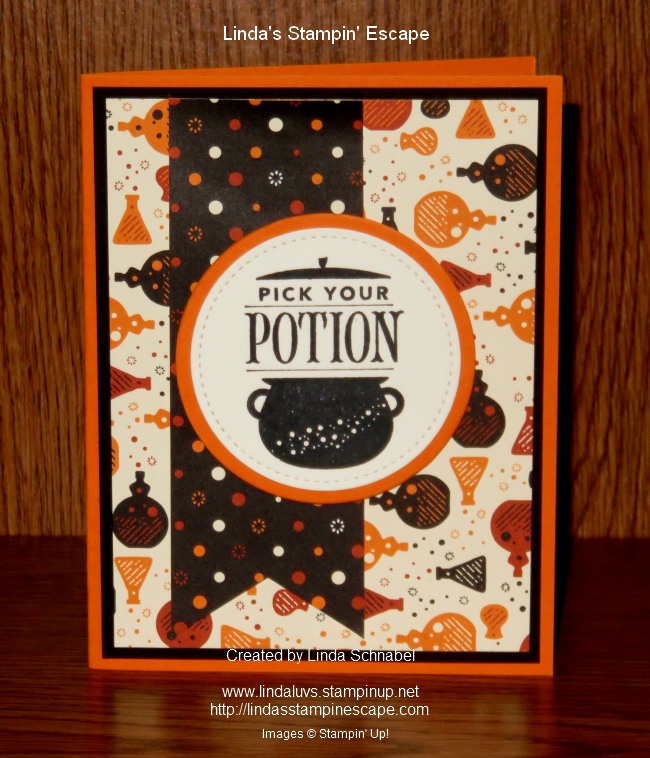
I’m back today with the sneak peek card that I created using one of the new stamp sets from our Holiday Catalog! Can you guess what “holiday” I picked? I’m sure many of you know that my first choice will be Halloween!  You’re right!

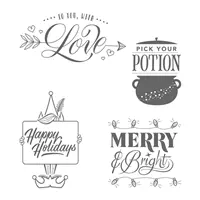
You’re going to love the stamp set I chose, it’s the “Festive Phrases” stamp set on page 45. Once you flip to the page, you’ll know why I had to have this set … it not only has a cute Halloween greeting but those Christmas one … OMG!! You gotta love ’em!!

Along with my greeting, you’ll notice the cool Designer Series paper ” Spooky Nights”… you can find it with the Spooky Night product suite on pages 52 and 53.  The designer paper actually coordinates with the Spooky Cat stamp set and the Cat punch … I’ll show you more in future posts, but for now, just check out all the samples on page 52!!

I teamed up with Stitched Framelit Dies along with the Circle Dies to highlight my greeting “Pick Your Potion” and then popped it up with Stampin’ Dimensionals.  Did you notice the cute little potion bottle on the background designer paper … I love that Stampin’ Up! create products that can be used together with many different products.

My base of the card is Pumpkin Pie and the designer paper is matted with the Basic Black. The greeting was stamped on Very Vanilla … all colors are listed on the designer paper pack so it’s not hard to pick what colors you should use!

Now … couldn’t you picture making just the round greeting attached to the banner and then attach hang it on a few bottles of wine … or sparkling water! lol  Just have some fun with it 🙂

I’ve got a list of the items used below. By clicking on the picture you will be taking to my Stampin’ Up Store and will view more details of the item you clicked … The “Festive Phrases” stamp set and “Spooky Nights” Designer Series Paper cannot be purchased until September 1st, but you’ll want to put it on your Wish List!

Thank you so much for stopping by today, wait till you see what I have for you tomorrow!

Till then, have a great day!!

TODAY’S STAMPIN’ SUPPLY LIST …


Graveyard Gate Bundle by Stampin’ Up!

Hello Stampin’ Friends ~

Came home to some technical difficulties … I lost my battery charger for my camera so I can’t take or download pictures, so I’ll pick up another today so I can share my creations tomorrow!

Till then … I’m going to share a video from Stamping Up! featuring one of the new bundles from the Holiday Catalog …

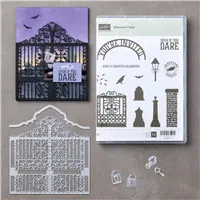
Add a little spook to your Halloween celebrations with the Graveyard Gate Bundle; it contains the Graveyard Gate Stamp Set and the Detailed Gate Thinlits Dies–all at 10% discount! Open if you dare! Create invites, goody bags, and more with this creepily fun stamp set and die.

So what do you think? Should I host a class highlighting this suite for Halloween?  Would you come?

Thanks much for checking it out and let me know what you think …

Have a great day ~