Yesterday I shared a trio of cards from our 2016 Holiday Stamping Retreat. Today I’d like to share a picture that I took during our retreat …
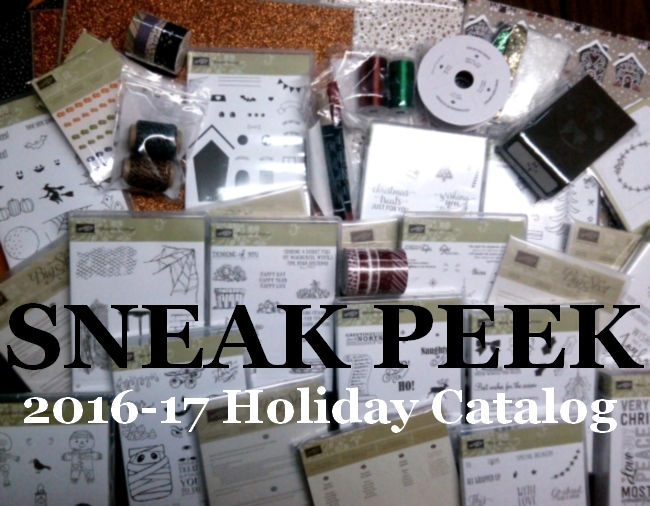
Hmmm … why would I show that? Well, if you are a follower of my blog, you know that I spent last weekend with my downline, fellow demonstrators and Stampin’ Up! We did stamping, celebrating and …. Exploring the NEW Occasions catalog!!
Well … I can’t show you that right now, but I can give you a sneak peek, and when I do you will totally understand the correlation between the two!!
Oh wait … that’s not it either! Are you catching the “theme” of these photos yet? I am excited to introduce to you a Sneak Peek of the “Lift Me Up!” bundle …
I can’t wait to share this awesome bundle with you … Isn’t this awesome!! A fellow demonstrator created this card, many cards we displayed so that we can get a good look at the new goodies!
Today I’d like to share with you some great insight and tips on one of the new products in our Holiday Catalog; the new Fancy Frost Specialty Designer Series Paper by Stampin’ Up!
The textured designs on this paper appear like magic when you add ink. Stamp, sponge, brayer, or mask it and beautiful designs appear. Or use it alone for elegant, touchable texture. Watch to see what you can do.
Cool right! Watch for an upcoming class announcement, then join me for an evening of fun, creating awesome cards with this fabulous designer paper.
Today I’d like to share two videos with you for some fun and to introduce you to the new “Cable Knit” embossing folder, it’s one of those “I didn’t know” so now you will 🙂
Take a look at this cute video from Stampin’ Up! introducing the new Holiday Catalog …
This embossing folder is designed to impress—really impress. It creates a deeper, showier impression. Watch and see how to add easy depth to your crafting.
I’ll leave you with this cute card made by Stampin’ Up! and featured in the Holiday Catalog ….
Stop back tomorrow and see the simply cute card that I created using the new “Cable Knit Dynamic” Embossing Folder.
Thanks for stopping by and have yourself a wonderful day.
Today I’d like to introduce you to one of the new products that was introduced in the Holiday Catalog. It’s part of the “Warmth & Cheer” product suite. It’s a simple product that produces dynamic effects… It’s the “Cable Knit Dynamic Textured Impressions Embossing Folder.
This embossing folder is designed to impress—really impress. It creates a deeper, showier impression. Watch and see how to add easy depth to your crafting.
Check out the entire product suite on pages 12 and 13 in your Holiday Catalog. The stamp set, designer paper and more coordinate to make your card making and scrapbooking projects a breeze.
I would love to show you this, or some of the items in the catalog … Let’s Party! Let’s set a date …
You can contact me by e-mail ~ lindaluvs2stamp@aol.com
Let me know if you have any questions with this product or anything else in this amazing catalog.
A quick post today sharing a video from Stampin’ Up! that showcases the new “Stitched with Cheer” project kit from the Holiday Catalog.
Add a handmade touch when you use the Stitched with Cheer Project Kit for your festive cards. This kit comes with everything you need to stitch up the season in style—needle, thread, cards, and envelopes. See how easy it is to make cards with a personal touch!
Only a few days until you too can order from the Holiday catalog … so exciting!
Hope you had a wonderful weekend! Did you get your Holiday Catalog? Did you get time to savor all the delectable new products? If you did, then you know that it’s not just Christmas!! There is so much more.
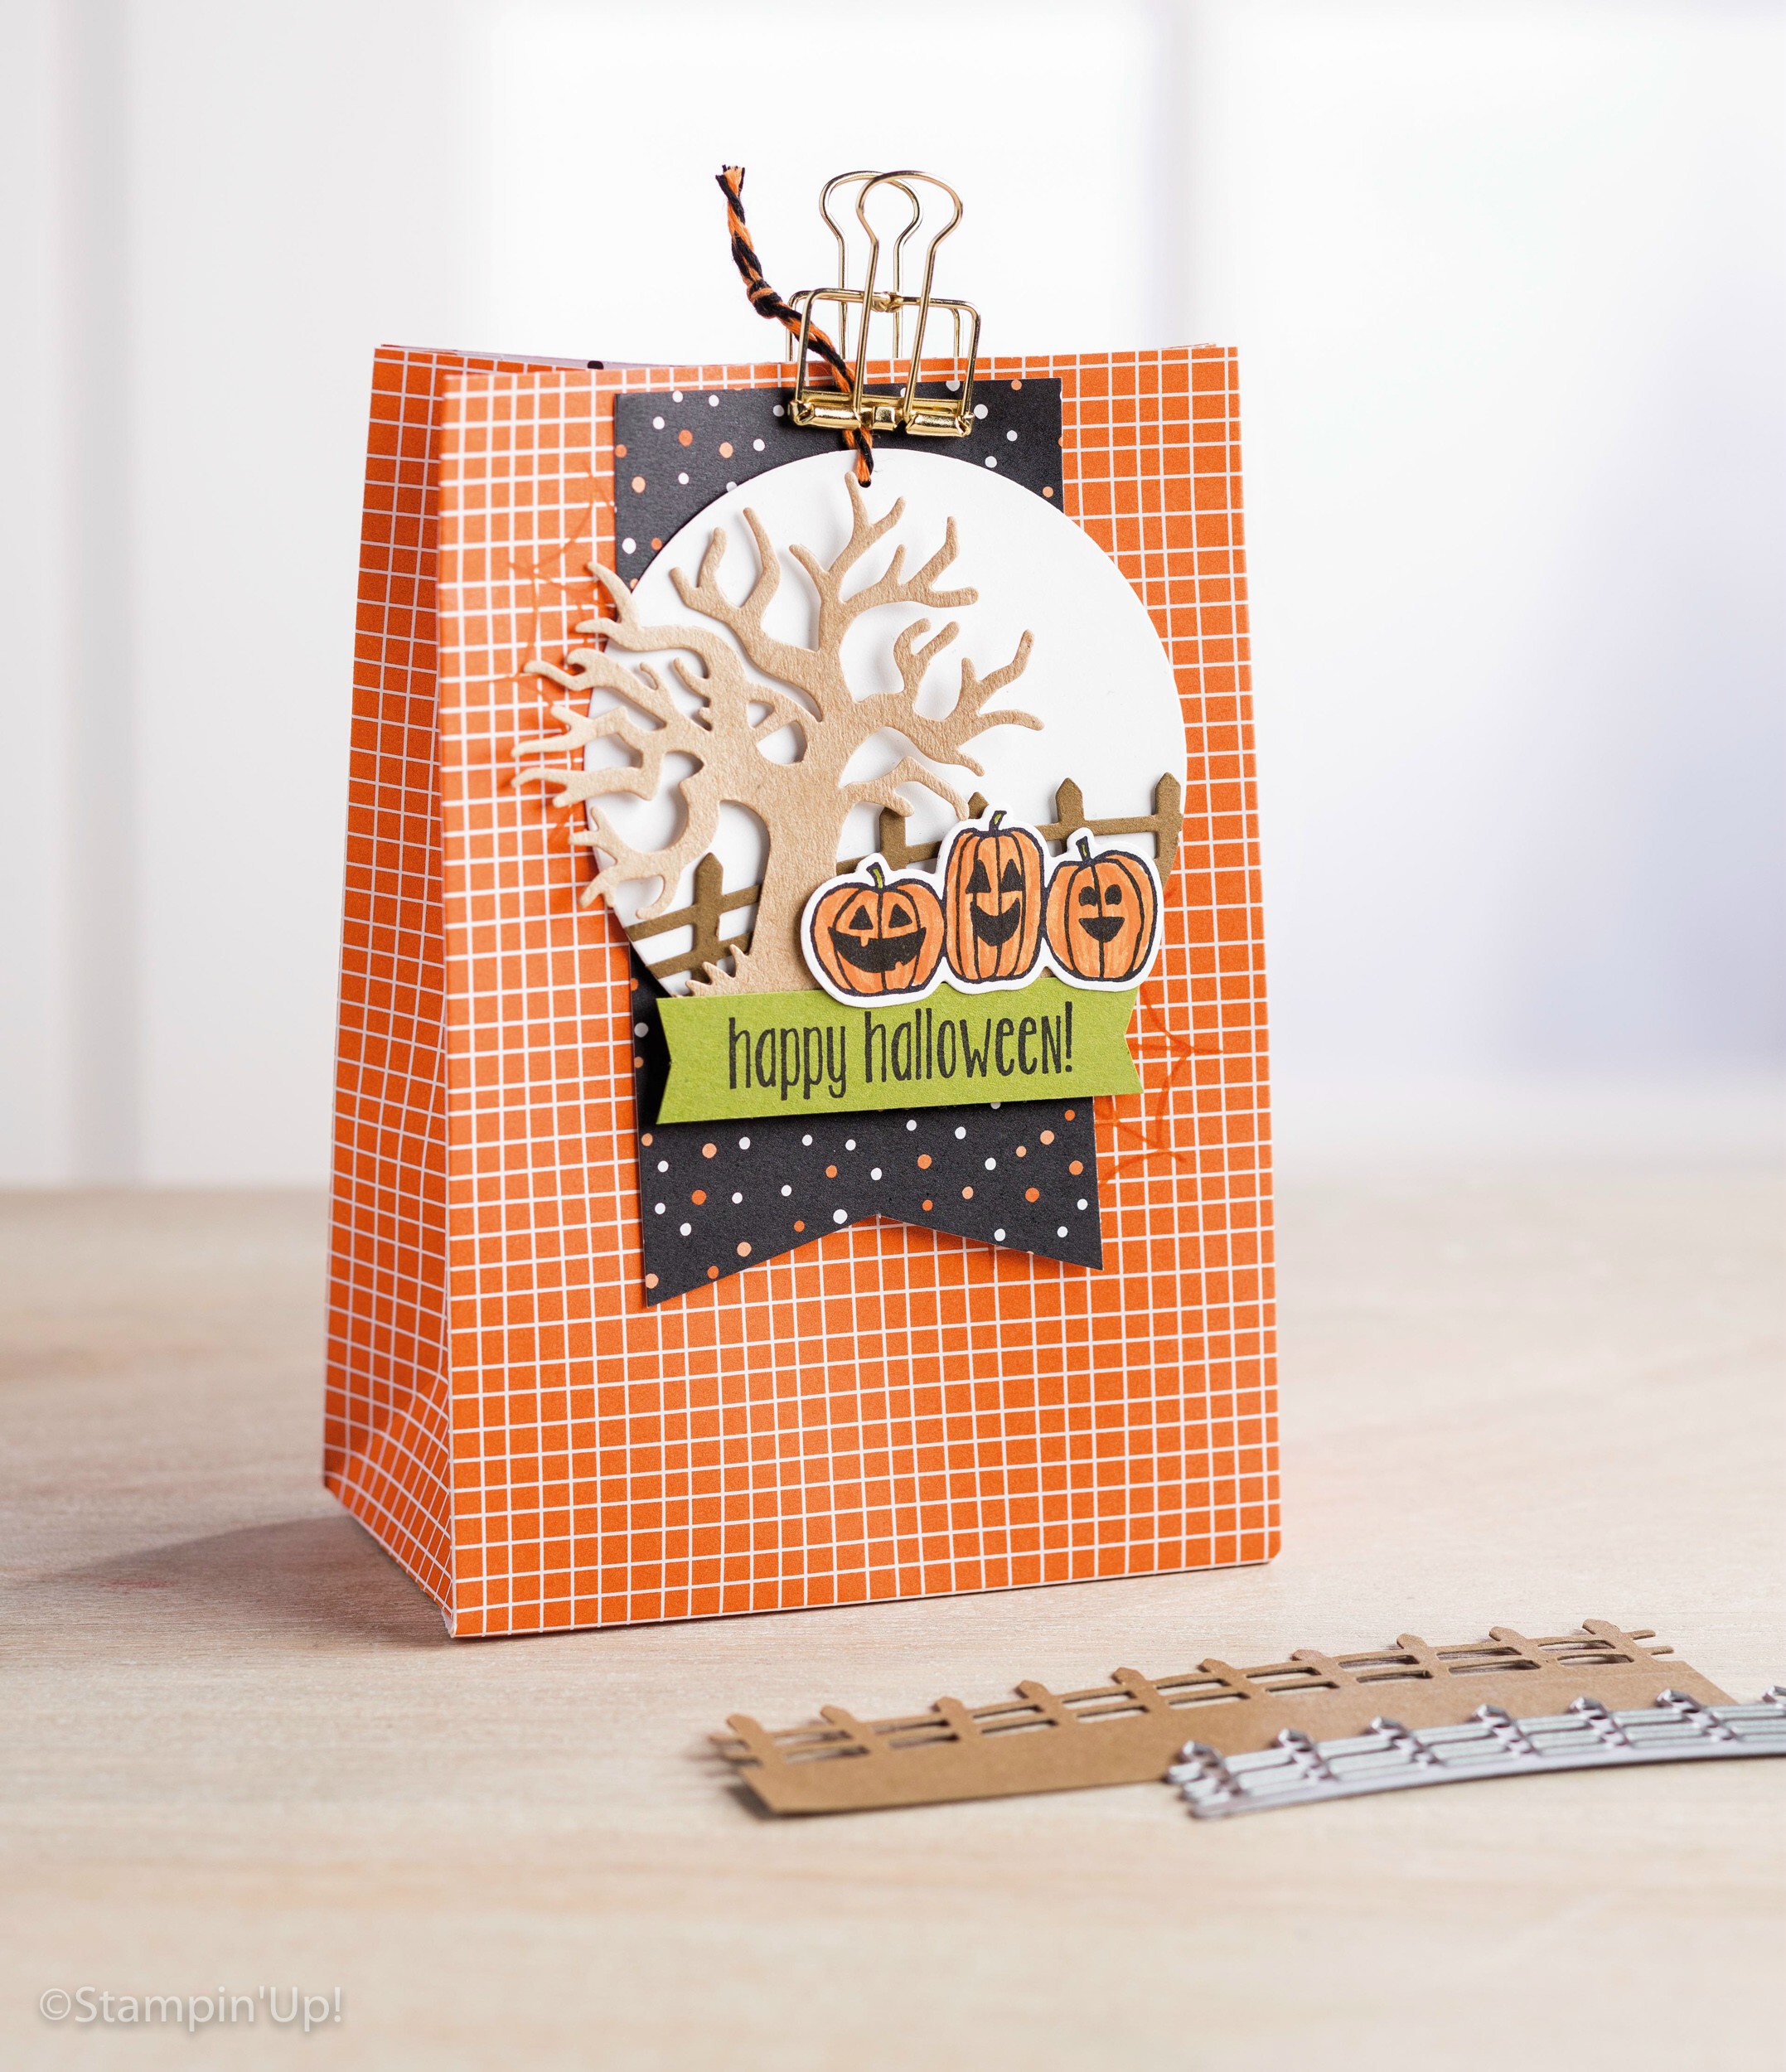
Do you love Halloween? Ohhh … I do, and I have the cutest little gift bag to share with you today, straight out of the Holiday catalog.
Wouldn’t this make the cutest card!! I don’t have many trick -or- treaters down my street so for those special kids that stop by will get this cute little bag filled with goodies!
If you want to play with some of those awesome stamp sets, dies and embellishments you see in the catalog, then please join me …
You must RSVP by Friday, September 9th as I will begin cutting all the cards for you. All you need to bring is your basic stamp kit: scissors and your favorite adhesive. I’ll have everything cut for you and tucked into your envelope, ready to stamp!
RSVP by e-mail: lindaluvs2stamp@aol.com or by leaving a comment below. It’s an all occasion card night using the goodies from the Holiday Catalog.
Thank you for coming over today and for those close to me, I hope to see you at the “Holiday Catalog Reveal Party”.
So sorry for the late post today, but I know you understand who sometimes life gets in the way! Besides extra hours at work, I’m busy planning several upcoming events …
Thoughtful Branches Class
Hostess Appreciation Party
Holiday Catalog Launch Party
Holiday Retreat
I’m excited to share a brand new stamp set and thinlits that will be in the Holiday Catalog! I’m not sure I could pick a favorite so I decided to start with the big guy … You got it!! SANTA CLAUS!
I’ve teamed up the “Greetings from Santa” stamp set with the “Detailed Santa” Thinlits Die to create this cute card …
The thinlit die makes it super simple to create this card, in fact … it does all the work. The “Merry Christmas” greeting comes from the “Greetings from Santa stamp set, and so does the “Ho! Ho! Ho!
I used Dazzling Diamonds glitter to jazz up Santa’s hat and the surrounding swirls.
The inside of the card has Santa’s list stamped in Basic Gray and the question of the season is …”Naughty or Nice” stamped in Real Red. This is complemented with the new “Candy Cane Lane” Washi Tape. I LOVE IT!! and used it on the front of the cards as well.
You are going to LOVE the new Holiday Catalog … so many wonderful new items to share with you.
Thanks for checking in on me today! I’ll be back tomorrow with my Simply Sunday series of cards.
I am totally excited today!! My pre-order from the Holiday Catalog came in yesterday … woo hooo!
I must admit, that I was so tired from a long week at work that I didn’t even open the box until this morning! I just have to share the excitement with you, plus I have some really cool things to share with you about the Holiday Catalog ….
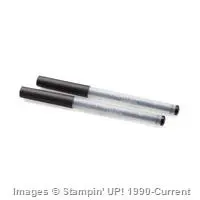
First, I want you to know that Stampin’ Up! is introducing “Marker Packs” … this is a set of two markers that coordinate with a product suite! Yay … you can now get the markers you need for your projects without having to buy the entire family pack! Just what you asked for 🙂
Scrapbookers …. they also brought back 12 x 12 card stock. These also coordinate with the product suites, so you’ll find them in Real Red, plus combo packs of Real Red & Garden Green for Christmas and a Halloween Night 12×12 Card stock pack of Basic Gray & Pumpkin Pie.
Just so you know … You don’t have to be a scrap booker to love 12 x 12 ❤ I use it when making gift tags. Cut your card stock into 6 x 3 inch strips and fold in half, it makes the perfect size gift tag and you don’t have any leftover card stock!
If you can’t wait to get your hands on these, join me and the rest of the Stampin’ Up! family … Starter Kit is only $99 and you can choose items from the Holiday Catalog. Then you can begin your journey (I’m here to coach you) and make extra money for Christmas or just play with you new goodies!
There is no obligation, however we have a blast and I would love you on my team of Stars. Contact me at lindaluvs2stamp@aol.com or CLICK HERE to begin.
Thanks for stopping by. Remember … your catalogs will be shipping out next week! Hang on, because I didn’t even get all the goodies I wanted!!
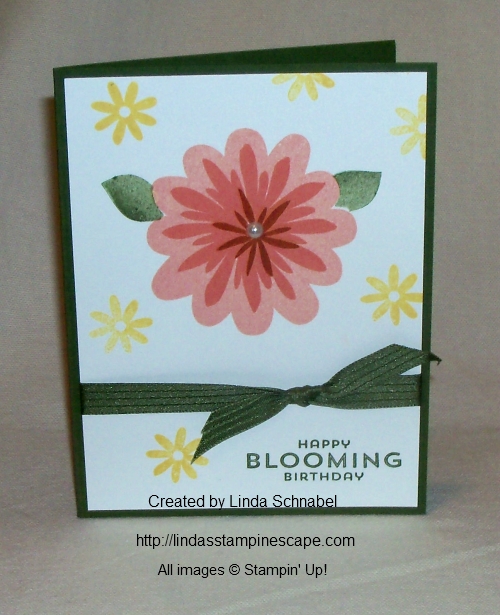
Today I would like to share a post from August of 2014 … It’s still as relevant as it was two years ago. This is a sweet and simple birthday card that will bring a smile to anyone who receives it. I used the new “Flower Patch” stamp set! This is one of our Photopolymer sets, and makes the two-step stamping super simple because of the clear images.
I have a video for you to view that highlights the “Flower Patch” stamp set …
My card base color is the new In-Color Mossy Meadow along with the Whisper White which truly highlights to ink colors we will be using on our card.
The flower was created by stamping our largest image first, in the lightest color: Crisp Cantaloupe. I then layers the Calypso Coral next, and completed the flower with the Cajun Craze… and topped it off with a pearl.
STAMPIN’ TIP: The leaves were added behind the flower by creating a mask. Stamp the largest flower image on a piece of scrap paper and cut it out. I always cut inside the line. Then place it over the flower and stamp your leaves … it gives the appearance they are behind the flower!
It’s been a while since I’ve used a two-step stamping set and forgot how fast you can create a beautifully layered, colorful card. I added the Daffodil Delight flowers in the background to create another pop of color.
There is no longer a bundle available as this was an earlier post.
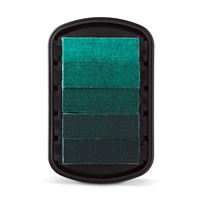
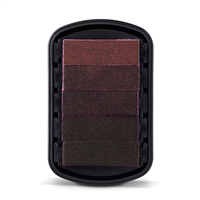
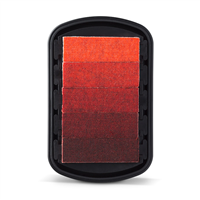
Today I’d like to share with you a video highlighting our new Ombre Ink Pads. Create amazing ink effects with Ombre Stampin’ Pads. These pads are designed with dark ink on one end fading to light on the other for an ombre look.
Ombre isn’t hard—just use an Ombre Stampin’ Pad to get five shade gradations that fade from dark to light. Watch and learn the easiest way to create ombre effects.
I’ll post quick links to the highlighted products below so you can get a closer look or to begin shopping.
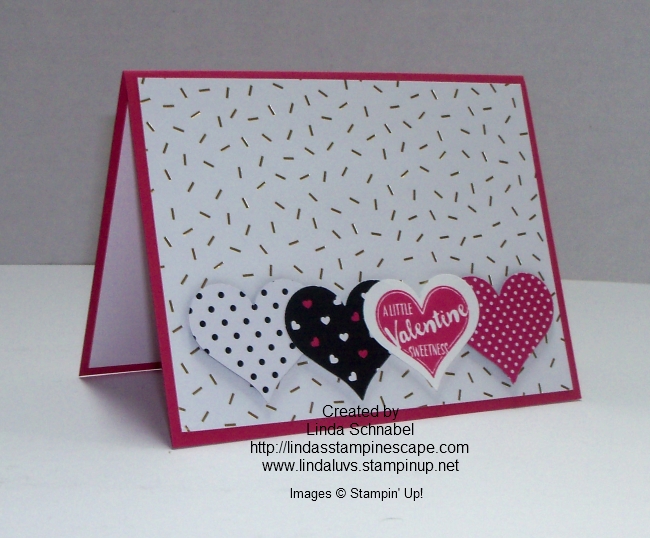
Today I’m going to share another card designed with the “My Hero” stamp set. As you recall … the “My Hero” stamp set is the Ronald McDonald House Charity Stamp set and Stampin’ Up! will donate $3.00 for each stamp set sold.
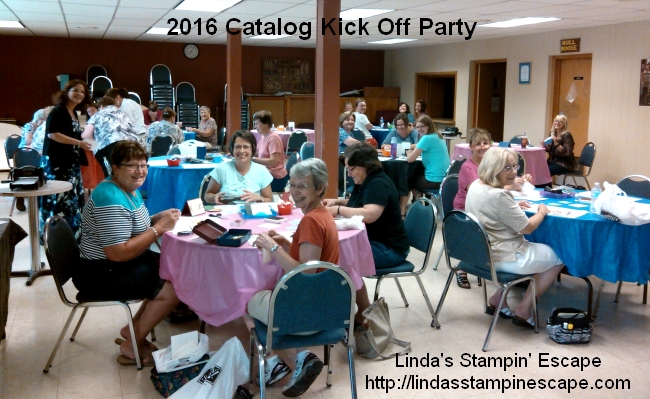
Because of this, I want to share with you several ideas with this stamp set … Today is number 3 that I’m sharing (more to come!) It’s a card with heart, my feelings as I share with you my Kick Off party as well.
This card is super simple to make and really cute! I started out with the “Pop of Pink” Designer Series paper as my background and continued it with the hearts. Of course, the stamped image comes from our featured set.
As for our Kick Off party, I’d like to THANK all of the lovely ladies that joined us. We had a great time …
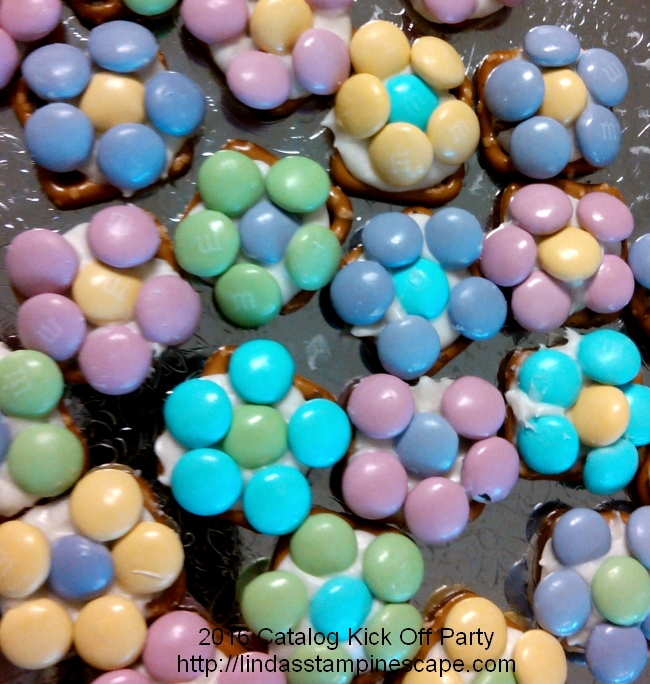
Oh yes … and the snacks weren’t too bad either! lol
We made 10 wonderful cards, plus we had display boards that highlighted the stamp sets that we used during our Make & Takes. We had 6 boards to raffle off at the end of the evening … Here are the WINNERS …
I also want to share the WINNERS of the 2 “Floral Affection” boards …
The board that was embossed with the flower was one by … Cindy B.
And the one with the “wreath” and words was WON BY … Beth Detloff!
Hope you my winners enjoyed the surprise ~ I will be calling you soon to confirm.
It was as a great night … again, Thank You ladies for joining us, stamping your 10 Make & Takes and just have a great night out.
JUST A REMINDER …
Today is the last day to take advantage of these two great opportunities!
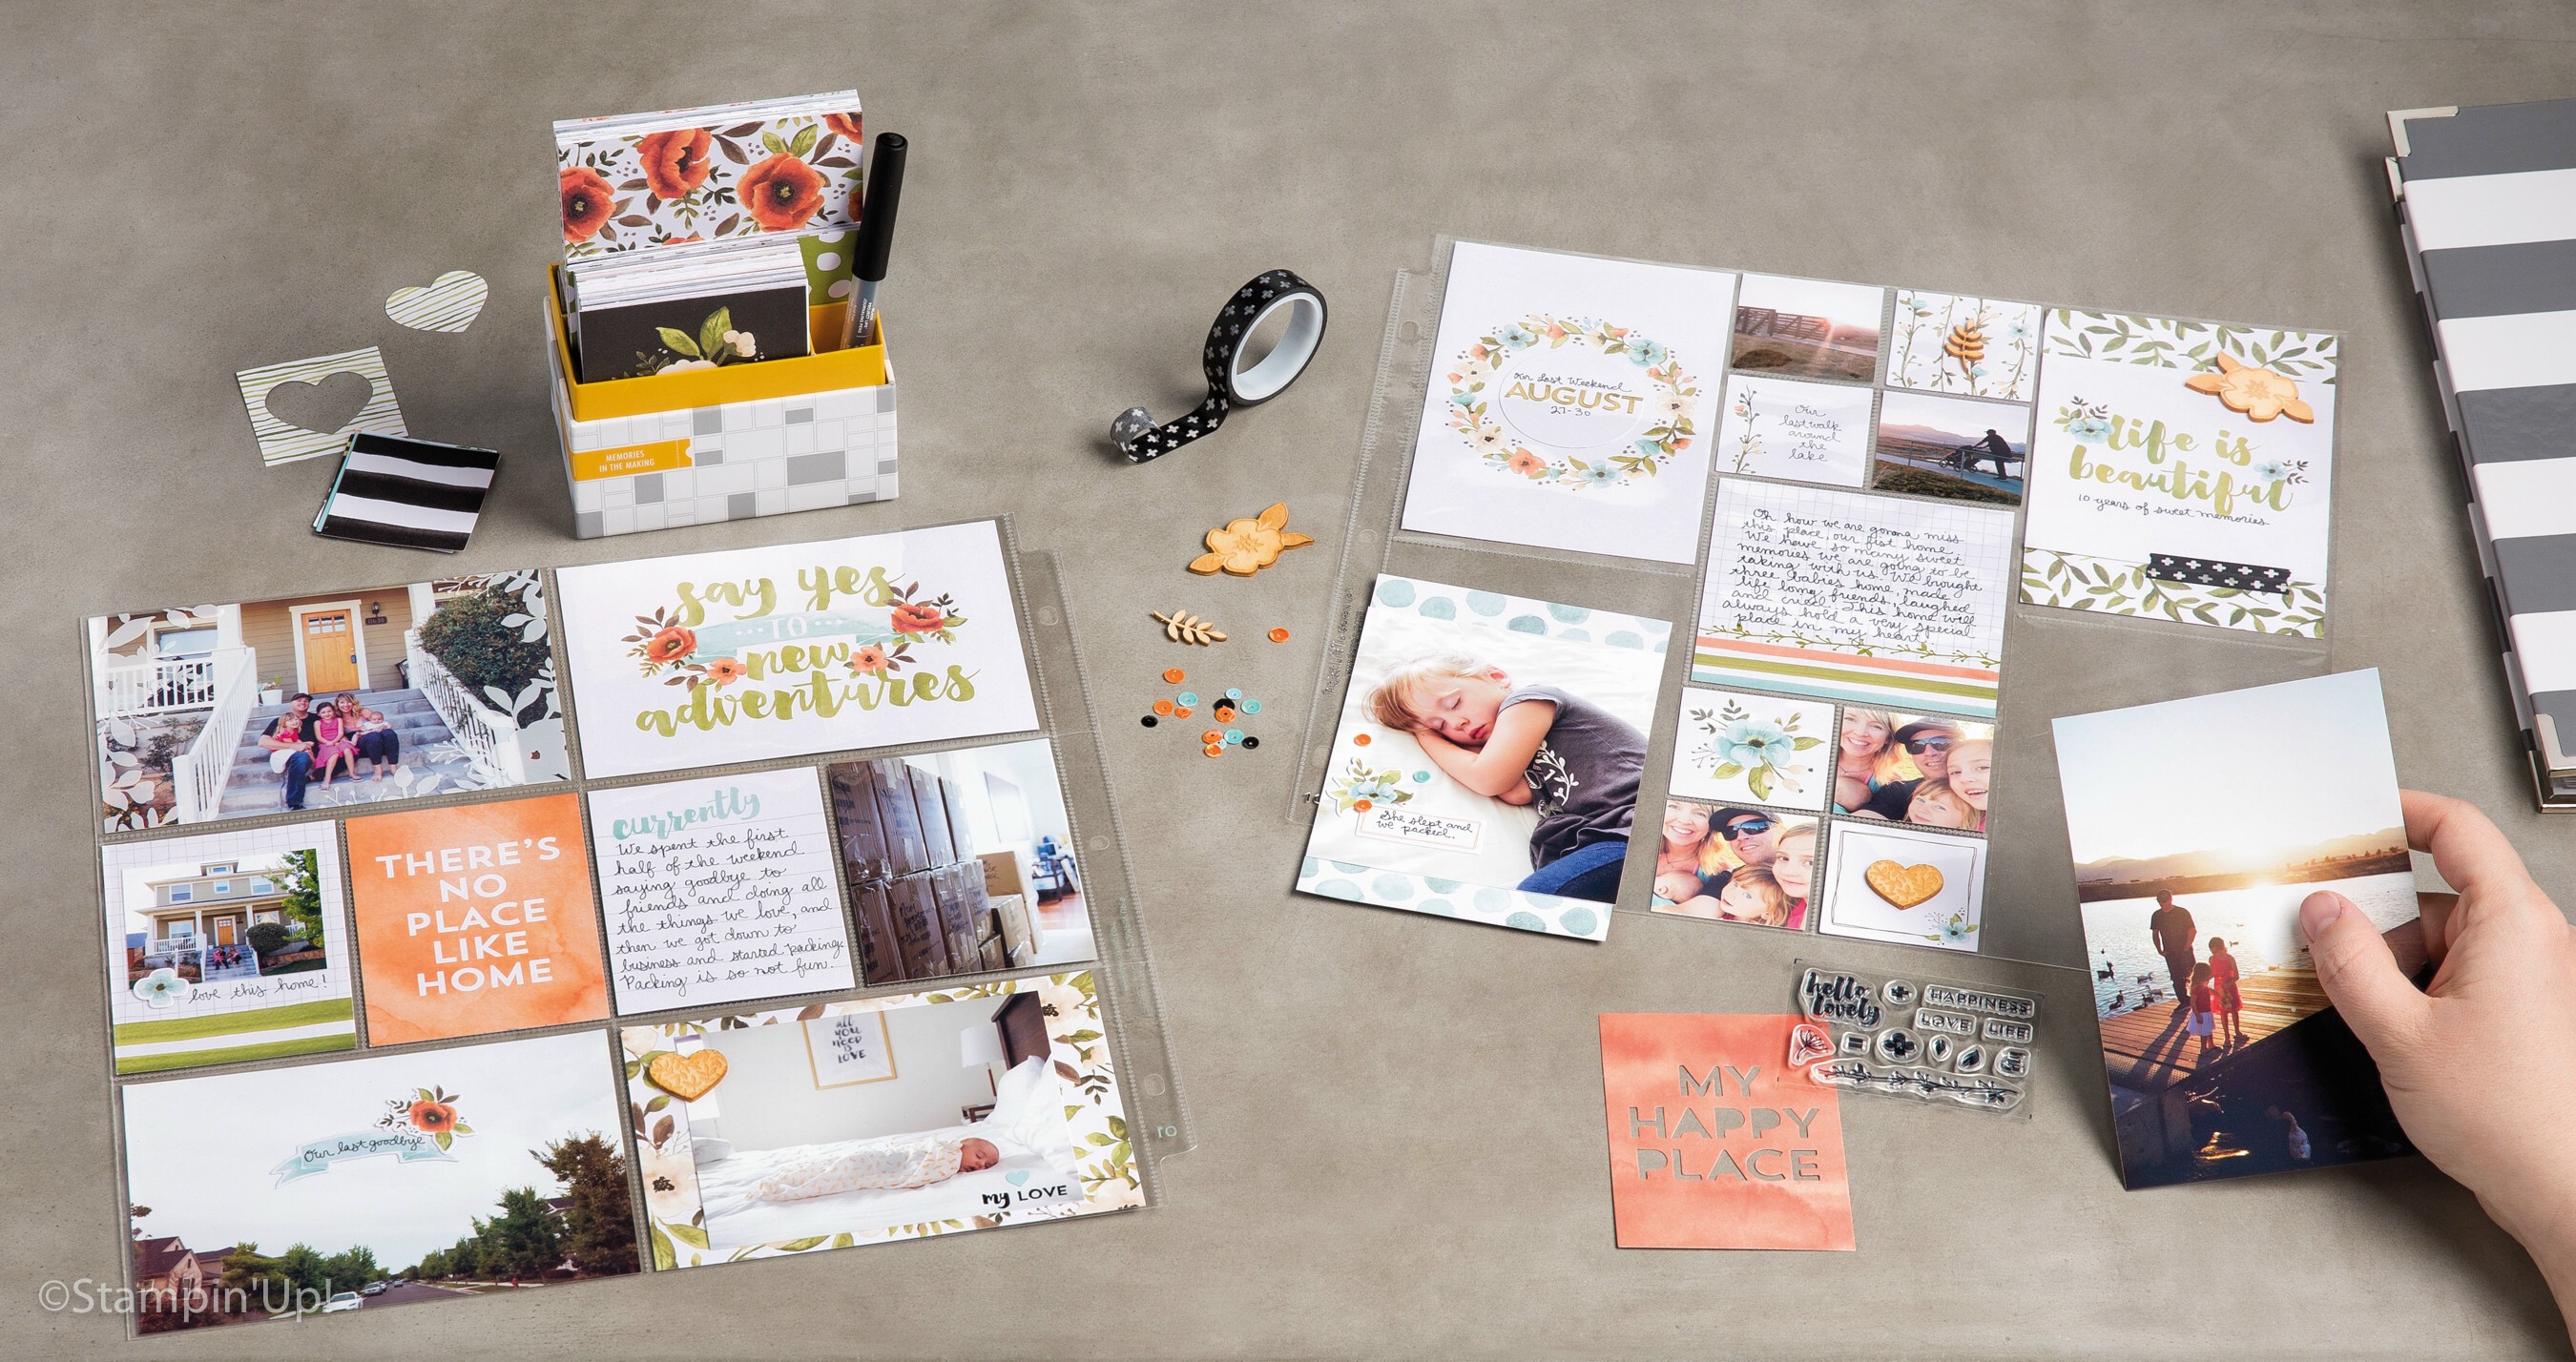
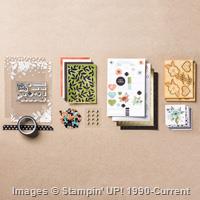
Today I want to share a simple, affordable system for organizing your photos into albums … it’s called Project Life, by Stampin’ Up!
All you need to get started is a few basic products, and then you’ll just slip your photos into project pocket pages … we’ll let me show you!
Here’s a quick video to show you how quick and easy it is to use …
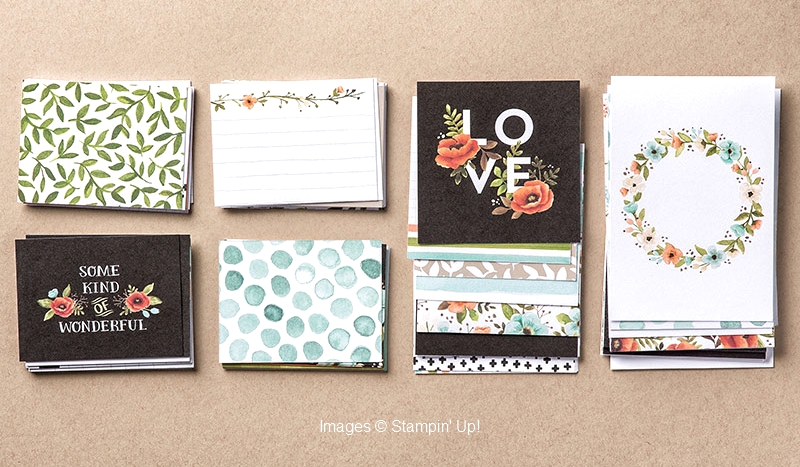
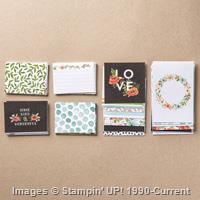
Here is our newest Project Life card collection that I just fell in love with. I not only use my card collections and accessory packs for my scrapbooking … I also use them to make quick and beautiful cards!
See how it helps your Memory keeping super simple and super beautiful with Project Life card collections. Just slip these designed cards into Photo Pocket Pages for instant color, design, and journaling space.
* 100 cards in 3 sizes: 4″ x 6″, 4″ x 4″, 3″ x 4″ (10.2 x 15.2 cm, 10.2 x 10.2 cm, 7.6 x 10.2 cm)
* Double-sided
Coordinating colors: Basic Black, Crumb Cake, Old Olive, Peekaboo Peach, Soft Sky, Soft Suede,
Tangerine Tango, Very Vanilla, white
* * * * * * * *
Dress up your Project Life pages with the accessories in this pack. They’re also great for more than just Project Life; use on cards or traditional scrapbook pages too.
Pack includes …
* Exclusive set of 12 photopolymer stamps
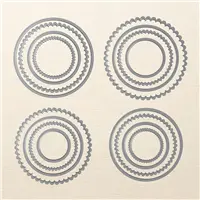
* 4 die-cut specialty cards, 3″ x 4″ (7.6 x 10.2 cm)
* 2 acetate specialty cards, 4″ x 6″ (10.2 x 15.2 cm)
* 11 double-sided specialty cards, 2″ x 2″ (5.1 x 5.1 cm)
* 6 single-sided die-cut specialty cards, 2″ x 2″ (5.1 x 5.1 cm)
* 2 alphabet sticker sheets
* 1 element sticker sheet
* 1 acetate sticker sheet
* 12 wood shapes
* 12 enamel stickers
* 150 sequins
* 1 roll washi tape, 5 yards (4.6 m)
Coordinating colors: Basic Black, Crumb Cake, gold, Old Olive, Peekaboo Peach, Soft Sky, Soft Suede,
Tangerine Tango, Very Vanilla, white
It truly is a simple, affordable system for organizing your photos into albums and for your card making!
Hope you enjoyed today’s post, and I thank you for stopping by.
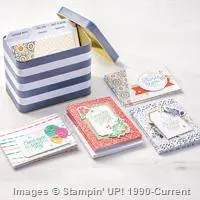
Have you ever wished you had a secret stash of card? Don’t we all?! We’re always looking for a card for those spur of the moment occasions (or one that just may have slipped your mind) …
Well, I have the perfect solution for you, our Designer Tin of cards ~
What’s better than giving a handmade card? Having a tin of handmade cards ready to give! Make a stack of all-purpose cards using precut, color-coordinated paper and accessories, then store them in a pretty tin until you need them. See for yourself how easy creativity can be!
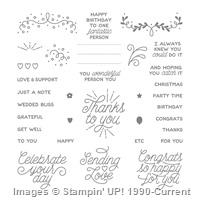
You may want to get the coordinating stamp set – Designer Tin of Cards. It not only works great with you Tin of Cards but for all your card making projects.
The stamp set contains; Holidays, special occasions, thinking of you—this set has a message for any occasion. With a delightful combination of beautiful script as well as simple fonts, this versatile stamp set will help you create whatever you wish.
They are Photopolymer stamps and … * Are totally transparent for perfect image placement. * Have just enough give to create a perfectly stamped image every time. * Cling like crazy to our clear blocks so you don’t have to worry about slipping. * Save space—you need only one set of blocks for all your photopolymer stamps (blocks sold separately). * Come packaged in cases with images on the spine for easy storage and quick reference.
Let me know if you and your friends would like to get together and would like my assistance … I’d love to help (In fact, you can use my stamp room!) lindaluvs2stamp@aol.com
Thank you for checking out my blog today, I hope it’s a good one!
Hope you all had a wonderful weekend! I spent the day yesterday with family celebrating by brother Richard and his wife Sheila’s 30th anniversary. It was very nice gathering and we were all honored to see them renew their vows.
Yesterday I shared the Flourishing Phrases stamp set with you and you got to see how versatile it really can be. Today I would like to share with you a video that highlights how to use the new Flourish thinlets! I absolutely LOVE this bundle!!
Put down those scissors—there’s an easier way to cut detailed flowers and images! Using the Flourish Thinlits Dies and the Big Shot, you can make multiple die-cut flowers in minutes. Watch as we show you how…
The video highlights the layers needed when using the “new” Big Shot Platform and the “Precision” base plate. I currently use the “Precision” base plate in conjunction with my Standard Cutting plates (the ones that come with the Big Shot) fully closed (all tabs down) and one cutting pad.
As soon as I get my new Precision base plate, I will let you know how I feel they cut. I’m sure they will work great.
Now … be sure to stop back tomorrow because I’ll share my card creation with you using this fabulous bundle: The Flourishing Phrases Stamp Set and Flourish Framelits.
I hope this Saturday finds you well. It’s a bit warm here in Wisconsin – hitting in the 90’s with some of that fine humidity! It appears summer is right around the corner and I know some of you have been waiting for this!
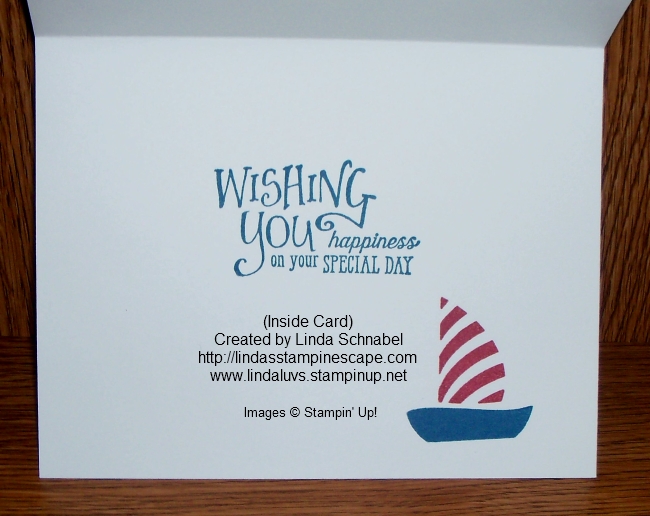
Speaking of summer, I have a cute card for you that fits right in! Picture a warm summer day sailing across the cool waters …
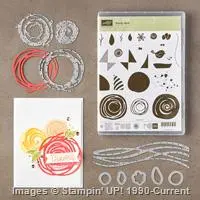
I created this card with the absolutely “fun to play with” Swirly Bird stamp set and Swirly Scribbles Thinlets Bundle! With the 4th of July right around the corner and “blue” such a nautical color – I chose the new “Dapper Denim” and teamed it up with Cherry Cobbler and Whisper White.
The greeting and verse used on the card come from the very versatile stamp set, Better Together. I am using this stamp set for both of the cards shown today. You can also see a variety of the words used in this prior post – CLICK HERE to view.
My second card was cased from another demonstrator, but I turned it around and added my won touch. Isn’t that what we all do? The catalog is your first reference for card samples 🙂
On this card I used the swirly from the framelits and the flowers and dots from the stamp set. This card highlights the new “Flirty Flamingo”. I teamed it with Smokey Slate, Whisper White and the elegant Silver Foil.
The silver swirl draws your eye to the greeting “Just a Note” which is anchored with the cute little bow made out of the new “Flirty Flamingo” Ruched Ribbon. The rhinestones really tie the card together with that little touch of bling.
We brought the stamped patterns from the card fronts, and repeated on the inside of the card and on the envelopes! Just ties it all together so nicely.Both of these cards were created for my June Technique Stamping Clubs … we are now done for the year but will be starting up again in September.
Would you like to join us? I have a few openings in my Wednesday, Thursday and Saturday Morning groups. I will also be starting up a Monday night group and a Saturday afternoon group.
Stop back tomorrow and I’ll show you more samples and give you a few more details. Till then, have a wonderful day!