Hello Stampin’ Friends ~
Today is the last day of 2018 and many of us are reflecting upon the past year, and looking ahead to the new one. Yesterday I stepped back to the basics of stamping and today I’m just bringing it up a notch plus adding a few stampin’ tips along the way … especially to our new stampers.
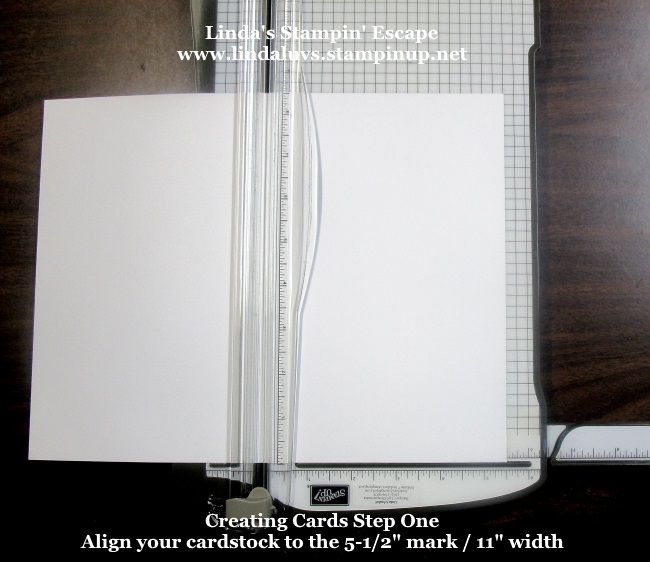
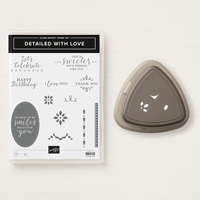
I will be using the Meant to Be stamp set again, and I took the other 1/2 of the cardstock we cut yesterday to start todays card…
Using the 1/2 sheet from yesterday, we folded it in half and now we are going to create a background by stamping. This is one of the first techniques that I learned when I began stamping almost 18 years ago. I’m using one of the small hearts included in the stamp set …

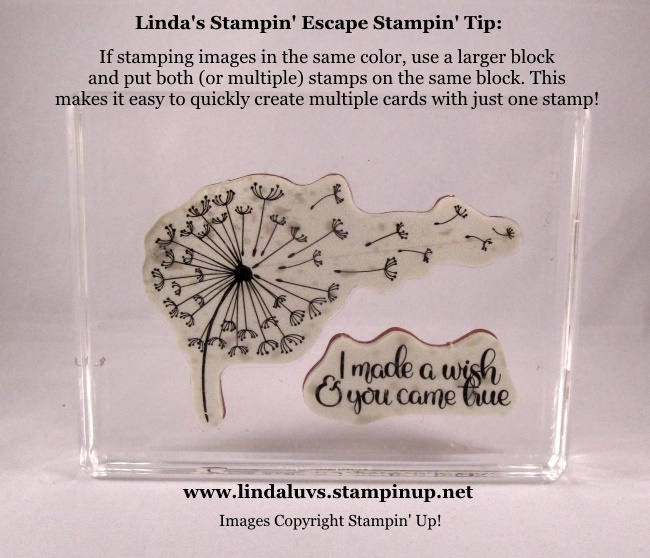
Now we’re going to create a focal point on our card. You’ve got your paper cutter so we are going to cut a 2-1/2″ x 3-1/2″ piece of Whisper White to stamp on. I figured out the dimensions after placing my stamps on the block. I use my grid paper to align my stamps and determine the size of carstock I need to stamp on.
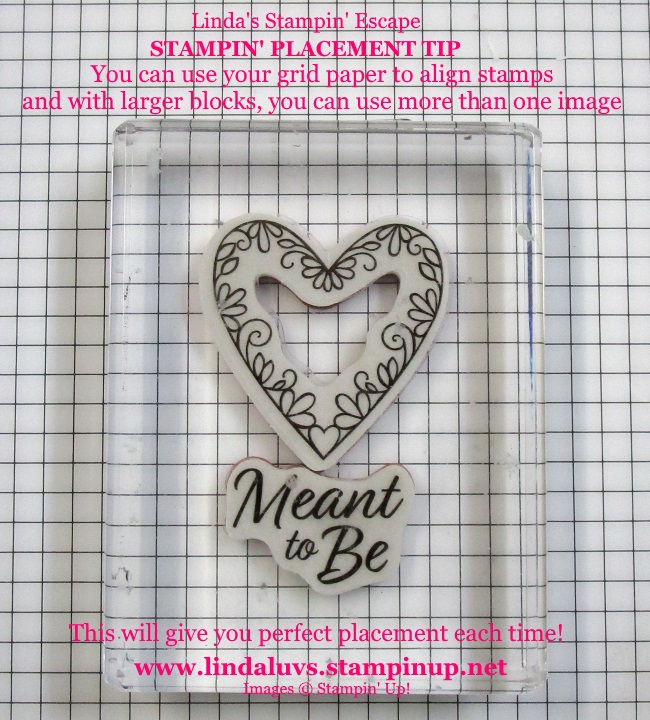
Adding both stamps on one block is a great way to get perfect placement each time you stamp. I do however ink my stamps differently. I flip my block upside down and ink the stamp by tap, tap, tapping the ink pad onto the block … It is much easier to see where and how much ink you are placing on your stamp images!
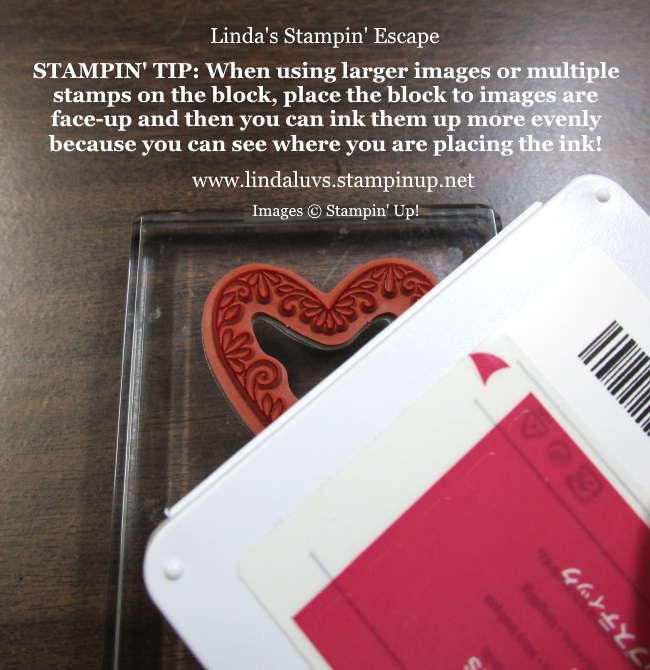
When your ink is applied properly and evenly you will get a sharper, crisper image … and because you can see where you are inking your stamp (and you don’t “PUSH” stamps into the ink) you won’t get that inky mess on your blocks!
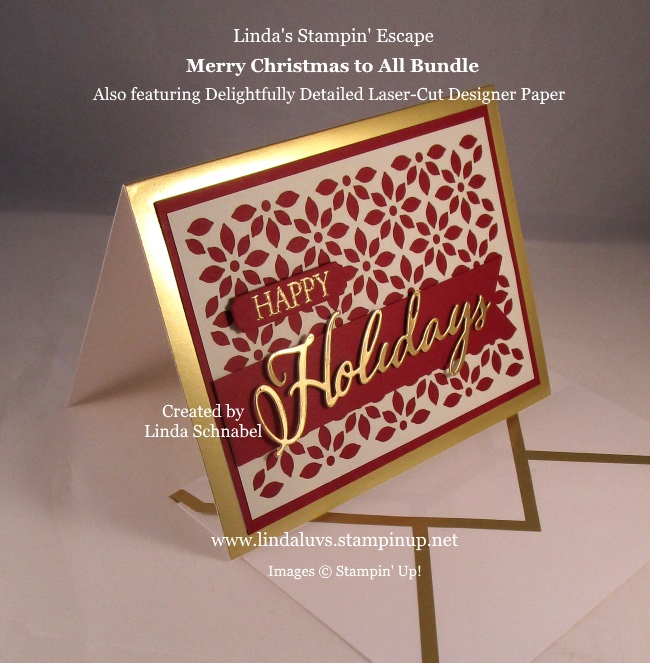
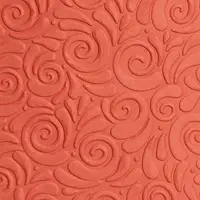
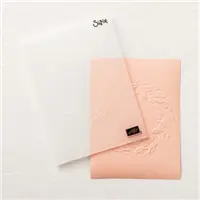
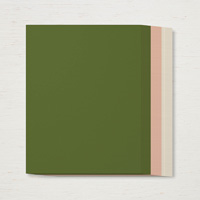
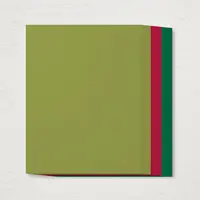
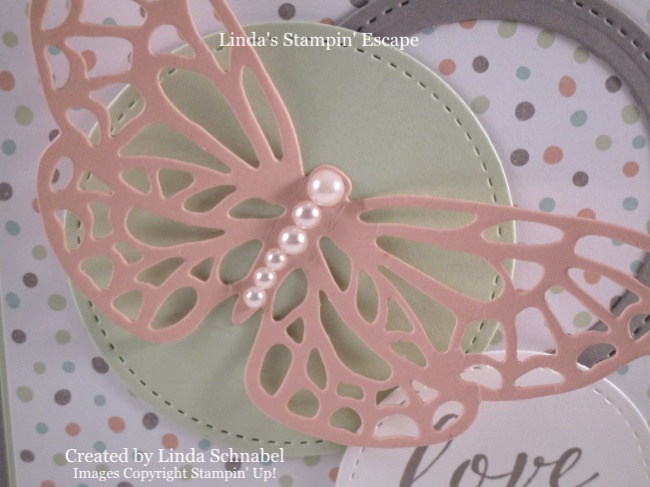
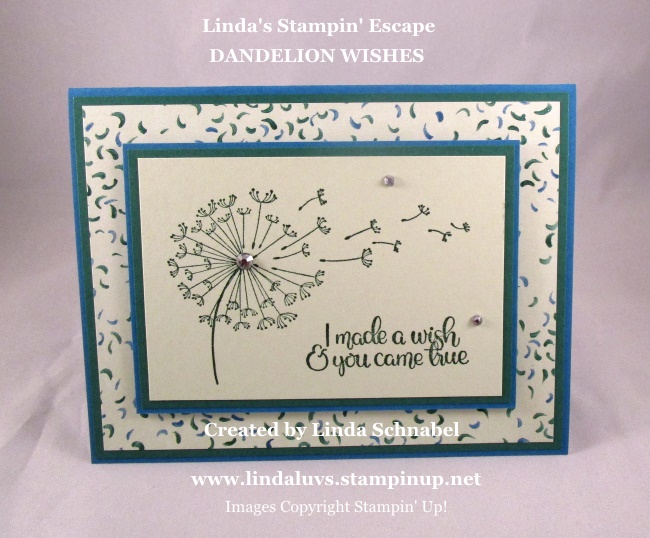
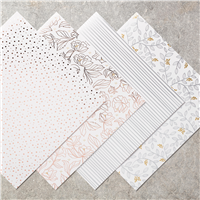
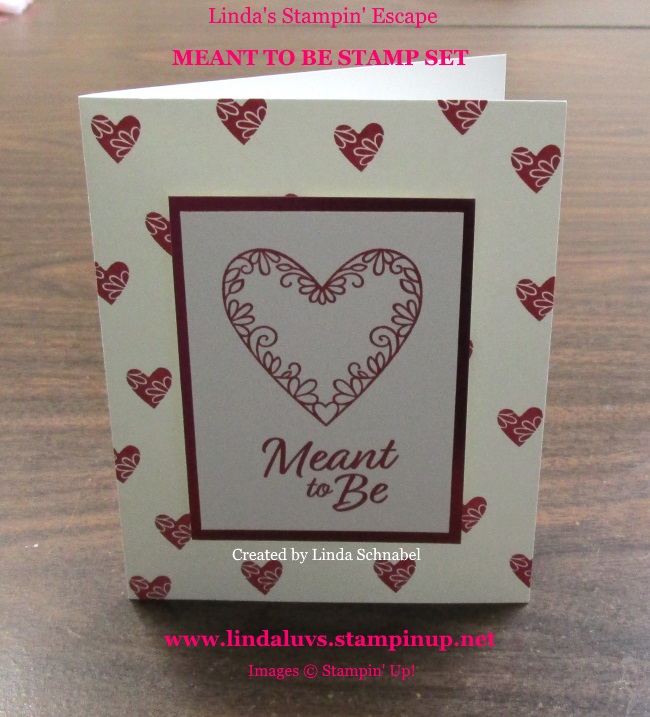
Now that our “focal point” is stamped, we are going to back (or mat) it with the beautiful Lovely Lipstick Foil Sheet which you can get for FREE with a qualifying purchase during our Sale-A-Bration!

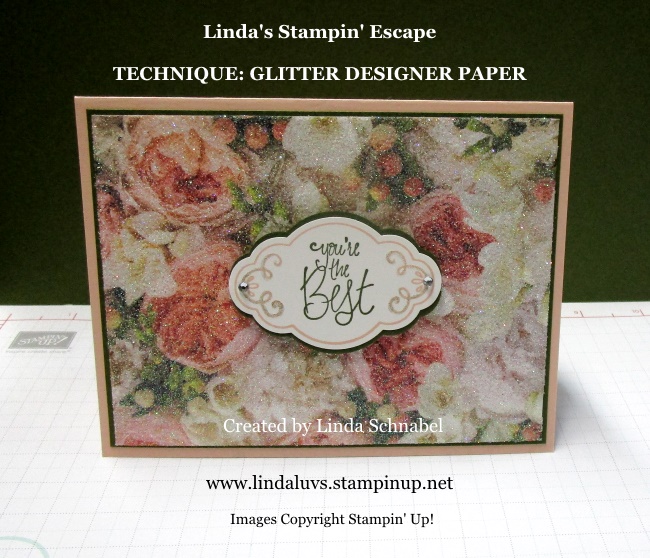
To finish off my card and attach the “stamped focal point” … I used our Stampin’ Dimensionals to add some dimension to the card. These are a must have in any basic stampers (or advanced stamper) stampin’ tool kit.
As I reflect on this past year I don’t think I could have chosen a more fitting greeting; Meant to Be, because being a part of the Stampin’ Up! family was truly “meant to be”.
Thank you for joining me today and for being a part of my family of stamping friends ~ Stop back tomorrow as I take it up to the next level of stamping.

PS. You are welcome to join my family of Star’s anytime … and during Sale-A-Bration, they are offering an amazing package when you join this journey of stamping, friendship and fun.
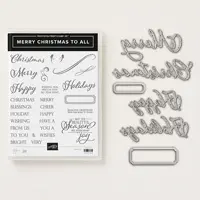
Today’s Stampin’ Supply List: Please note that the “Meant to Be” stamp set is not available until January 3rd.