Hello Stampin’ Friends ~
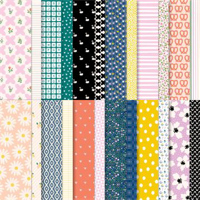
Brace yourselves for a wave of excitement as we unveil the newest additions to our Sale-a-bration promotion. I’m thrilled to share some irresistibly delightful items. Today I’ll be showcasing the enchanting Delightfully Eclectic Designer Series Paper. Get ready to embark on a creative journey that promises a fusion of whimsy and elegance, all while enjoying an exclusive fun fold tutorial with a video that will spark your imagination and set your crafting heart aflutter!

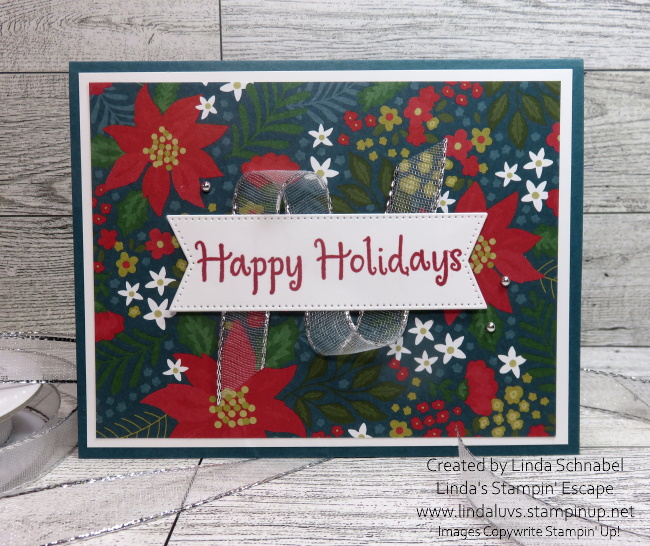
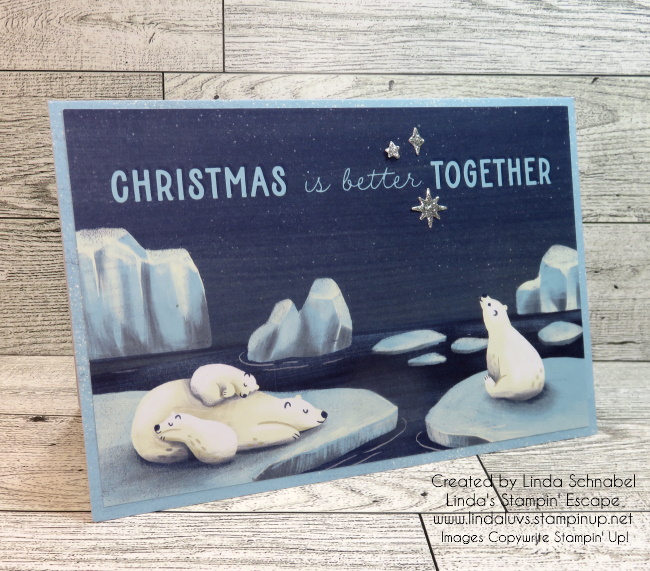
Let’s begin with my Sending Smiles Fun Fold card. Today I will be sharing a video of my replay from a Facebook LIVE. It features the Delightfully Eclectic Designer paper that has just been added to the list of Sale-a-bration items… Wooo Hooo!
Let’s take a look at our video …
DIMENSIONS:
- Cardbase: 11″ x 4-1/4″ then Scored at 2-1/8″ and 5-1/2″
- Basic White for (Diamond) Front Flap: 2-3/4″ x 2-3/4″
- Colored Cardstock or Designer Paper for Front Flap: 2-1/2″ x 2-1/2″
- Designer Paper for front (3-1/8″) & inside(2-1/4″): You can use 4″ x 5-1/2″ … just make sure your 3-1/8″ piece is on the front, then you can attach the remainder to the inside.

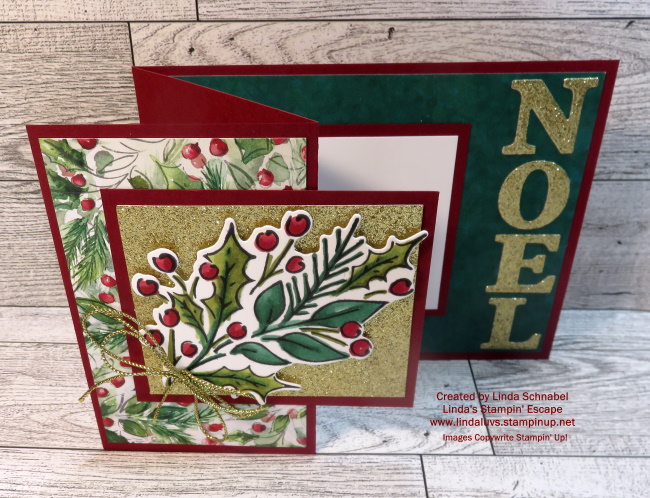
I hope this cutie inspires you to try this fun fold, it is pretty quick and easy to make and doesn’t require a lot of layers or designer paper so have fun! Here’s another with the Delightfully Eclectic Designer Paper.

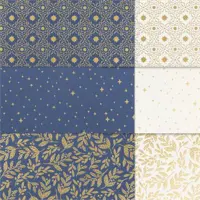
Our latest offering, the Delightfully Eclectic Designer Series Paper, is a celebration of vibrant colors, eclectic patterns, and endless creative possibilities. Imagine a kaleidoscope of hues and designs, ready to breathe life into your paper crafts. Whether you’re a seasoned crafter or a novice looking to infuse some energy into your creations, this paper is a game-changer.
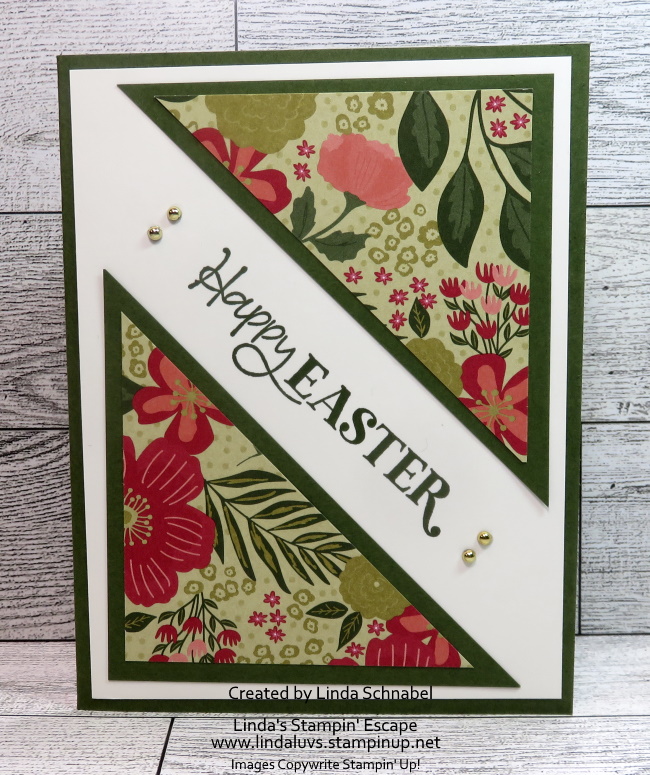
Let’s see what else I’ve created with this fun paper pack ….

This is the split card technique … you will find step by step directions to create this card by Clicking HERE.
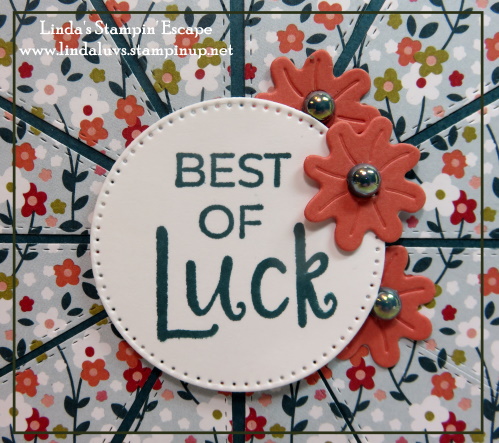
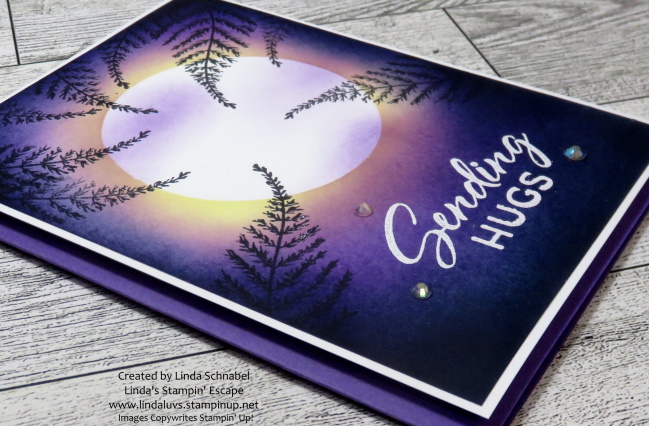
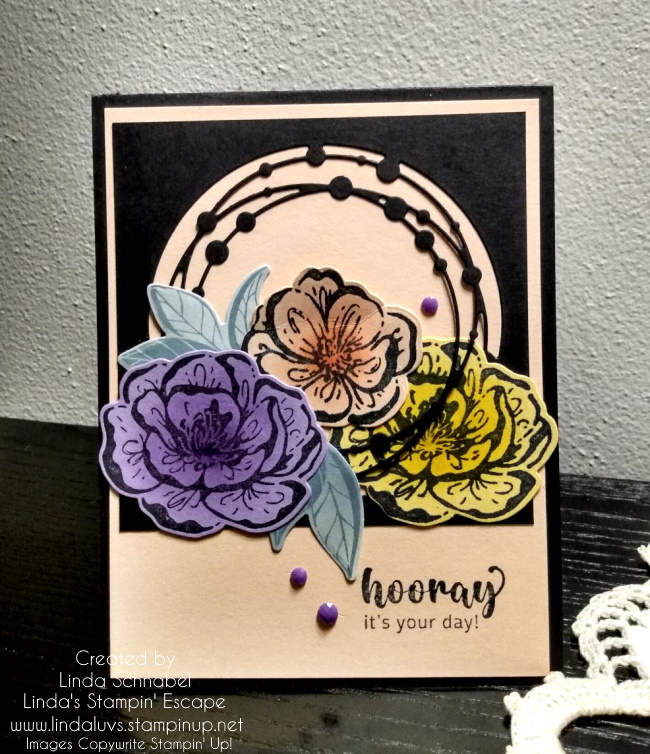
Now I want to share one of my favorite patterns in this pack ….

With such a fun and whimsical pattern, I chose the Alphabest stamp set and coordinating Best Label punch. I first stamped the outer design in Tuxedo Black Memento Ink and then stamped my greeting in the Fresh Freesia ink. To learn more CLICK HERE!
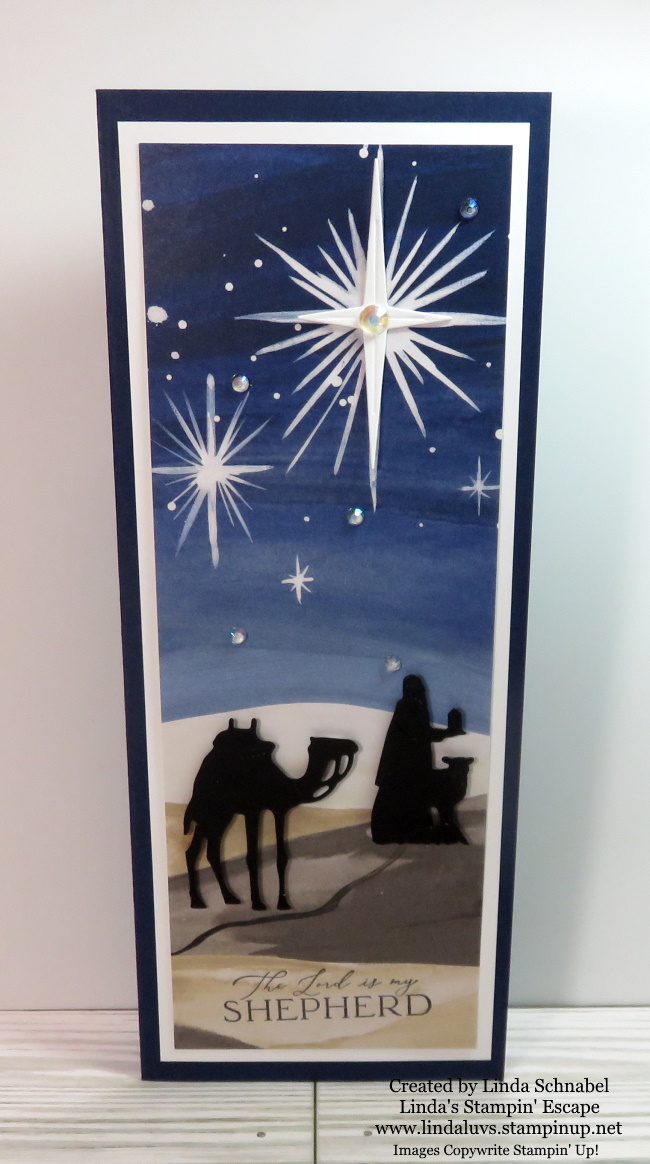
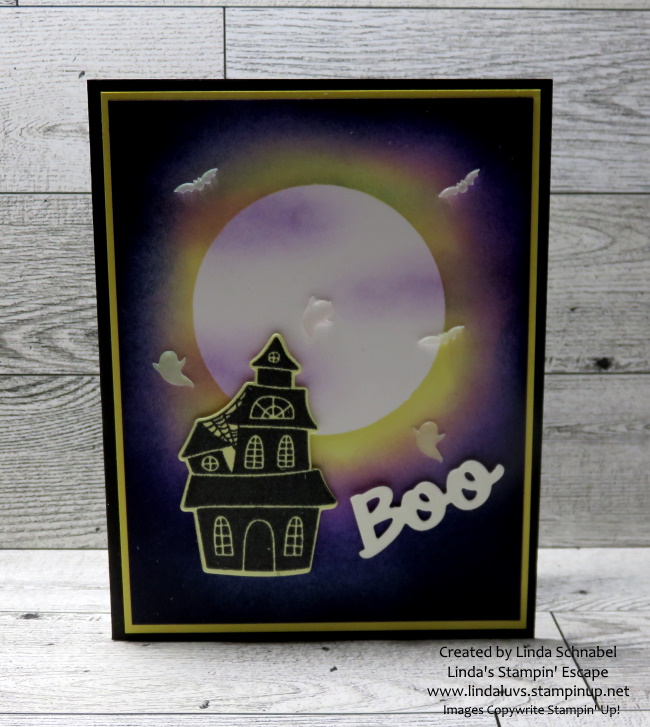
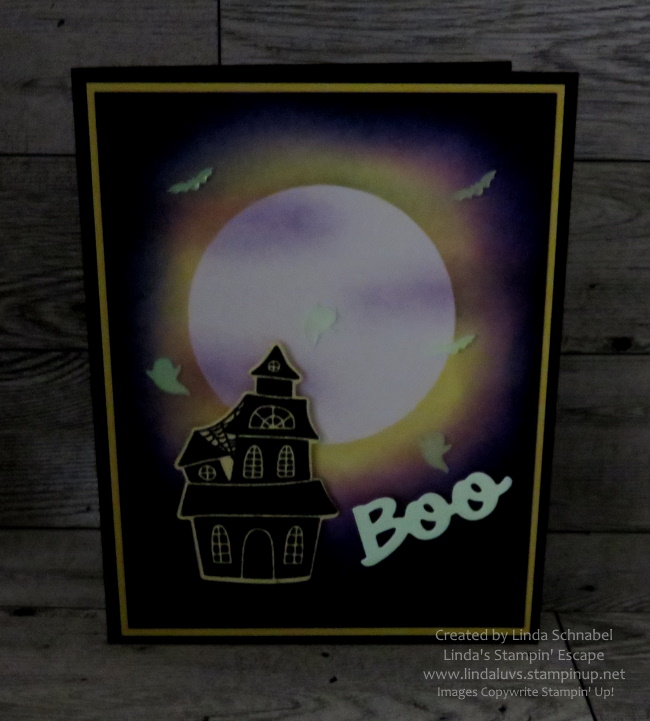
Here’s a little cutie that is soooo simple to make!

With patterns ranging from bold geometrics to delicate watercolor florals, the Delightfully Eclectic Designer Series Paper opens the door to a world of versatility. Elevate your projects with this dynamic paper that effortlessly blends contemporary chic with classic charm.

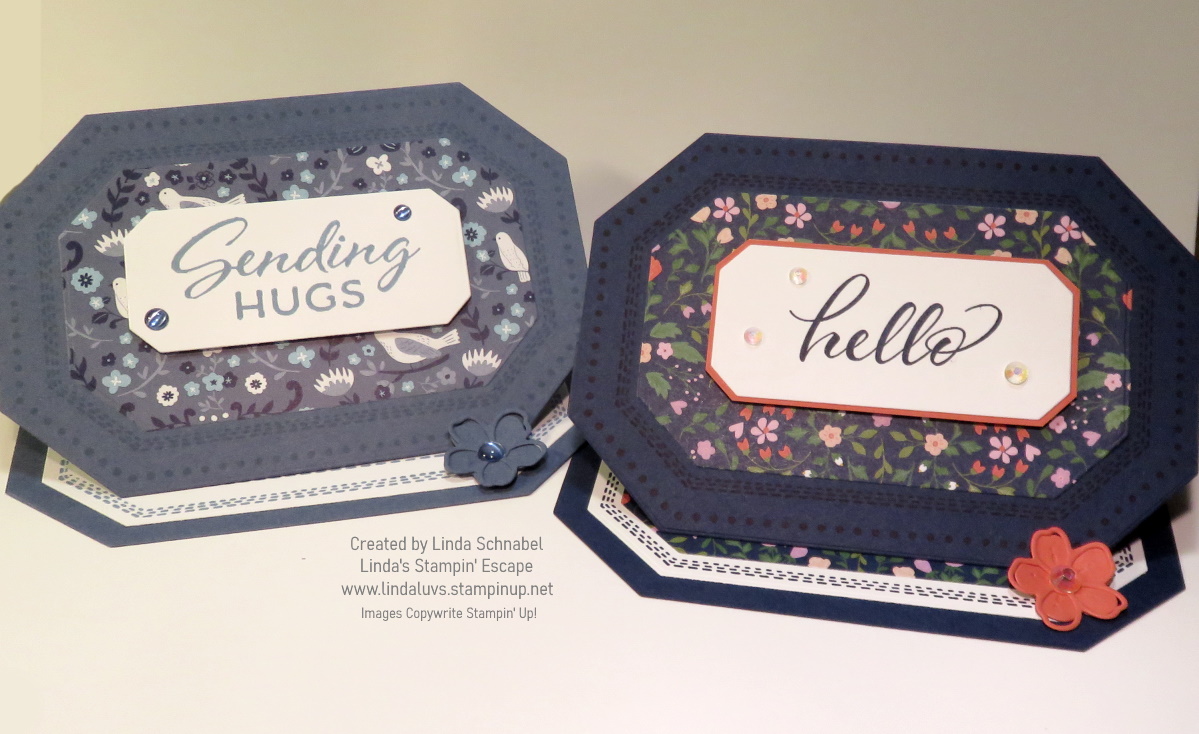
Here’s another cute pattern that I teamed up with the Circle Sayings bundle ….

There is another card and video that go along with this. Check them both out HERE.
Now, let’s talk about why you shouldn’t delay in indulging your creative cravings. Our Sale-a-bration promotion is all about giving back to our amazing crafting community. For every qualifying purchase, you can choose exclusive free items from our Sale-a-bration catalog. And yes, that includes the stunning Delightfully Eclectic Designer Series Paper!
Thanks so much for dropping in today for a visit … Don’t miss out on this crafting fiesta! Head to my online store, explore the wonders of Sale-a-bration, and let the joy of crafting fill your creative space.

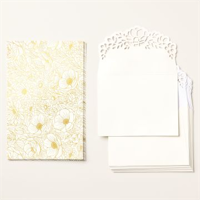
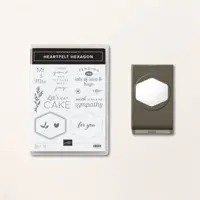
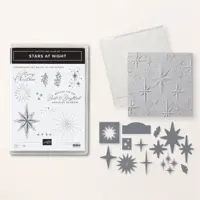
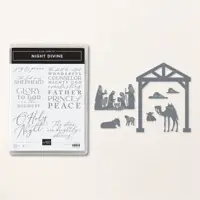
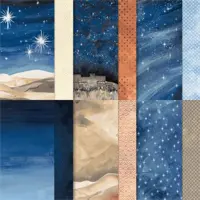
Here is a list of highlighted products from today’s card parade ….