Hello Stampin’ Friends ~
I hope you had a wonderful weekend … it was the last one of 2019!! Wow … we are now heading into a new month, a new year, a new decade … and a new Mini & Sale-a-bration Catalog!! This amazing new year will also bring about my 20th Anniversary with Stampin’ Up!, but more about that later!
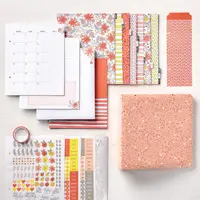
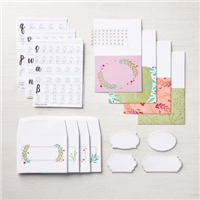
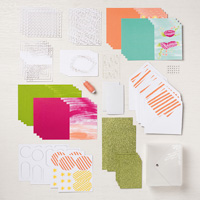
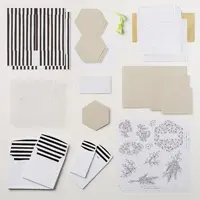
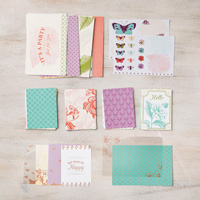
Today I’m going to share with you the second of the two cute cards from the Kerchief Card Kit … then I’m going to share an alternative to each of the pre-designed cards! This will give you the option to change them up if you desire, or come up with your own design… if you do, I’d love to see it!!
Let’s begin ….
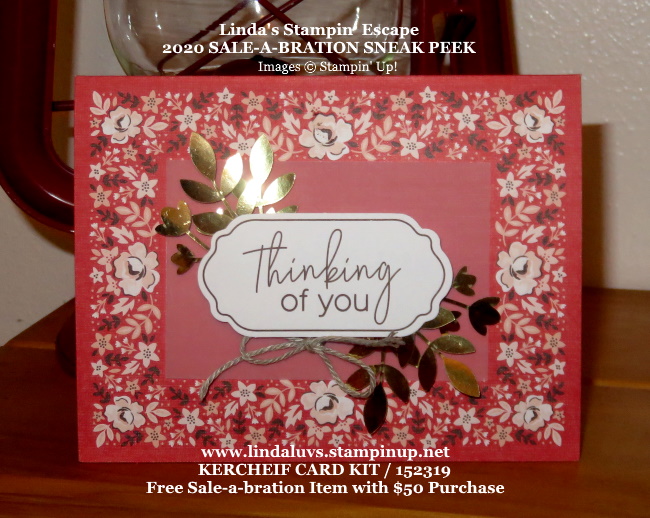
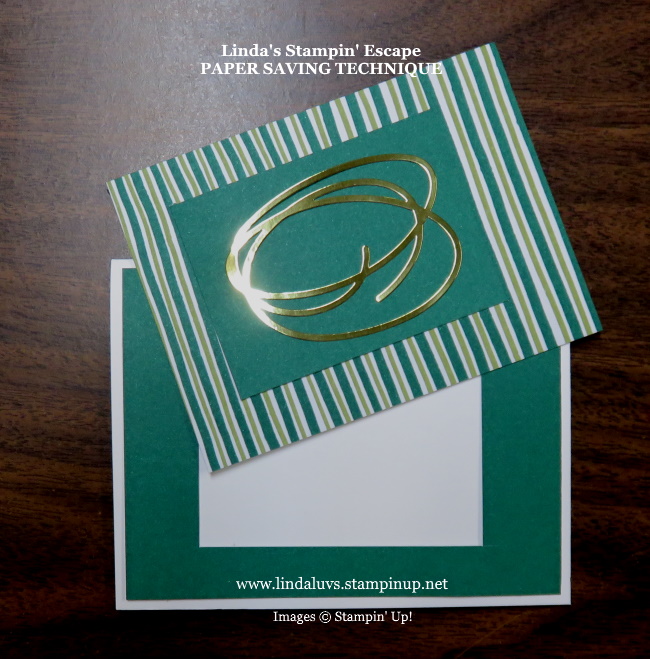
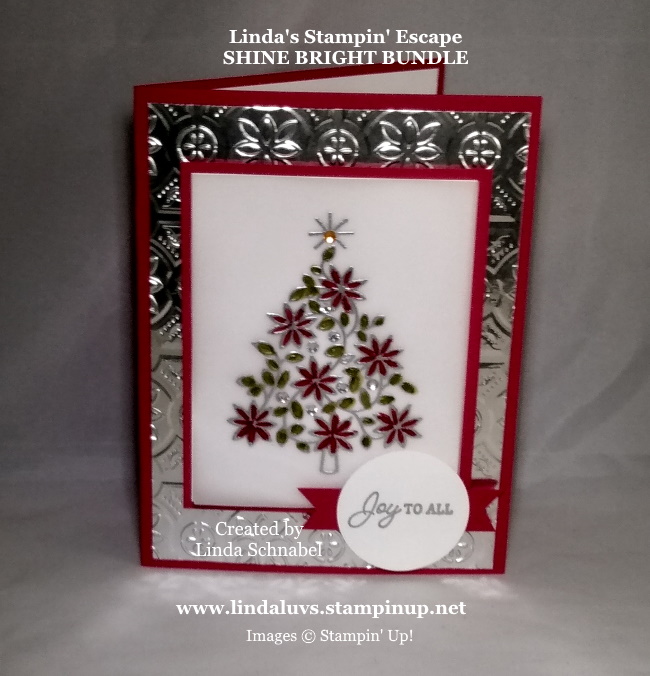
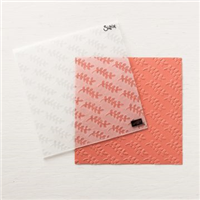
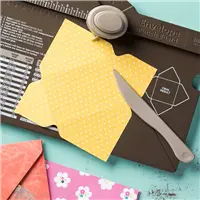
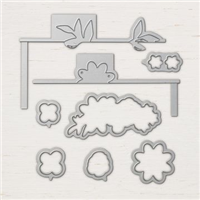
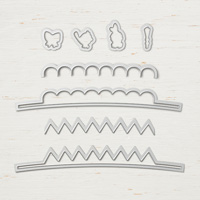
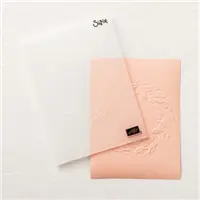
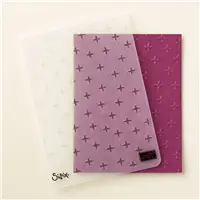
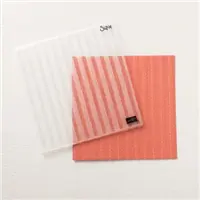
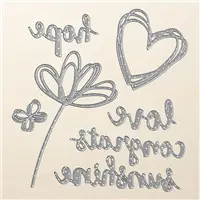
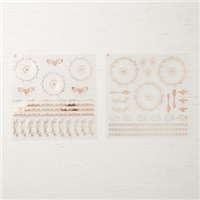
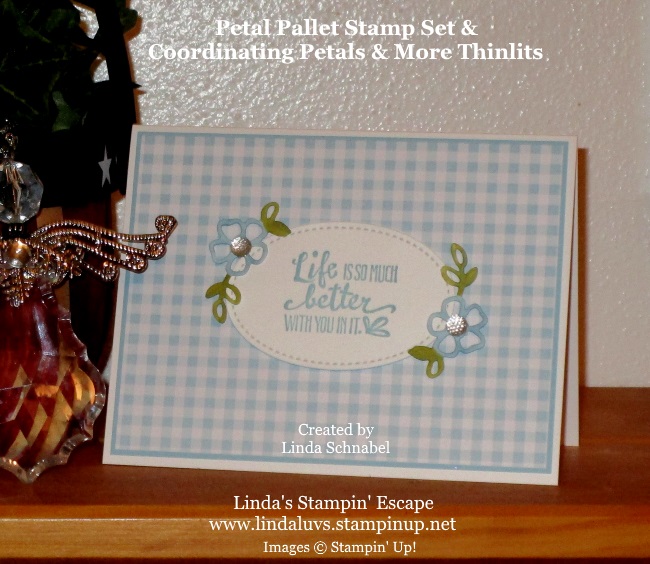
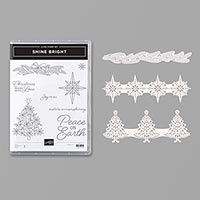
This is the card as designed in the card kit. Simple to assemble, the vellum is pre-cut as is the gold foliage. The greetings are pre-stamped so all you have to do is assemble!
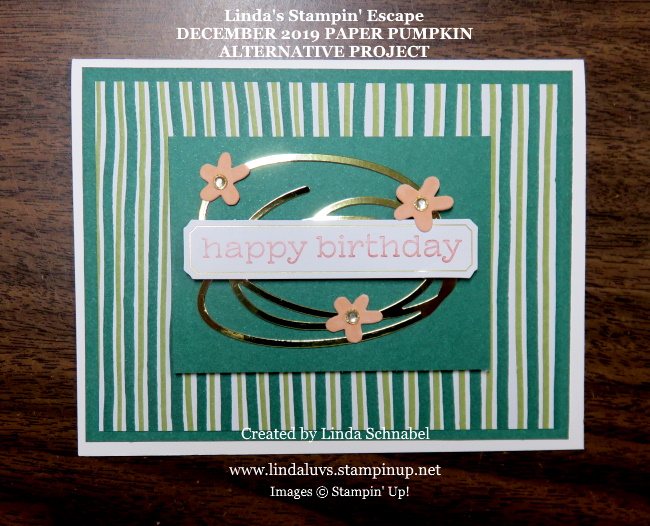
Now for my alternative …
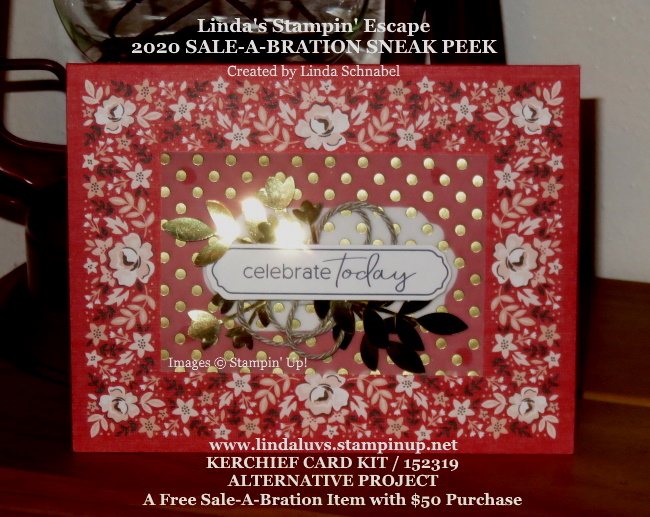
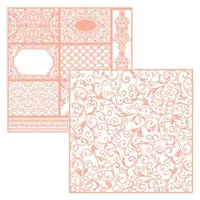
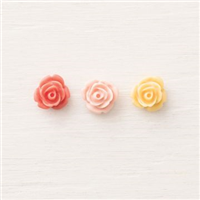
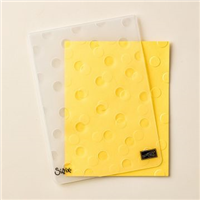
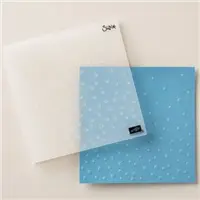
I switched out the greeting and used the gold polka dotted vellum from the other card for my alternative card. I also switched out the greeting. Another change I made was to talk one of the greeting in a foreign language, flip it upside down and use it to make the gold vellum pop behind my floral assembly.
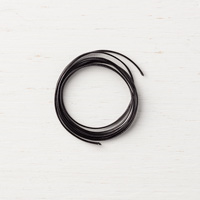
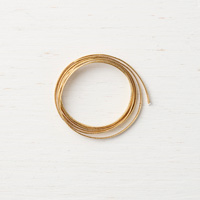
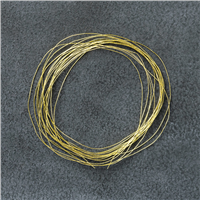
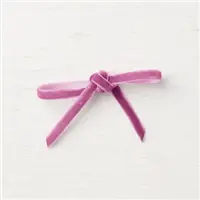
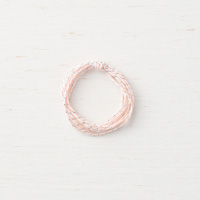
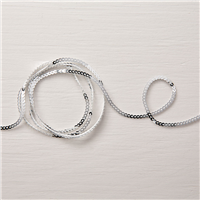
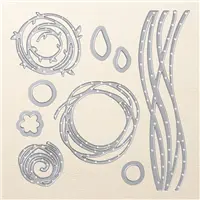
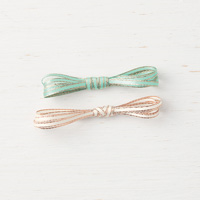
My last change up was to create a layering of the twine instead of making the bow … I think this adds a lot of texture and just gives a cool effect for a card kit with “kerchief” for a name … right!
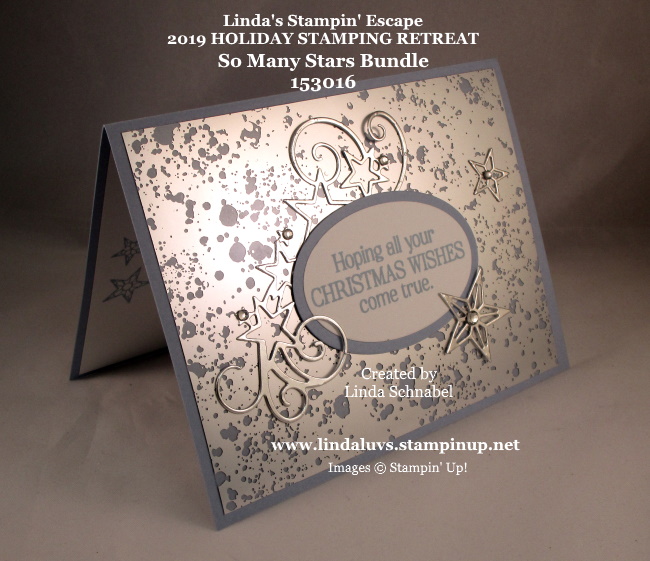
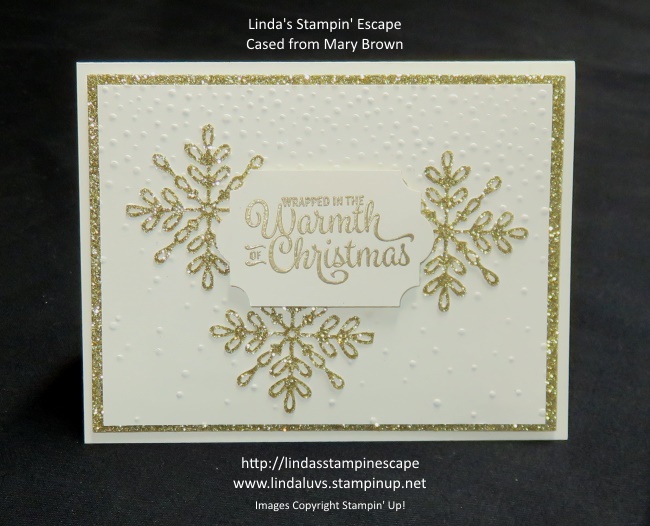
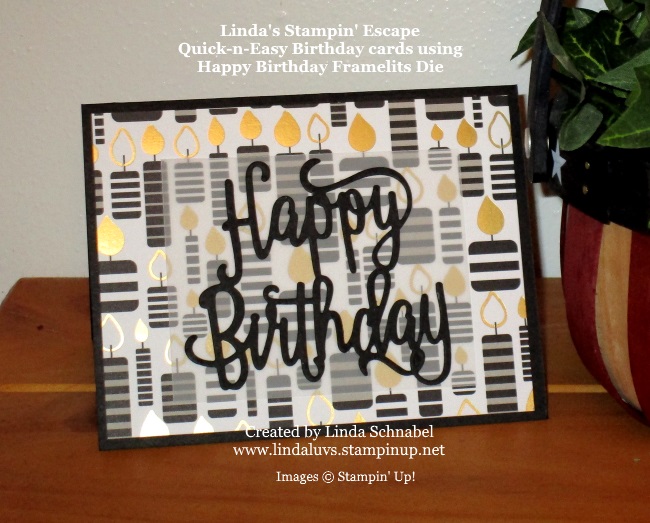
Now let me remind you of the card I shared yesterday …

This was made per instructions in the card kit. Cute … Simple … easy to make, you have to love that!
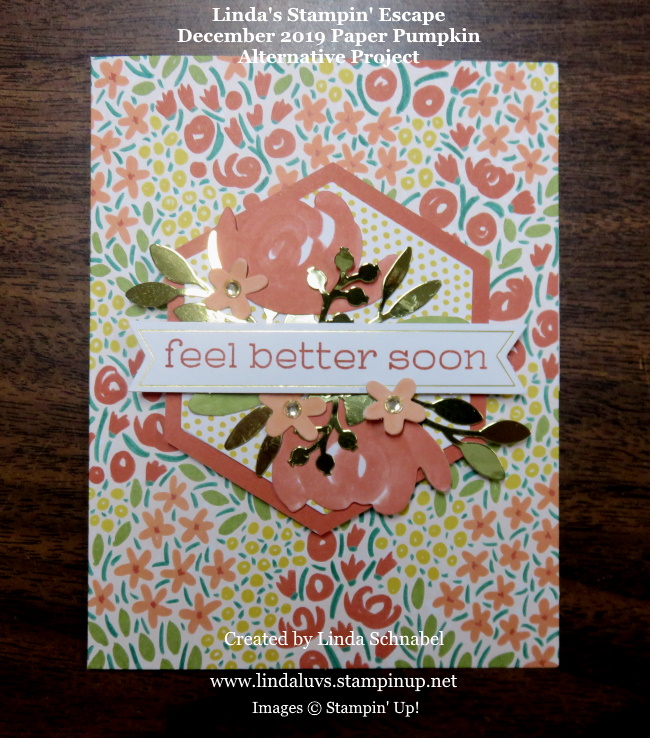
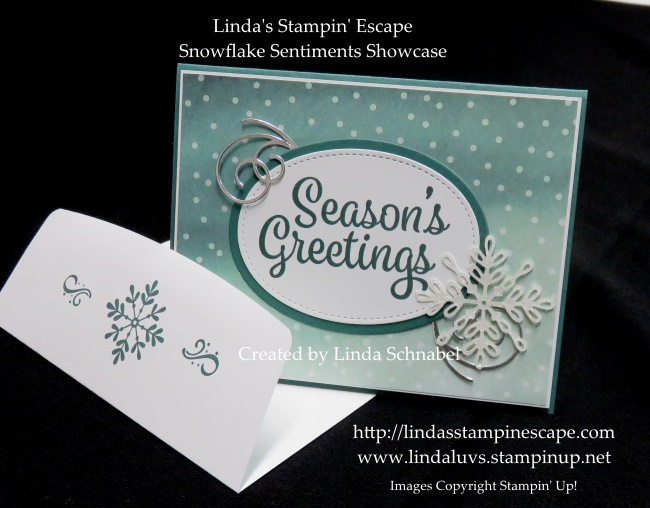
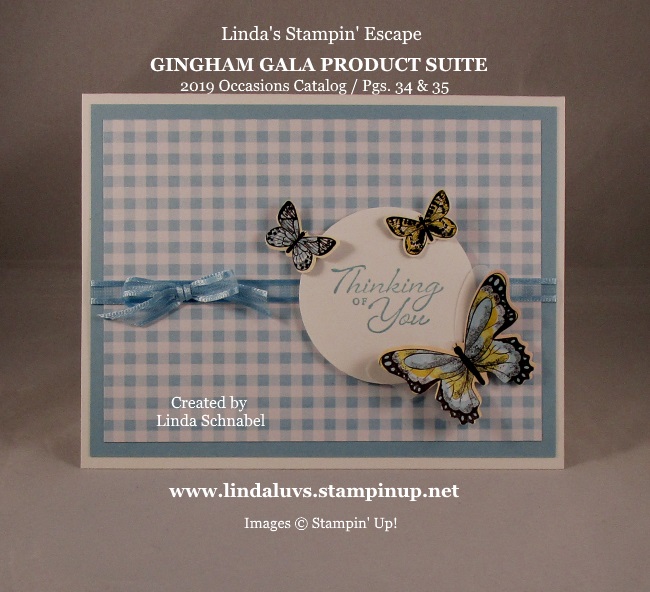
Here is my alternative project for this card …

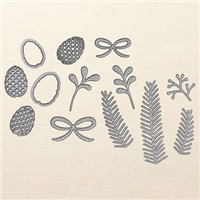
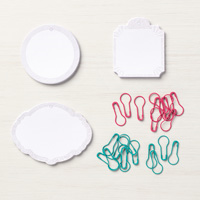
On this alternative card, you can see that I have changed the orientation along with the greeting. I kept the blue oval and the flower and layered my gold foliage around it. Still cute … still simple … easy to make, just a little bit of a different look.
I was just having some fun with my kit … that is what they are for, and then to send them and make someone else happy of course!
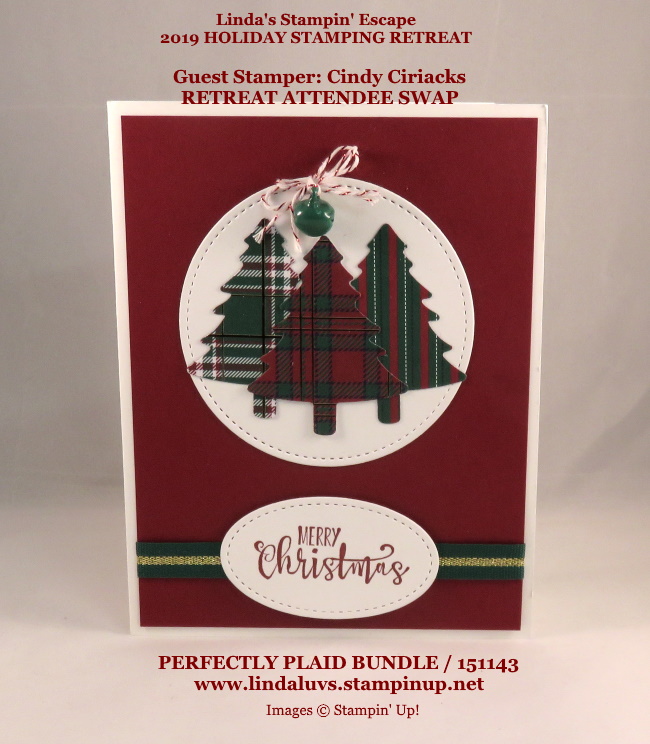
Hope you enjoyed. Tomorrow I will be back with another card that will use a left over piece from this kit, and introduce you to an amazing bundle in the new January-June Mini Catalog.
Thank you for joining me today, and I will see you back here tomorrow.