Hello Stampin’ Friends ~
Today, I’m sharing the replay of my recent Facebook LIVE where we dove into the delightful Rainbow Celebration Kit from the Sale-A-Bration catalog. If you missed it, don’t worry—you can catch all the tips, tricks, and crafting fun in the video below! 👇
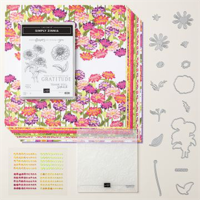
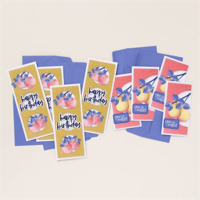
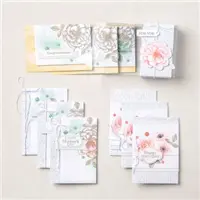
This exclusive kit is all about bright, happy rainbows and cheerful sentiments that bring smiles to any occasion. Whether you’re celebrating a birthday, congratulating someone special, or just spreading joy, these cards are sure to shine.
The best part? You can earn this kit for FREE when you spend $60 or more during Sale-A-Bration. Just add it to your cart at checkout and get ready to craft up a rainbow of happiness!

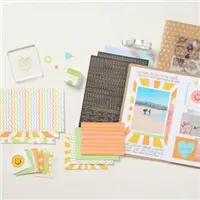
What’s Inside the Kit:
- Predesigned Projects: No guesswork needed—just follow along and let the kit guide you to beautiful results.
- Step-by-Step Instructions: Perfect for crafters of all experience levels.
- Precut Pieces: Skip the prep and dive straight into the fun!
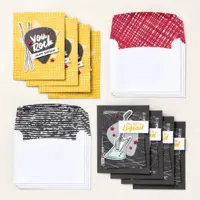
- 6 Gorgeous Cards: Includes 2 each of 3 unique designs with coordinating envelopes.
- Adhesive Included: Everything you need is right in the box!
Finished Card Size: 5″ x 4-1/4″
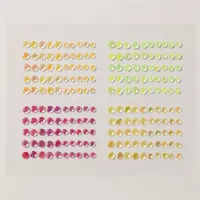
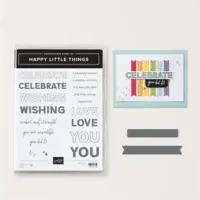
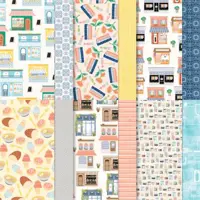
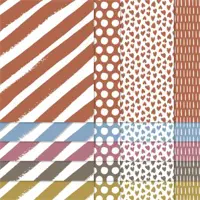
Color Palette: Calypso Coral, Lemon Lime Twist, Melon Mambo, Pretty Peacock, Summer Splash
The Rainbow Celebration Kit isn’t just about making cards—it’s about spreading joy with every creation. The bold colors and vibrant rainbows are a reminder of life’s happy moments, and the included supplies make it quick and easy to create something truly special.
🎥 Catch all the action in the replay video below!
Watch as I walk you through the kit, share crafting tips, and show you how to assemble these cheerful cards. You’ll see just how effortless (and fun!) it is to turn these supplies into something amazing.
Ready to Get Your Kit?
Don’t wait—Sale-A-Bration won’t last forever! Spend $60 or more today to add the Rainbow Celebration Kit to your crafting collection for FREE. You can begin shopping Tues. January 7th when the catalogs go LIVE!
Happy crafting, and may your day be as bright as a rainbow! 🌈✨