The road to CenterStage … Sneak Peek!?

Hello Stampin’ Friends ~

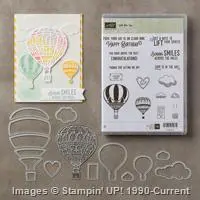
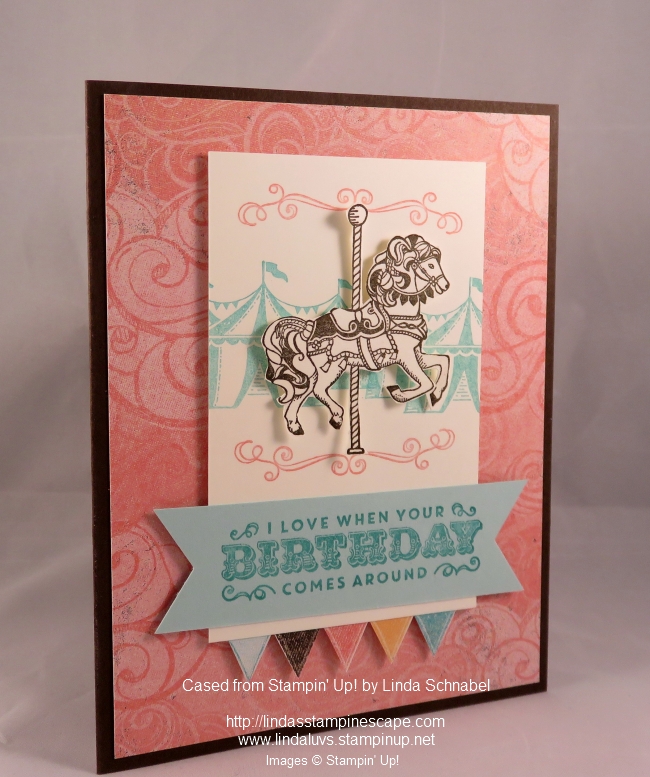
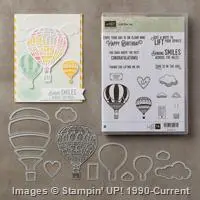
Wow … can’t believe this year is flyin’ by … the Retirement list is out, my annual Retreat is only 3 weeks away and the new catalog will be released in June!! That is what is so exciting about attending our Stampin’ Up! event OnStage… we not only got our hands on the new catalog, we got to see (and get) some great new stamp sets and create some cute cards!

As promised … I’ll share part of my roadtrip that brought us to such a fun event… OnStage. Usually I fly but this time I drove (with my new recruit Sarah… also my daughter). We headed out on Wednesday the 5th and got as far as Marion, Illinois. Had dinner at a cute restaurant called 20’s Hideout … we were lucky to hit their all you can eat crab legs! YUM.

Back on the road after a good nights sleep and we’re heading for Memphis, Tennesse …

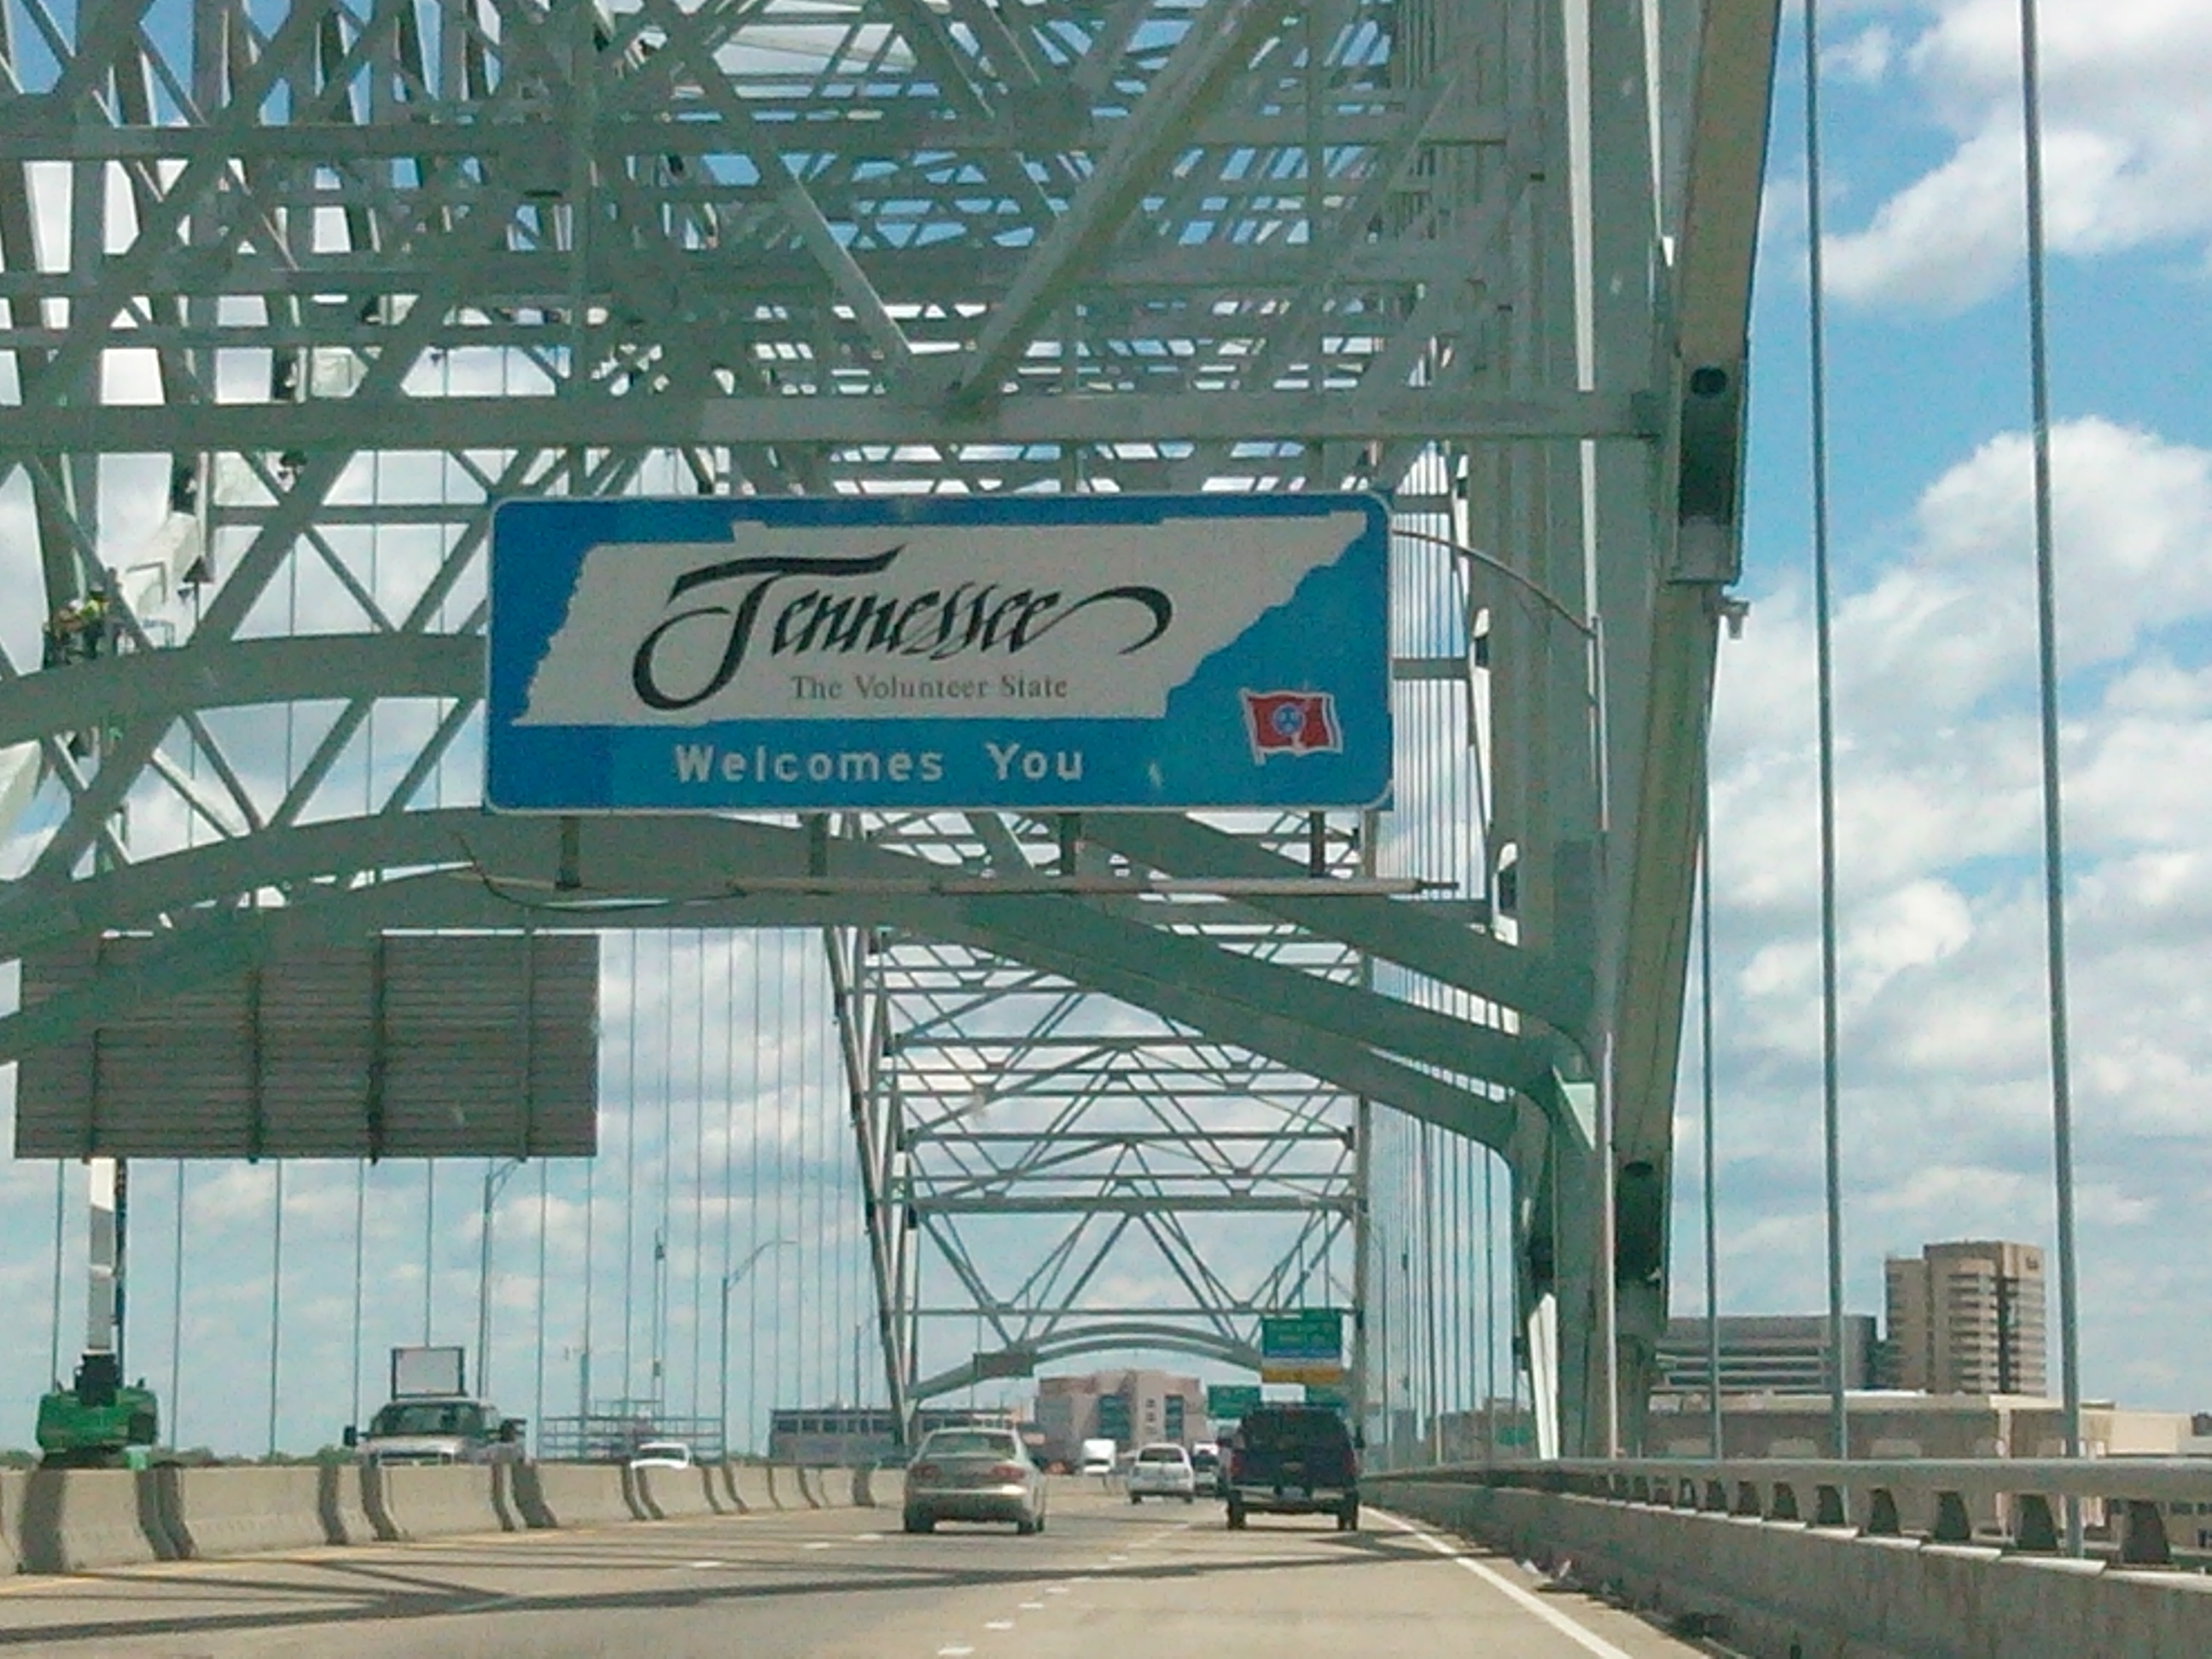
Memphis is going to be a planned stay! I wanted Sarah to experience something new and fun, and Beale street was the answer! It’s full of good music and good food.

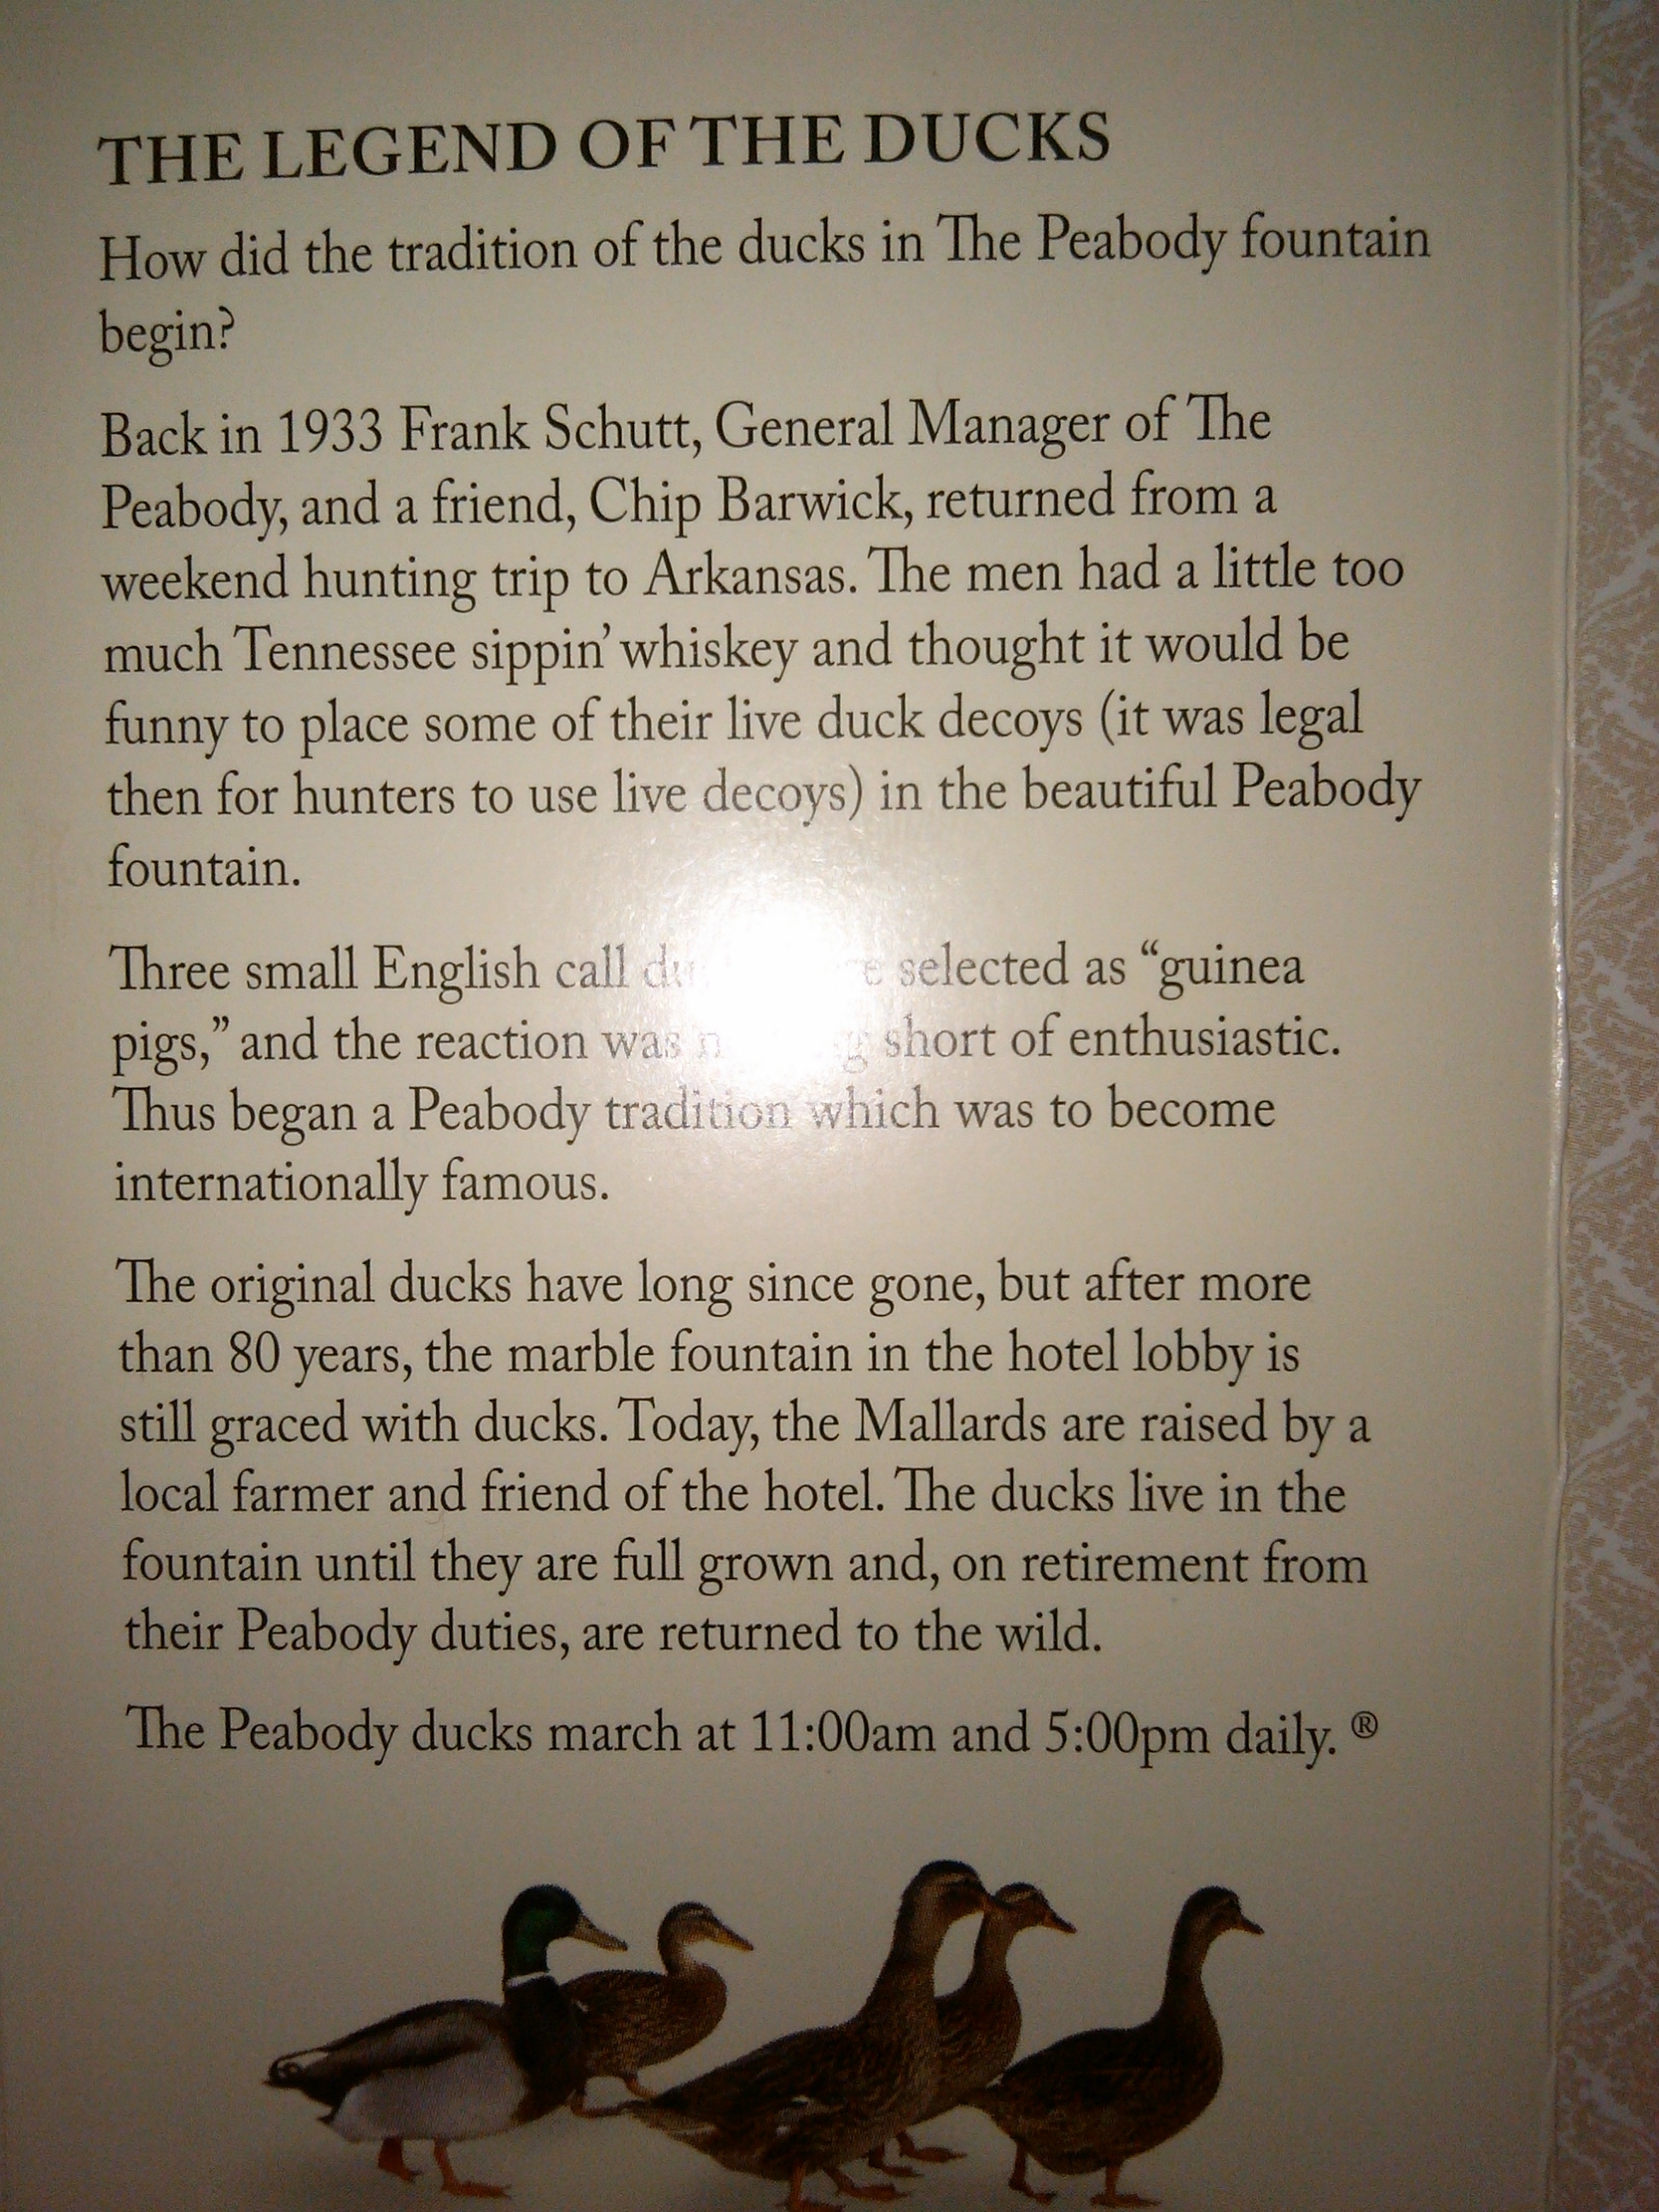
This is also where we stayed at this Historic Peabody hotel … While there, Sarah asked why the lights were flickering and I said “Maybe it’s Haunted” so we googled it and found that some say it is! We believe it’s more famous for their ducks!

After a wonderful stay in Memphis we headed out to Louisiana. Didn’t see any gators or crocs…Whew!

Shreveport is where the Stampin’ Up! event is to be held, so we booked our room at the Shreveport, Hilton because it was attached to the Convention Center where OnStage is being held. It was nice!

I had to be there by Friday evening as I was invited to the Stampin’ Up! CenterStage event…

Here is how Stampin’ Up! hosts CenterStage: Our silver elite and above demonstrators have worked hard to build their businesses and we think they’ve earned a little time in the limelight! That’s why we have CentreStage events . . . to celebrate everything they’ve done to become exceptional Stampin’ Up! demonstrators. 
At CentreStage, they get the recognition they deserve, enjoy a bit of pampering, and receive the additional training opportunities they want as they work to bring their Stampin’ Up! business to the next level.

The also treat us to a fabulous dinner and a special gift. We Stampin’ Up! too!

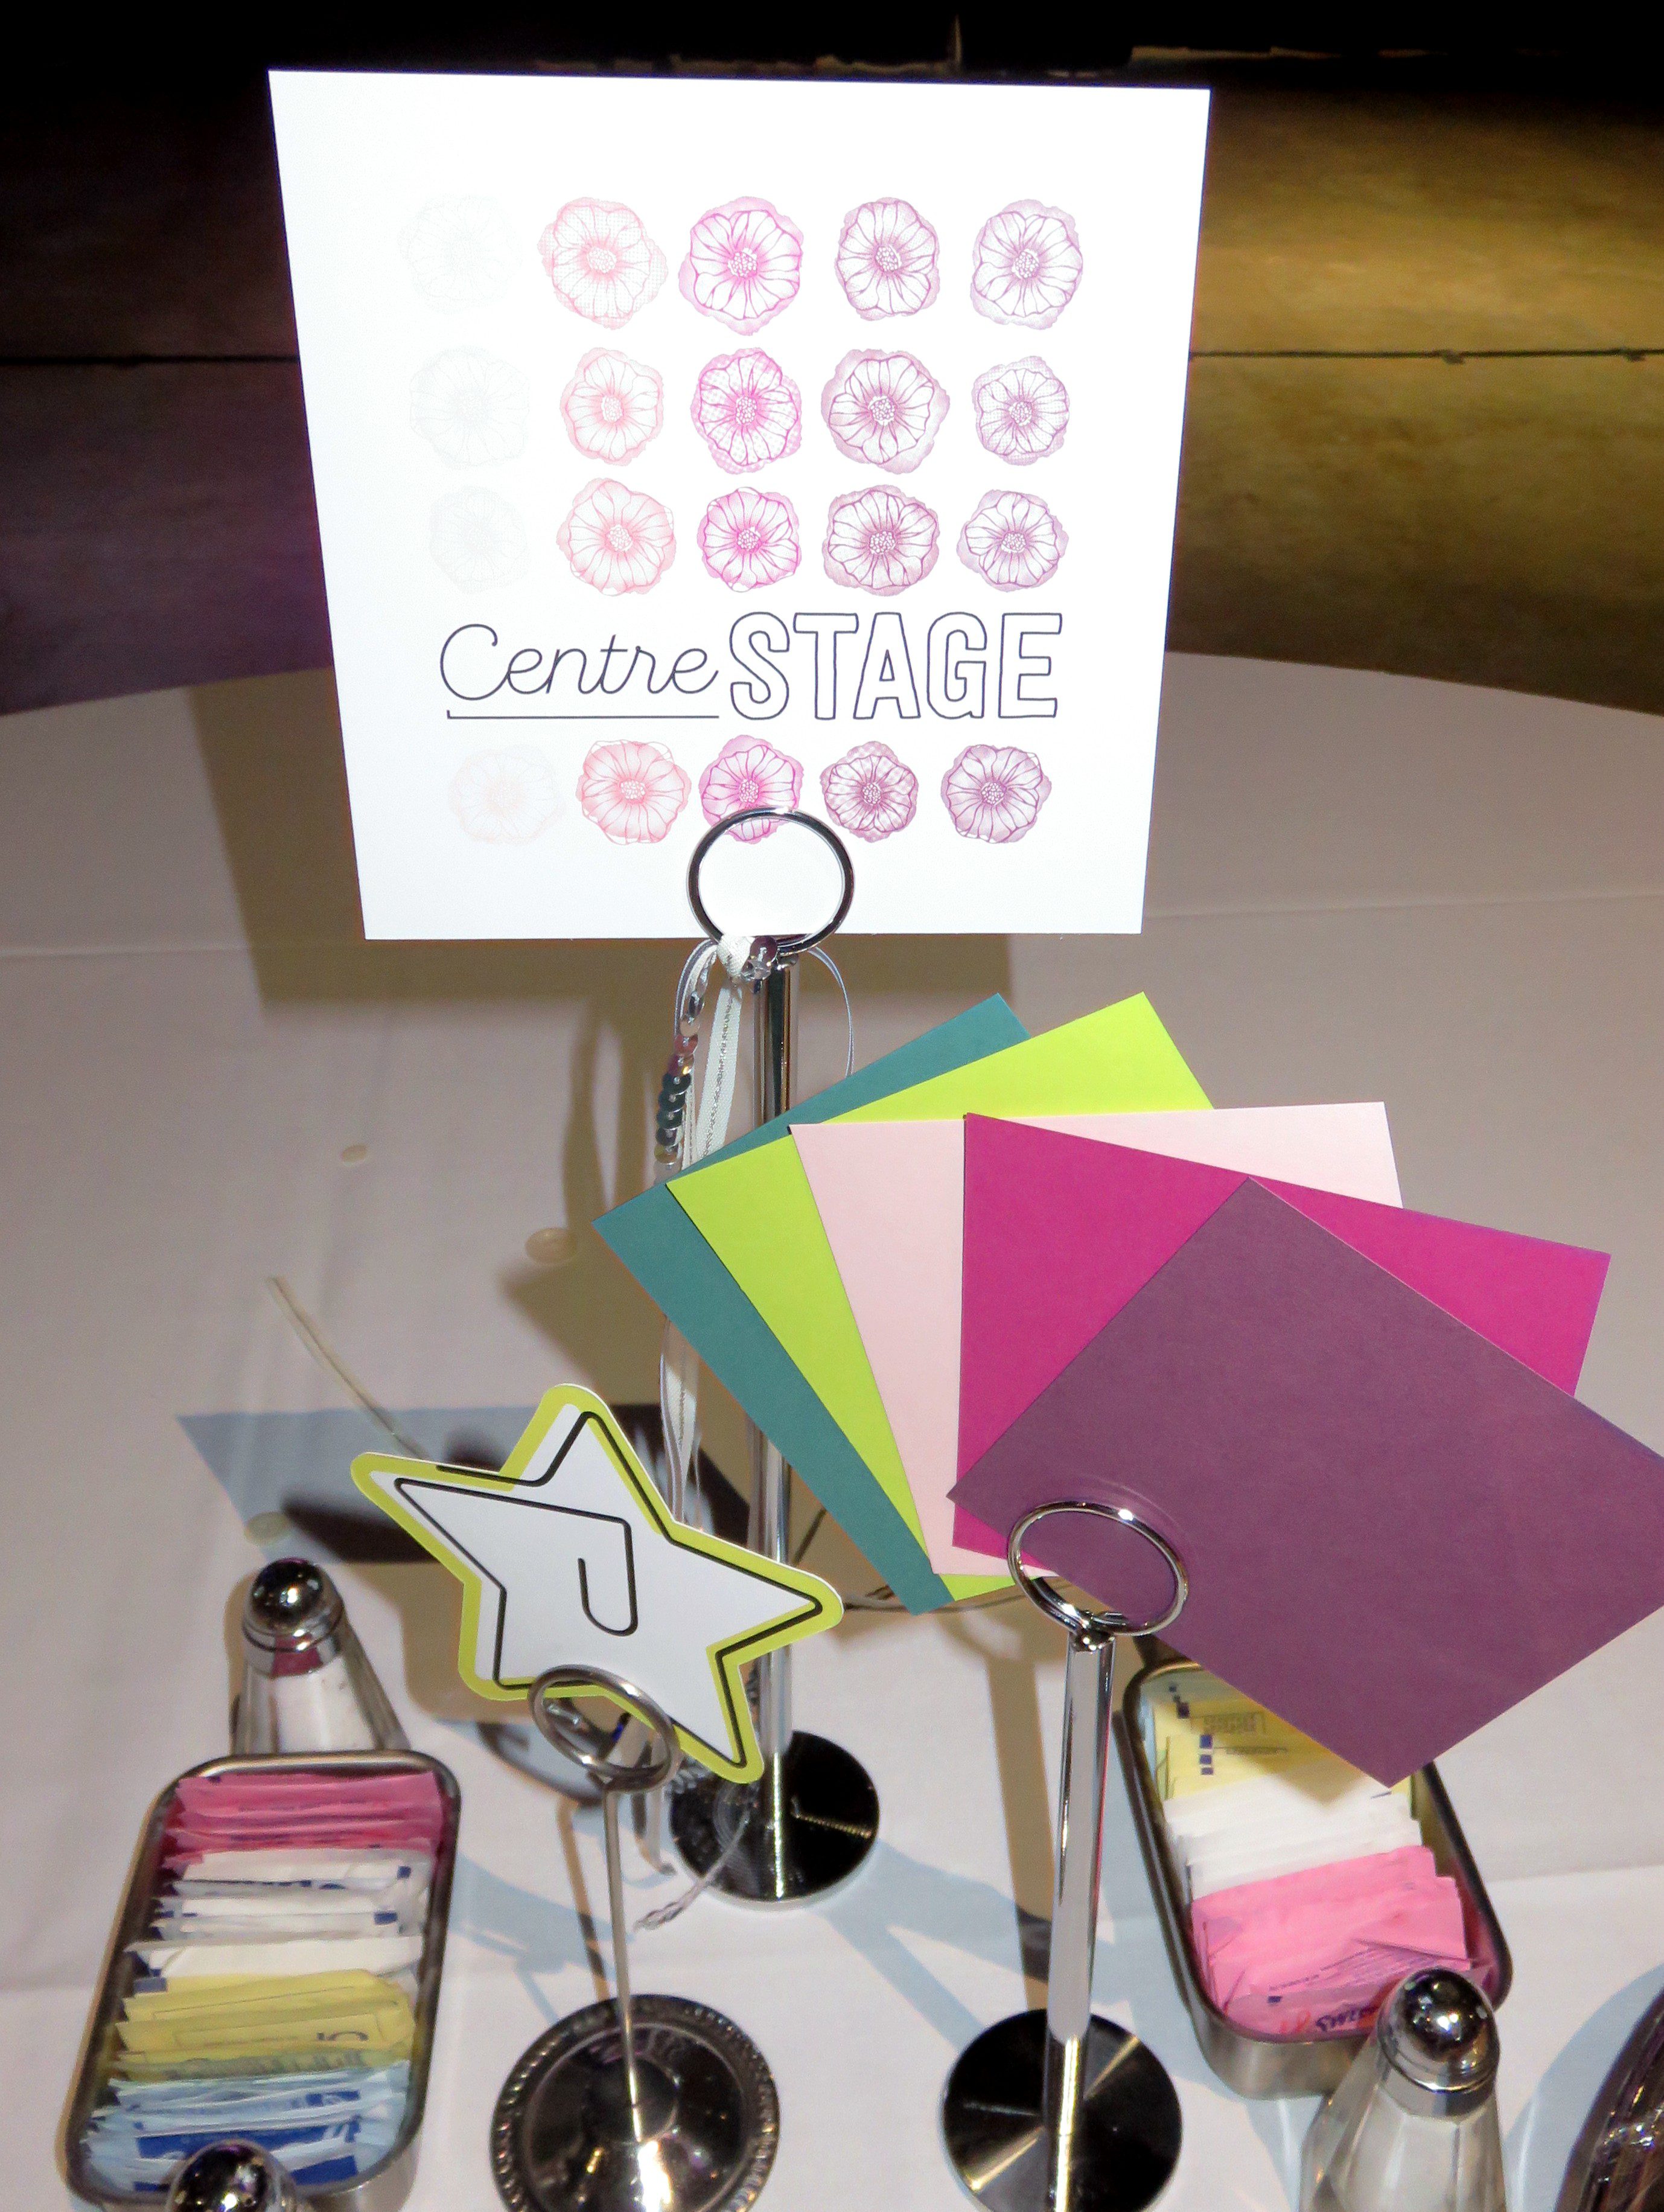
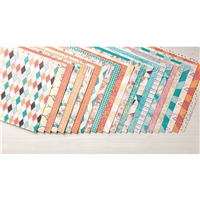
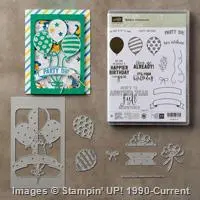
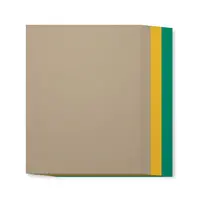
OH … my, my … is that a SNEAK PEEK of the New In-Colors!  I see Tranquil Tide, Lemon Lime Twist, Powder Pink, Berry Burst and Fresh Fig.  OH … so many sneak peeks and awesome announcements! I’ts great to be a demonstrator!!

Met some wonderful fellow demonstrators and Stampin’ Up! staff. It was a great night with great food and awesome company! From left to right: Candy, Lydia, France Martin and myself.

I’ll be back tomorrow with more from the OnStage event! This lasted all day and included recognition, training, Make & Takes, Prize Patrol (win FREE stuff), lunch and more!!

Thanks for riding along with me so far!

Have a wonderful day ~


The Sun Is Setting: RETIREMENT LIST!

Hello Stampin’ Friends ~

I know I said that I would share my experiences with you from my road trip, but the RETIREMENT LIST just came out and I wanted to make sure you get it!  Some of these items go very fast, so I didn’t want you to miss out on anything that you have your heart set on.

REMEMBER, these items are available “WHILE SUPPLIES LAST”. Select retiring products have discounts of up to 50% off

Order Information:

  • All retiring items will be DISCONTINUED after May 31.
  • All retiring accessories and tools are available while supplies last.
  • Due to high demand for retiring stamp sets, we’ll keep producing retiring stamp sets until May 22. After May 22, all retiring stamp sets will be available while supplies last.
  • Select discounts may vary by market depending on inventory levels.
  • Depending on inventory levels, we may add additional discounts to select products in May.
    • These discounts will not be pre-announced.
    • If you buy a product at retail price and then it is later discounted, Stampin’ Up! will not refund the difference.
    • If there is a product you want, we recommend buying it right away and not waiting to see if it’s discounted later or you/your customer risk it being sold out.
  • Discounts will be applied to select retiring items only.

Please let me know if you have any questions about the retirement list. Click the image below to download your PDF of the retirement list …

Thanks for stopping in today, I’ll be back to share my OnStage adventures and more with you …


Just beginning …

Hello Stampin’ Friends ~

Just a beginning of what I have to share with you from my roadtrip to Shreveport for the Stampin’ Up! OnStage event. My tools are not working well for posting, that is why it’s so inconsistent.  I will be home soon and excited to share 🙂

Some photo’s I have gotten downloaded were from the Historic Peabody Hotel in Memphis …

We did not get to see the ducks … came in just after the ducks made their afternoon march and left before the 11am stroll.

The hotel is beautiful, can’t wait to share more. This is just the lobby … Sarah said it was like being on the Titanic!

Here is the “famous” sign …

I’ll be back with more stories, stamped goodies and more.

Have a great day ~


Road Trip … Birthday … and OnStage

Hello Stampin” Friends ~

Only have a minute as we were on the road most of the day heading to Shreveport for the Stampin” Up! OnStage event.

Last night I was invited to the Center Stage event for demonstrators at the Silver Elite level or above. They host a training session, key note speaker a delicious dinner, gifts and the new Stampin” Up! catalog!

Oh yes … and the entire staff, crew and fellow demonstrators sang Happy Birthday to me and another birthday girl. A great night …

I’ll be back to soon with updates and pictures.

Have an awesome day and celebrate just for the fun of it!

Time for Easter Crafting

Hello Stampin’ Friends ~

While I’m away I’m going to share another fantastic post from our “Get Inspired” blog. This post is from Martha Inchley – 2017 Artisan Design Team member. Her projects are just out of this world cute … You must see!

BY: Martha Inchley / 2017 Artisan Design Team

I’m really excited that Easter is in April this year. Why? Because it means more time for Easter crafting!

I don’t know why, but I absolutely love Easter (even more than Christmas)! Maybe it’s because my birthday is in the spring, or it could be the craftiness of egg painting—or it might even be the challenge of finding every last hidden egg. I don’t know. But either way, it’s fun, colorful, and makes me happy.

Before Valentine’s Day was even over, I had a ton of ideas for the Basket Bunch Photopolymer Bundle (item 144731). The Basket Bunch Stamp Set (item 143186) is absolutely adorable and it just screams “Design a scene with me!” It really does! So I couldn’t resist and decided to make little Easter egg dioramas.

1

Now, before you get too excited, I have to say: I used fake eggs. They don’t break (they actually bounce, if you really want to know), you can cut into them with scissors, and oh yeah, there is no messy center to deal with. So it was the obvious choice. They’re called DIY Easter Eggs and you can find them pretty much anywhere Easter stuff is being sold.

To begin, I drew a “window opening” on my egg, poked a hole with my Paper Piercing Tool (item 126189), and cut it out using my Paper Snips (item 103579). To color my egg shells, I simply used the ink pad of choice and a Sponge Dauber (item 133773) to rub it on the outside. I let them dry overnight.

Now, you’re probably thinking that designing inside an egg is pretty tedious and if I had to guess, I would agree. You see, I didn’t design or assemble my little scenes inside the egg. I designed everything on a cardstock circle, punched using the 1-1/4″ Circle Punch (item 119861). Once my design was complete, I placed the scenery (bottom first) into the egg and turned it.

2

3

I love all the different images in the Basket Bunch Stamp Set and the coordinating Basket Builder Framelits Dies (item 143228)—which make it quick and easy to cut them out. The possibilities are endless with this bundle. You can have a bunny in his carrot garden, a basket of flowers, or even little chickadees hanging out at the farm.

4

5

6

7

To finish off my little egg dioramas I added the Whisper White Mini Pompom Trim (item 141486) to the opening. This trim is absolutely perfect to complete the look.

Thank you for joining me today and Happy Easter crafting!

Martha Inchley
2017 Artisan Design Team

Now do you see why I had to share Martha’s post … These are just the cutest little hand-crafted Easter Eggs I’ve seen. I’d like to thank Martha for sharing these little treasures with us.

Thanks for stopping by today~

On the Road Again …

Hello stampin’ Friends ~

Today is the day (finally) that I head out to Shreveport, LA for our Stampin’ Up! OnStage event. I’m so excited … I also get bonding time with my daughter.  She signed up as a demonstrator and now we are heading out together!

No flying out this time … we are taking our time and exploring our great country on the way down. I’m on the road again!!  This photo is from an escape this January, when Eileen and I retreated to Door County for our annual planning event where we work on upcoming events and our Spring Retreat.

I love this road … you usually see photos of it in a frenzy of fall colors, so of course … I had to catch this snowy view! We shouldn’t be seeing any snow on our trip this time, however …

Another photo while we were out and about around Baileys Harbor … I love taking pictures of unique things. I was hoping to find an ice covered Lighthouse but so such luck. It had been a pretty cloudy day but then …

We got a blast of sunshine, so I had to get another shot.  Little did I know at the time I took the photo that there was such a beautiful display of color.  My favorite … the little heart in the center of the photo. It just warms my heart!

So … I’ll be sharing pics from my Roadtrip to Shreveport when we return. Thank you for spending your time with me today as I reflected on my last escape.

Have a warm and wonderful day ~

Easter Treats for Some Bunny ….

Hello Stampin’ Friends ~

Sometimes things are too good to pass up, like a fine glass of wine or decadent chocolates! Today I have such a blog post to share with you. This is not me … this is from our Stampin’ Up! “Get Inspired Blog” and the talented Paula Dobson from our 2017 Artisan Design Team!

Here is Paula’s post and beautiful creations …

With Easter only a couple of short weeks away, I’ve decided to make a cute Easter project for my daughter using the Basket Bunch Stamp Set (item 143186). I travel two-and-a-half hours once a month to stay with her while I teach classes, so it will be hand-delivered just in time for Easter!

1

One of my passions (besides stamping, of course) is coloring—and this super-cute stamp set is full of line art images to satisfy that need. I stamped a heap of Easter egg images and the cute little bunny rabbit on Shimmery White Cardstock (item 101910) in Basic Black Archival ink (item 140931). Shimmery White Cardstock is perfect for coloring, particularly if you want to watercolor your images without the texture of Watercolor Paper (item 122959), as it can stand up to a fair amount of moisture without pilling.

I used the Watercolor Pencils (item 141709) to color my images and then blended the colors using a Blender Pen (item 102845) to create the shade and fade on each image. I die cut all the images with my Big Shot (item 143263) and Magnetic Platform (item 130658) using the coordinating Basket Builder Framelits Dies (item 143228). P.S. Stampin’ Up! bundled together the stamps and dies as the Basket Bunch Bundle (item 144731), saving you 10% on your purchase of these great products! (I love a bargain!)

2

I added a strip of Designer Series Paper from the Pop of Pink Specialty Designer Series Paper (141648). I love the stark contrast of the black and white zig zag design against all the white. I added color to my background using Sponge Daubers (item 133773), Sahara Sand ink (item 126976), and Soft Sky ink (item 131181). I popped the die cut Easter images up with Stampin’ Dimensionals (item 104430), and the whole piece was finished with the gorgeous Gold 1/8″ Ribbon (item 134583). I love to carry themes to the inside of my cards, as well.

3

No Easter card is complete without chocolate to go with it and I wanted to create my own packaging to tie the whole gift together. I don’t often make 3D items and it can be a bit of a trial for me! I found these cute little chocolate bunnies and wanted to make a simple crate to put them in, using a Window Sheet (item 142314) sleeve to slide over the top so you can still see the bunnies.

4

I designed a template for my crate and used the Stampin’ Trimmer (126889) to cut and score my Sahara Sand Cardstock (item 121043) card. I stamped the card in Sahara Sand ink using the Hardwood Stamp (item 133032) to get a woodgrain effect for the crate.

Then I discovered a wee bit of a problem—my crate template was too big to go through the Big Shot no matter which way I turned it! I fixed that by folding one side of the crate and used that edge as a guide for my square Stitched Shapes Framelits Dies (item 145372) so I didn’t cut too low on the front of the crate.

I used the same design elements from the card to decorate the box sleeve, adding just a few strands of Melon Mambo Thick Baker’s Twine (item 141689) as well. Then I used the Tags & Labels Framelits Dies (item 138282) to die cut the tag topper. Here are a few photos of the process I have described in this post (which I hope you’ll find helpful)!

5

So if YOU are looking for a fun way to create an Easter treat for somebunny sweet—try the Basket Bunch Stamp Set and coordinating accessories! It has everything you need.

Paula Dobson
2017 Artisan Design Team

So … what do you think? Did you not fall in love with this bundle and the cute projects that Paula Dobson created!! I also grateful that she shared her “how to’s” with us. That simple sponging technique that creates the barrier between sky and ground add so much dimension to the the card.

Thank you for checking out my blog today, and I’m happy you got to see Paula’s beautiful projects.

Have a Happy Day!


TODAY’S HIGHLIGHTED PROJECT INGREDIENTS:


A Sara Thing ….

Hello Stampin’ Friends ~

Exciting news! The April Paper Pumpkin kit was inspired and designed by Stampin’ Up! CEO, Sara Douglass. Her style is, “bold, vibrant, and artistic—with a little bit of sass,” which is exactly how she described the kit. Discover creativity through the eyes of our CEO while having an experience that is uniquely YOU! Get ready to embrace your inner artist and skip to the fun with Sara.


As if a kit designed by Sara is not reason enough to sign up, there’s more! Every kit will include a FREE gift! We’re keeping it a surprise, but you won’t want to miss it.

What do you need to do? It’s simple—sign up at PaperPumpkin.com by April 10. And if you’re already a subscriber, now would be a great time to grab a few extra kits by increasing your monthly quantity—just sayin’.

Learn more about the kit from Sara herself in the video below.

Let me know if you have any questions.  I have added some links below or click on the Paper Pumpkin.com link so you can choose the way you’d like to begin your Paper Pumpkin experience!

Be sure to check your e-mail & retrieve the code to activate your Paper Pumpkin by 4/10!

Have an awesome day, and thanks for dropping in.


Paper Pumpkin Subscriber Choices …

Simply Sunday: You’re Sweet

Hello Stampin’ Friends ~

Hope your Sunday is treating you well. Sunday’s are usually more on the relaxing side for me, but not today … had to go into work to make sure things are done for both stores before going on vacation as I head for Shreveport to the Stampin’ Up! OnStage event.

Today’s card however is truly in line with our Simply Sunday! A fun and cute card that has color and texture and just looks yummy! And it’s easy to make 🙂

I’m using the “Cool Treats” stamp set from the Cool Treat bundle, and the coordinating “Tasty Treats” Specialty Designer Series paper. You can see by the angle that the treats are embossed, that gives you the raised feel and the glossy finish.

The inside is decorated with a strip of the the specialty paper … just for the fun of it!

I heat embossed the cone that I cut out so it had the same gloss as the specialty paper. The greeting was done in Watermelon Wonder and I used the coordinating mat and cardstock to compliment the project.

A quick and easy that card that is sure to bring a smile to anyone’s face.

Thanks for spending some of your Sunday with me!

Have a great day, and I wish a sweet week ahead for you ~


TODAY’S STAMPIN’ SUPPLY LIST ….


Day at the Beach …

Hello Stampin’ Friends ~

Before I begin today, I’d like to send out a big …

THANK YOU!

to all of you that participated in my March Madness: Sale-a-bration Celebration.  You’ve got some great stampin’ supplies, fun Sale-a-bration stamp sets, and 10 great cards with instructions!  I was busy working on those last night! Keep an eye on your mailbox within the next couple weeks for your cards and instructions!

I’m also in the process of packing and getting ready for another Stampin’ Up! OnStage event. This is where demonstrators gather for some training, stampin’ and a whole lot of fun. I’m actually going with my daughter Sarah this Wednesday … and we’ll be headed to the Shreveport, LA event.  They are being held all over the world!

This is from our November 2016 OnStage where we got a sneak peak of the new Occasions catalog (actually we got to take it home!) the one you have now.  This time we’ll get our hands on the New “ANNUAL” catalog!! I am so excited!! I need to chill a bit … I don’t want any speeding tickets on our Road Trip to fun!

I thought it would be fun to highlight and share with you some of the fabulous stamp sets in our Occasions catalog. Today we’re going to pull out the flip flops and get ready for a “Day on the Beach”.

Here are the images we saw at our OnStage …

Choose the look you want to create with our Watercolor Pencils.  The “Hello Friend” card uses the pencils with the Aqua Painter; the “Hoping” card uses them with the Blender Pens; the “Brighten” card uses only the pencils.

My favorite part … THEY ARE FORMULATED IN STAMPIN’ UP COLORS!!!

Thanks much for stopping by today.

Hoping your day is a warm & sunny one!


TODAY’S HIGHLIGHTED PRODUCTS …


March Madness: Sale-a-bration Celebration Ends Today

Hello Stampin’ Friends ~

Hard to believe that our Sale-a-bration promotions is coming to an end.  But don’t fret … you have all day today (till 11pm) to place your order. Don’t forget to pick out your Sale-a-bration Freebie and you’ll get FREE cards (with instructions) from me. Don’t let this happen to you …

Now…  a reminder of how this works, and then a review of all 10 cards!

$50 Order: Choose 5 of your favorite cards featured plus a FREE Sale-a-bration Item!

$100 Order: Get ALL 10 Cards plus 2 FREE Sale-a-bration items!!

$150 Order: Get ALL 10 Cards plus 3 FREE Sale-a-bration items AND Hostess Dollars!!!

All cards you choose will be sent to you fully assembled & with full instructions & tips.

I will post all the cards, then a list of the ingredients as some were used on multiple cards.

Card #1

Card #2

Card #3

Please note that your card will have the Party Animal Designer Series paper and the coordinating cardstocks. Otherwise the overall design will remain the same, as will the directions.

Card #4

Card #5

Card #6

This is a double card which means  the small card opens up to another flap (right side) that also opens!

Card #7

This is a stop card and was designed to fit into a normal A2 card envelope!

Card #8

Card #9

Card #10

Pick your 5 favorites or get them all …

$50 Order: Choose 5 of your favorite cards featured plus a FREE Sale-a-bration Item!

$100 Order: Get ALL 10 Cards plus 2 FREE Sale-a-bration items!!

$150 Order: Get ALL 10 Cards plus 3 FREE Sale-a-bration items AND Hostess Dollars!!!

All cards you choose will be sent to you fully assembled & with full instructions & tips.

And our Ultimate Starter Kit also ends tomorrow  …

Contact me with your questions, or concerns on either the card or the kit promotion.

Don’t delay both end tonight at 10:55 pm.

Thanks so much for hangin’ out with me today.

Have a wonderful Friday ~


A Review of the products used in our March Madness Cards …

http://

March Madness: Card #10

Hello Stampin’ Friends ~

Well today is the day, all 10 cards have finally been revealed!! I think the real madness of the past 10 days is trying to get my cards posted for you! lol

Today’s card is full of fun, so much in fact … it pops!  I am using the Balloon Adventures Bundle. It contains the Balloon Adventures stamp set and coordinating Balloon Pop-Up Thinlets dies. There is so much you can do with this combination and if that isn’t enough … we have the coordinating designer paper, embellishments and Washi tape as well.

The photos do not do the card justice, again … from my phone. The blue in the lettering will not look blotchy on your card. I’m beginning to think my house is haunted with all the technology troubles I’ve been having! lol

Well that was spooky … as I was typing that in, I lost internet connection!  No more jokes. lol

There is a video from Stampin’ Up! that goes with this bundle as well, and it explains how to use all the different dies! Today I just used the pop up section and the balloon. Here is the inside …

Pop up cards really give you a “WOW” effect, and with this bundle it’s easy to do.  Remember, you will also get instructions, tips and dimensions for each card YOU choose!!

Here’s how …

$50 Order: Choose 5 of your favorite cards featured plus a FREE Sale-a-bration Item!

$100 Order: Get ALL 10 Cards plus 2 FREE Sale-a-bration items!!

$150 Order: Get ALL 10 Cards plus 3 FREE Sale-a-bration items AND Hostess Dollars!!!

All cards you choose will be sent to you fully assembled & with full instructions & tips.

Please let me know if you need help or have any questions. I’m here to help, and ready to make a set of cards for you too!

Thanks so much for following my blog for the past 10 days … I will post a review of all the cards along with the ingredient list tomorrow.

Stay dry, stay warm and have a great day ~


Today’s Stampin’ Supply List …


March Madness: Card #9

Hello Stampin’ Friends ~

Today we are going to continue the celebration with a Birthday Card! The birthday card was cased from the Occasions Catalog … I put my twist to it! I am using the “Carousel Birthday” stamp set and “Cupcakes & Carousels” Designer Series paper…

Did you know that the stamps in the “Carousel Birthday” stamp set coordinate with the Up & Away Thinlets dies (cuts our the cupcake & frosting for you).  Also … the cloud dies from the Up & Away Thinlets dies can be used with the “Cupcakes & Carousels” Designer Series paper … there are fluffy cloud patterns (see a sample on page 8 of your Occasions Catalog).

The little banners also came from the “Cupcakes & Carousels” Designer Series paper, just a simple trimming of the paper and you will have plenty of banners to use!

There is a little surprise on the inside of the card, but I am saving that to surprise those who choose this card as one of their choices. Anyone in the US can choose 5 of the 10 cards presented or all 10!! Here’s how …

$50 Order: Choose 5 of your favorite cards featured plus a FREE Sale-a-bration Item!

$100 Order: Get ALL 10 Cards plus 2 FREE Sale-a-bration items!!

$150 Order: Get ALL 10 Cards plus 3 FREE Sale-a-bration items AND Hostess Dollars!!!

All cards you choose will be sent to you fully assembled & with full instructions & tips.

Thank you for joining me today! 

Find a reason to celebrate and enjoy ~


March Madness: Card #8

Hello Stampin’ Friends ~

Today I have a special card to share with you.  Card #8 of my March Madness: Sale-a-bration Celebration fits the “theme” of this entire promotion … a Celebration! For today’s card I am using the “Birthday Blast” bundle.

I had a “blast” making this card! Two of my favorite color mediums together … the Elegant Eggplant paired with the Silver Glimmer paper.  I love this combination!! Why wait until Christmas to use your glimmer paper … we’re Celebrating!!

The “Star Blast Edgelits Die” cut like butter on the Precision Plate! And I saved all those little stars from the cut out images to add to my card. Check out the images (Click Here) to see the ensemble and a cute sample!

I stamped the images with the Elegant Eggplant ink onto Elegant Eggplant cardstock … love that look. If you want it more subtle, you can use your VersaMark® instead of the Elegant Eggplant ink.

You can see by the photo that I popped up the card front from the base and a few of the stars on the bottom.  The frame of stars was slightly lifted by rolling the glue dots and then placing them under the stars … it does 2 jobs for you; holds the piece in place and gives it a slight lift off the cardstock.  Oh yes … and I punched the bottom of the inside with the “Confetti Stars Border” punch!

Just think of the fun color combinations you can do with this bundle to celebrate birthdays or any accomplishments… school colors, team colors, or even a celebration of It’s a Boy … or it’s a Girl.  Have fun with it, it is a celebration after all.

Here is how YOU can get this card FREE  …

$50 Order: Choose 5 of your favorite cards featured plus a FREE Sale-a-bration Item!

$100 Order: Get ALL 10 Cards plus 2 FREE Sale-a-bration items!!

$150 Order: Get ALL 10 Cards plus 3 FREE Sale-a-bration items AND Hostess Dollars!!!

All cards you choose will be sent to you fully assembled & with full instructions & tips.

Thank you for stopping by today, glad to be back on a better schedule!

Make today a celebration! Celebrate YOU!


TODAY’S SUPPLY LIST: Our “Birthday Blast” bundle is only $34.00 but if you purchase the “Confetti Stars Border” punch with it … You will qualify for a Sale-a-bration Item (Click Here) plus any 5 of my 10 March Madness: Sale-a-bration Celebration cards!!


March Madness: Card #7

Hello Stampin’ Friends ~

I never thought I would get here today!! Don’t want to bother you with my electronic troubles so let’s get right to the good stuff … today’s card!

Card #7 in our March Madness: Sale-a-bration Celebration was created with the “Lift Me Up” Bundle and an awesome card fold. It’s much easier to do than it looks, and this one will come with full instructions.

Along with the “Lift Me Up” bundle I used the “Carried Away” Designer Series paper that is featured in the Sale-a-bration catalog and free with a $50 purchase.  Remember, with a $50 purchase you can also pick 5 of my cards … they will come to you finished and with complete instructions!!

Here is another angle of the card so you can see how unique it is …

I love this fold … it always stands so nice when you’re showing it off on the mantle or TV stand! lol

Thanks for waiting, at least I got camera #2 working and the color is much better than from the phone 🙂  Looking on the bright side. These issues are so small compared to what many people go through daily.

Have a lovely day, and I’m off to get the next card ready so it posts at a regular time.


Today’s Ingredient List …