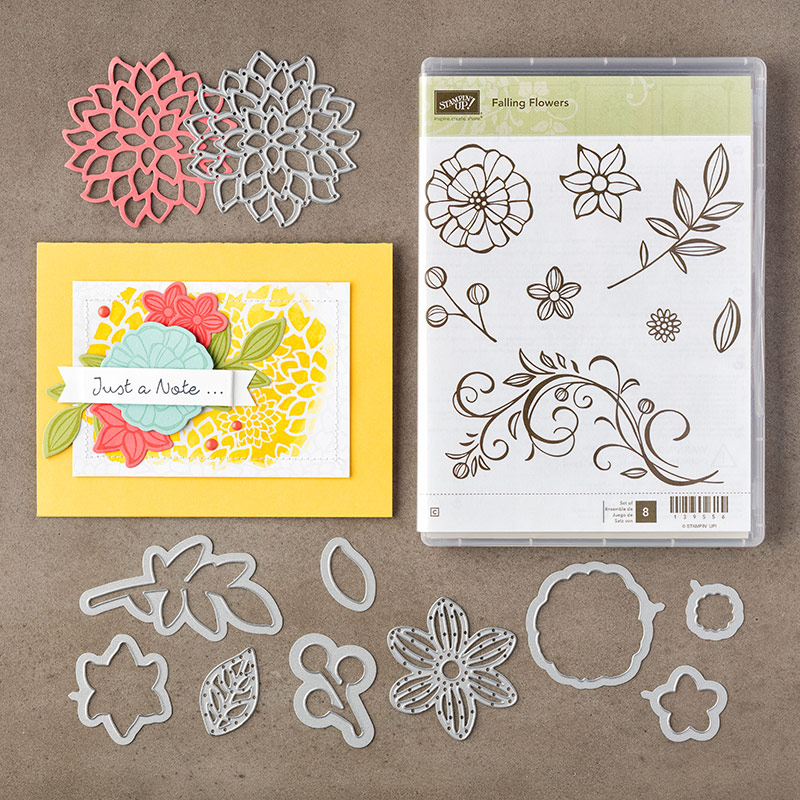
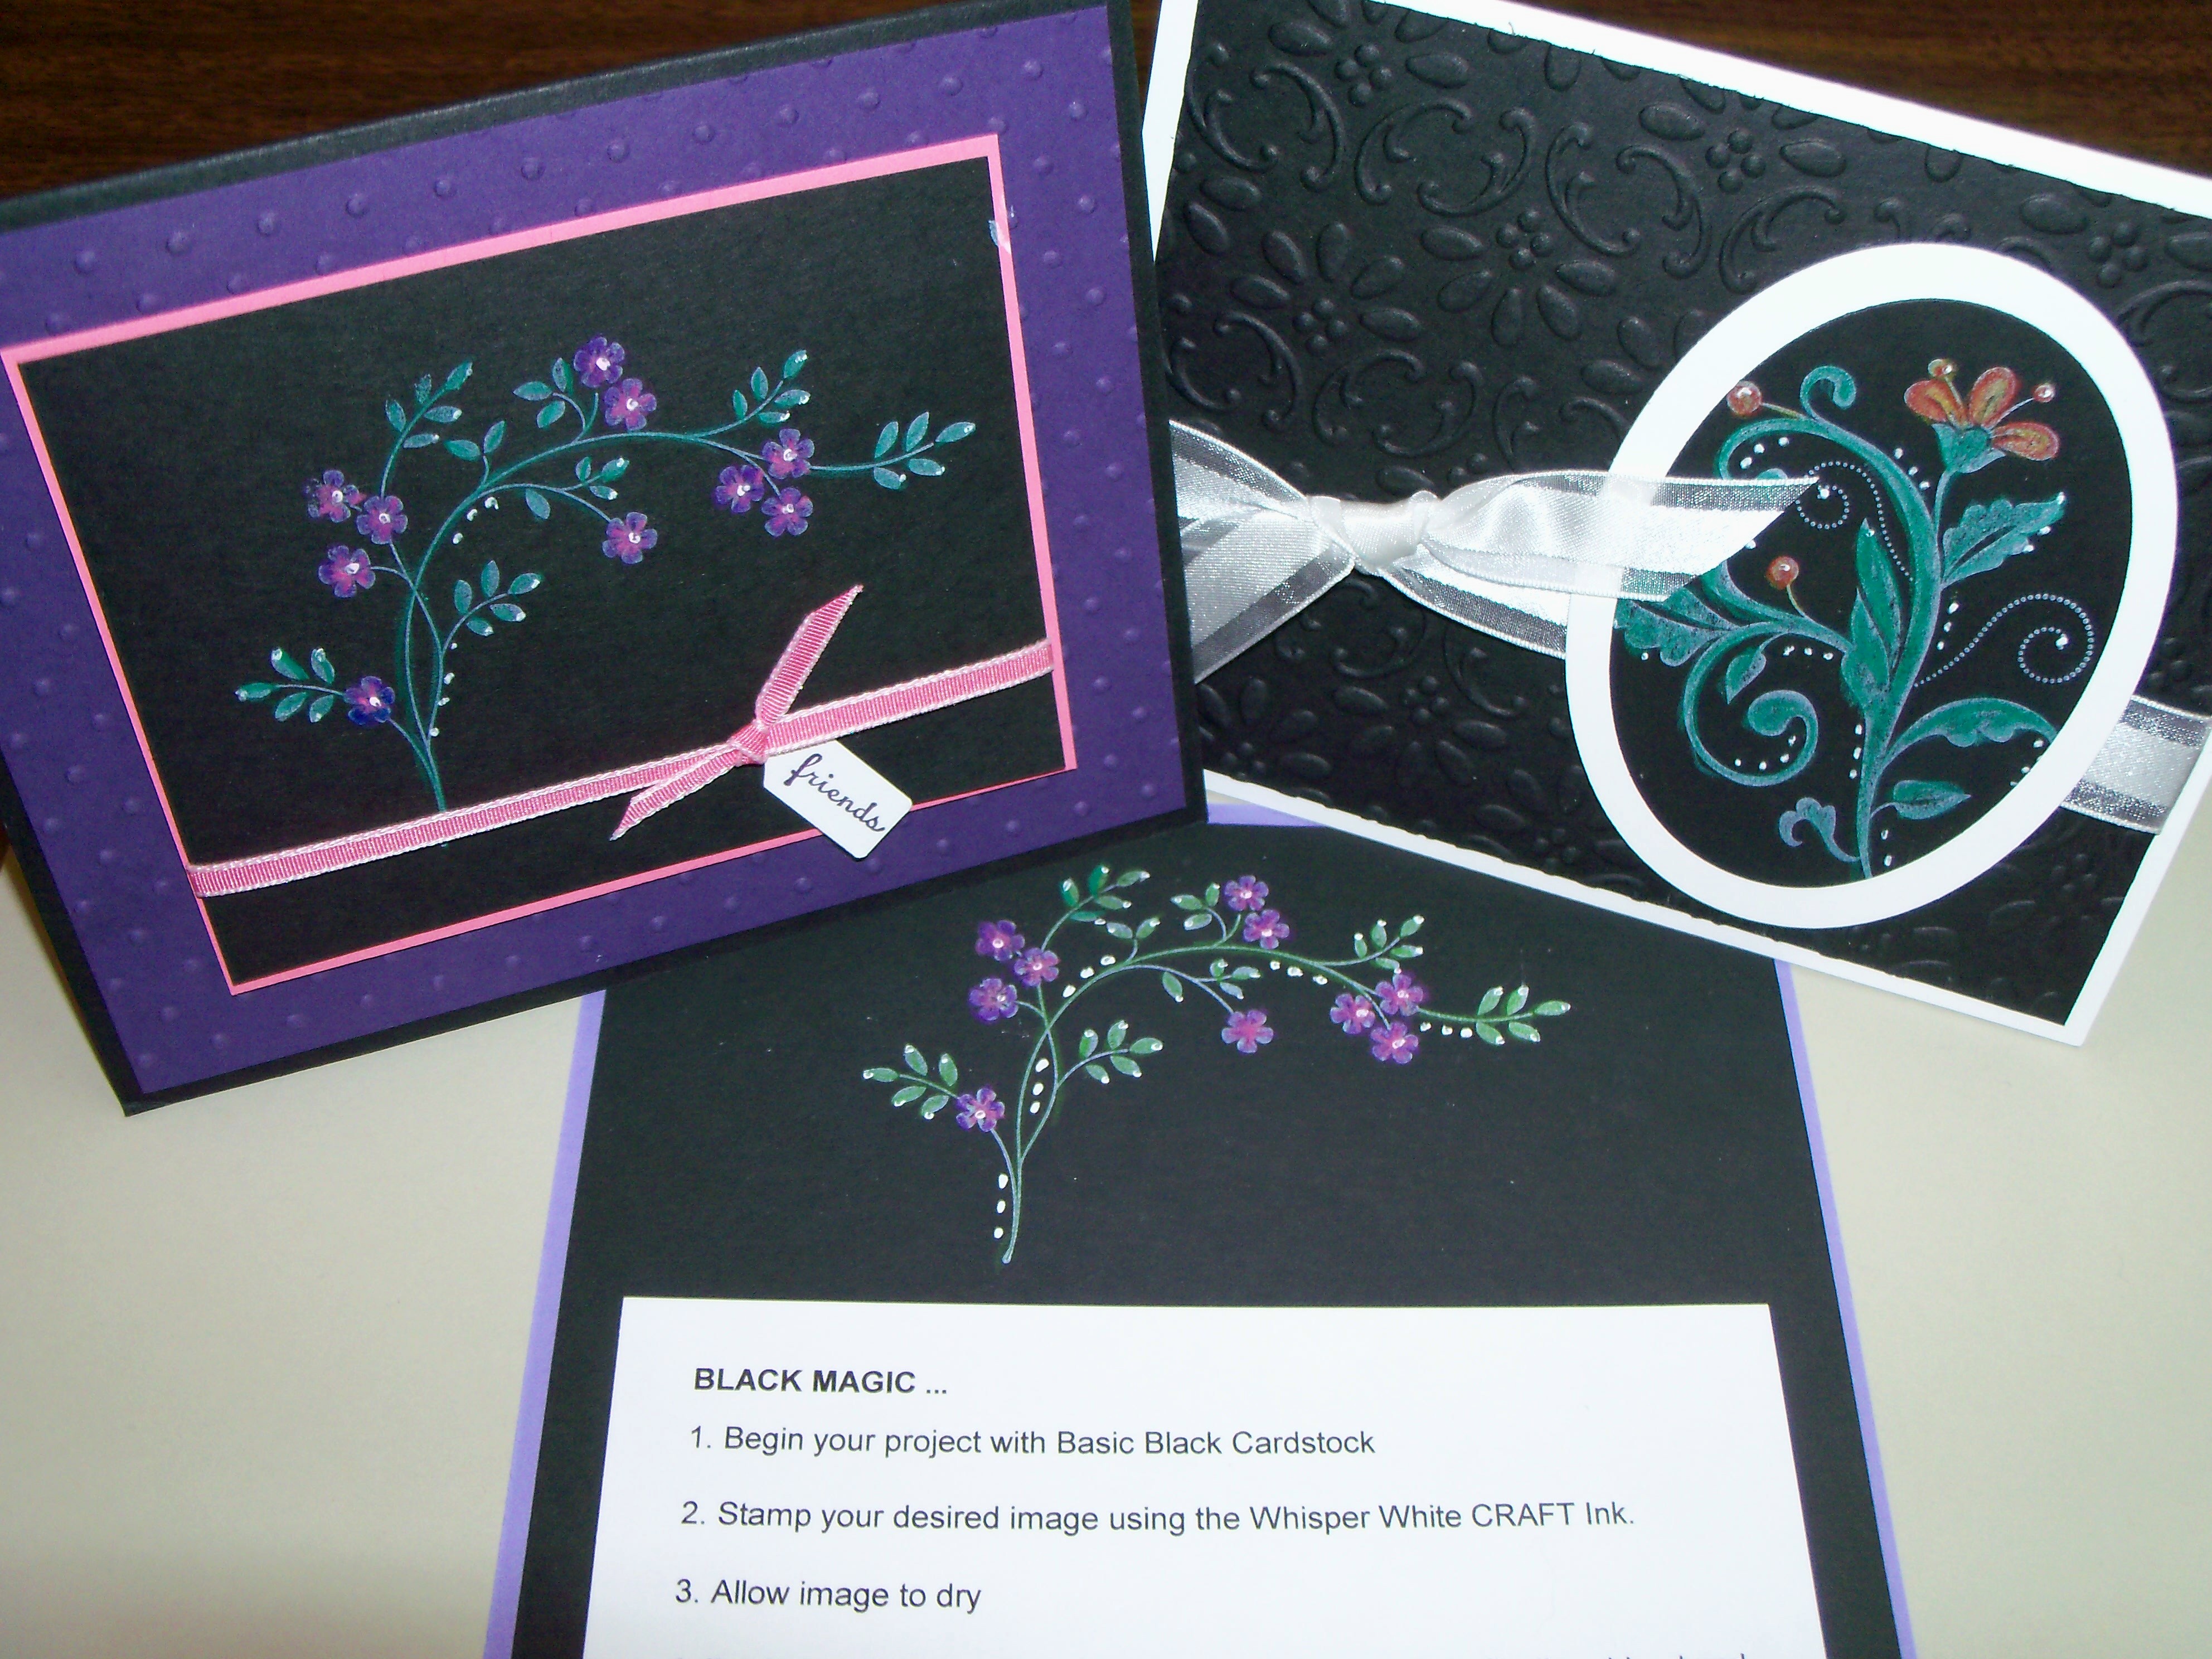
Quick post today to share the Irresistibly Floral product suite …
You don’t need April showers for these May flowers. Framelits’ open design allows you to place them where you want for precise cutting. Layer several die cuts or use individually … there are 10 dies.
I have to share the beautiful designer paper with you! They are white on white … until you “Just Add Ink” – Roll it, Spritz it, Sponge it ….
You’ll get a new take on floral with this stamp set / bundle. With its fun shapes and modern cuteness, this set is sure to become a favorite. You can just see the versatility with the bundle.
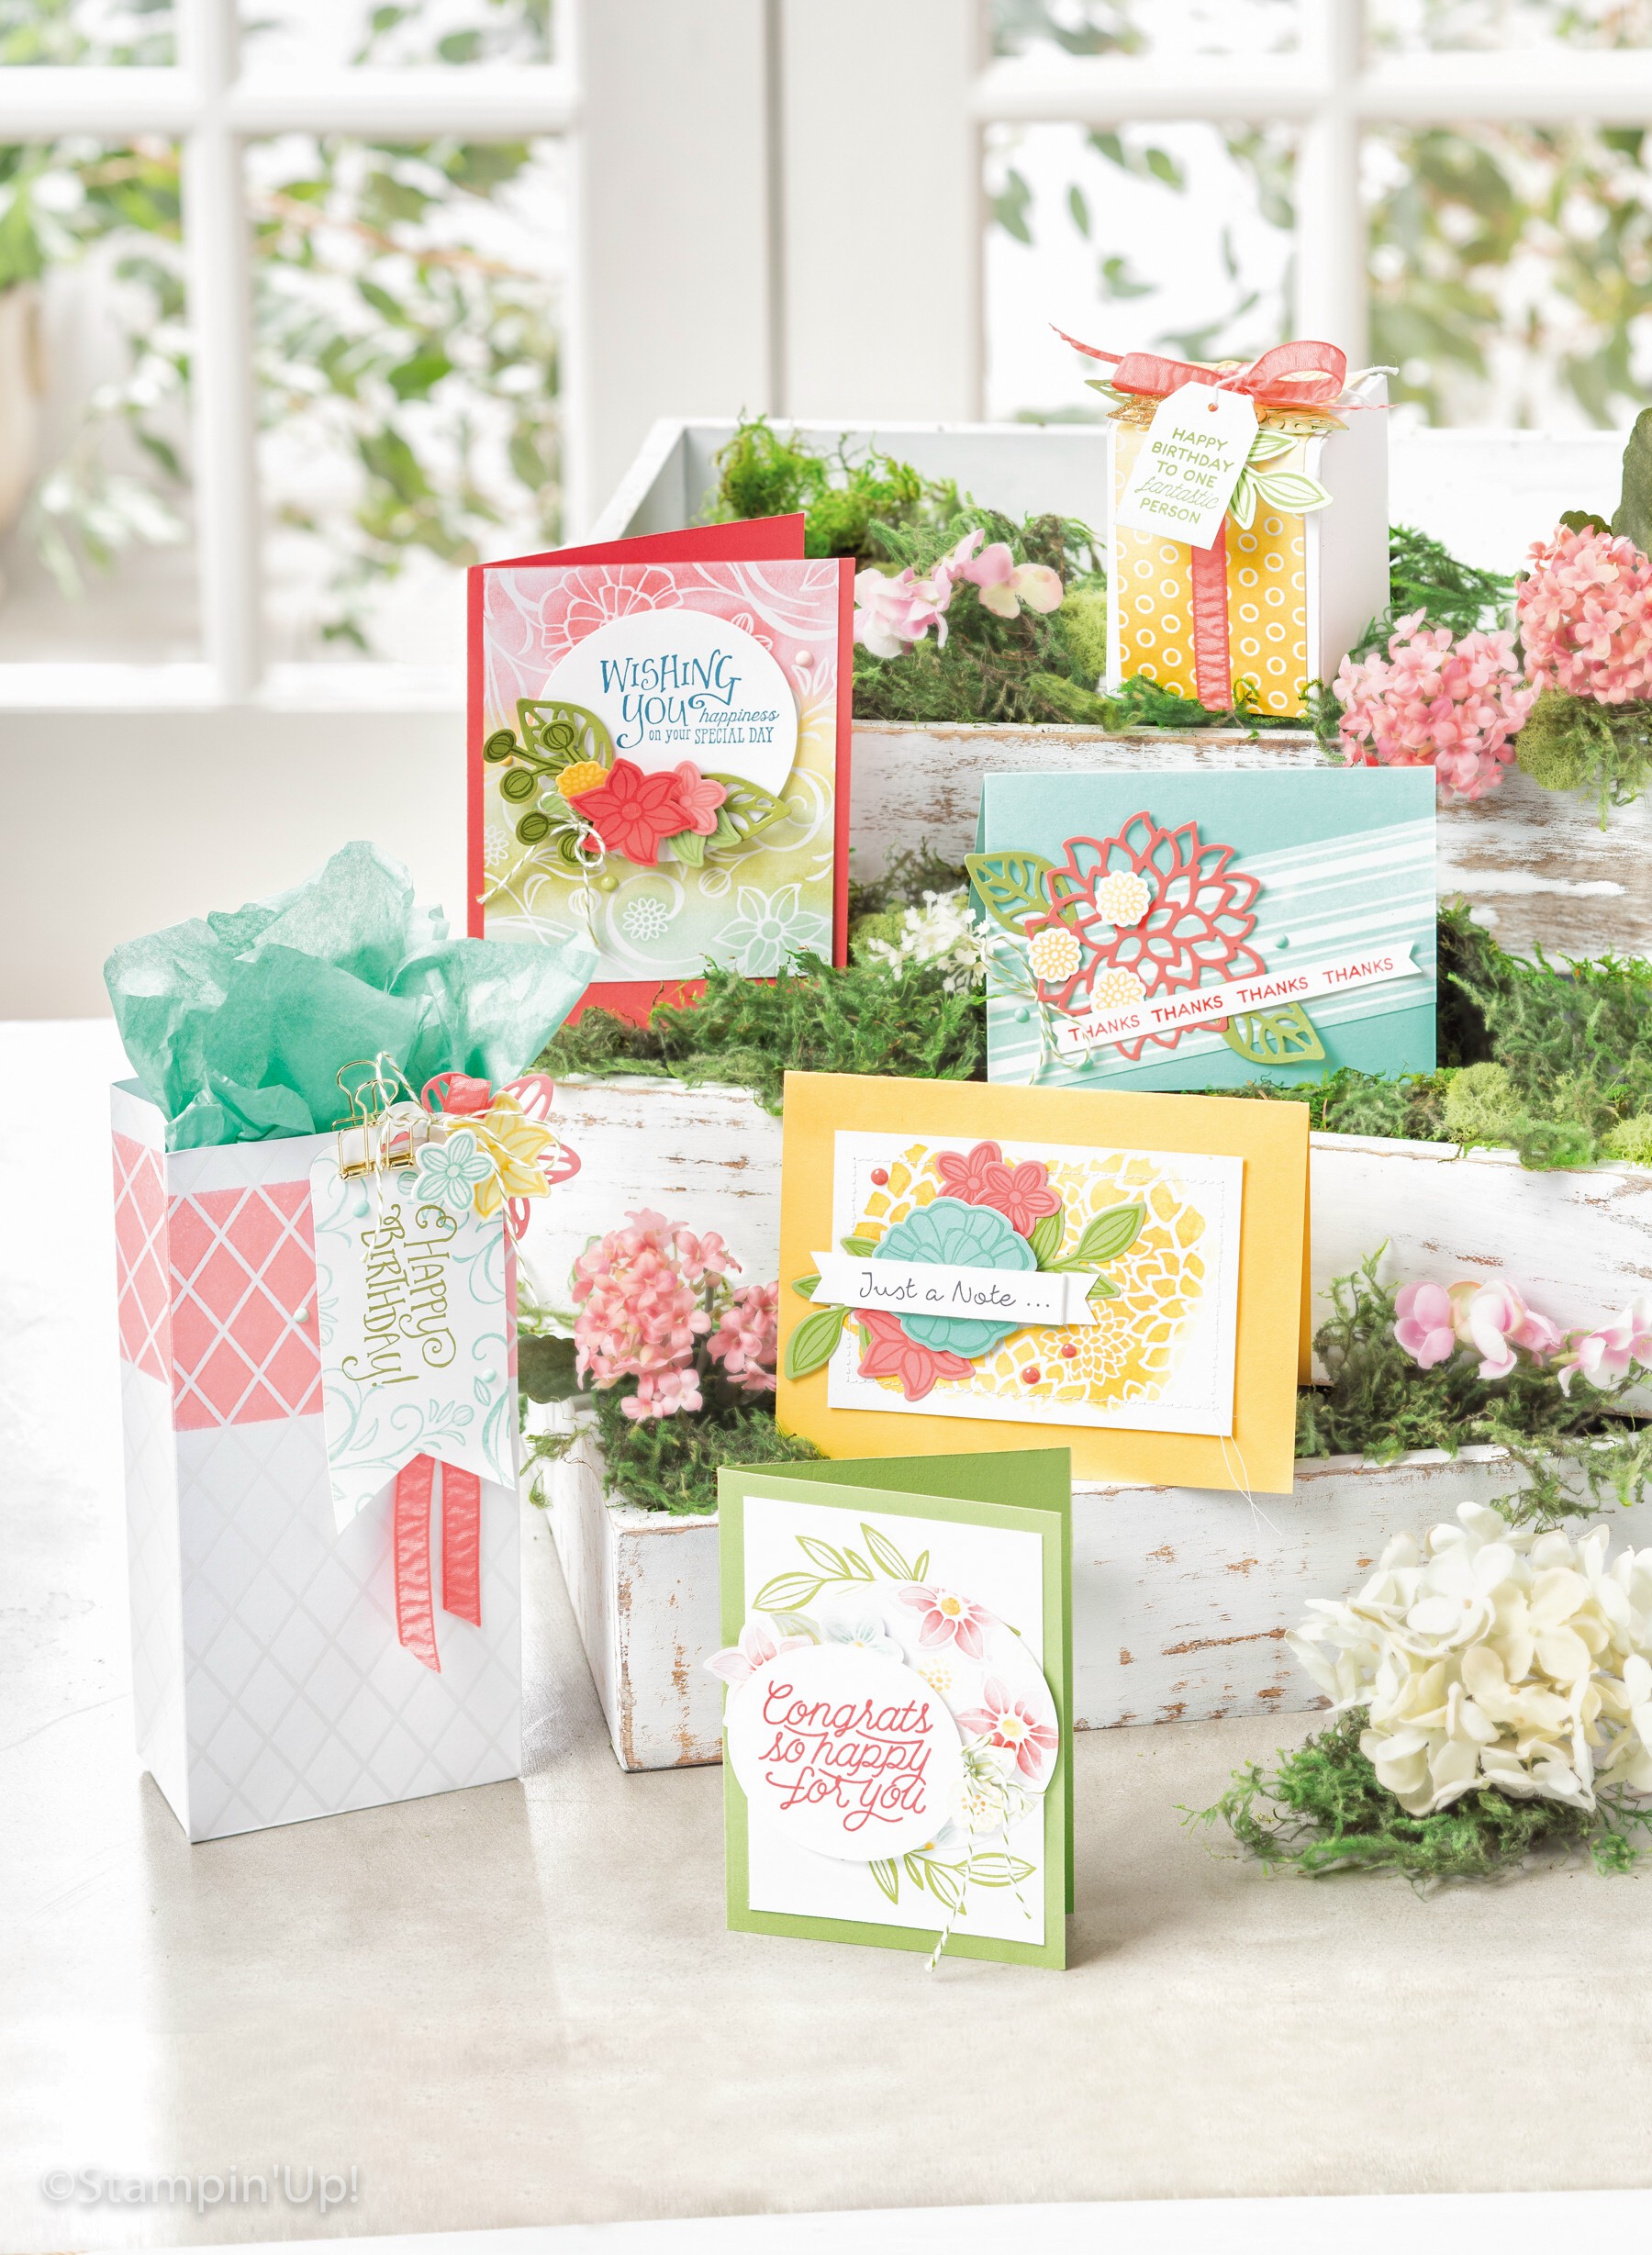
I hope these beautiful cards brightened your day! Till tomorrow … have a good one, and thanks for stopping by.
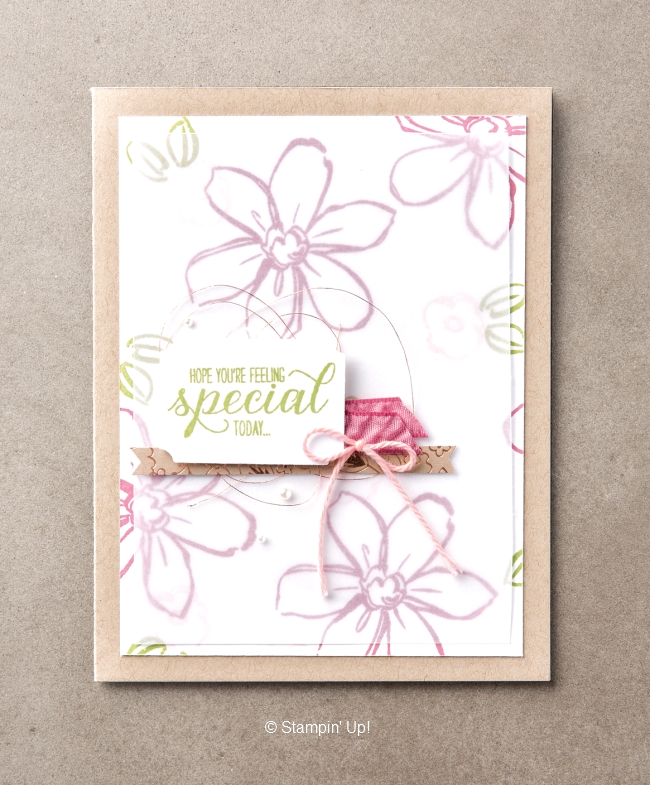
Hope you are feeling special today! These are the sentiments of today’s card which was created with the “Garden in Bloom” stamp set.
This pretty stamp set can be used as an outline stamp as you see today or a two step technique which gives you instant color … or use it as a watercolor look.
Today’s card has simply stamped the outline of the flower and then a sheet of vellum cardstock was laid over the top to create a softer look. Our greeting as stated earlier is included in the stamp set.
To add some texture and a bit more dimension to the card, the new ribbon and a piece of the “Affectionately Yours Specialty Designer Series Paper” … then it’s all tied together with some bakers twine.
Simply beautiful …
Thanks for stopping by today, I hope yours is a special one!
Today I’m going to give you a little sneak peek into my Catalog Kick Off party on Monday! We will be featuring many of the fabulous new stamp sets, designer papers, accessories & embellishments … far too many to list.
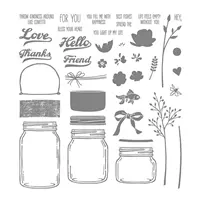
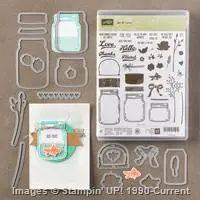
The “sneak peek” is a card I created using two great stamp sets; the “Jar of Love” found on page 75 and the “Bunch of Blossoms” on page 69. There will be many more at the party but I pulled one out of the collection to share with you …
I began with the jar, then stamped my stems and greens onto the page. I then stamped my flowers … they are double stamped and then punched them out. I used the star shaped flower to create the base of my blossoms.
I adhered the bottom of the bloom with my snail but then popped up the top of the bloom with a stampin’ dimensional … it really adds a neat dimension to the card.
I added water using my Aqua Painter and the Marina Mist ink. Once it dried … I added my bow using the Old Olive Bakers twine. I felt the color matched nicely with the Blushing Bride and Pear Pizazz.
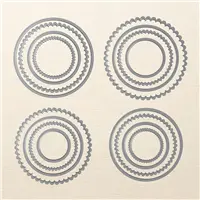
The greeting comes from the NEW Layering Circles Framelits… too cute!
You still have 2 days to RSVP … the deadline is Friday night. I will not be taking any more reservations after that time, so don’t delay.
Have a great day today, and thank you for stopping by.
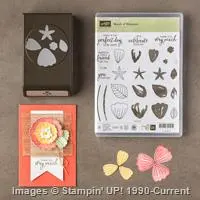
Today I want to share with you a trio of projects that will warm your heart. They are made with the new “My Hero” stamp set that was designed for this years Ronald McDonald House Charities (RMHC). This stamp set is perfect for all occasions ….
Not only does the stamp set give to a wonderful cause, but it also has something for every moment in the year. This set boasts amazing versatility and will fit into any cardmaking scenario.
Ronald McDonald House Charities (RMHC) keeps families close and surrounded by love when their children are receiving medical treatment far from home. You can help me and Stampin’ Up! support families through RCHC …
Stampin’ Up! donates time and money to support Ronald McDonald House Charities. To date we’ve contributed over $1,000,000 to RHMC and their network of local RMHC Chapters. When you buy the My Hero Stamp Set, we donate a portion of the proceeds to RMHC.
Let me know if you have any questions, or you can just click the link below to lend a hand and purchase this fabulous stamp set … My Hero.
Thanks for checking out my blog today, hope your day is wonderful.
Help keep families close with the purchase of the “My Hero” stamp set below …
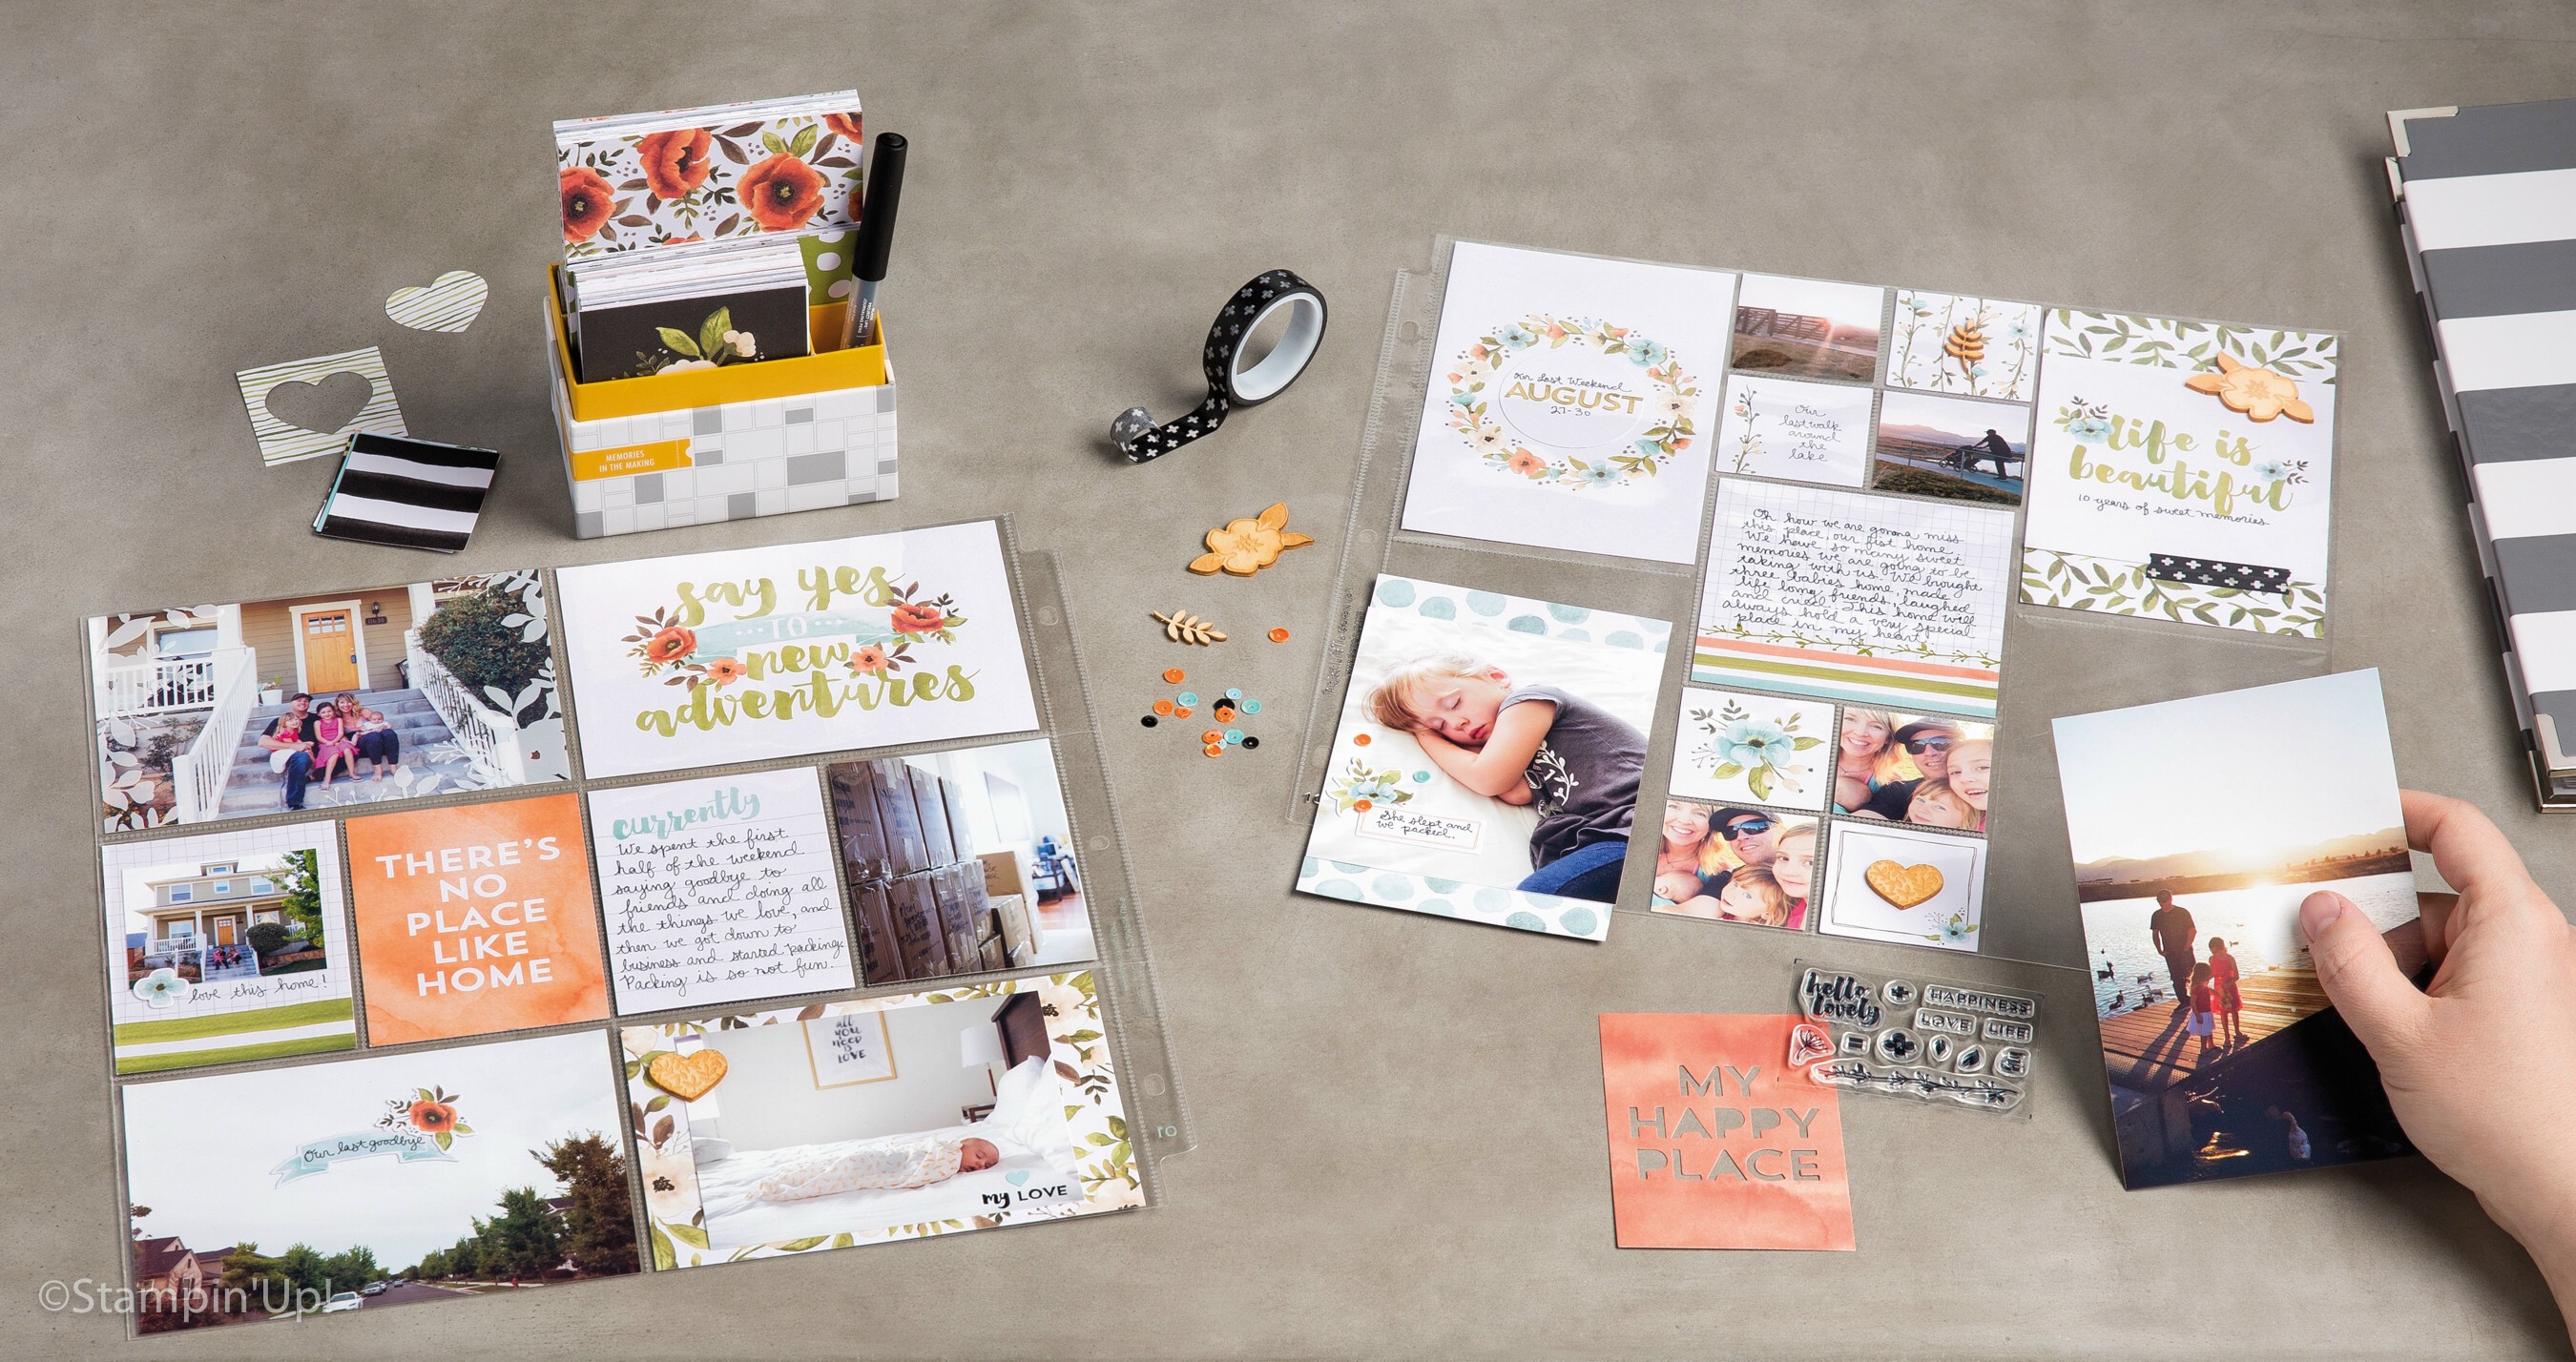
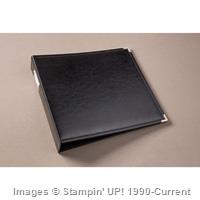
Today I want to share a simple, affordable system for organizing your photos into albums … it’s called Project Life, by Stampin’ Up!
All you need to get started is a few basic products, and then you’ll just slip your photos into project pocket pages … we’ll let me show you!
Here’s a quick video to show you how quick and easy it is to use …
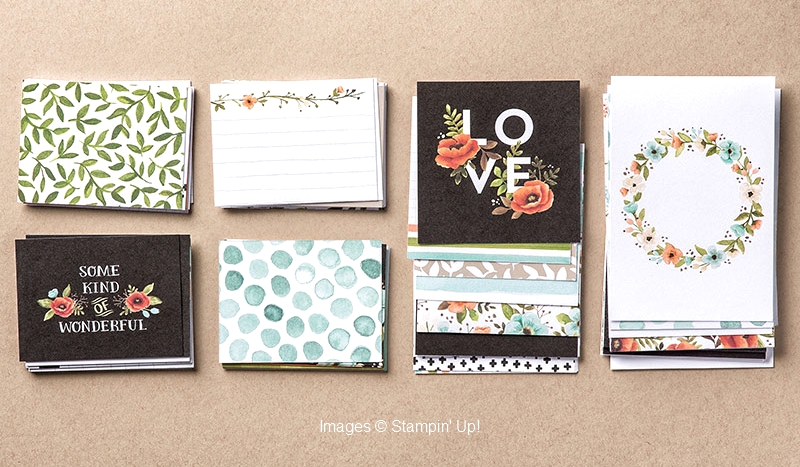
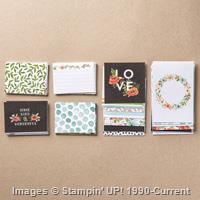
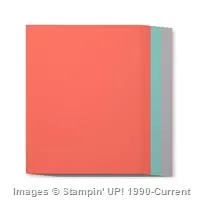
Here is our newest Project Life card collection that I just fell in love with. I not only use my card collections and accessory packs for my scrapbooking … I also use them to make quick and beautiful cards!
See how it helps your Memory keeping super simple and super beautiful with Project Life card collections. Just slip these designed cards into Photo Pocket Pages for instant color, design, and journaling space.
* 100 cards in 3 sizes: 4″ x 6″, 4″ x 4″, 3″ x 4″ (10.2 x 15.2 cm, 10.2 x 10.2 cm, 7.6 x 10.2 cm)
* Double-sided
Coordinating colors: Basic Black, Crumb Cake, Old Olive, Peekaboo Peach, Soft Sky, Soft Suede,
Tangerine Tango, Very Vanilla, white
* * * * * * * *
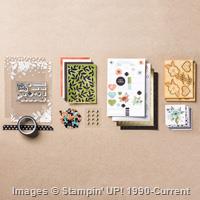
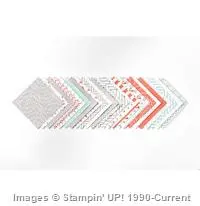
Dress up your Project Life pages with the accessories in this pack. They’re also great for more than just Project Life; use on cards or traditional scrapbook pages too.
Pack includes …
* Exclusive set of 12 photopolymer stamps
* 4 die-cut specialty cards, 3″ x 4″ (7.6 x 10.2 cm)
* 2 acetate specialty cards, 4″ x 6″ (10.2 x 15.2 cm)
* 11 double-sided specialty cards, 2″ x 2″ (5.1 x 5.1 cm)
* 6 single-sided die-cut specialty cards, 2″ x 2″ (5.1 x 5.1 cm)
* 2 alphabet sticker sheets
* 1 element sticker sheet
* 1 acetate sticker sheet
* 12 wood shapes
* 12 enamel stickers
* 150 sequins
* 1 roll washi tape, 5 yards (4.6 m)
Coordinating colors: Basic Black, Crumb Cake, gold, Old Olive, Peekaboo Peach, Soft Sky, Soft Suede,
Tangerine Tango, Very Vanilla, white
It truly is a simple, affordable system for organizing your photos into albums and for your card making!
Hope you enjoyed today’s post, and I thank you for stopping by.
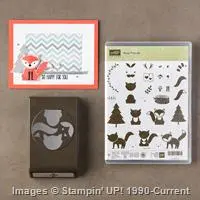
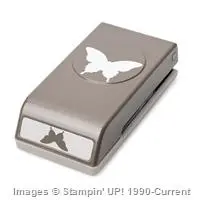
Today I’d like to introduce to you a few friends … they’re a bit punchy but they are a lot of fun! Besides, who wouldn’t love to get a handmade card stamped with a fox, a kitten, a deer, or other tiny critters?
Mix and match the images in this stamp set to create your own wilderness menagerie, then cut them out in a flash with the Fox Builder Punch. Watch and see how easy it is!
Aren’t they just the cutest! And so easy to make … I have the links below, just click on them for more details or to purchase. Remember, save 10% when you bundle the stamp set and punch together.
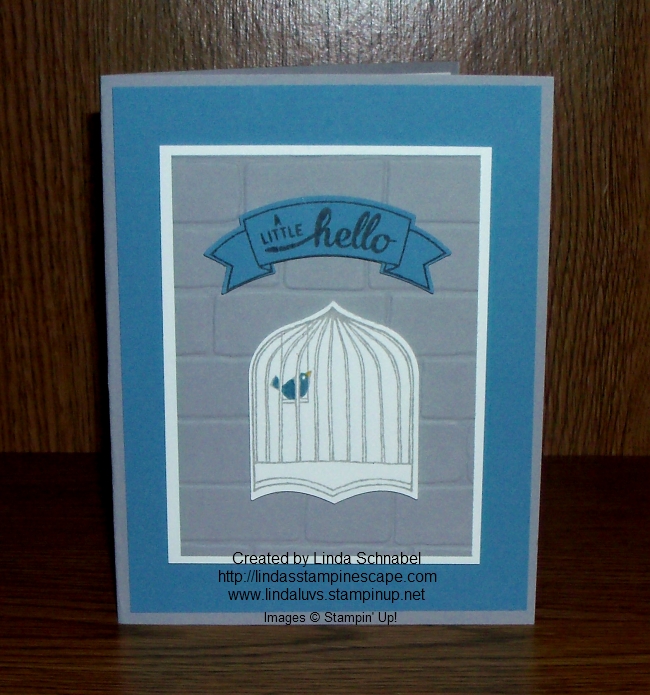
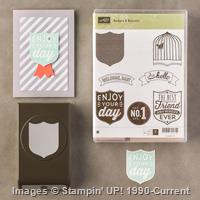
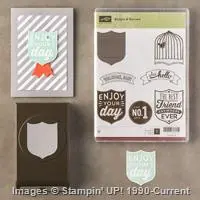
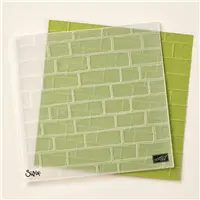
Today I’m going to share with you a cute -n- simple card created with the new “Badges & Banners” stamp set found on page 89 of your annual catalog. It bundles with the coordinating punch which makes it so easy to create these fun cards.
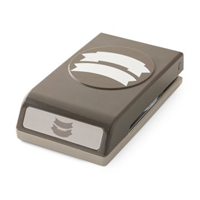
The birdcage was stamped in Smokey Slate, punched with the coordinating “Best Badge” punch and popped up on the background. The background and the base of the card are also Smoky Slate, and the background is embossed with the “Brick Wall” embossing folder.
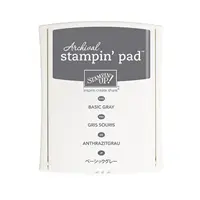
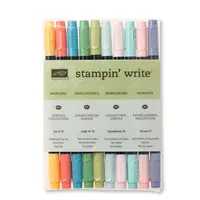
Our greeting also comes in our stamp set and is stamped in “Going Gray” onto the “Marina Mist” which is also used on the background, and is the color marker used to color our little bird.
You don’t have to fussy cut your banner either … there is a coordinating punch “Duet Banner” punch that coordinates perfectly with the banners in this stamp set. This punch can be purchased separately or bundled with the “Thoughtful Banners” stamp set.
Hope you enjoyed today’s post, you can click on any of the items listed below for more information or to begin shopping.
Thanks for sharing a piece of your Sunday with me.
Enjoy your day ~
TODAY’S STAMPIN’ SUPPLY & SUGGESTED PRODUCT LIST …
Have you ever wished you had a secret stash of card? Don’t we all?! We’re always looking for a card for those spur of the moment occasions (or one that just may have slipped your mind) …
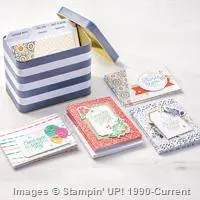
Well, I have the perfect solution for you, our Designer Tin of cards ~
What’s better than giving a handmade card? Having a tin of handmade cards ready to give! Make a stack of all-purpose cards using precut, color-coordinated paper and accessories, then store them in a pretty tin until you need them. See for yourself how easy creativity can be!
You may want to get the coordinating stamp set – Designer Tin of Cards. It not only works great with you Tin of Cards but for all your card making projects.
The stamp set contains; Holidays, special occasions, thinking of you—this set has a message for any occasion. With a delightful combination of beautiful script as well as simple fonts, this versatile stamp set will help you create whatever you wish.
They are Photopolymer stamps and … * Are totally transparent for perfect image placement. * Have just enough give to create a perfectly stamped image every time. * Cling like crazy to our clear blocks so you don’t have to worry about slipping. * Save space—you need only one set of blocks for all your photopolymer stamps (blocks sold separately). * Come packaged in cases with images on the spine for easy storage and quick reference.
Let me know if you and your friends would like to get together and would like my assistance … I’d love to help (In fact, you can use my stamp room!) lindaluvs2stamp@aol.com
Thank you for checking out my blog today, I hope it’s a good one!
You will get a “hands on” feel of many fabulous new stamp sets as you move from table to table creating 10 awesome cards. This will also introduce to you some of our new designer papers, embellishments and more!
If that isn’t exciting enough … There will be boards that will showcase the stamp sets we are using. AND … they will be raffled off at the end of the night!! Just think… samples of your favorite NEW stamp sets!!
There will also be display boards so you can see close up the new designer papers, great embellishments, ribbon and more. PLUS a list of Upcoming Classes and Events!
Join us … for an evening of stamping, friends, and fun … and get your “hands on” that new catalog & experience how fun these new stampin’ supplies are to play with. It’s going to be a great night!
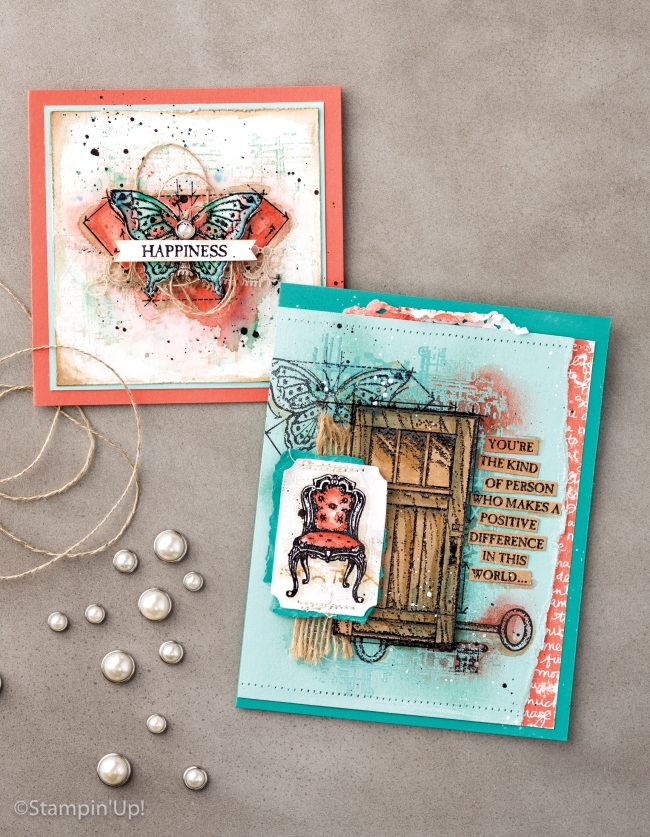
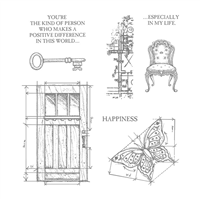
Today I’d like to share with you two cards that were created with the new “In This World” stamp set. You will also see two different techniques showcasing the individual stamps in the set.
First you will see the beautiful butterfly; hand colored and cut out to create the focal point of the card. Behind the butterfly you will see the soft watercolor effect done in the same color as the base of the card … this really ties the entire card together and makes the butterfly just pop!
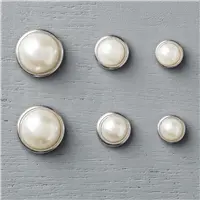
I love how the card was accented with a swirl of linen thread and beautiful Metal Rimmed Pearl.
The second card uses the stamped images to create a collaged look!This is done by simply layering stamped images … you must try it, it’s really fun. I love how the door is highlighted by coloring and then the chair is used as the focal point to draw your eye to the card.
So two great technique used on this stamp set to create totally different looking cards. I’m sure you could easily come us with even more ideas!
Just a quick post today to share with you a sweet card that was made with two stamp sets that have returned … and for good reason, they are both very versatile.
The card was created using the “Me = Grateful” and the “From Land to Sea” stamp set.
The greeting was stamped on Vellum Cardstock and then placed over the Lighthouse then the wheel was added.
Some additional color and texture was created by using the “Moroccan” Designer Washi Tape.
A simple card to recreate for any occasion, just change out the greeting. This would make a great Father’s Day Card.
So … what did you think of the video? I know, a new plate. Once I get mine, I will compare all of the options we have and share what I think works best.
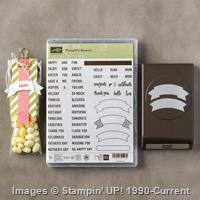
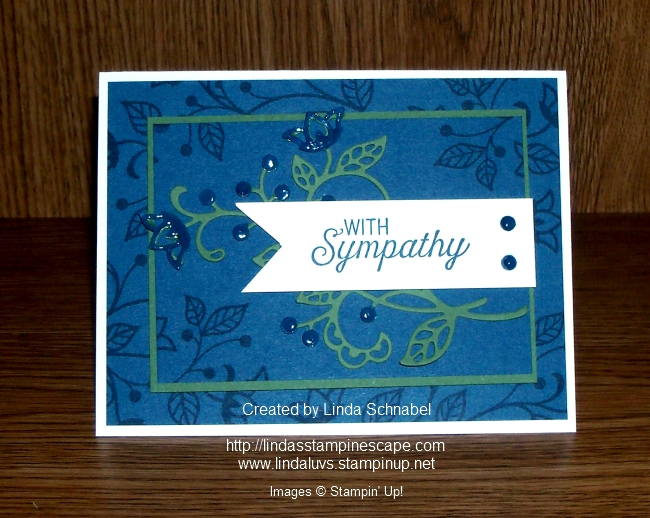
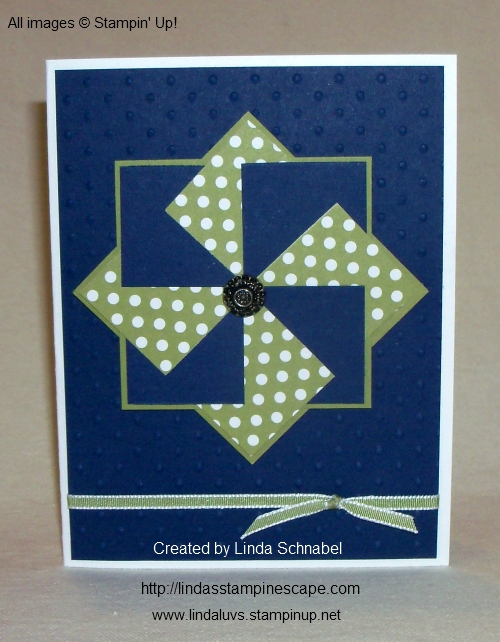
I also told you I would be sharing a card that I would create using the “Flourishing Phrases” and the “Flourish Thinlits” Bundle. It is with deep sorrow that I share this card because I created it for my friends who just lost their only son this weekend. My heart breaks for them … I can’t even imagine.
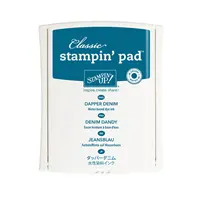
I used the new “Dapper Denim” and teamed it up the Garden Green … they look really nice together. The Whisper White for the base and the greeting really makes the card pop.
I ran an extra piece of Dapper Denim & the flower die through the BigShot and then used Crystal Effects on the flower and buds to highlight them. I’m sorry, I forgot Stampin’ Up! took it out of the catalog. You could use the “Wink of Stella” … that would look really nice and tie in the white even better!
I stamped the background Dapper Denim on Dapper Denim … I think color on color creates magic!
I must admit, I’m having a difficult time writing my blog today. My thoughts are elsewhere. Please send a prayer to my friends Karen and Andy that the good Lord wrap them in his arms and help ease their pain during this difficult time. Thank you so much♥
If you have any questions about today’s card / post … please comment below and I will get back to you. Again, thank you.
Hope you all had a wonderful weekend! I spent the day yesterday with family celebrating by brother Richard and his wife Sheila’s 30th anniversary. It was very nice gathering and we were all honored to see them renew their vows.
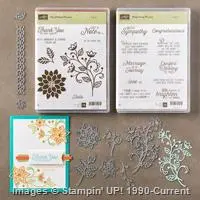
Yesterday I shared the Flourishing Phrases stamp set with you and you got to see how versatile it really can be. Today I would like to share with you a video that highlights how to use the new Flourish thinlets! I absolutely LOVE this bundle!!
Put down those scissors—there’s an easier way to cut detailed flowers and images! Using the Flourish Thinlits Dies and the Big Shot, you can make multiple die-cut flowers in minutes. Watch as we show you how…
The video highlights the layers needed when using the “new” Big Shot Platform and the “Precision” base plate. I currently use the “Precision” base plate in conjunction with my Standard Cutting plates (the ones that come with the Big Shot) fully closed (all tabs down) and one cutting pad.
As soon as I get my new Precision base plate, I will let you know how I feel they cut. I’m sure they will work great.
Now … be sure to stop back tomorrow because I’ll share my card creation with you using this fabulous bundle: The Flourishing Phrases Stamp Set and Flourish Framelits.
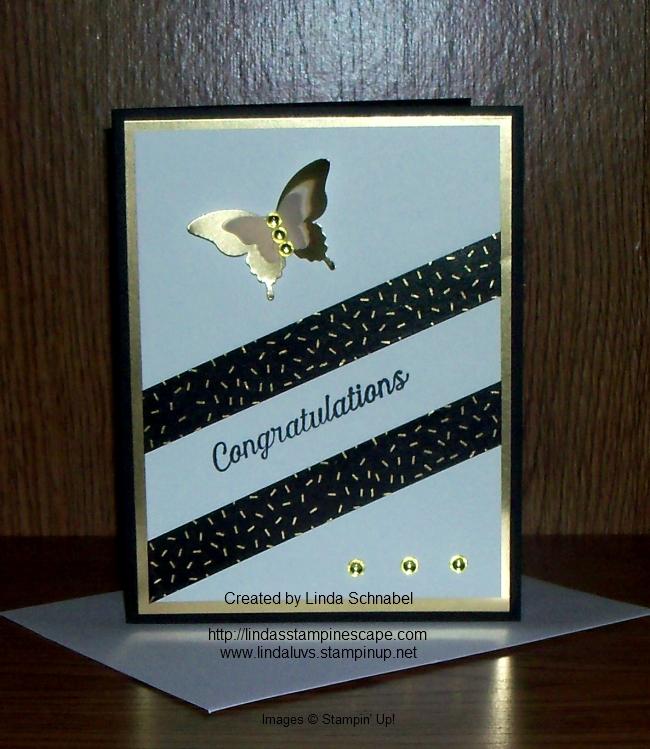
We have now entered that time of year when “Congratulations” cards are a hot commodity! Graduations, anniversaries, weddings … even job promotions … these are all events that we need cards for so today I’d like to help you out by sharing a simple yet pretty card for such an occasion.
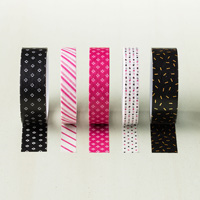
I chose Black & Gold because it can be used for any of the occasions I mentioned and it’s super simple to make. I’m using the new “Pop of Pink” Designer Washi Tape and the Flourishing Phrases stamp set.
Words are powerful. This set has the words you need for all occasions: thank you, congratulations, thinking of love, love you. Lift up your friends, send good thoughts to your family. I love this set!!
You will also need Whisper White, Basic Black cardstocks and our Gold Foil Sheets, plus one little scrap piece of vellum for the Bitty Butterfly!
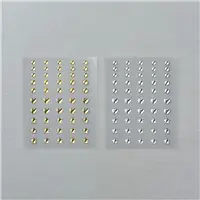
I added the new “”Metallic Enamel Shapes” for the body of my butterfly and to finish off the rest of the card. They are cute and really match up nicely with the foil sheets. (Both come in Silver and Gold)
Don’t you think this makes a great “Congratulations” card … and so simple! A little Washi Tape, a little stamping, punch a couple butterflies and your done.
Now … Yesterday I promised to share a few other cards that we have done in our stamping clubs.
Our clubs meet 1 day a month. Each group has a minimum of 6 and a max of 10 participants.
There is no cost for your projects, however each participant is required to spend a certain amount each month … that amount depends on the amount of people. This is done so each of our participants gets to take a turn “hosting” … this only means “YOU” get the hostess benefits (free stamps and / or accessories).
It is a commitment that you make to participate for the entire “club year” … 10 months. It goes by so fast, it’s kind of sad when we break for summer! So let me know if your thinking about joining us this fall. Seats fill up fast!
Thank you for sharing a piece of your Sunday with me.
I hope you have a wonderful day ~
Today’s “Congratulations Card” Stamping Supply List …
I hope this Saturday finds you well. It’s a bit warm here in Wisconsin – hitting in the 90’s with some of that fine humidity! It appears summer is right around the corner and I know some of you have been waiting for this!
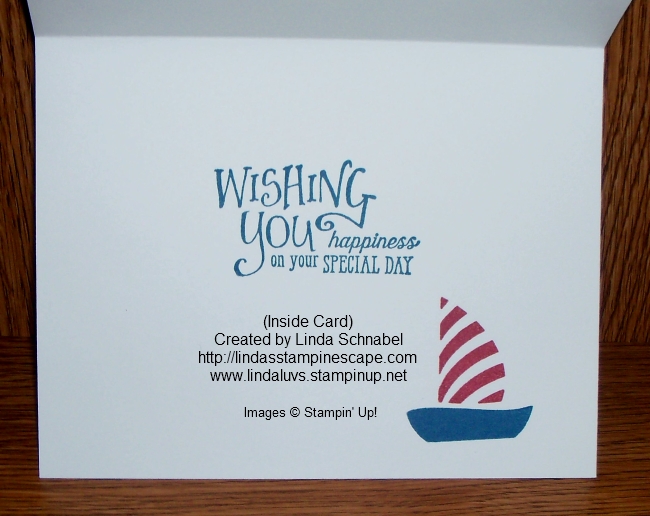
Speaking of summer, I have a cute card for you that fits right in! Picture a warm summer day sailing across the cool waters …
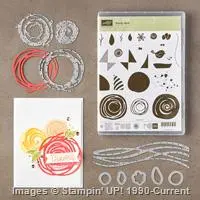
I created this card with the absolutely “fun to play with” Swirly Bird stamp set and Swirly Scribbles Thinlets Bundle! With the 4th of July right around the corner and “blue” such a nautical color – I chose the new “Dapper Denim” and teamed it up with Cherry Cobbler and Whisper White.
The greeting and verse used on the card come from the very versatile stamp set, Better Together. I am using this stamp set for both of the cards shown today. You can also see a variety of the words used in this prior post – CLICK HERE to view.
My second card was cased from another demonstrator, but I turned it around and added my won touch. Isn’t that what we all do? The catalog is your first reference for card samples 🙂
On this card I used the swirly from the framelits and the flowers and dots from the stamp set. This card highlights the new “Flirty Flamingo”. I teamed it with Smokey Slate, Whisper White and the elegant Silver Foil.
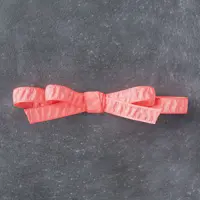
The silver swirl draws your eye to the greeting “Just a Note” which is anchored with the cute little bow made out of the new “Flirty Flamingo” Ruched Ribbon. The rhinestones really tie the card together with that little touch of bling.
We brought the stamped patterns from the card fronts, and repeated on the inside of the card and on the envelopes! Just ties it all together so nicely.Both of these cards were created for my June Technique Stamping Clubs … we are now done for the year but will be starting up again in September.
Would you like to join us? I have a few openings in my Wednesday, Thursday and Saturday Morning groups. I will also be starting up a Monday night group and a Saturday afternoon group.
Stop back tomorrow and I’ll show you more samples and give you a few more details. Till then, have a wonderful day!