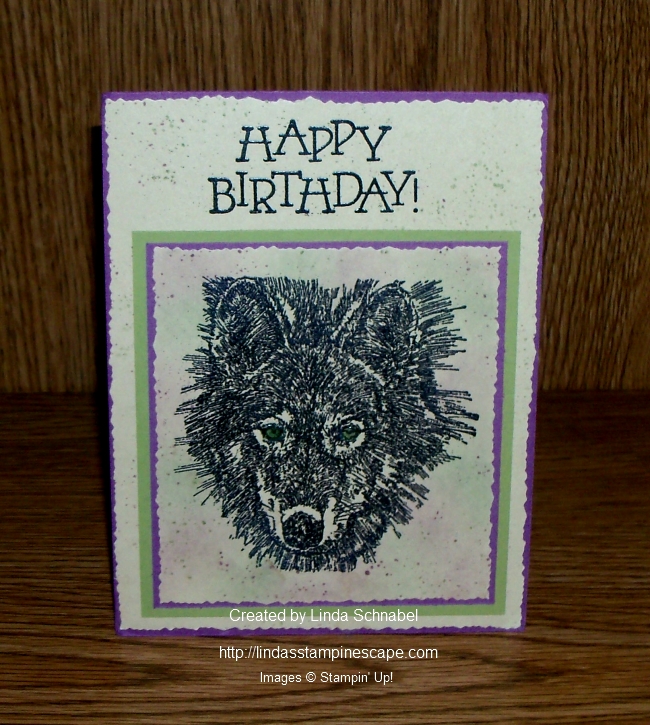
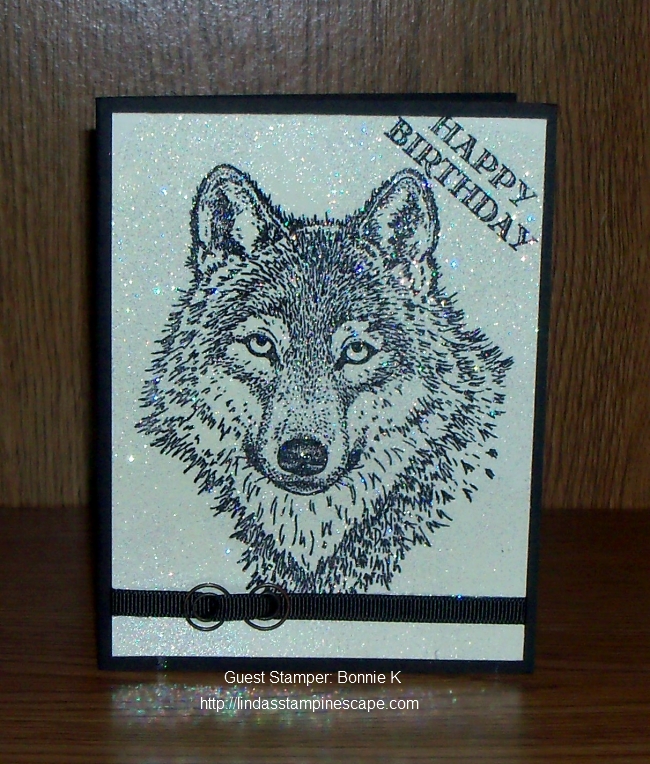
Hello Stampin’ Friends ~
Welcome to the weekend! Yeee Haaa!!
It’s been a long week so I’ll keep my post short, but I promise it’s packed with fun and informative stampin’ tips & instructions.
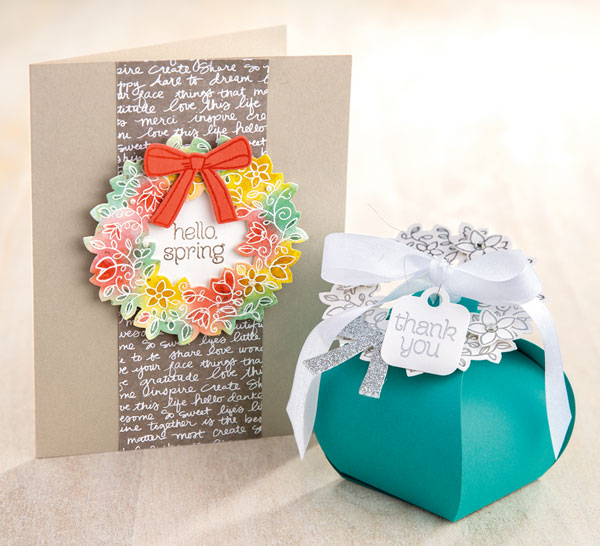
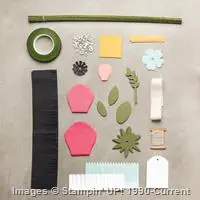
Here are the instructions for our card ….
1. Fold an 8-1/2” x 5-1/2” (22 x 14 cm) piece of Sahara Sand Cardstock in half to create the card base.
2.Adhere a vertical strip of Neutrals Designer Series Paper (2” x 5-1/2”) (5 x 14 cm) to the center of the card.
3. Stamp the wreath image in VersaMark ink on a piece of Shimmery White Cardstock (4” x 4”) (10 x 10 cm). Pour White Stampin’ Emboss Powder over the image, shake off the excess powder, and heat emboss.
4. Daub Crushed Curry, Mint Macaron, Tip Top Taupe, and Watermelon Wonder ink over the embossed wreath using Sponge Daubers.
5. Spritz the wreath with water using the Stampin’ Spritzer for a watercolor effect. (Blot the image dry.)
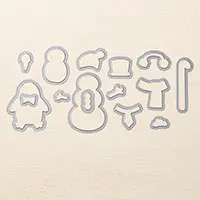
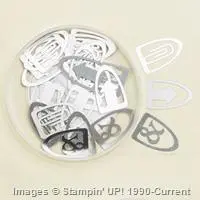
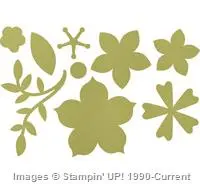
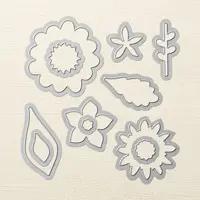
6. Cut the wreath out using the Big Shot and the Wonderful Wreath Framelits Dies.
7. Place a few small Pearl Basic Jewels on the wreath.
8. Stamp the ribbon image in VersaMark ink. Pour Clear Stampin’ Emboss Powder over the image, shake off the excess powder, and heat emboss. Adhere the ribbon image to the top of the wreath.
9. Stamp the sentiment in Tip Top Taupe ink on a piece of Shimmery White Cardstock (2” x 2”) (5 x 5 cm).
10. Adhere the wreath over the sentiment using Stampin’ Dimensionals, then adhere the entire piece to the card using Stampin’ Dimensionals.
Here are the instructions for the box ….

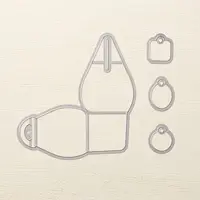
1. Cut the box from Bermuda Bay Cardstock using the Big Shot and the Curvy Keepsake Box Thinlits Die. Assemble the box.
2. Stamp the wreath image in VersaMark ink on Shimmery White Cardstock (4” x 4”) (10 x 10 cm). Pour Silver Stampin’ Emboss Powder over the image, shake off any excess powder, and heat emboss.
3. Stamp three flowers in VersaMark ink on Shimmery White Cardstock (3” x 3”) (7.5 x 7.5 cm). Pour Silver Stampin’ Emboss powder over the images, shake off any excess powder, and heat emboss.
4. Stamp the sentiment in VersaMark ink on Shimmery White Cardstock (2” x 2”) (5 x 5 cm). Pour Silver Stampin’ Emboss Powder over the words, shake off any excess powder, and heat emboss. Cut out the sentiment using the Big Shot and the Curvy Keepsake Box Thinlits Dies.
5. Cut out the wreath and flowers using the Big Shot and the Wonderful Wreath Framelits Dies.
6. Cut the ribbon shape from Silver Glimmer Paper using the Big Shot and the Wonderful Wreath Framelits Dies.
7. Adhere the flowers and ribbon to the wreath using Stampin’ Dimensionals.
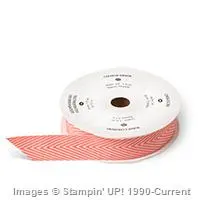
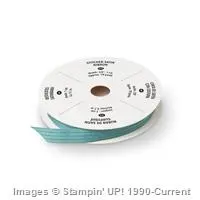
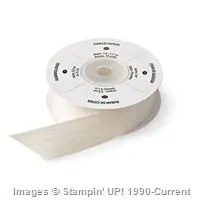
8.Tie the box closed with Whisper White 1/2” (1.3 cm) Seam Binding Ribbon (20”) (50 cm).
9. Place the wreath on the box, under the ribbon.
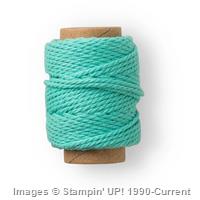
10. Tie the tag to the ribbon with Silver Metallic Thread.
Thank you for stopping by today … enjoy!
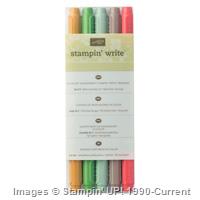
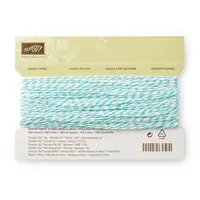
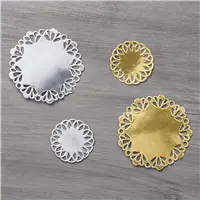
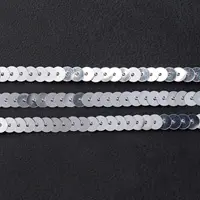
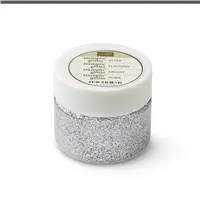
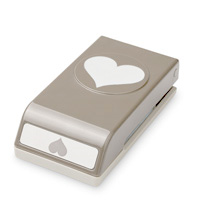
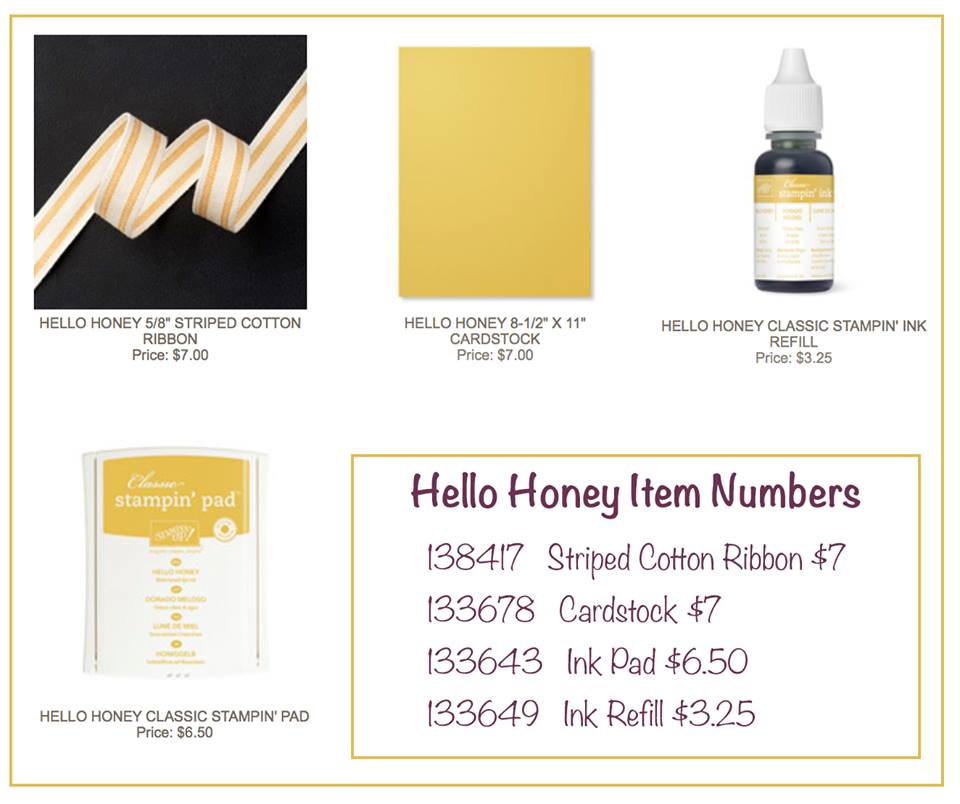
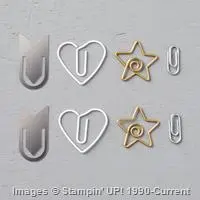
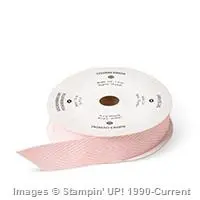
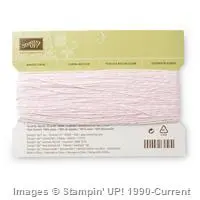
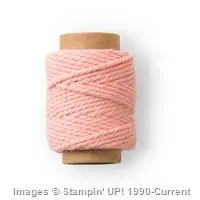
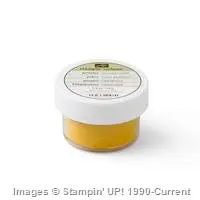
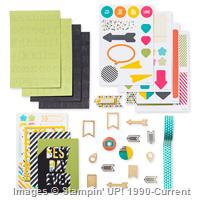
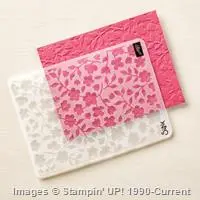
Get your key supplies here …
Please feel free to share or save ...

 This card is just full of fun techniques … First let me start with the “Irresistibly Yours” Designer Series Paper (the blue and white).