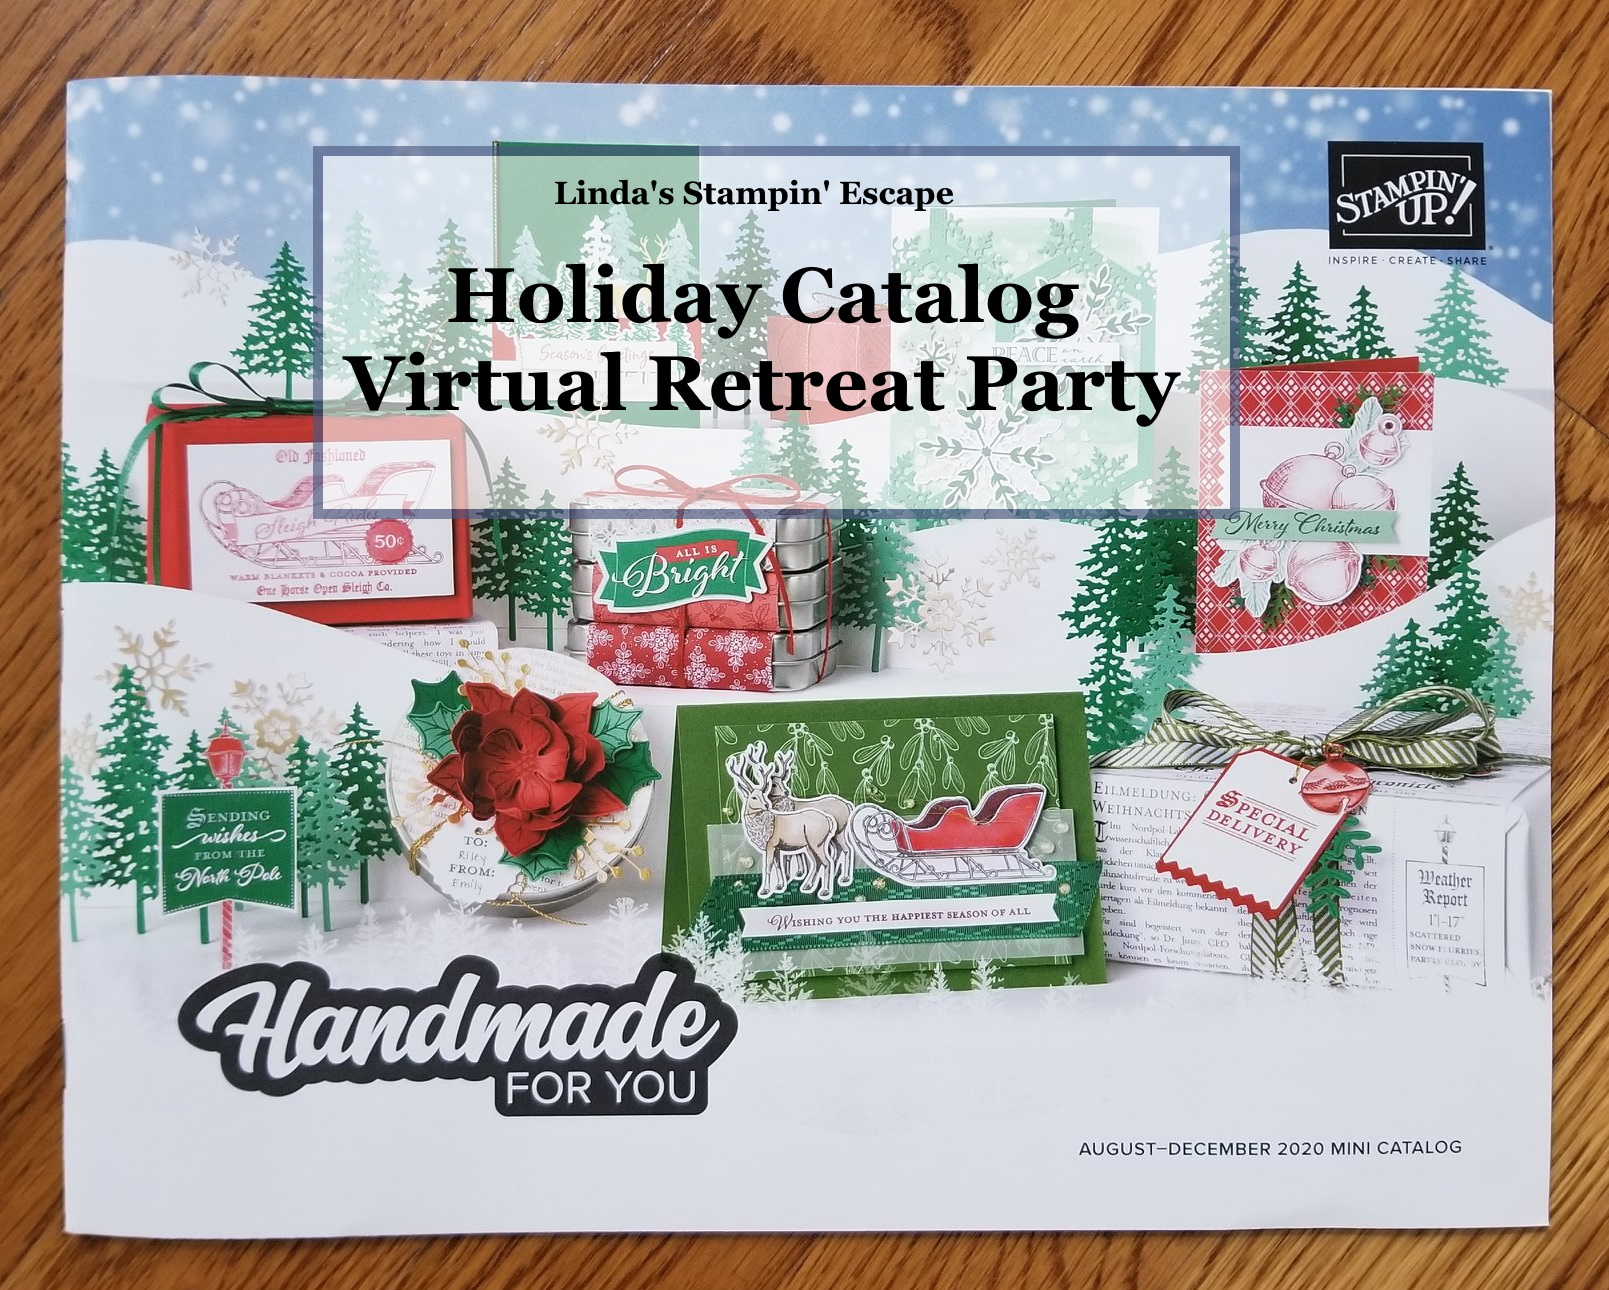
I hope you are looking forward to a wonderful weekend relaxing, stamping or enjoying family or friends. I’ll have been having fun demonstrating LIVE projects, hosting fun games and getting to know my stampin’ friends even better during my Holiday Catalog Virtual Retreat Party … this will be held on Facebook from Friday, October 30th through Sunday, November 1st.
There will be plenty of FUN, Card samples and demonstrations, and Great Deals!! You should check it out!
If you would like to join in on the FUN … Copy this link: https://www.facebook.com/groups/1497489893793307/ and put it in the Search Box … then request to be a member! I would love to have you join us! It’s going to be a party!!
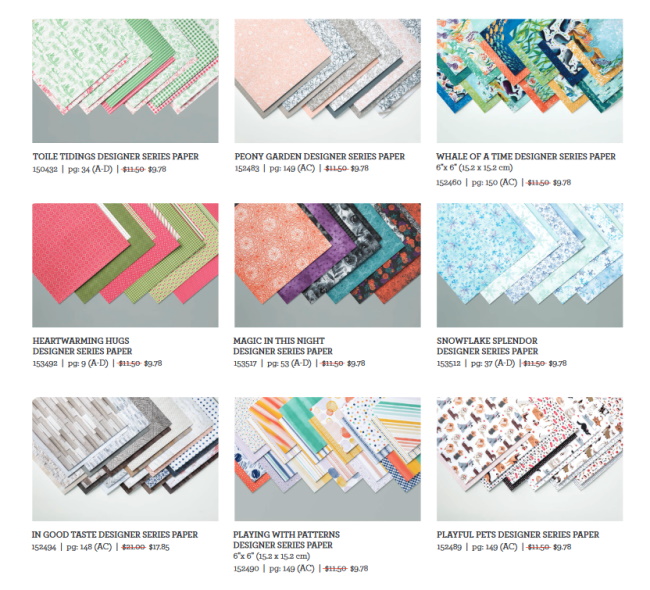
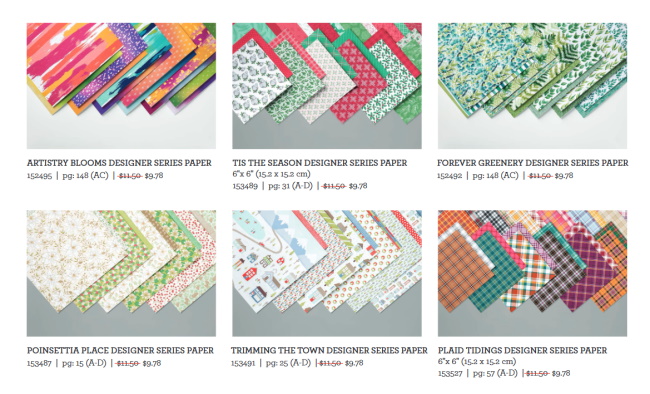
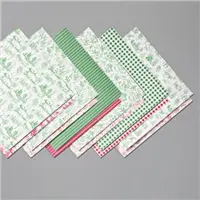
Tomorrow is the last day to order any of the 15 Designer Series papers that are on sale for 15% Off.
Thank you for the visit, meet you back here tomorrow with a fun project.
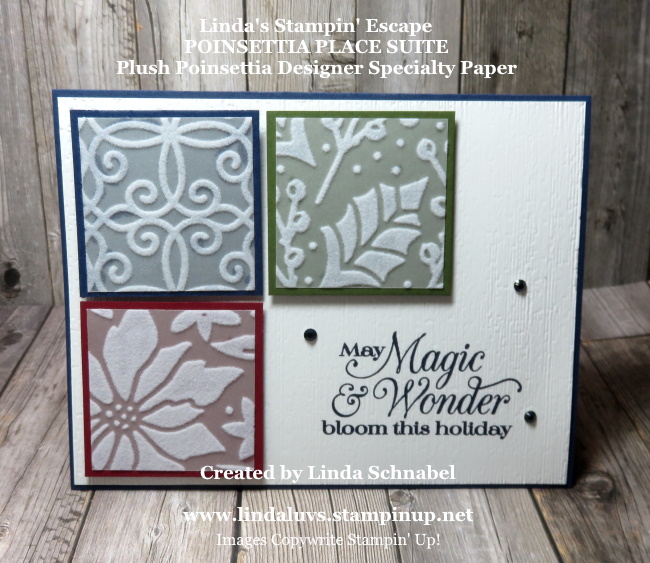
I hope you got a chance to see yesterday’s card … the Poinsettia Place Suite and featured the Plush Poinsettia Specialty paper. I shared how easy it was to color the flocking on the paper so you could expand the use of your paper.
I thought it would be fun to see how different colors transform the look of the Plush Poinsettia Specialty paper...
I used 1-3/4″ squares of each of the three patterns of the Plush Poinsettia Specialty paper and then backed it with a 1-7/8″ mat of Night of Navy, Cherry Cobbler and Mossy Meadow.
I then stamped the greeting in Night of Navy onto a piece of Whisper White and ran it through the Stampin’ Die Cut and Emboss machine using the Subtle embossing folder ….
The blocks were popped up with Stampin’ Dimensionals and arranged onto the card, and then to complete my card, I added the blue Rhinestones from Holiday Rhinestones.
I hope you will be joining me and your fellow stamping enthusiasts at my Holiday Catalog Virtual Retreat Party. Bring your friends along with you! Enjoy in the comfort of your own home! (Information below).
If you would like to join in on the FUN … Copy this link: https://www.facebook.com/groups/1497489893793307/ and put it in the Search Box … then request to be a member! I would love to have you join us! There will be LIVE Demonstrations, Games, Exclusive Specials and PRIZES!! It’s going to be a party!!
Thank you for joining me today, I hope you have a wonderful day ~
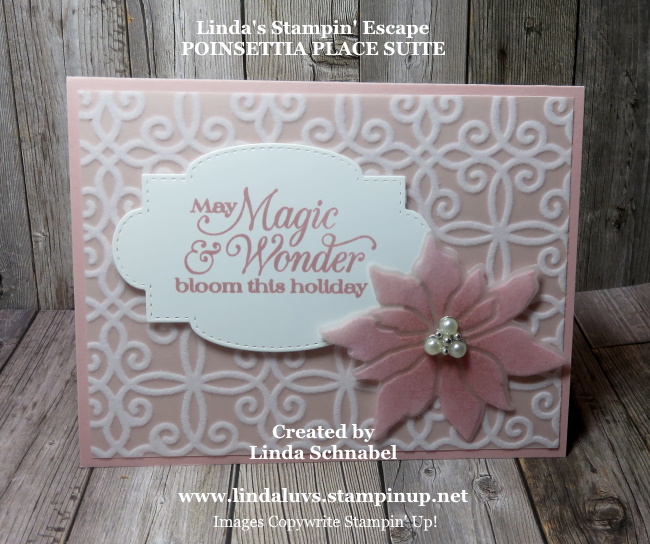
Happy Wednesday!! Today I’d like to share with you my card and video of the technique I shared LIVE last night on Facebook. The technique is “Coloring Flocked Paper” … and I used the beautiful Plush Poinsettia Specialty Paper from the Poinsettia Place Suite.
Grab a cup of coffee or your favorite tea and sit down and relax while you watch this short video on how to color the flocked specialty paper….
When pictures are a thousand words … then videos hit the jackpot! I love being able to show and tell you how to make cards. The base was cut 8-1/2″ x 5-1/2″ and scored at 4-1/4 to fold in half. The Plush Poinsettia Specialty paper with the scrolls was cut 4″ x 5-1/4″.
The poinsettia was trimmed from the paper and the die cut with the coordinating die from the Poinsettia Bundle. The greeting also comes from the bundle and was die cut from the Stitched So Sweetly Dies.
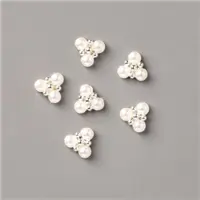
The stunning Beaded Pearls are part of the entire product suite … you will find the Poinsettia Place Suite on pages 14 through 16 in the Holiday Mini Catalog.
I will be sharing another card with you tomorrow that features the Plush Poinsettia Specialty Paper. I will also be highlighting the Poinsettia Place Suite at my Holiday Catalog Virtual Retreat Party. I hope you plan on joining me (see information below).
If you would like to join in on the FUN … Copy this link: https://www.facebook.com/groups/1497489893793307/ and put it in the Search Box … then request to be a member! I would love to have you join us! There will be LIVE Demonstrations, Games, Exclusive Specials and PRIZES!! It’s going to be a party!!
Thank you for joining me today, I hope you got inspired to think outside of the box and change up a product and make it the focal point of your card.
Have yourself a wonderful Wednesday ~
TODAY’S STAMPIN’ SUPPLY LIST … If you liked the products used in today’s projects, I have links for you below. Just click on the item you would like more information on, or to begin your shopping. It will take you directly to my website. Thank you ♥
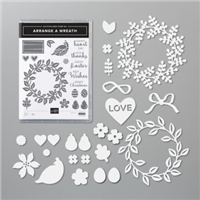
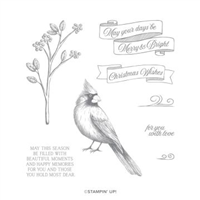
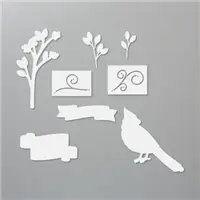
We made it through Monday!! I have a beautiful card to share with you that I have created while working on my Holiday Catalog Virtual Retreat Party. Today’s card features the Arrange a Wreath Bundle and Toile Christmas stamp set.
Beautiful layers of Seaside Spray and Whisper White cardstock are the base colors for the card. To create a “wintery” look, I used the Old World Paper 3-D embossing folder and added a touch of Wink of Stella onto the raised areas.
My wreath pieces were cut in Seaside Spray, Silver Foil and Whisper White … these were layered together and secured with the Tombo Liquid Glue. The Seaside Spray leaves have Wink of Stella on them and then they were all popped up with Stampin’ Dimensionals to create more depth to the card.
I stamped the greeting which comes from the Toile Christmas and cut it out with the Christmas Cardinal dies. The banner has Stampin’ Dimensionals on the back for a lift over the wreath.To complete the card I added Adhesive Backed Snowflakes.
So what do you think about todays card? I’m hoping you enjoyed it … there will be a “Special” announced on during my Holiday Catalog Party for the Arrange a Wreath Bundle …. this will include the PDF / Full Color instructions to create 4 beautiful All Season Cards!
If you would like to join in on the FUN … Copy this link: https://www.facebook.com/groups/1497489893793307/ and put it in the Search Box … then request to be a member! I would love to have you join us! It’s going to be a party!!
Don’t forget to meet me on my Linda’s Stampin’ Escape for a LIVE presentation for my Technique Tuesday event.
Thank you for stopping by, enjoy the rest of your day!
TODAY’S STAMPIN’ SUPPLY LIST … If you liked the products used in todays projects, I have links for you below. Just click on the item you would like more information on, or to begin your shopping. It will take you directly to my website. Thank you ♥
I hope you had a wonderful weekend relaxing, stamping or enjoying family or friends. I have been having fun planning and preparing for my upcoming Holiday Catalog Virtual Retreat Party … this will be held on Facebook from Friday, October 30th through Sunday, November 1st.
I’ll be sharing projects with you here all week in conjunction with what I’ll be sharing before and during the Holiday Catalog Virtual Retreat Party.
If you would like to join in on the FUN … Copy this link: https://www.facebook.com/groups/1497489893793307/ and put it in the Search Box … then request to be a member! I would love to have you join us! It’s going to be a party!!
Thank you for the visit, meet you back here tomorrow with a fun project.
With only a few more days before Halloween, I thought it would be fun to visit some of my favorite Halloween cards. Plus, we are celebrating one of my favorite sales of the year … the Designer Paper Sale.
I also have an “Invitation” to a very special party …
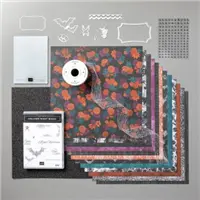
Today, I’d like to invite you to take a walk back with me through the hauntingly tempting “Magic in this Night” product suite. Let’s see the many looks this one suite can create ….
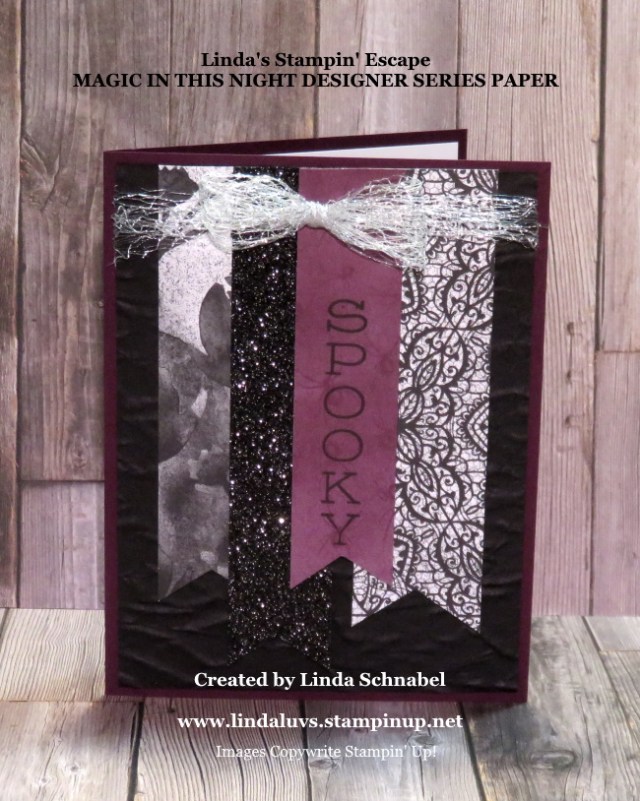
Above I have a simple layout that highlights 3 different patterns that are included in the designer paper pack. For a Halloween designer paper there is an ire of elegance with this paper. CLICK HERE to view the pattern and the all the details of creating this fun and simple card.
When you click on the link to view the banner card, you will also find another pattern and card that features the Heartwarming Hugs Designer paper (also on sale).
Next, Pinwheel card …
The Pinwheel Technique is a fun and easy card to create. You can CLICK HERE to view the post on this card, or CLICK HERE to watch the video on how to make the PinWheel card!
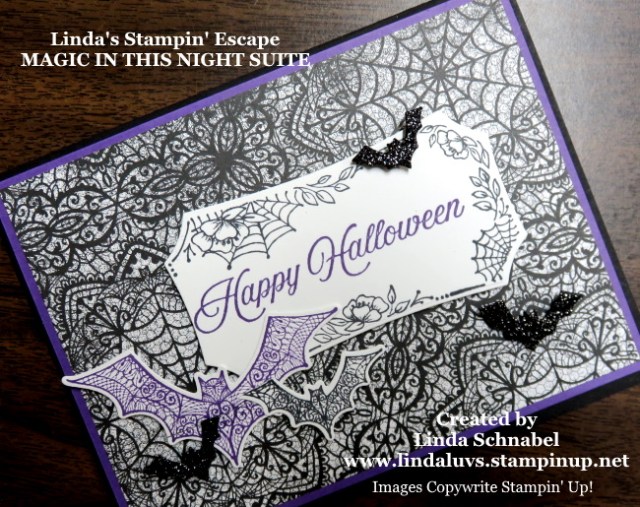
Stepping it up a bit by introducing the Hallows Night Bundle dies …
In Basic Black and Gorgeous Grape added to the stunning designer paper, this Halloween card has gone Gothic with a flair! You can read how this card was HERE … just click that link. The patterned bats are beautiful and I added a few “glitter” bats to enhance it further.
This card uses some of the same dies but by switching out the designer paper pattern, it changes the entire look ….
I like all 5 of the cards I’m sharing with you today, however I think this one is my favorite … it’s kind of sexy for a Halloween card! I share the tips on creating this card – just CLICK HERE to view. I love this pattern in the Magic in the Night Designer paper, I believe it would be beautiful on other holidays as well as Halloween.
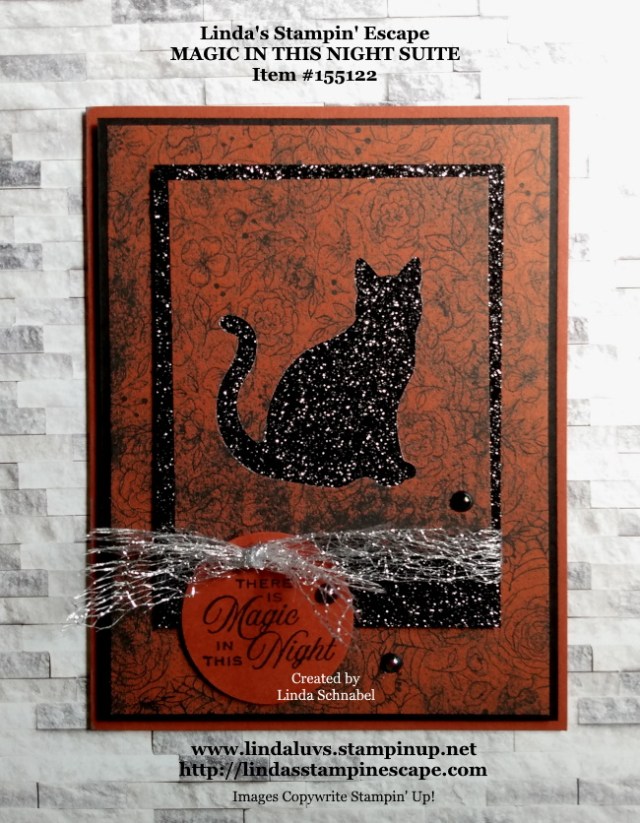
A Halloween Kitty for you ….
They tell us to watch out for black cats but how can you resist this cute little kitty. Yet another pattern from the Magic in the Night Designer paper sets the stage for our card (Read More Here) Fun and simple and perfect for your feline lovin’ friends.
Here’s the last one …. for today anyway!
I’ve gone a bit batty on this one … with the designer paper and the die cut bats this quick -n- easy card would be a treat for anyone who loves to celebrate Halloween. You can read the full details HERE.
With Halloween just around the corner, I thought today would be the perfect day to share all these amazing cards. Tomorrow I will be sharing another of the designer papers on sale.
I would like to invite you to my FACEBOOK “Holiday Catalog Virtual Retreat Party” … You’ll get a sneak peek into my stamping retreats, celebrate the Holiday Catalog, plus there will be party promotions, games and LIVE Stamping Sessions and a lot of FUN!!
The party goes from Friday, 10/30 @ 8am to Sunday, 11/1 @ 10pm. (Central Time) I’m so excited to party with you all!!
Thanks for stopping by today. Hope yours is a good one.
TODAY’S STAMPIN’ SUPPLY LIST …If you liked the products used in todays projects, I have links for you below. Just click on the item you would like more information on, or to begin your shopping. It will take you directly to my website. Thank you ♥
How are you today? Hope all is well with you and your family. I’m busy making cards and plans for a Virtual Party next weekend. This would be the weekend that I host my Stampin’ Retreat (but is cancelled due to Covid) … so I’d like to give you all a sneak peek into what we do at our Retreats!
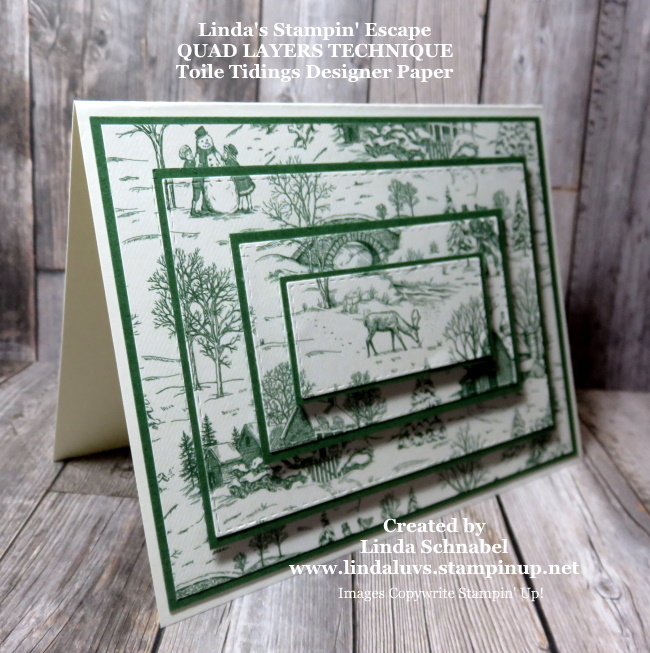
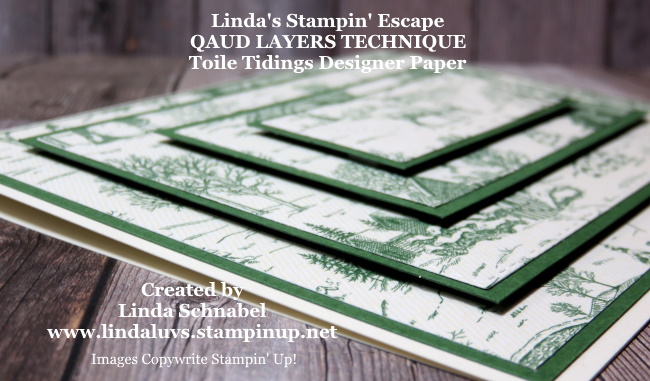
Today I have a Quad Layer card for you! I’ve shared the Triple Layer before now we’re stepping it up. I’ve used the Rectangle Layer dies in conjunction with the Toile Tidings Designer paper to create today’s card ….
Just like in Ice Skating we always look for ways to step up our skills so as ice skates have gone from double jumps, to triples and now quads … so have I!!
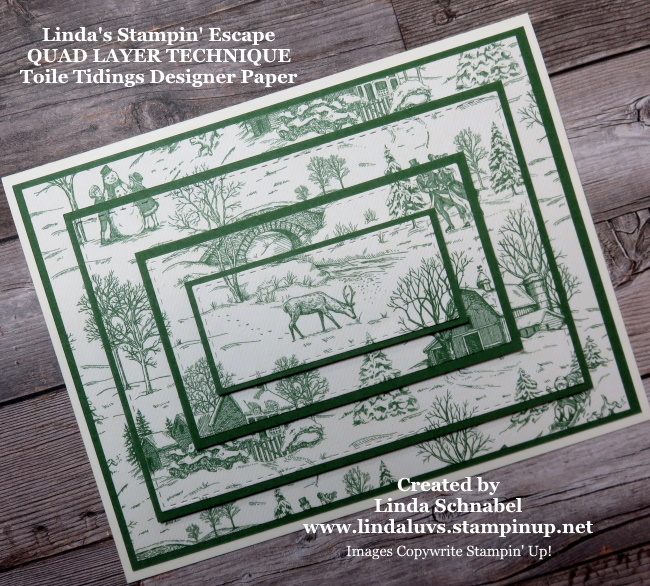
I cut the Toile Tidings 5-1/4″ x 3-7/8″ and layered 3 of the Rectangle Dies over the designer paper and cut them out. The Garden Green mats are cut to 5-3/8″ x 4″, 4-1/2″ x 3-1/8″, 3-5/16″x 2″ and 2″ x 1-1/8″… these will be the layers under the Designer paper.
Each layer (except the largest) are popped up with the Stampin’ Dimensionals. Although I did not add a greeting to the front of this card you most definitely can!
Each layer is aligned by the design on the Toile Tidings designer paper. It looks so cool as you add the layers to the card …
Whether you create your card with the Triple Layer technique or you go for the Quad … have fun with your cardmaking. This designer paper lends itself beautifully for this technique. With all the beautiful imagery it’s sure to be a hit!
Thank you so much for stopping by to check out my Toile Tidings Quad Layer card. Have yourself a wonderful day ~
TODAY’S STAMPIN’ SUPPLY LIST …If you liked the products used in todays card, I have links for you below. Just click on the item you would like more information on, or to begin your shopping. It will take you directly to my website. Thank you ♥
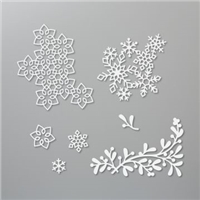
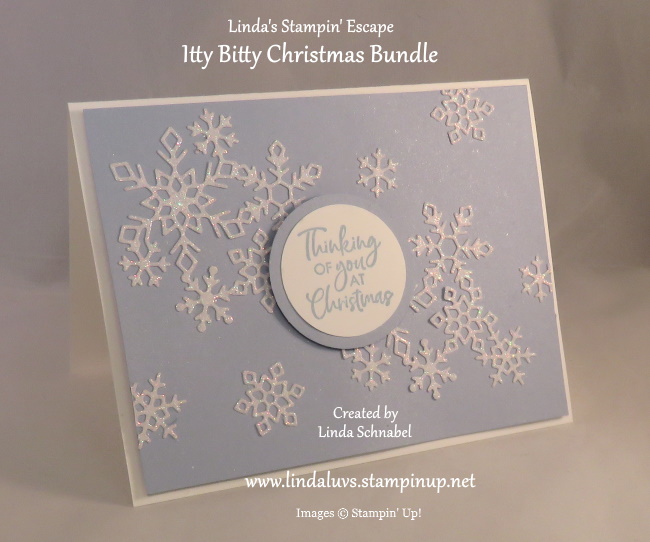
Today I am sharing cards I created with the Itty Bitty Christmas and Christmas Layers Dies, and a couple cards from Stampin’ Up! It is amazing how different each card turned out … I wanted to show the different elements of the stamp set and dies to demonstrate how versatile this pair is.
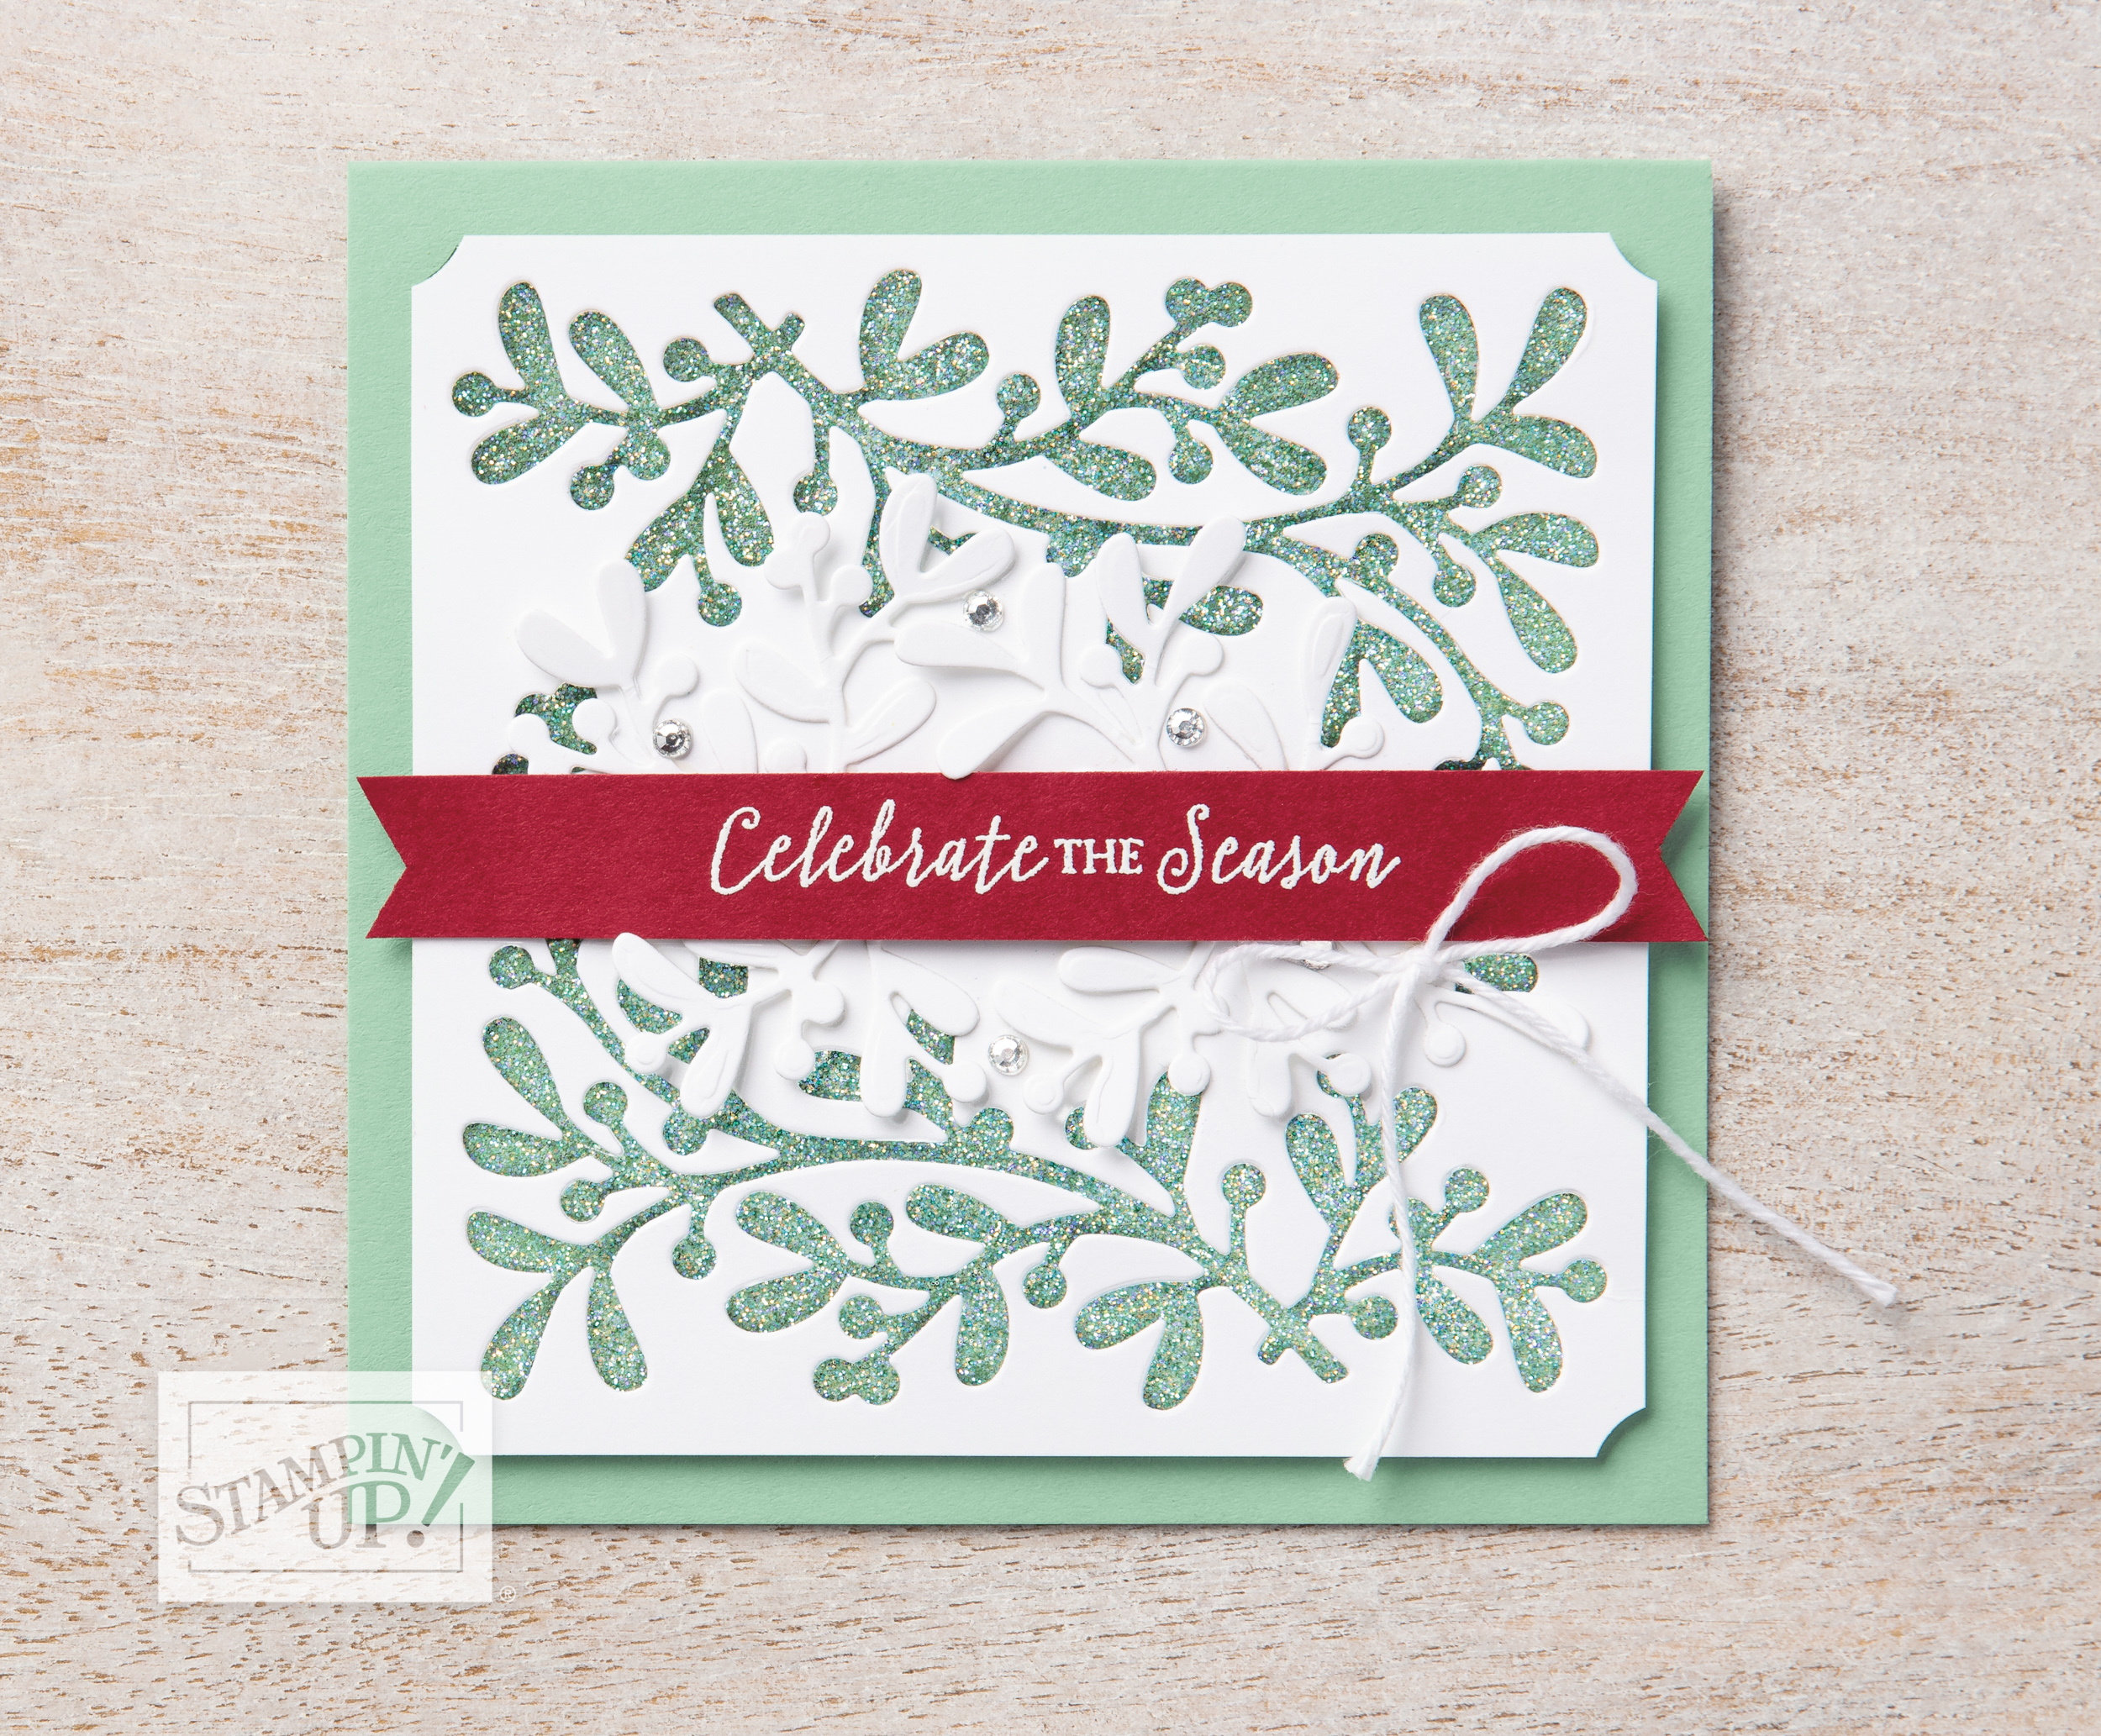
The first card is bursting with holiday flair and is decked out in gold. The floral pattern really highlights the greeting and ties in the gold throughout the card so nicely. The base is Shaded Spruce and the designer paper here is now retired but you could substitute the “Tis the Season” Designer Series paper … it has the pretty plaids too.
Here is another sample that highlights the floral dies cuts … I love these, they actually look more like a metal embellishment than a die cut piece of cardstock!! They also used the die cut image to create a fun background on this card.
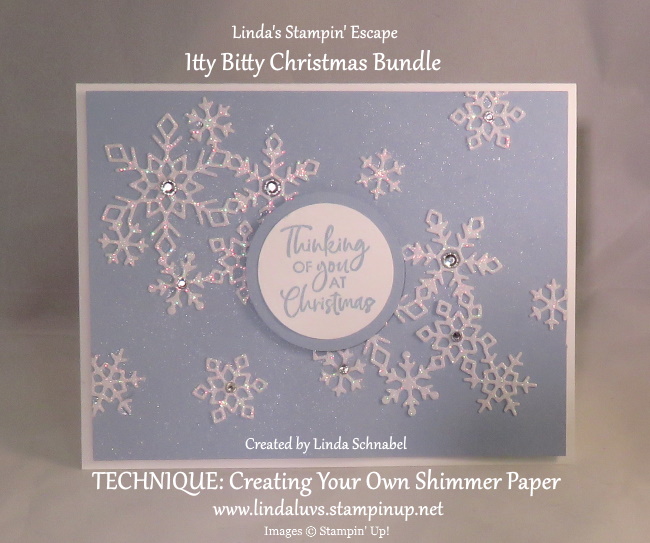
My second card is so different from the first in that we have created our own “Shimmer” paper by spritzing the beautiful Seaside Spray from our 2019 – 2021 In Color collection. For a little more sparkle, the snowflakes are cut from the Sparkle Shimmer Paper! But wait … there is one more layer of sparkle when I added the Rhinestones to the snowflakes.
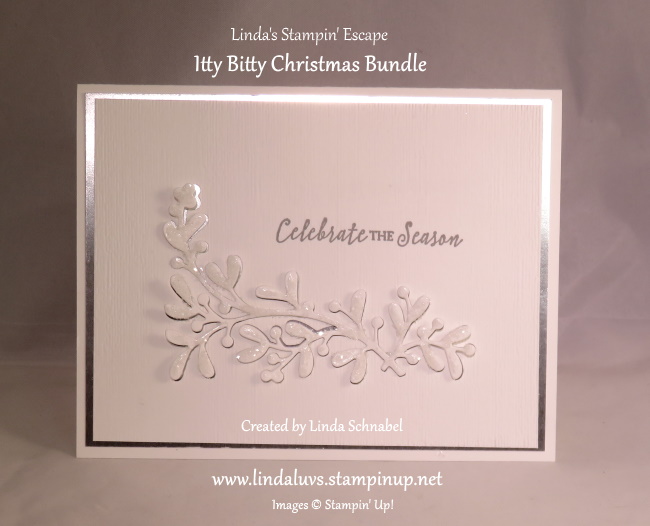
My last card of the three is just simply elegant and done with White and Silver … and yes, graced with a touch of glitter. Instead of die cutting the image and adhering it to the base as I did in the first card, I actually cut it out of the front and used it to impose a second layer to the card… stunning.
I have another samples the highlights the foliage die …
If I didn’t tell you these cards were from the same stamp set and dies … you might not know that they were!!
Thanks for checking in with me today … meet you back here tomorrow for some more samples.
Have some fun today!
TODAY’S STAMPIN’ SUPPLY LIST …If you liked the products used in todays projects, I have links for you below. Just click on the item you would like more information on, or to begin your shopping. It will take you directly to my website. Thank you♥
Today I’m going to share the Video from my Tuesday night Facebook Live … Yes, I figured out how to upload it into today’s post. For those who could not make the live presentation, I thought you would love to see how easy it is to create the Window Sheet Card ….
I hope you enjoyed the video and the card! So easy to make and so fun to receive such a unique card. I would like to invite YOU to join me next Tuesday for another technique ….
I’ll be back tomorrow with another card featuring the Toile Greetings Designer Series paper … but it won’t be Christmas!!
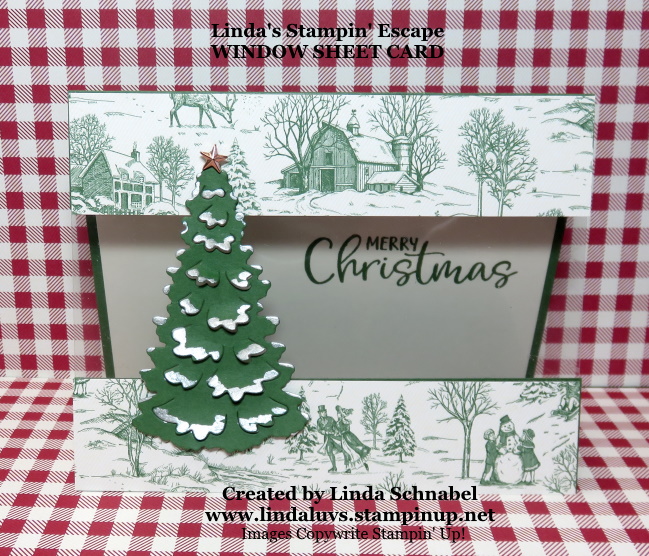
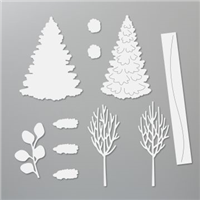
Today I have an adorable “Window” card to share with you that I created with the In the Woods Dies and the Toile Tidings Designer Series paper (Save 15% through Oct.31st, 2020).
I usually share my Technique Tuesday video with you today but I could not get it to download … but you can check it out on my Linda’s Stampin’ Escape Facebook page.
Let’s begin with dimensions: Start with a 6-3/4″ x 5-1/2″ piece of cardstock … I used Garden Green for today’s card. Your cardstock will sit into your paper cutter horizontally (or landscape). You will score at 4-1/4″ and cut at 5-1/2″ … this cut will leave you a 1-1/4″ x 5-1/2″ piece.
Your window sheet will be cut just shy of 5-1/2″ x 4-1/4″. Now, align the 1-1/4″ x 5-1/2″ piece that was cut off and align it with the bottom of your card. Sliding in your inside layer into your card, you can align it so you can stamp your greeting. The Merry Christmas comes from the exclusive stamp set enclosed in this months Paper Pumpkin.
Once the greeting is stamped and the cardstock is secured inside, we can align the window sheet to the top flap of your card. Then align the 1-1/4″ x 5-1/2″ pieceto the bottom of the card, then secure the window sheet to it.
The Toile Greetings Designer Series paper will then go over the top and bottom pieces (covering them up) and the window will be securely in place … Now it’s time for our tree! The die cut tree is multi-dimensional, once we pulled the branches up, I painted them with Shimmer Paint.
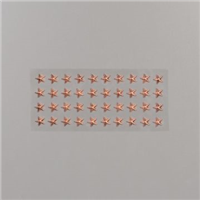
Once the paint dries you can mount your tree onto your card. I did mine with the Mini Dimensionals but you could mount it directly to the card front. As far as our pretty star … that embellishment was voted on by my Facebook Live views last night.
I thank you for joining me today, have a good one!
TODAY’S STAMPIN’ SUPPLY LIST … If you liked the products used in today’s projects, I have links for you below. Just click on the item you would like more information on, or to begin your shopping. It will take you directly to my website. Thank you ♥
Bells are ringing, angels are singing, and the new Joy to the world Paper Pumpkin Kit is here! And we have another amazing kit on the way … keep reading!
The Joy to the World Paper Pumpkin Kitwas designed to bring people together—connecting them with one another and spreading joy with each other around the world! I will be sharing more from this kit, including alternative projects later this week.
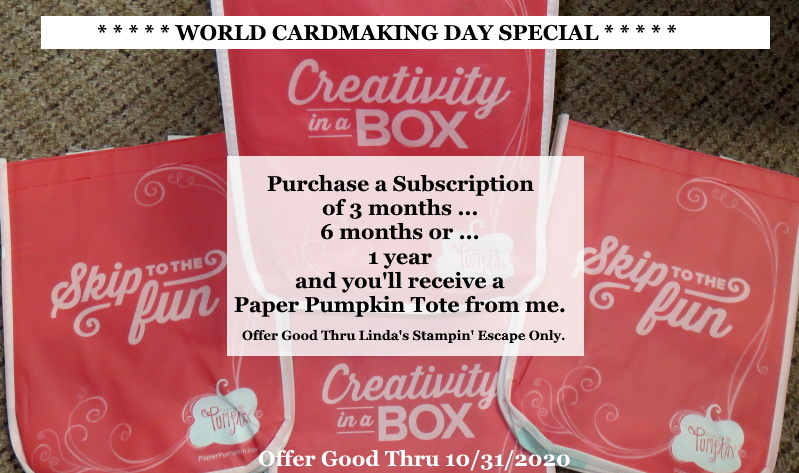
I have a couple of the tote bags left if you’d like one … Purchase a 3, 6, or 12 month subscription (Just click the links below) and I will send one out to you!
Now it’s time to take a sneak peek …. We’ve baked up something special for your November Paper Pumpkin!
Make the Christmas season a little sweeter with the Jolly Gingerbread kit! This box is filled with peppermint candy embellishments, curly designs, and an exclusive stamp set you’ll love!
Paper Pumpkin Past Kits and Refills will be available once again beginning 26 October… available products will include the September Refills and October Refills! These products will only be available while supplies last and require a Paper Pumpkin subscription to order.
Glad you stopped in today, this special offer is for any who purchases one of the subscriptions below …While supplies last
Thank you for hanging out with me today. Don’t forget to join me tonight for another technique on my Facebook Live …
Have a great day ~
TODAY’S STAMPIN’ SUPPLY LIST … If you liked the products used in today’s projects, I have links for you below. Just click on the item you would like more information on, or to begin your shopping. It will take you directly to my website. Thank you ♥
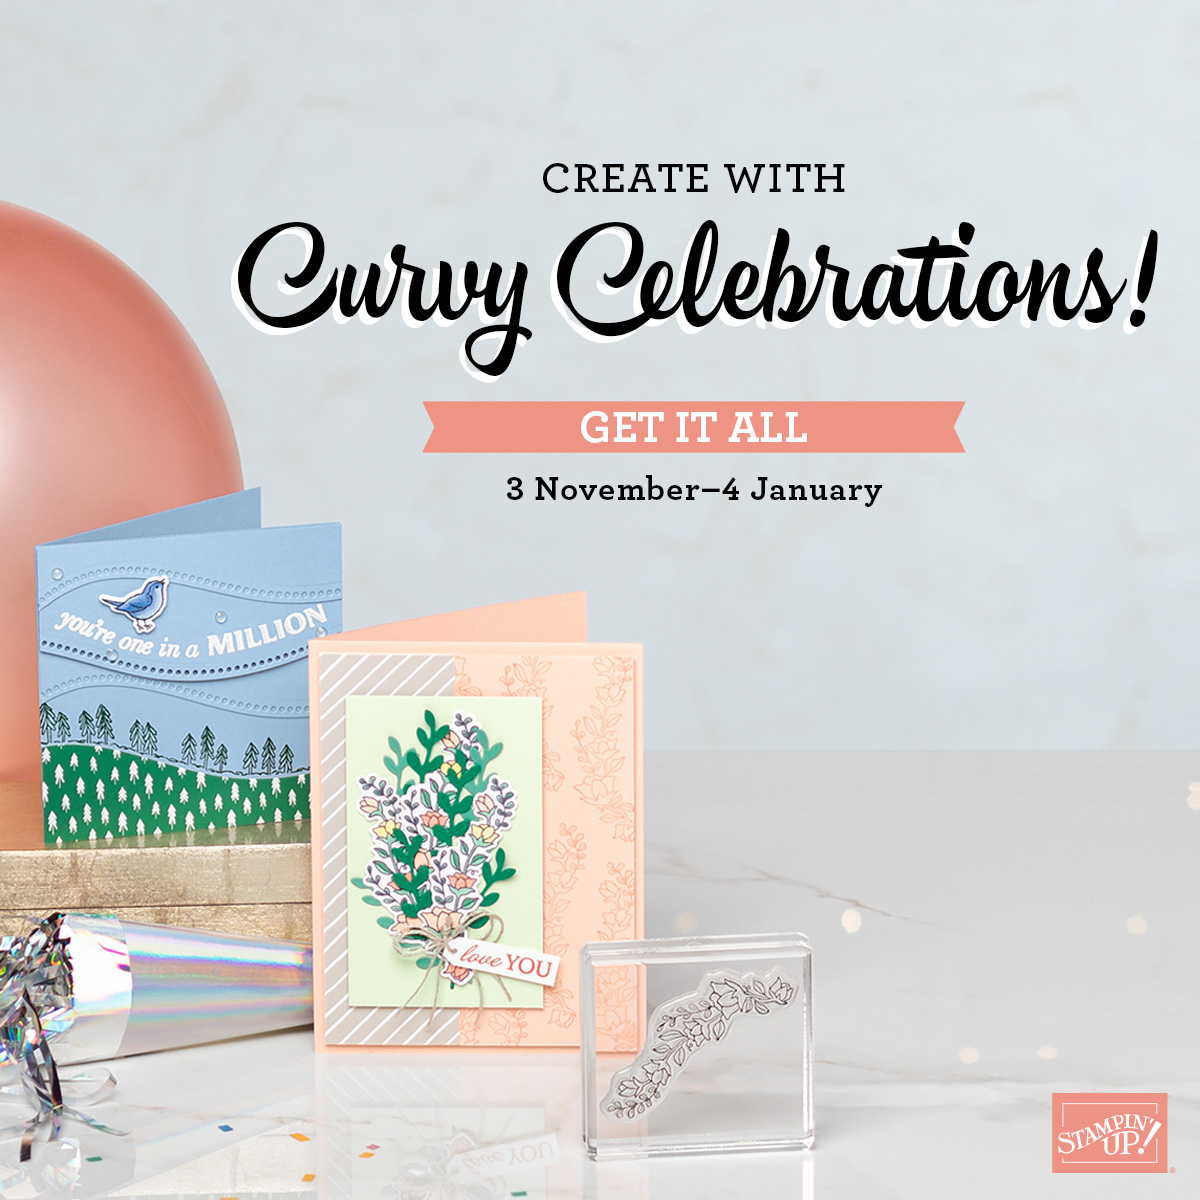
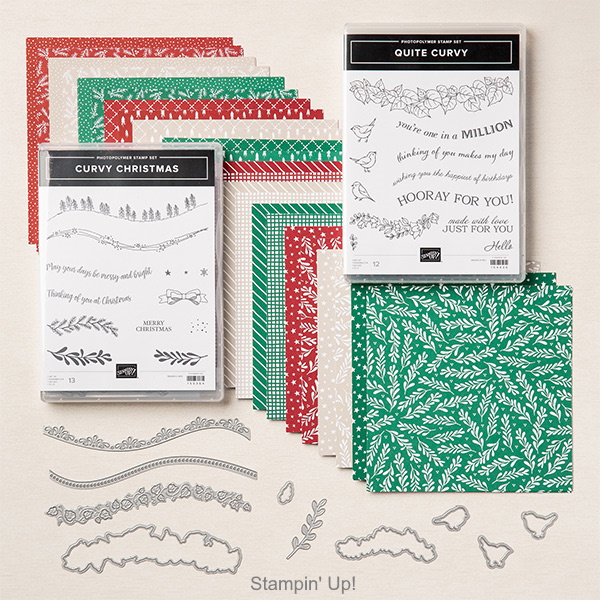
I just had to share this amazing new suite with you! It’s called the Quite Curvy bundle or the Variety Bundle which includes a Curvy Christmas! It’s a celebration and it coming on November 3rd! I’m so excited!!
The Quite Curvy Variety Bundle can be used for Christmas, New Year’s, and Valentine’s Day crafts. The products can be bought separately, or you can save 10% by purchasing them all! The Quite Curvy Variety Bundle includes everything your customers need to create cards for a variety of upcoming special occasions.
156228 – QUITE CURVY BUNDLE
158396 – QUITE CURVY VARIETY BUNDLE
This is a limited time only offer … The sales period runs 3 November 2020–4 January 2021… Let me know if you’re ready for one!
Thank you for stopping by and checking out this amazing new bundle, or should I say “Bundles”.
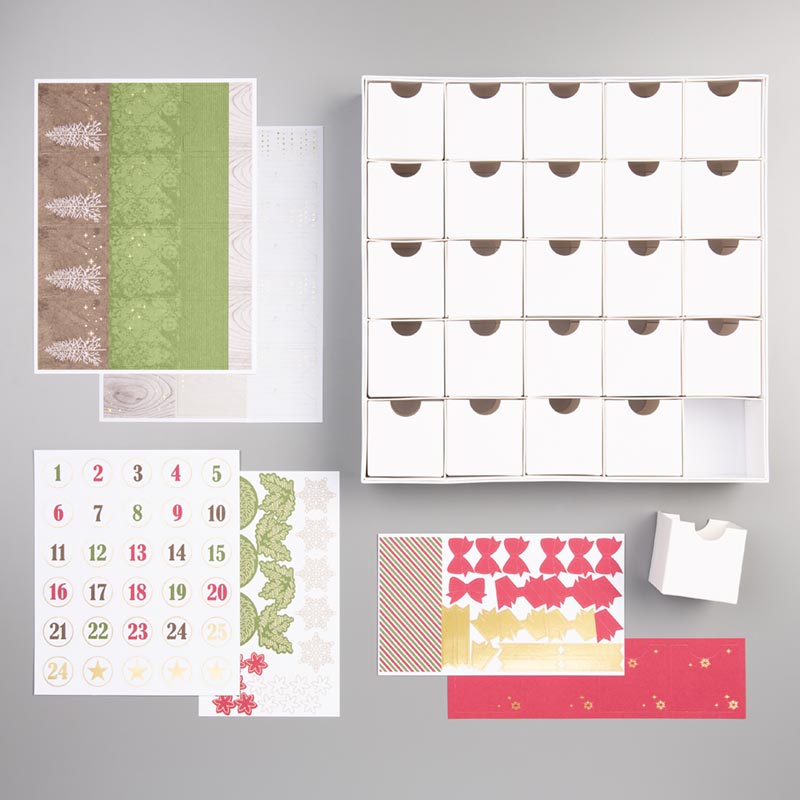
Get ready for Christmas with the Christmas Countdown Project Kit. Brought back because it was such a hit…. This Christmas craft kit let’s you create your own hand-crafted advent décor.
Fill the boxes with small gifts, and let the countdown begin! Kit includes enough supplies to create 25 mini boxes, plus a sturdy outer box to hold them all. Complete using the Christmas Countdown Stamp Set.
You and your family will love our new project kit over the Holidays. You can create your own countdown kit or join me and your fellow stampers for a fun evening out, and coming home with this fun 3-D Calendar! Stop back tomorrow as I will be posting all the details for this class.
As Christmas inches closer, you will enjoy the Christmas Countdown Project Kit by Stampin’ Up! to keep track of what day it is and watch as the little ones discover some fun gifts or treats.
Have a wonderful day and thank you for stopping by today.
TODAY’S STAMPIN’ SUPPLY LIST … If you liked the products used in today’s projects, I have links for you below. Just click on the item you would like more information on, or to begin your shopping. It will take you directly to my website. Thank you ♥
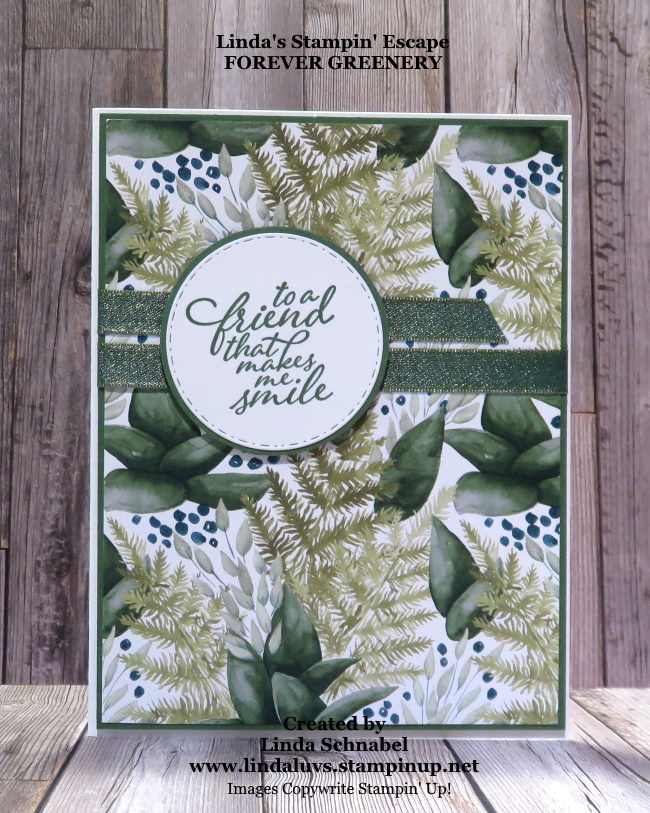
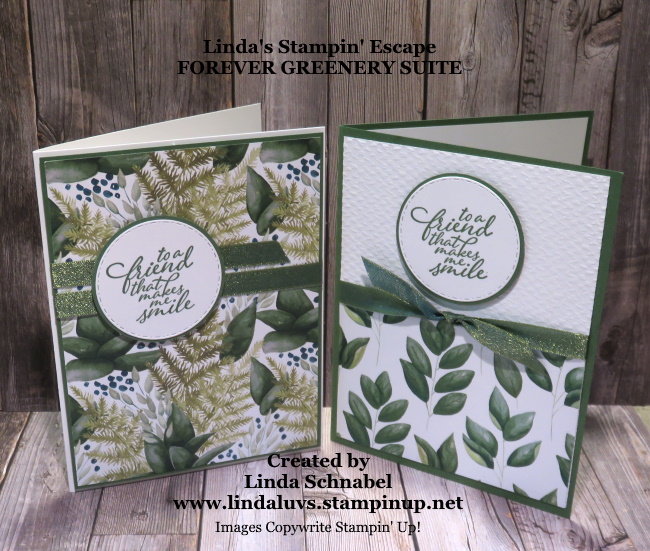
Today I’m sharing two cards created with the Forever Greenery Designer Series paper. I made these cards for some wonderful ladies who have supported me and my business through orders, clubs, classes or attended retreats … I have more cards on the way!!
I also have some more Mini Catalogs … Who NEEDS one!? If you don’t have a those holiday pages in your hands, please let me know. I’m one of those people who needs it in my hands so I can go over it again, and again!
My first card uses a quarter sheet of the Forever Greenery Designer Series paper … trimmed down an 1/8 of an inch to have a Garden Green mat behind it …
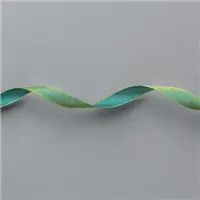
The ribbon is stunning!! It is the Old Olive/Pretty Peacock Reversible Ribbon. It matches perfectly with the Forever Greenery Designer Series paper because of all the beautiful shades of green in this paper.
My next card began with a 1/4 sheet of another pattern from the designer paper but then cut in half. You will get 24 cards out of your designer paper with this layout …
Along with the pretty paper and beautiful ribbon, I’ve added a touch of texture to this card … the Tasteful Textile embossing folders. It adds such a pretty touch to the card.
The greeting comes from the Forever Fern bundle but the die cut circle comes from the Heartwarming Hugs product suite … you must check it out, it is soo cool.
Hope you have enjoyed my card share today, feel free to leave a comment below. Thank you so much for stopping by ….
Have a great weekend!
TODAY’S STAMPIN’ SUPPLY LIST …If you liked the products used in today’s projects, I have links for you below. Just click on the item you would like more information on, or to begin your shopping. It will take you directly to my website. Thank you ♥
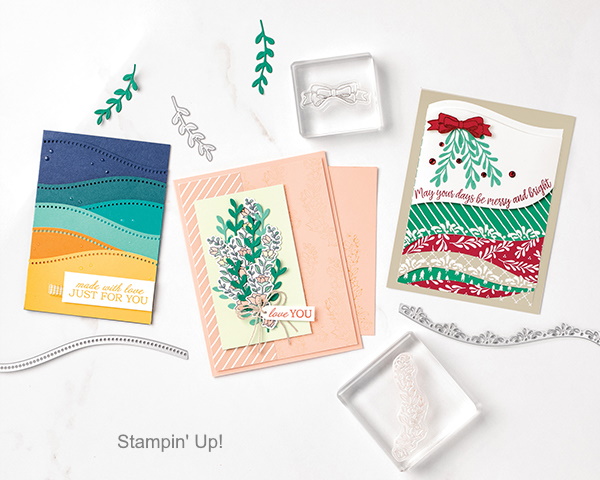
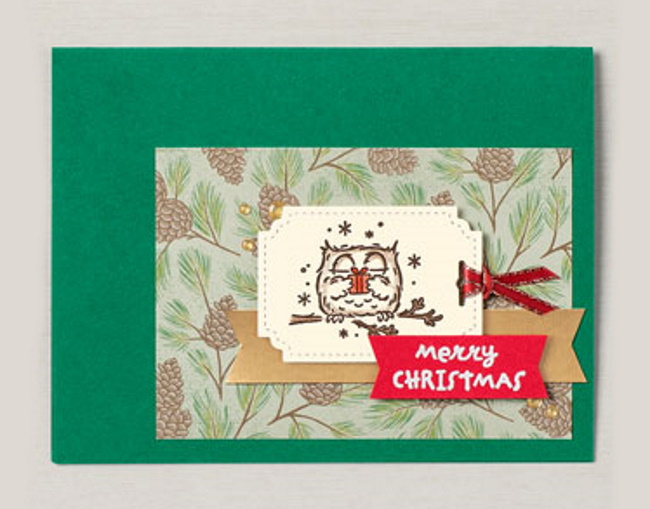
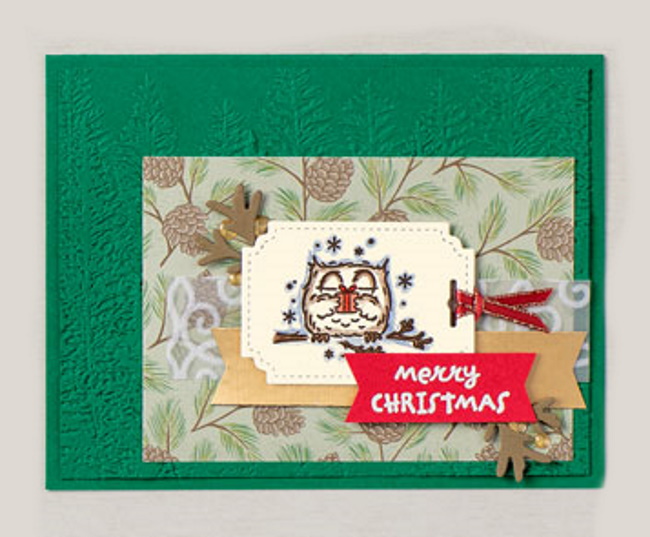
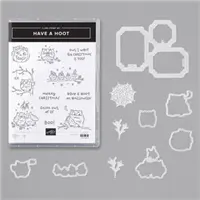
Today I’m going to share the “Have a Hoot” stamp set while showing a progression of simply stamping to the avid stamper who wants it all … These cards were created by the home offices of Stampin’ Up!
Let’s begin with our first card …
CASUAL We kept things simple on the first version of this cute card. A few simple layers, a splash of color, ribbon, and a sentiment popped up using Stampin’ Dimensionals. This cheerful, little project takes just minutes to make and would be the perfect solution for a casual crafter workshop.
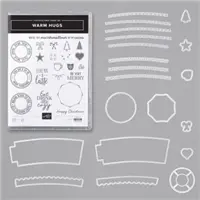
AVID Step up the charming second card by running the tag through the Stampin’ Cut & Emboss Machine using the Peek-A-Hoot Dies for a stitched-edge look. Fold the gold-trimmed satin ribbon in half, insert the ends through the hole in the tag, then pull them snugly through the loop at the end of the ribbon. We added a little extra pop to this card with a layer of Poinsettia Place Designer Series Paper, some Gold Glitter Enamel Dots, and heat embossing.
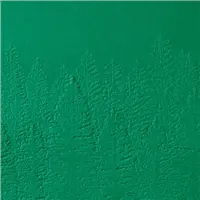
STEPPED-UP AVID Our fanciest card is a real hoot. We embossed the card front using the Stampin’ Cut & Emboss Machine and the Evergreen Forest 3D Embossing Folder, adhered die-cut branches, and added a strip of Plush Poinsettia Specialty Paper. Perfect!
Whoo wouldn’t love to have a Christmas cardmaking party featuring these cute, outdoorsy cards? We certainly wood . . . er . . . would! Ask me about a “Facebook Virtual Party”!!
I thank you for joining me today, hope your day is good one! Enjoy the kick-off to the weekend ~
TODAY’S STAMPIN’ SUPPLY LIST …If you liked the products used in today’s projects, I have links for you below. Just click on the item you would like more information on, or to begin your shopping. It will take you directly to my website. Thank you ♥