Hello Stampin’ Friends ~
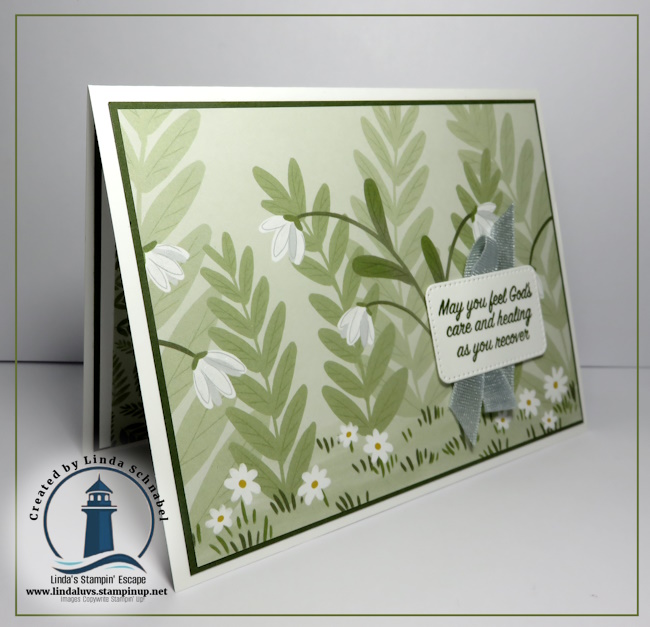
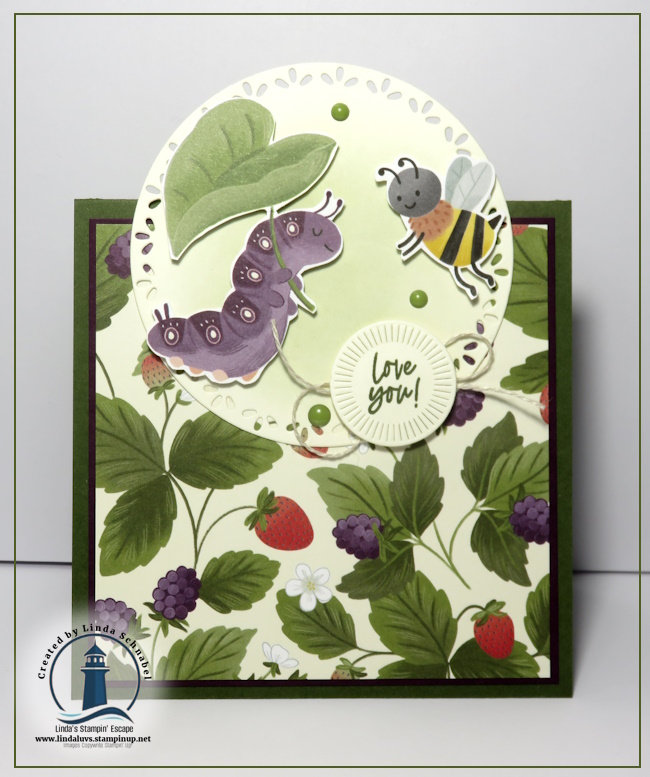
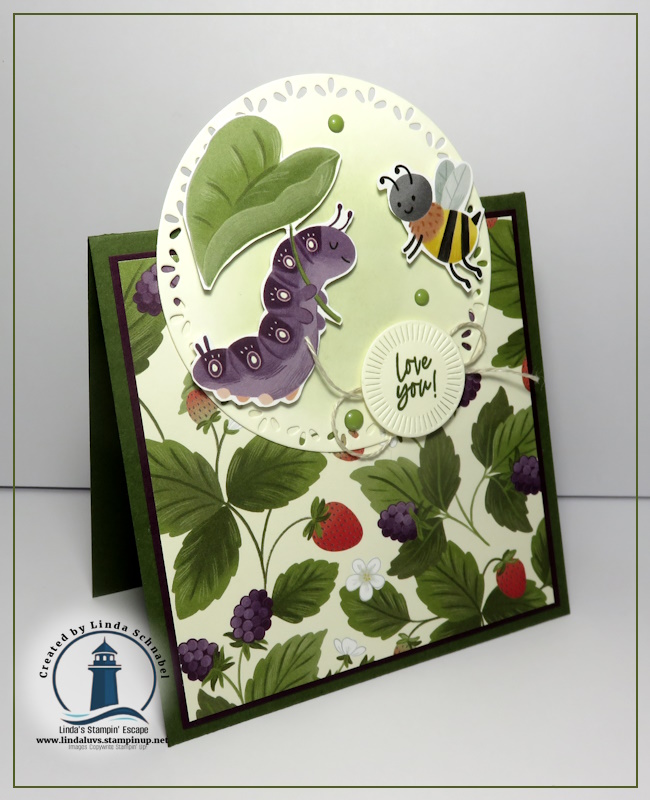
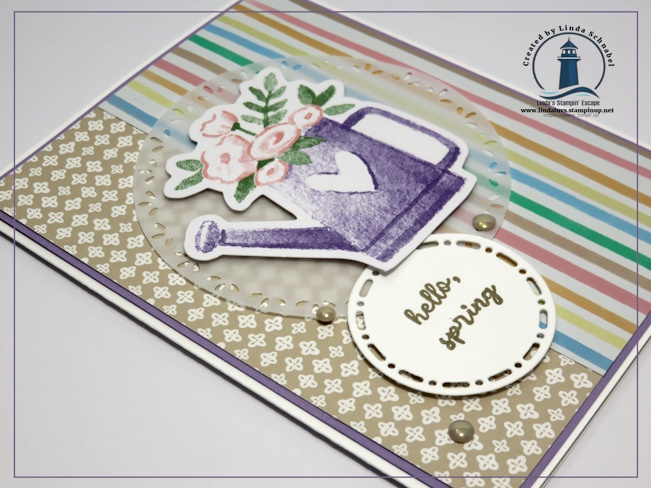
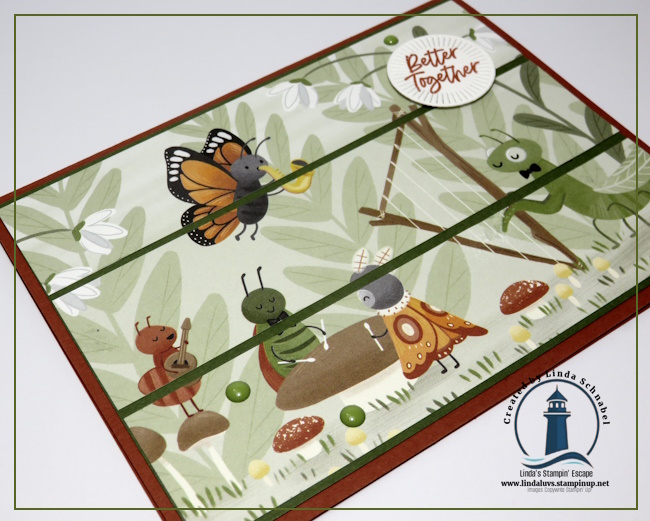
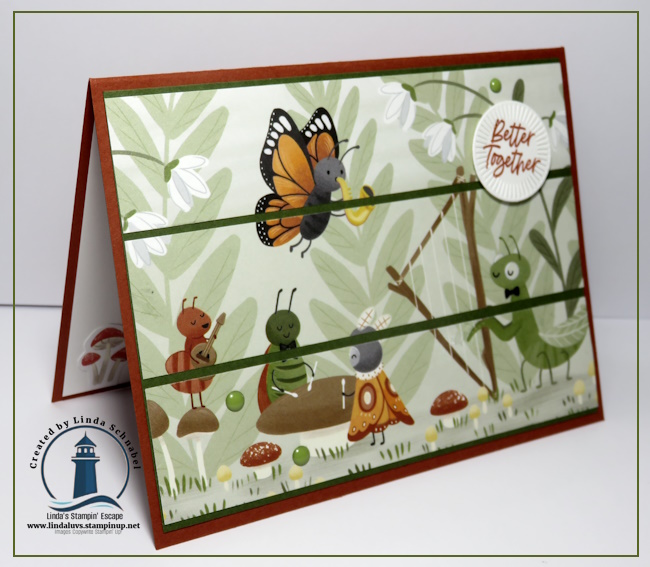
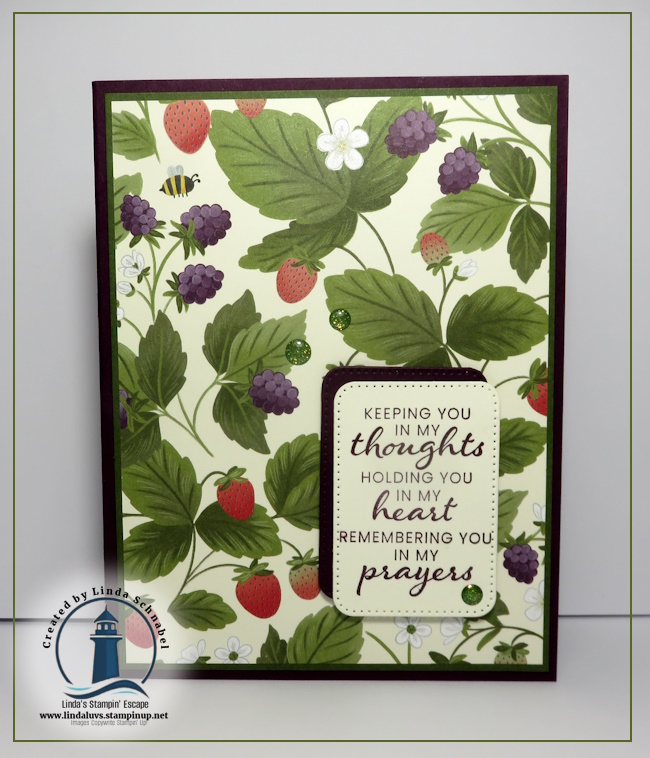
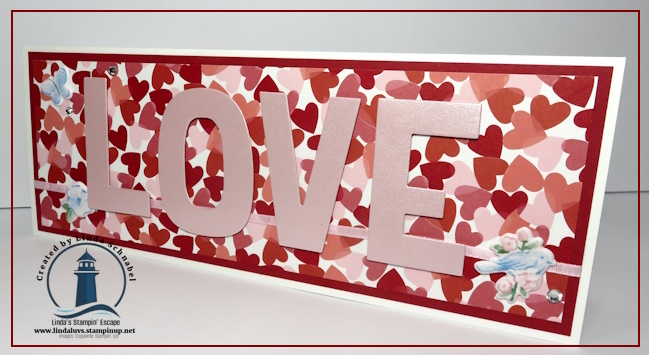
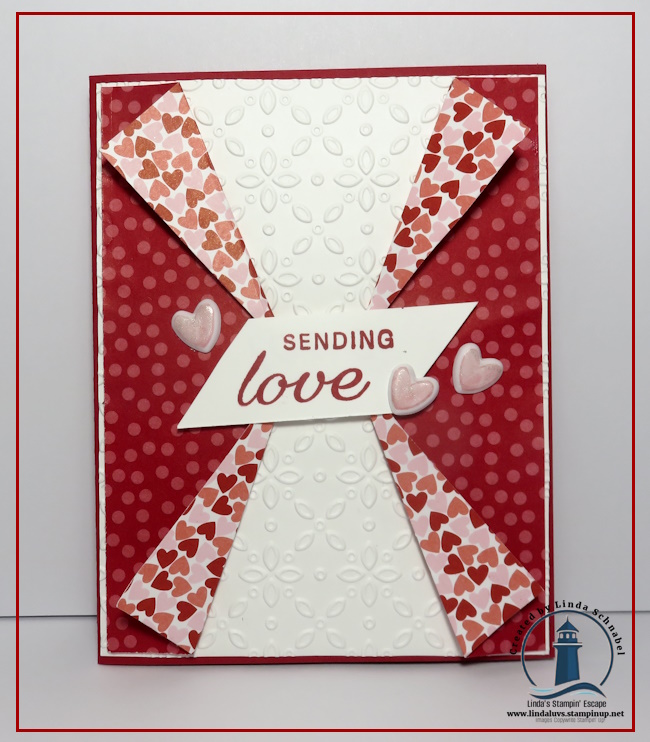
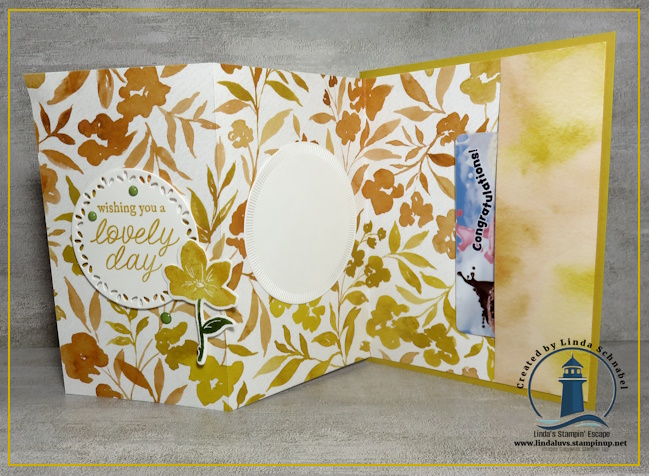
It’s been a while so I’m coming back with a beautiful card and video. There’s something extra special about giving a handmade card… and when it includes a thoughtful little gift inside, it becomes even more meaningful! Today I’m sharing a Simply Beautiful Fun Fold Gift Card Holder that is as elegant as it is practical—perfect for birthdays, thank yous, or just because.
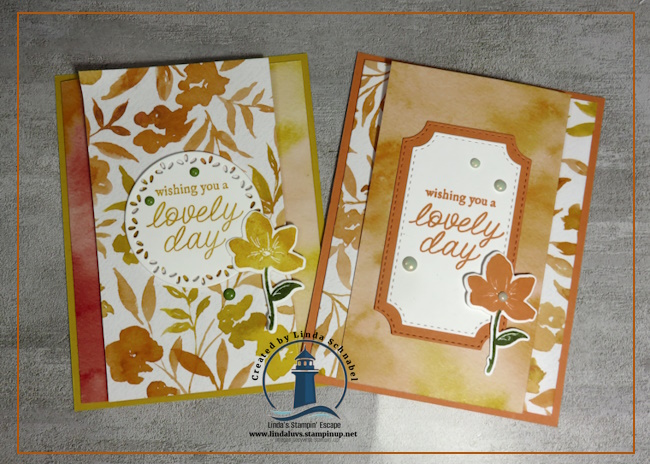
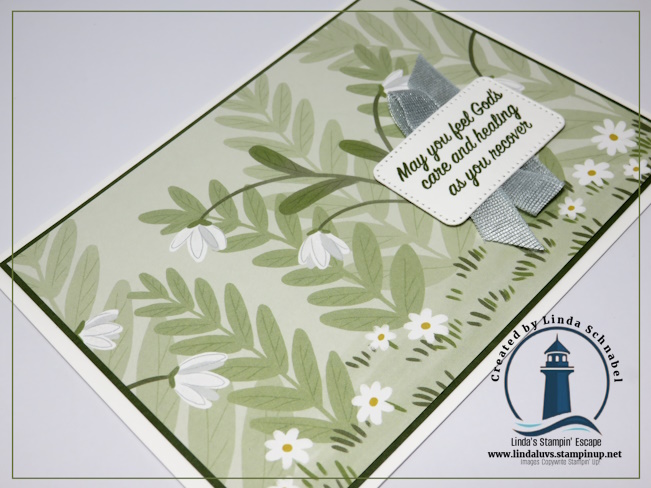
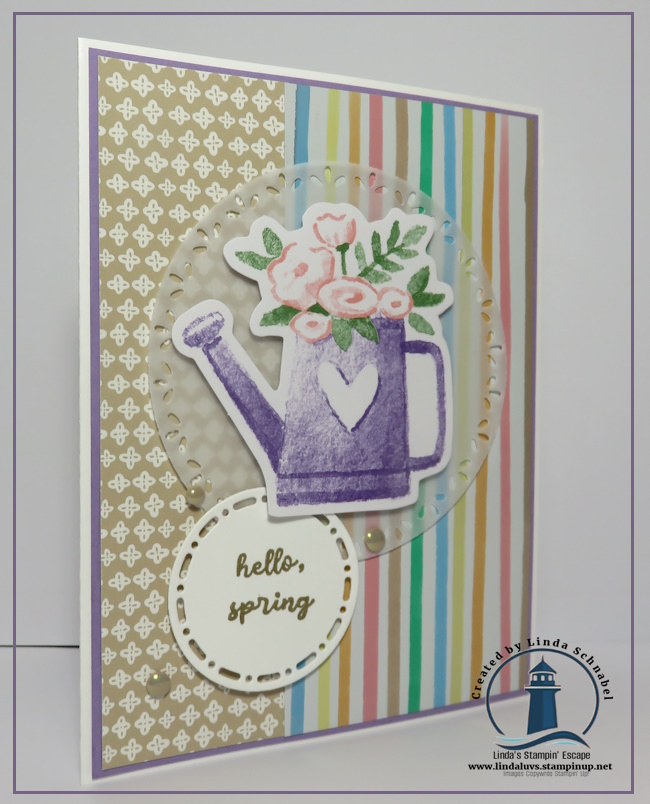
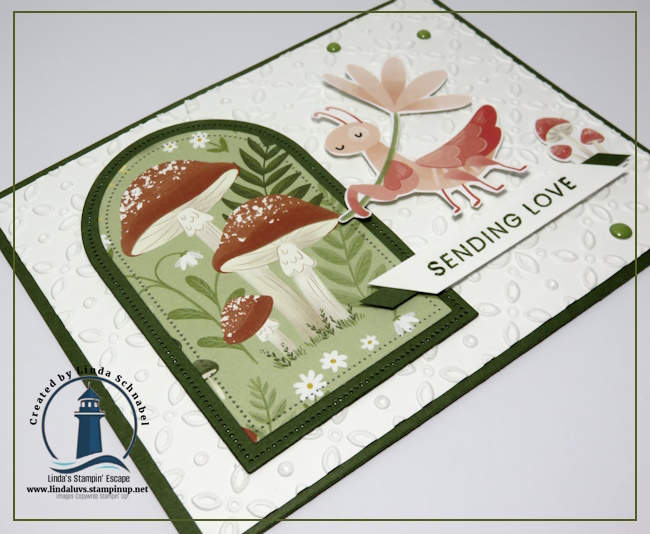
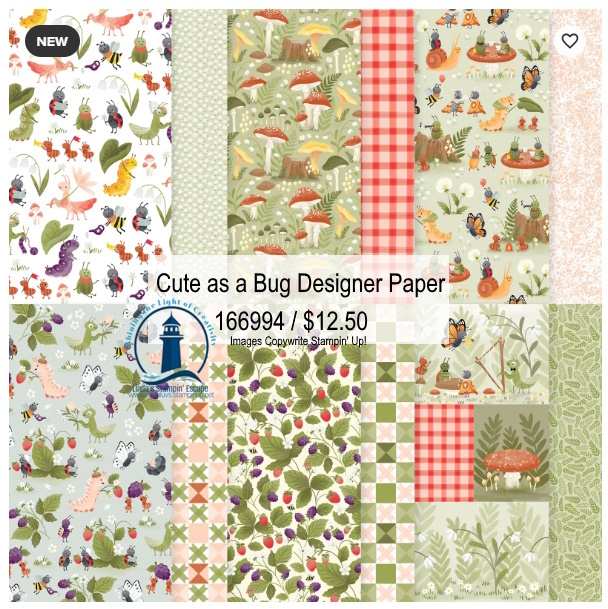
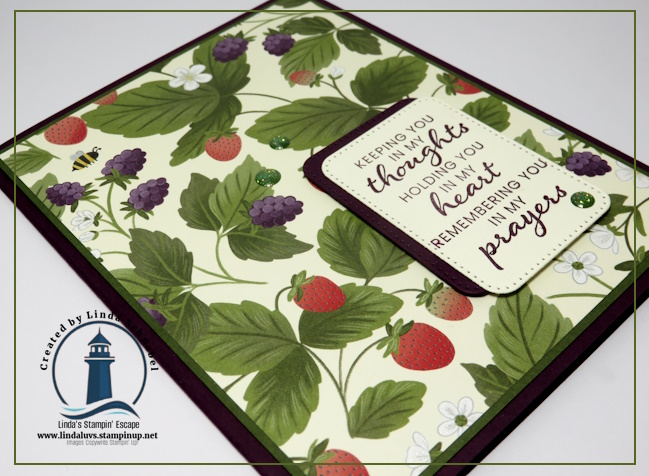
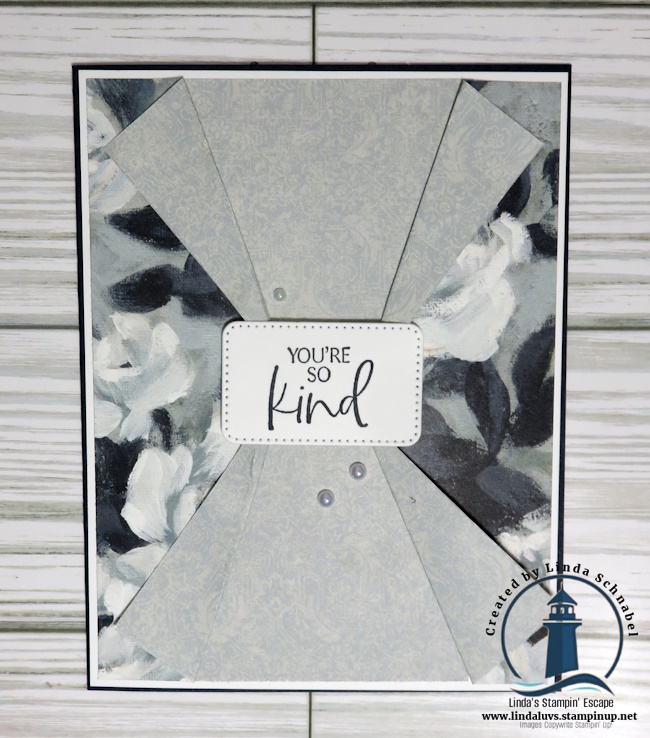
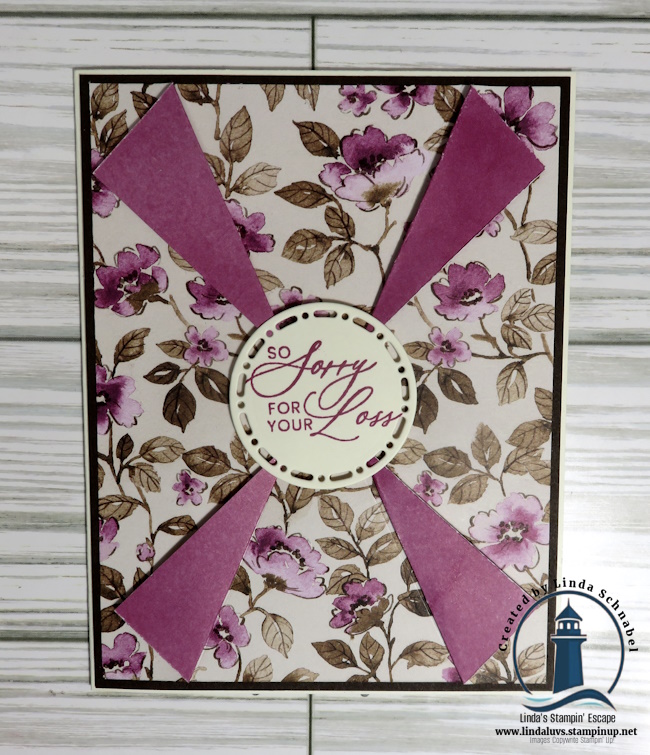
This design highlights the stunning Garden Poetry Suite Collection, where lush botanical imagery meets rich, vibrant color… and a great way to show both sides of the paper! The Designer Series Paper truly does the heavy lifting in this project, making it easy to create a card that feels layered, detailed, and beautifully coordinated without a lot of extra effort.
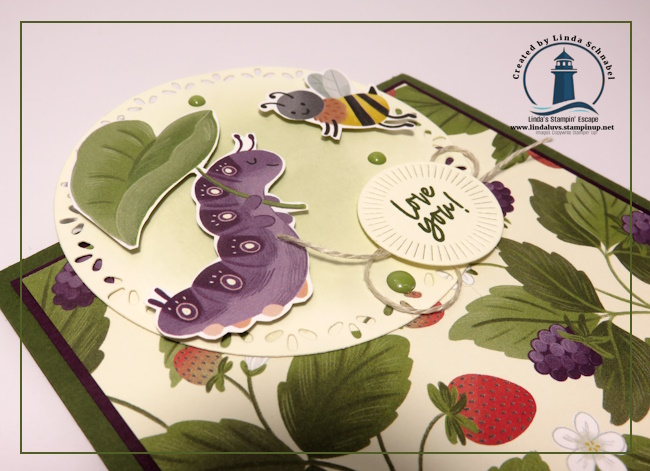
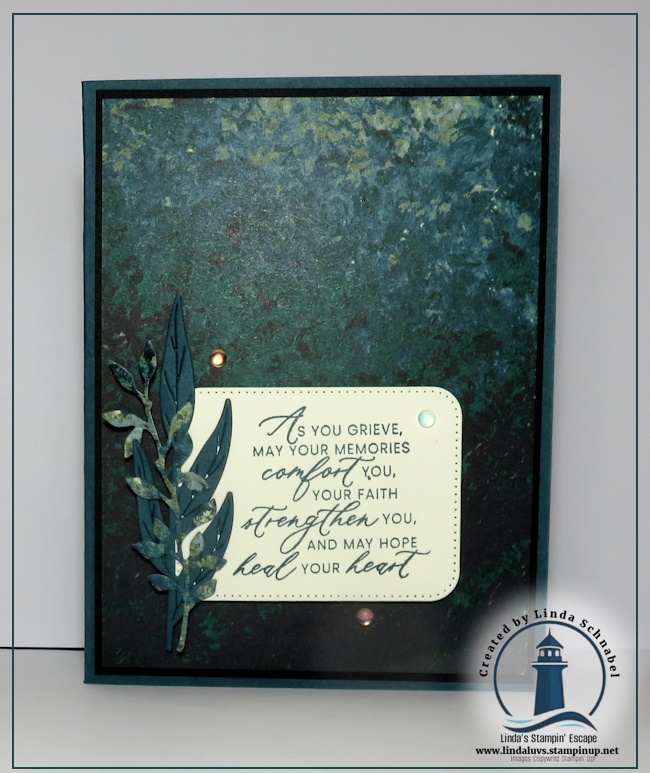
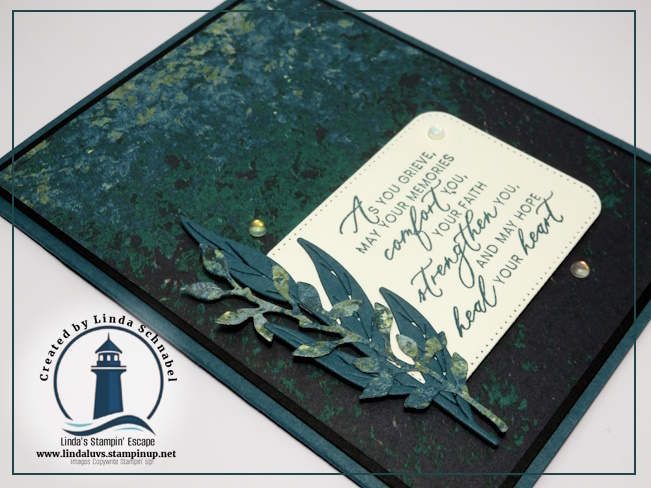
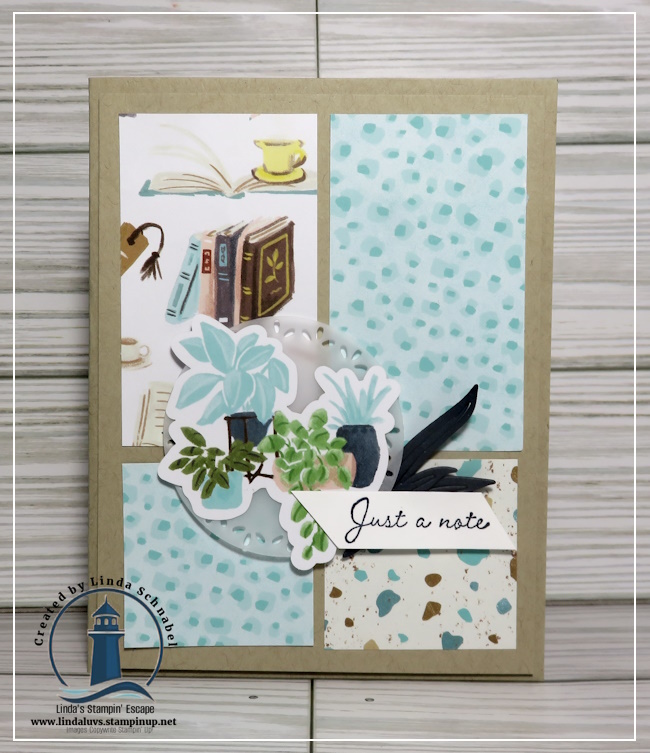
Whether you’re layering floral elements, accenting with delicate greenery, or finishing your card with a pop of color or shine, every piece in this suite works together seamlessly. I especially love how the patterns add depth and interest while still allowing the sentiment to shine front and center.
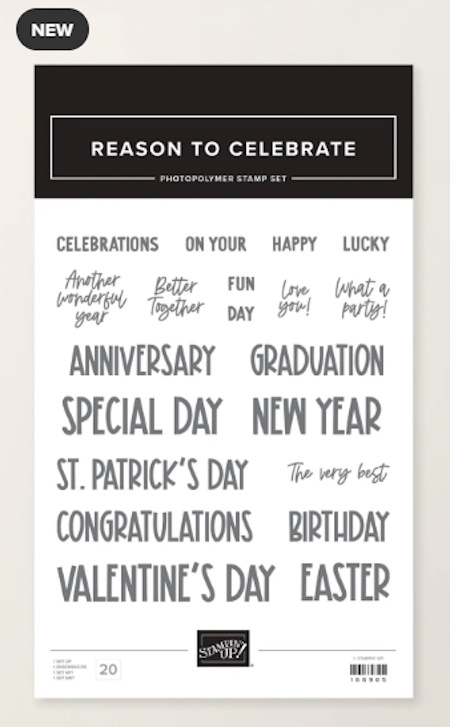
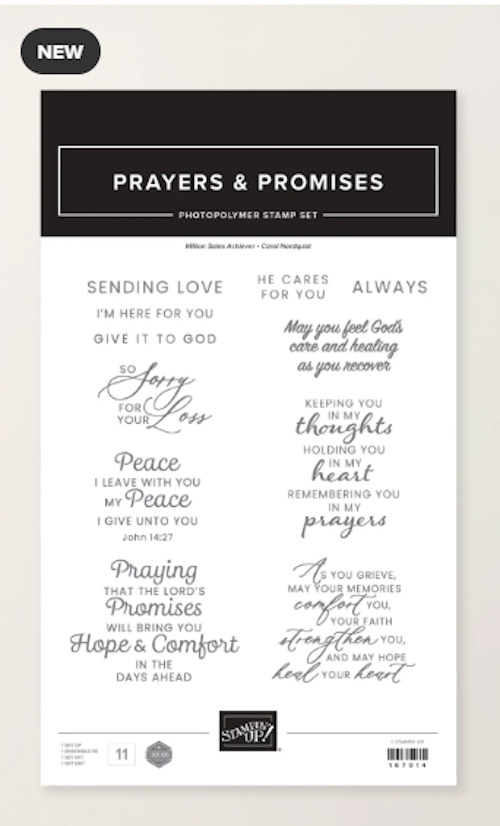
The coordinating stamps and dies make it easy to add those perfect finishing touches. With heartfelt sentiments focused on gratitude, appreciation, and positivity, this suite is ideal for creating cards that truly connect. And of course, adding a hidden gift card holder inside takes your handmade creation to the next level!
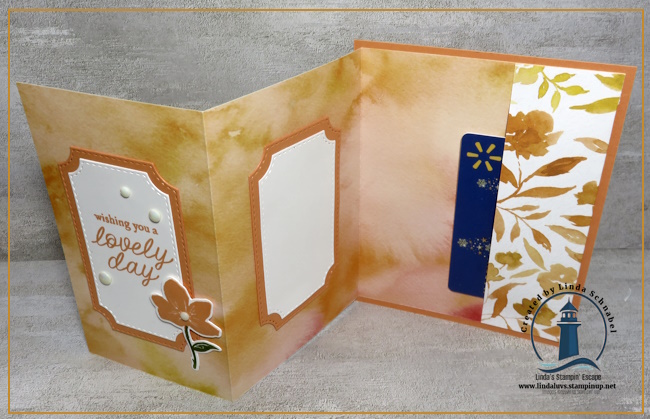
In the video, I’ll walk you through exactly how to create this fun fold step-by-step, so you can easily recreate it with your own favorite paper combinations. Be sure to watch for a few tips along the way that will help your card come together smoothly and beautifully—and you’ll have a stunning, giftable card ready to brighten someone’s day.
Click HERE to Watch on YouTube!
I hope this project has inspired you to create something both beautiful and meaningful with the Garden Poetry Suite. There’s just something so special about combining gorgeous paper, heartfelt sentiments, and a thoughtful design to brighten someone’s day.
If this suite has caught your eye, I’ve included links to all the products used just below for your convenience. Feel free to explore and choose the pieces that speak to your creativity—I know you’ll love working with them as much as I do.
Happy stamping, my friend… and remember, a handmade card is always a gift from the heart. 💛