Hello Stampin’ Friends ~
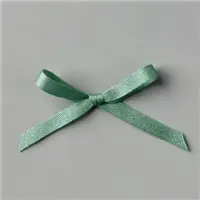
I’m excited to share today’s 5 cards with you … YES, 5 cards! Since I shared the beautiful In Color ribbons yesterday, I thought you would enjoy these ribbons used yet again! I’ve got a great way for you to make sweet -n- simple cards that really showcase the pretty In Colors.
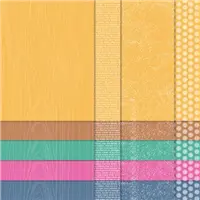
Let’s begin with a card kit … the Flowers for Every Season Memories and More Cards & Envelopes. These cute cards come in our new 2020-2022 In-Colors, and look … the envelopes are already decked out for us!!

I love these card bases for quick and easy cards. There are 2 each of 5 2020–2022 In Colors. 10 printed card bases and 10 printed envelopes. Discover Bumblebee, Cinnamon Cider, Just Jade, Magenta Madness, Misty Moonlight.
I think the Polka dots are cute so I didn’t want to hide them so my first layer … usually Whisper White measures 4″ by 3″ and fits nicely inside my polka dots. To add a touch of color I will add the coordinating In Color 6 x 6 Designer paper pack and the ribbon. For some fun … we’ll use some of the punches we have. Let’s begin ….
My first card highlights the Misty Moonlight, so what better to start with than the “Cat” punch ….
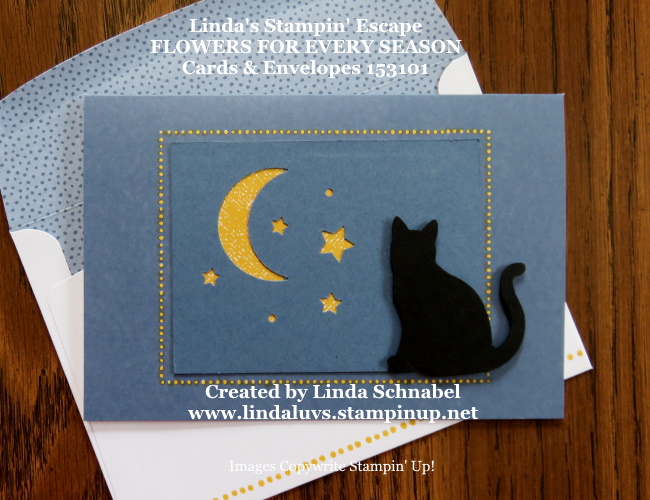
My apologies for using the “retired” moon & stars … Looks like I need to check my catalog a little closer, but it does look nice with our Cat silhouette. I colored the polka dots with my Stampin’ Blends … one touch and they were “Bumble Bee”. I also used it on the envelope (and a ruler to guide me)
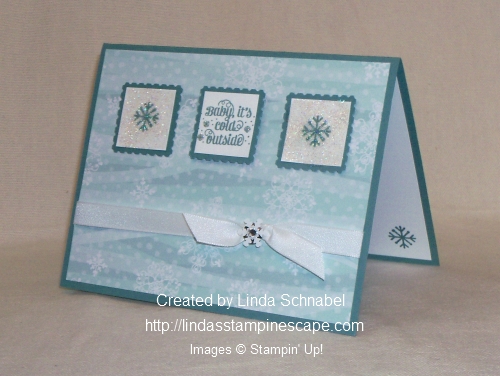
The next card highlights the Just Jade and the “Pine Tree” punch …
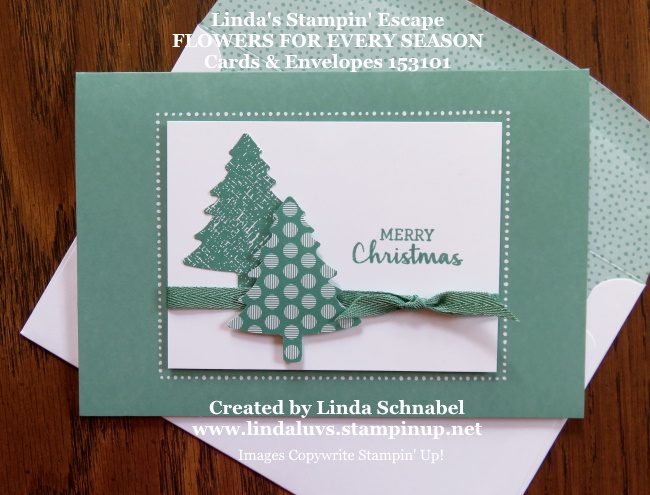
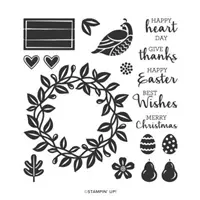
I punched the tree from two different patterns, added the ribbon with a bow (it is Christmas) and our greeting comes from the “Arrange a Wreath” stamp set. I used this stamp set for the rest of my cards today.
The third card brings us into Spring and the Magenta Madness …

I used the “Heart Punch Pack” to create this card… the scallop heart is punched in the Magenta Madness cardstock and the other heart is punched from the In Color 6 x 6 Designer paper pack. I also changed the layout from horizontal to vertical … they can be used either way.
I also switched up my ribbon from a simple bow to two lines of ribbon. Ribbon is the perfect way to add texture and color to your projects at a budget friendly price … there is a lot of ribbon on those bolts!!
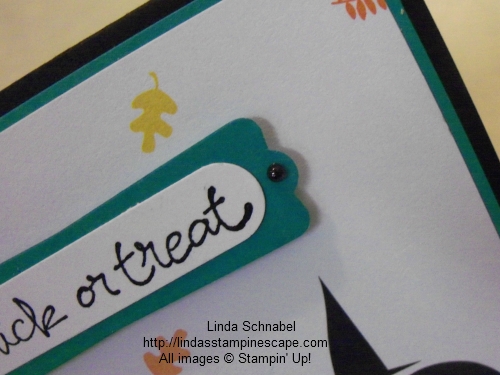
My fourth card uses the ribbon in a similar fashion, more to dress up the card than to create a bow …

Talk about a simple card … I took the “sun” embellishment out of this months Paper Pumpkin kit! It’s cute and matches perfectly. The Paper Pumpkins are designed to coordinate with other products … and the stamp set, you guessed it – also from this kit! Each month you get an “Exclusive” stamp set that you’ll have around whenever you need it.
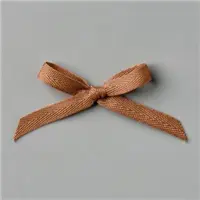
The fifth and final card today celebrates both the Bumblebee and the Cinnamon Cider …

I used both Daisy punches to create a sunflower and both the Bumblebee and Cinnamon Cider ribbon to create a pop of color and texture. The greeting is again from the “Arrange a Wreath” stamp set.
So, as you can see with the Flowers for Every Season Memories and More Cards & Envelopes as your base and a little designer paper, ribbon and punches you can create “Simple yet Stunning” cards for all occasions!
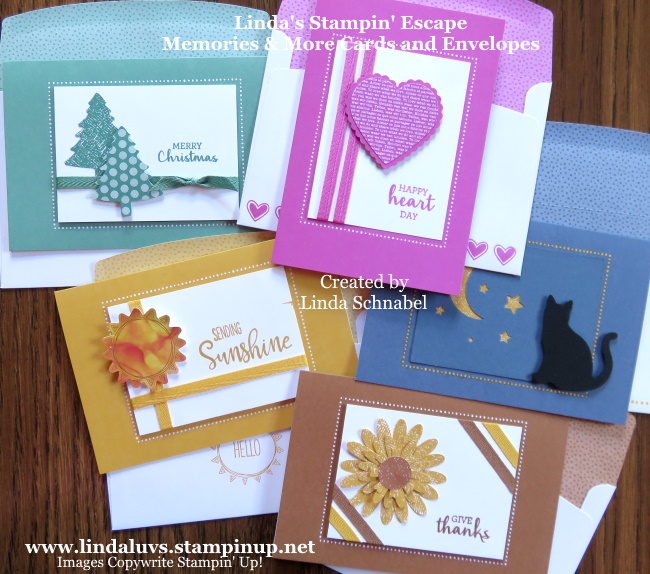
Doesn’t that look like a mailbox full of fun! I hope I inspired you to start creating, and use some of those items you have in your collection to make something fresh and new.
Thank you for spending a part of your day with me. Stop back tomorrow I’ll have more goodies for you. If you like what you saw today, feel free to leave me a quick note below or hit the LIKE button.

Here is a list of the supplies I used to create today’s cards. Find out more information about these products by clicking on the image … or you can begin your shopping from here as well. Thank you!