Hello Stampin’ Friends,
Today, I’m thrilled to share a stunning card created by our talented guest stamper, Lisa Brown, using the fabulous Latte Love Bundle. This delightful bundle includes the charming Latte Love Stamp Set and the versatile Latte Love Dies, designed to help you spread love and gratitude through fun, coffee-themed imagery and heartfelt sentiments.
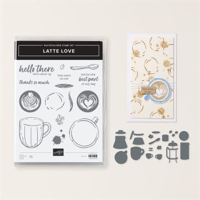
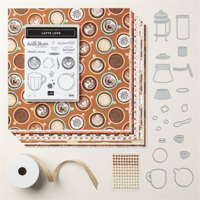
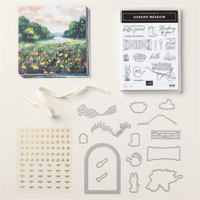
About the Latte Love Bundle
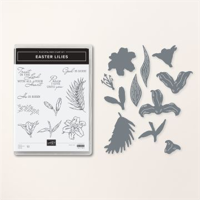
The Latte Love Stamp Set features an array of adorable coffee cups, mugs, and steaming brews, perfect for crafting cards that warm the heart. With phrases like “Hello There, let’s catch up” and “Your the best part of my day” you’ll have the perfect sentiment for any occasion. The coordinating Latte Love Dies make it easy to cut out these delightful images, adding dimension and interest to your projects.
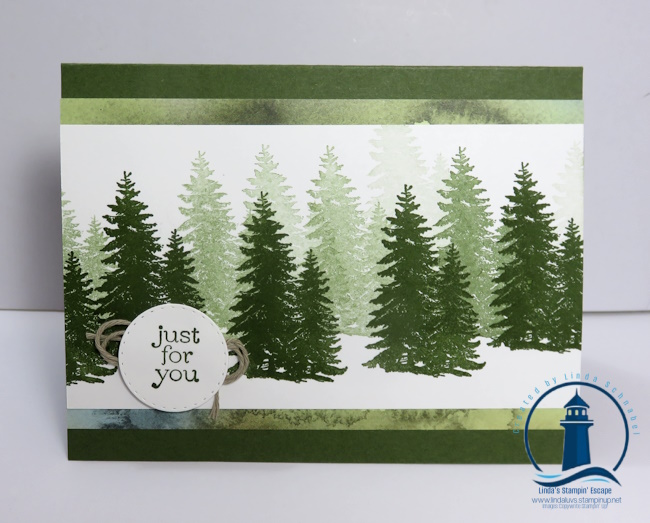
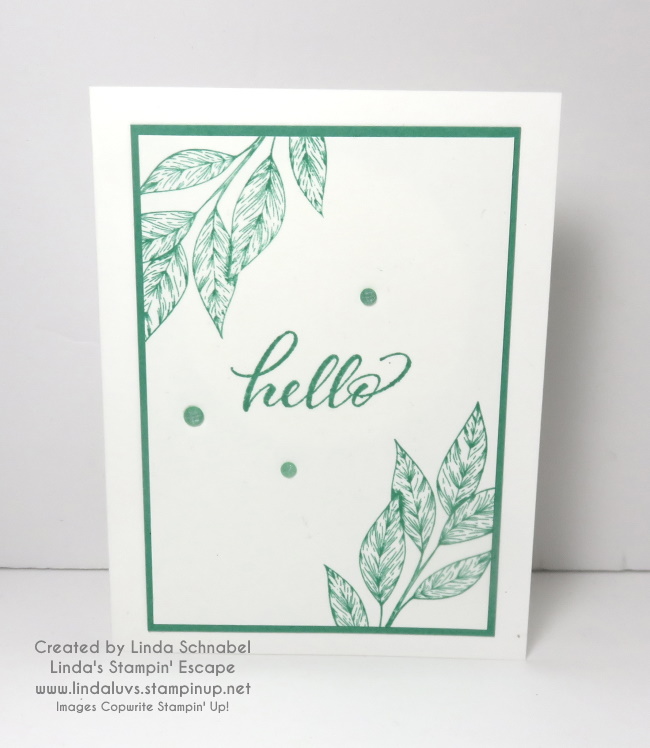
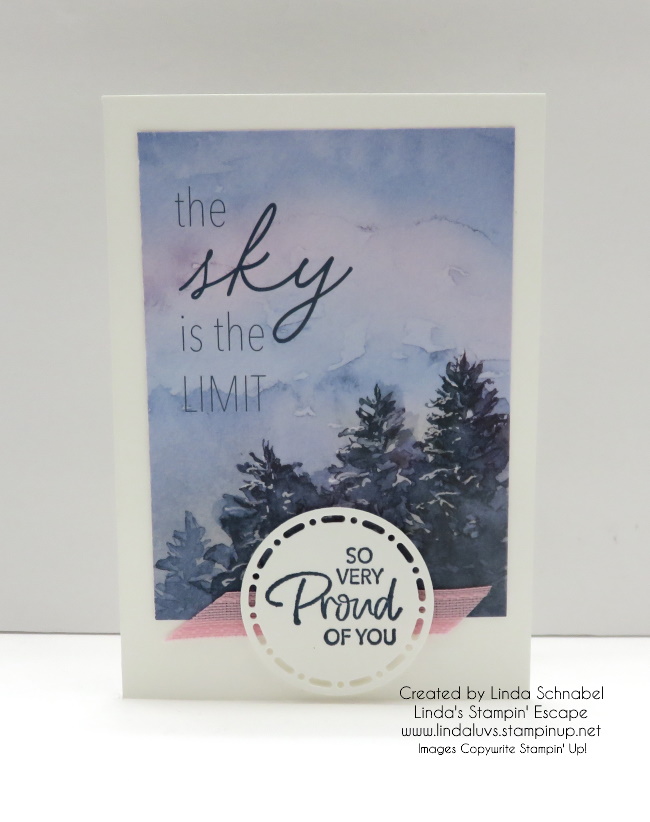
Lisa Brown’s Beautiful Card
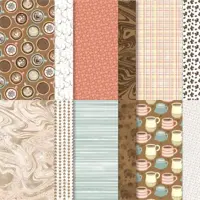
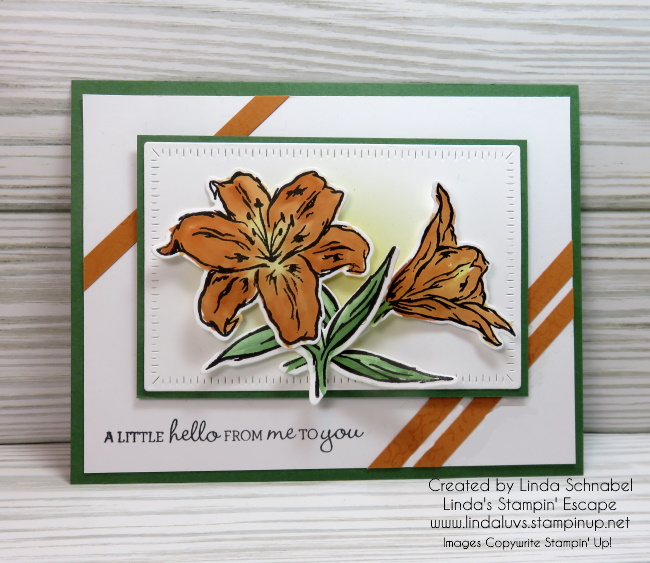
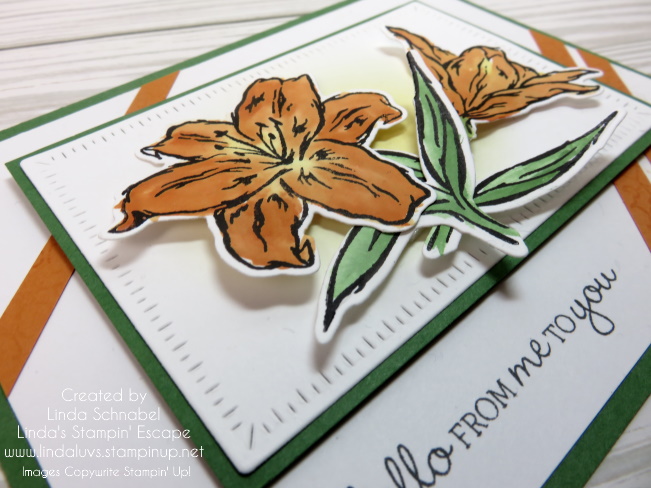
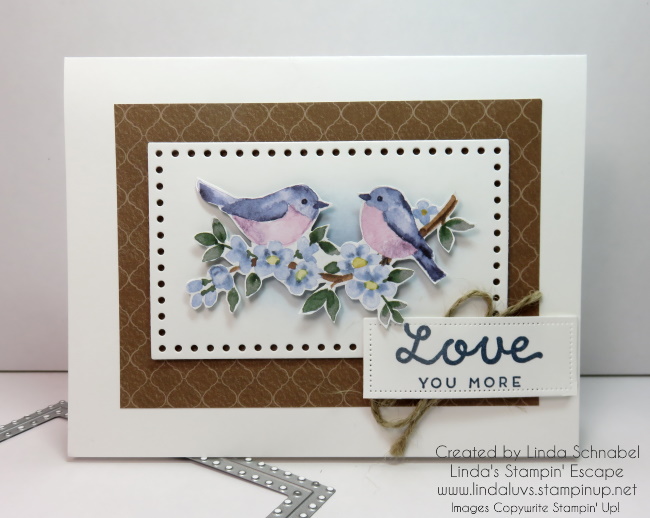
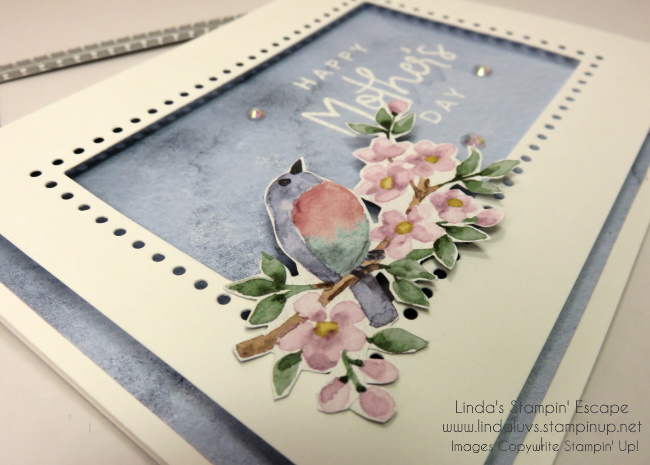
Lisa’s card showcases the endless possibilities of the Latte Love Bundle. She began with the rich, Early Espresso card base, layering it with a patterned paper that evokes the cozy atmosphere of your favorite coffee shop. Using the Latte Love Dies, Lisa cut out a couple of coffee cups, each from the stamp set. She then added a touch of color to each cup, giving them a lively and inviting look.

Why You’ll Love the Latte Love Bundle
Whether you’re a coffee enthusiast or just love charming, versatile stamps and dies, the Latte Love Bundle is a must-have for your crafting collection. It’s perfect for creating cards, tags, and scrapbook pages that express warmth and appreciation. The combination of fun images and heartfelt sentiments makes it easy to create projects that will bring a smile to anyone’s face.
Ready to see more inspiring projects using the Latte Love Bundle? CLICK HERE for additional samples and ideas that will ignite your creativity and show you just how versatile this bundle can be.
Happy crafting, and remember to savor every moment with the Latte Love Bundle! Link to grab yours is below. Thanks for stopping by!