“Most Adored: A Glittering Affair in Gold and White”

Hello Stampin’ Friends ~ 

Continuing my highlights of Color Combinations; today, we delve into the enchanting realm of gold and white, a pairing that exudes opulence and sophistication. Our spotlight shines on the Most Adored specialty designer paper adorned with this stunning duo. 

At the heart of this masterpiece lies the Gold and White Specialty Designer Paper, that whispers of elegance and luxury. The intricate rose pattern in shimmering gold elevate this paper from ordinary to extraordinary. Each petal brushed with a touch of magic – the Wink of Stella glitter brush. This subtle yet enchanting addition brings the roses to life, creating a mesmerizing sparkle that captures the essence of sophistication. 

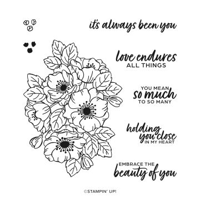
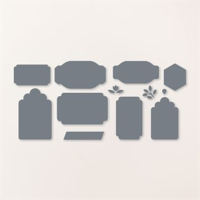
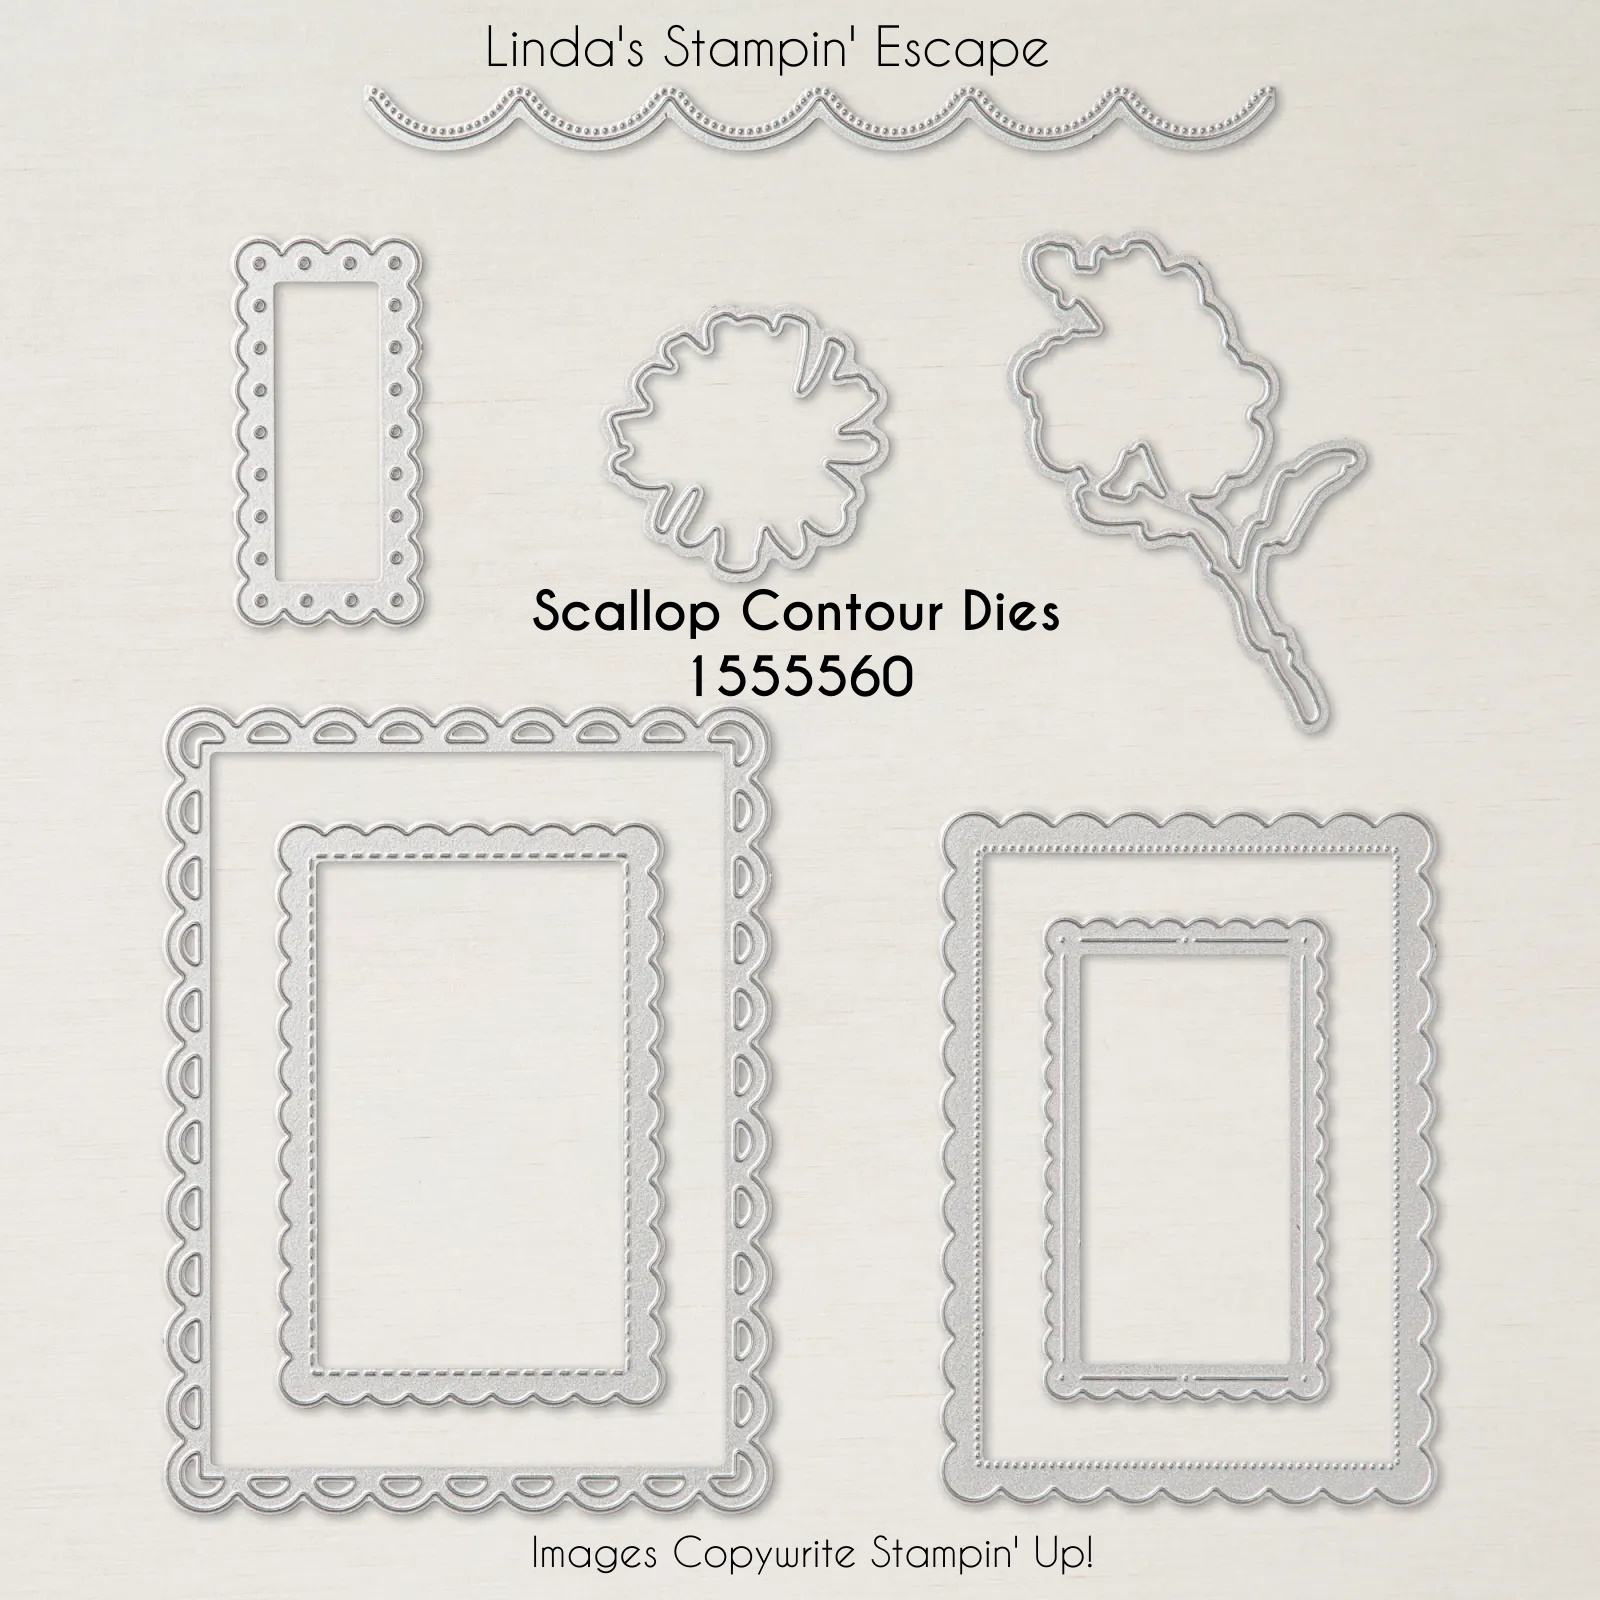
The sentiments come from the “Enduring Beauty” stamp set, embossed in gold and die-cut using the Scallop Contours Dies, adding a touch of intricacy to the overall design. The marriage of elegant script and the golden-white palette creates a sentiment that resonates with enduring charm, making it perfect for an anniversary or wedding card.

On the Flip Side: A Playful Contrast

As we flip over the designer paper, a delightful surprise awaits – a Real Red background adorned with small white hearts! I wanted to add a playful touch and die cut it with the Scallop Contours Dies.

The sentiment on this side hails from the “Bee Mine” stamp set, mirroring the whimsical charm of the small white hearts. The “Happy Valentines Day” sentiment with the hand stamped hearts are die-cut with the Something Fancy Dies, creating a harmonious connection between the elements. This playful touch evokes feelings of joy and warmth, making it ideal for projects celebrating love and friendship.

Today, we’ve explored more creative options using the Most Adored Specialty Designer Paper, where gold and white weave a tale of timeless elegance, and its flip side, adorned with playful Valentine patterns, which adds a touch of whimsy to the mix. What makes this experience even more delightful is the opportunity to acquire it for free with a $50 purchase during Sale-a-bration.

With every stroke of the brush, and every heartfelt sentiment, the Most Adored Specialty Designer Paper in gold and white becomes a canvas for your imagination. I have more color and techniques to share so be sure to pop in everyday. Better yet, Click the “Follow Me” button at the top right side of my blog! 

Thank you for joining me today. Happy Saturday!

I’ve added the links to the products used for your shopping convenience …

Sending “Feel Good” Birthday Card …

Hello Stampin’ Friends ~

With the holidays upon us, are you ready for the Good Feelings and Peaceful Moments? Well … I’m combining these two stamp sets to create a fun and happy Birthday Card! I made this card for my Demonstrator Design Team this month.

The Tahitian Tide Designer Paper makes this card bright and fun! Check it out. I’ll be sharing instructions and the dimensions with you as well …

To create this card I am listing the measurements and instructions, plus the supplies needed … they are listed below and linked to my store so you can learn more about the product.

Measurements: 

  • Card Base:  Thick Basic White: 8-1/2” x 5-1/2”; score at 4-1/4”
  • Layer #1: Tahitian Tide Designer Paper Cut with Largest Scallop Die
  • Layer #2:  Vellum Cardstock Die cut with second largest Scallop Die
  • Layer #3:  Scrap for Greeting and Daisy (punch twice)

Instructions:

  • Cut and fold card base as listed above..
  • On Layer #2 (Card Front) Tahitian Tide paper: Using Scallop Contour Dies cut with largest scallop die and attach directly to card front.
  • Using Layer #2: Die cut vellum using second largest scallop die.
  • Ink greeting with White Craft ink and sprinkle with White Embossing Powder – Heat set with Heat Tool. (Option: Use Embossing Buddy prior to stamping to help prevent powder from sticking onto vellum cardstock).
  • Attach Layer #2 Card front to Layer # 1 Card Base using Multipurpose Liquid Glue. (STAMP TIP: I lightly added glue behind the embossed words to hid it and keep it from showing through vellum)
  • Punch 2 Daisies out with Medium Daisy punch and adhere with Liquid Glue – making sure the petals are off set from each other. Attach with a Dimensional.
  • Stamp Happy Birthday greeting on piece of scrap and cut ends at an angle.

This sweet and fun card is sure to bring a smile to anyone’s face … young or old. And if you’re like me, you sure don’t mind a little sunshine when there is blizzard warnings lurking about!

Thanks for the visit today … I hope you feel inspired to create a little sunshine today!

Here is my supply list for you …. If you don’t have some of the supplies, you can click on them for more information or to add it to your shopping cart. Thank you.

A Few of My Favorite Things ….

Hello Stampin’ Friends, Today I want to share a few of my favorite items that are included in the Sale right now. We only have a few days left but it’s a great value for the Gift Giving season. Today I’m sharing my favorite dies! I choose these dies for their versatility in my year round cardmaking!

Let’s begin with the Scallop Contour Dies ….

The Scallop Contour Dies are scalloped border dies that range in size, perfect for card fronts, accent pieces and sentiments! Here are a few examples ….

You can view the original post for both cards HERE!

Another one of my favorite die sets is the Stylish Shapes dies …. It has circles and squares and banners – Oh my!! Perfect for any season and any occasion. They are a must have in your stamping collection.

Check out these cuties using the Stylish Shapes Dies ….

View the Original Post HERE!

Here is another sample using the Stylish Shapes dies …

You can view the Original Post / It includes the “TIP” on how to cut the Mini Banner, Click Here!

And of course you cannot forget the Layering Circle dies and the Stitched Rectangle dies. All four of these die sets will add to your cardmaking ease … for backgrounds, layering, greetings and more. They are to me …. basic supplies to any collection.

If you don’t have them, you’ll want to get them while they are 20% Off. Grab one for your friends for the holiday season.

Thanks for joining me today. I’ve put the links below for your shopping ease.

Endlessly Grateful Rustic Harvest

Hello Stampin’ Friends,

Are you ready for some more Rustic Harvest Designer paper? I had so much fun playing with this paper this weekend. It gets me thinking of my favorite season – Autumn. I pictures those warm days (not hot) and cool nights with a campfire and some smore’s … let’s not forget everything Pumpkin Spice! lol

Speaking of pumpkin, I pulled out the Pumpkin Pie for this card, along with Cajun Craze and my Blending Brushes to color this once black and white designer paper. Once you’ve colored your paper, you can layer it over your Basic White mat. Then secure it to your card front.

That pretty little pumpkin was fussy cut from the same Rustic Harvest paper … just another pattern. It’s elegance in white is why I chose a white mat for may card, I just think it ties everything together nicely.

The “Endless Grateful” sentiment comes from the Very Best Occasions stamp set in the Mini Catalog, and was die cut using the Scallop Contours Dies.

The pumpkin and the greeting are both popped up using dimensionals. I love the simplicity of and beauty of this card … the blending brushes apply to color so smooth and easily and really turn this black and white paper into an autumn wonderland.

Thank you for stopping by to visit my blog today.

Enjoy ~