Hello Stampin’ Friends ~
Love is definitely in the air—and this slimline card is the perfect way to celebrate Valentine’s Day in a BIG way! Slimline cards have quickly become a favorite because they offer extra space to showcase gorgeous designer paper and bold greetings, all while still fitting neatly inside a standard #10 envelope (4.125″ x 9.5″). They’re eye-catching, fun to create, and a wonderful option when you want your handmade card to truly stand out from the crowd.
For today’s card, I started with a slimline card base measuring 9 1/4″ x 7 1/2″, scored and folded at 3 3/4″. This size creates a clean, professional look while remaining completely mail-friendly—always a win! To add layers and visual interest, I added a Real Red mat cut to 8 3/4″ x 3 1/2″, followed by the star of the show: the NEW Made to Love Designer Series Paper, trimmed to 8 1/2″ x 3 1/4″. This paper is simply perfect for Valentine projects with its playful patterns and romantic color palette that instantly sets the mood for love.
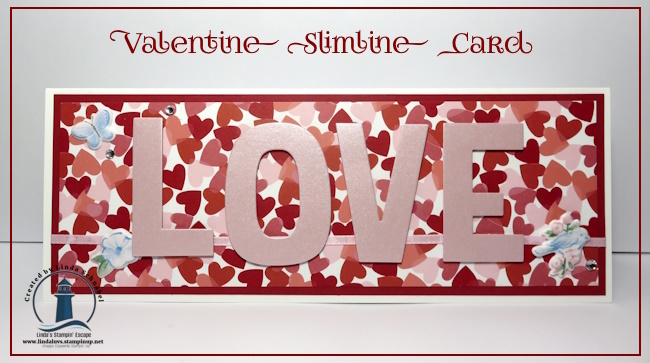
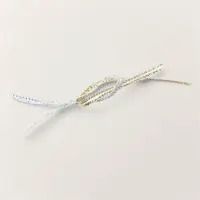
Before attaching the layers to the card base, I wrapped the NEW Bubble Bath Faux Linen Ribbon across the front. This small step adds softness and texture, and the subtle linen look keeps the design elegant without overpowering the card. It’s one of those details that quietly elevates the finished project.
The greeting is where this card really shines! The word “LOVE” was die cut from the Pastel Shimmer Paper using the Party Alphabet Dies and popped up with Stampin’ Dimensionals for added depth. The Pastel Shimmer Paper adds such a beautiful, soft sparkle—just enough shine to catch the light and make the greeting feel extra special. With delicate pastel shades and a subtle glow, this paper is a lovely addition to cards, scrapbooking, and all kinds of paper crafts. The pack includes 6 sheets (2 each of Bubble Bath, Lemon Lolly, and Pool Party) in a generous 12″ x 12″ size, giving you plenty to play with.
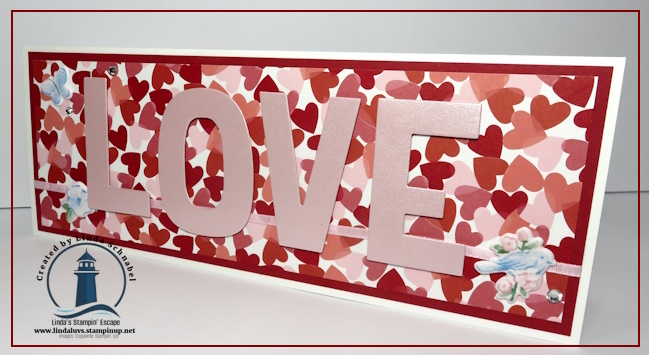
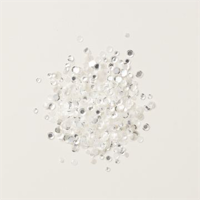
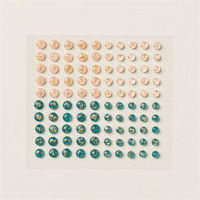
To finish things off, I couldn’t resist adding the Softest Spring Mix & Match Puffy Stickers along with a few Rhinestones. These little embellishments bring in just the right amount of whimsy and sparkle, tying everything together while keeping the overall look light, fun, and full of love.
Slimline cards are a fantastic way to showcase beautiful products, experiment with layers, and create something a little unexpected—yet still practical. This design is perfect for Valentine’s Day, anniversaries, or anytime you want to send a heartfelt message with maximum impact. If you’re looking for products that make creating “wow” cards easy and enjoyable, the pieces used here work together beautifully and are sure to find their way into many future projects. After all, there’s always room for a little more LOVE in our crafting—and in our mailboxes 💕
Thanks for sharing a little crafty time with me today! I hope this slimline Valentine card sparks your creativity and inspires you to give these beautiful products a try. Until next time—happy stamping and keep spreading the love… one card at a time! 💖


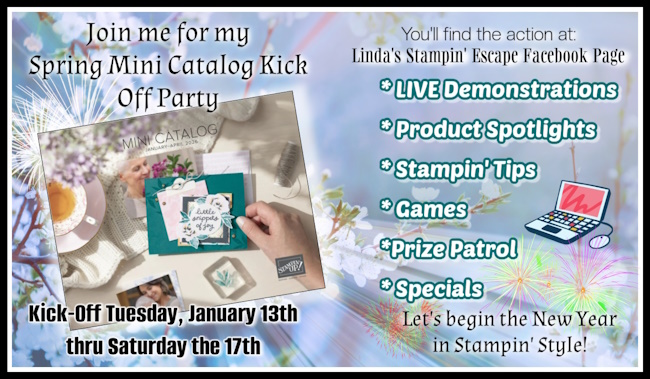
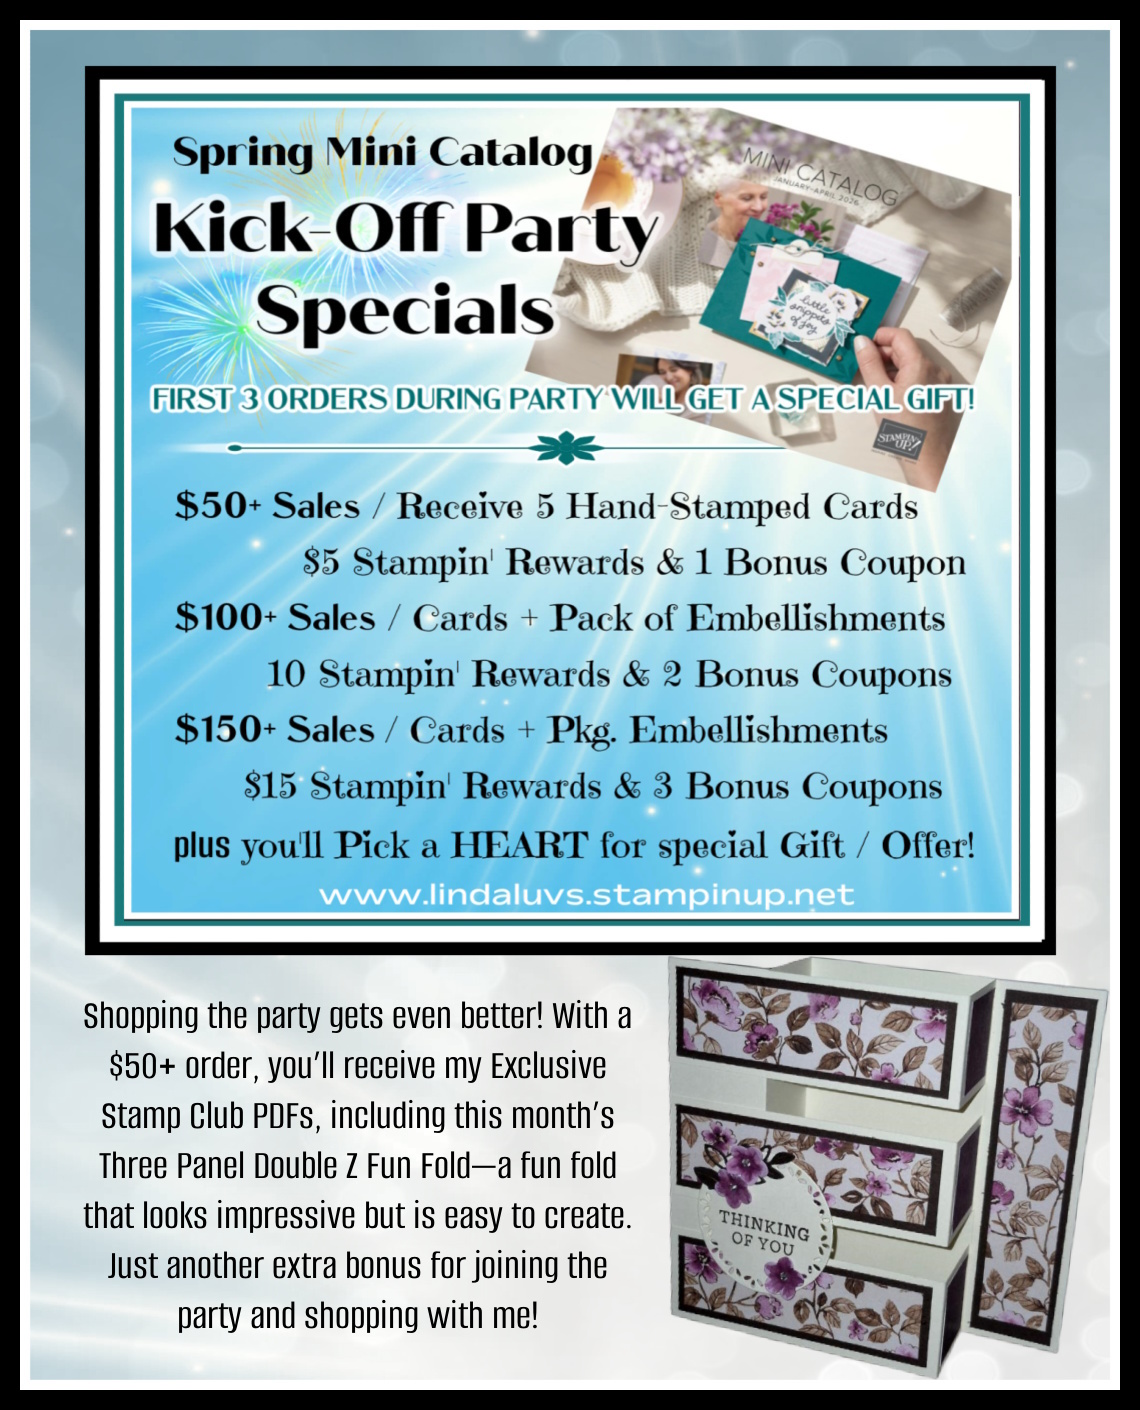
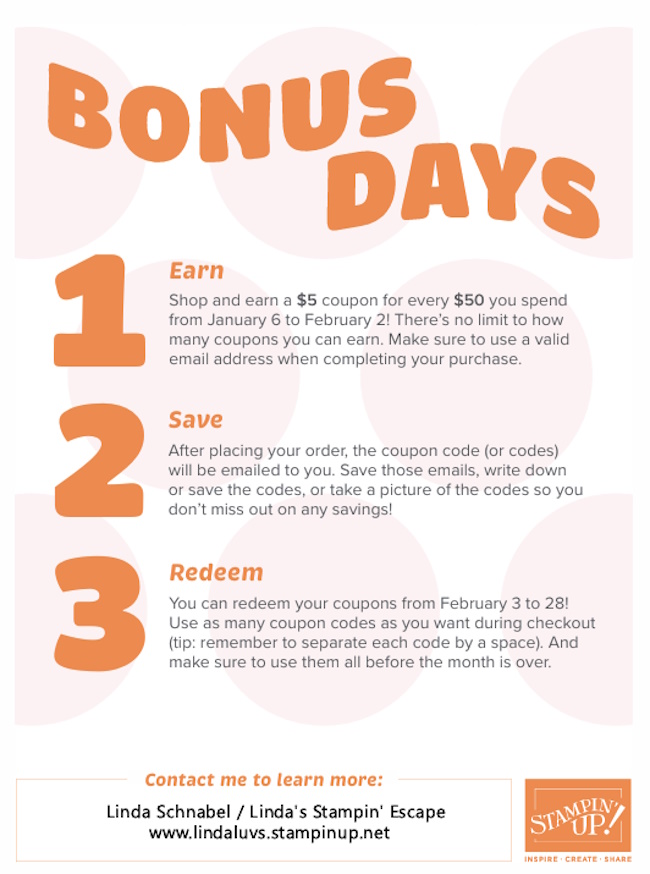
I invite you to join me for the SPRING MINI CATALOG Kick-Off Party ….