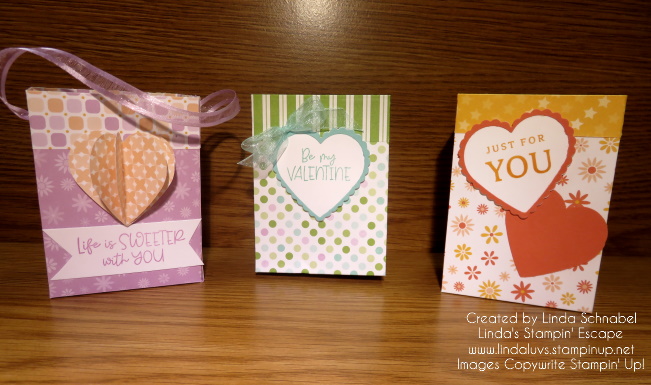
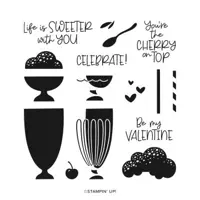
Happy Wednesday! Today I will be sharing the replay of my Facebook LIVE presentation from last night: Punchin’ with Heart: Creating Cute Valentine Treat Boxes I’m going to show you how quick & easy it is to make these cute boxes along with some fun tips for your Heart Punches. Did I mention cards too!!
Grab a beverage, sit back, relax and join me for my replay and the things that happen when your LIVE!
Hope you enjoyed and caught those tips! Here are the dimensions for the boxes. Start with a 12″ x 12″ – cut in half so you have a 12″ x 6″ sheet to start with.
Score at 2″ – 5″ – 7″ and 10″ at 11″ cut off end.
Turn paper 90 degrees and score at 1″
Turn 180 degrees and score at 1″
Burnish all score lines and cut and trim as shown in the video
Here is the card I created in the video too …
Thank you for hanging out with me today. I hope you enjoyed these cute boxes and were inspired to create some yourself.
Here is a list of ingredients used in today’s card. You can click on any one for more information about the product, or to begin shopping at my OnLine store. Thank you for your support.
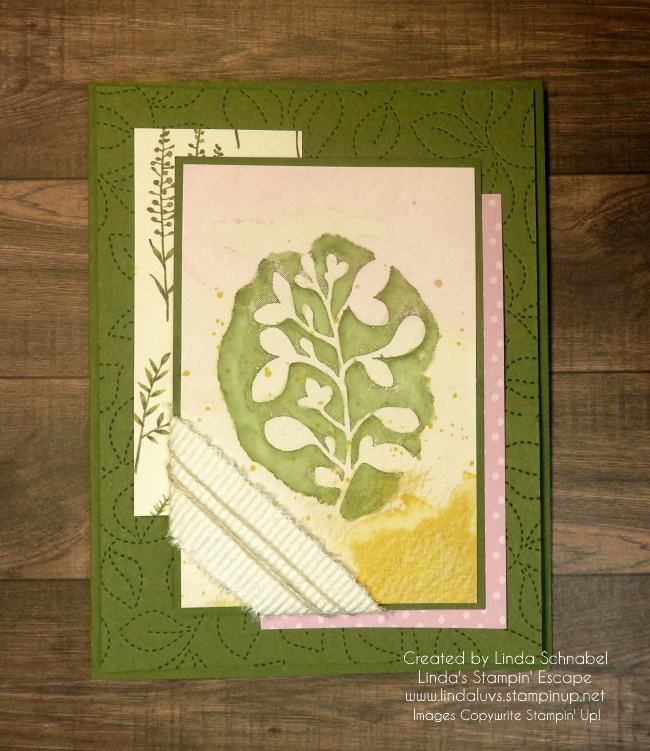
Today I’m sharing the last of the 3 images in the Amazing Silhouettes stamp set. I’m using a touch of watercoloring with this one. I began by stamping the leaf image on to one of the watercolor patterns in the Dainty Flowers Designer papers in Old Olive. Yes, I stamped my image onto designer paper.
I added water to the middle size Water Painter and I used it to activate the ink and give it a more watercolor look. Then I added a little more ink to the image using the Water Painter giving it more depth of color…..
Once dry, I added a Mossy Meadow mat to it and wrapped the corner with the 3/4″ White Frayed Ribbon and then some of the natural Bakers Twine. These add so much texture to the card and create a framed edge for our foliage.
Using another pattern from the Dainty Flowers I cut into two pieces and used one side to highlight the green and the other to highlight the freesia that is found on the original piece that I stamped on. I layered these three pieces together and mounted them onto my cardfront.
I used Mossy Meadow for my card front and then embossed it with the Stitched Greenery Die. It gives the project some texture and a touch of greenery! You’ll love how the intricate detail dresses up the card perfectly.
No bling on this card because I wanted to keep it more natural. I added the card front to my base in Mossy Meadow … I love layering color on color, it’s such soft and subtle look.
Hope you enjoyed the three different looks / techniques that showcased the Amazing Silhouettes. I have to “Thank” my friend Karen who booked a workshop and asked to see this stamp set. It totally changed my mind … I love it! It’s unique and lends itself to many different techniques.
Thanks for popping in today, I hope you have a wonderful Tuesday!
Here is a list of ingredients used in today’s card. You can click on any one for more information about the product, or to begin shopping at my OnLine store. Thank you for your support ❤
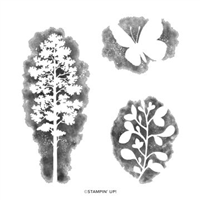
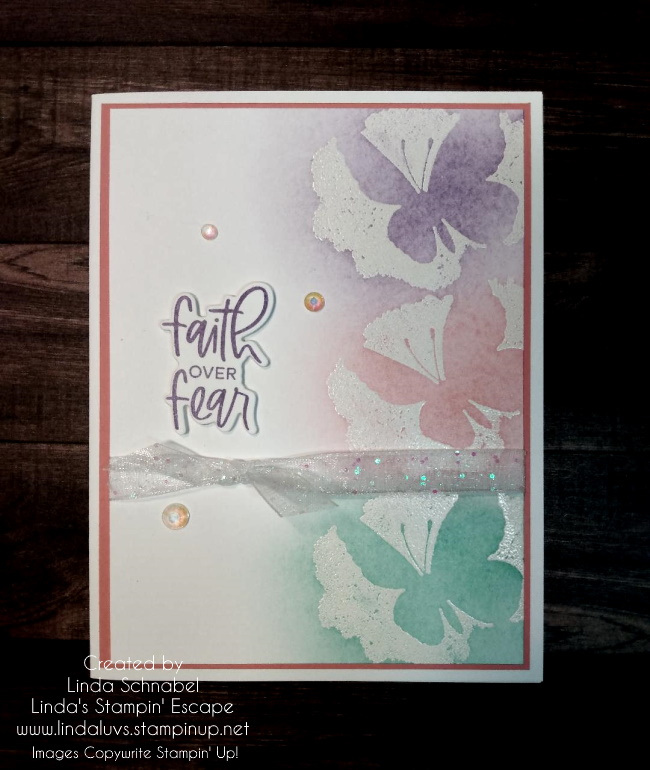
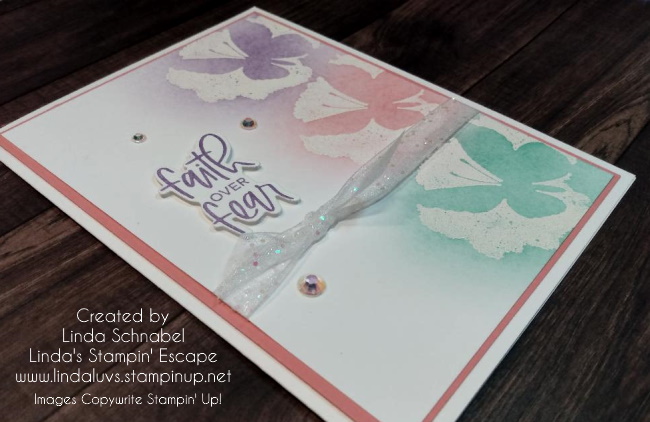
Today I have another card to share from the Amazing Silhouettes stamp set and a fun technique that really showcases the silhouette aspect of this stamp set. There are three different images in this stamp set and it’s when you add ink that they really come to life.
I’m going to be using a type of “Emboss Resist” technique on my card today. Starting with the VersaMark pad … ink up the butterfly image and stamp it onto your card front (I’m using a 3-3/4″ x 5″ sheet of Basic White) re-apply ink and stamp a second and repeat. Pour White embossing powder over the butterfly images and heat until the powder turns smooth and shiny.
Next I pulled out my Blending Brushes along with Highland Heather, Flirty Flamingo, and Coastal Cabana ink pads….
Pull the Blending Brush across the ink pad to ink up and then using a rotating motion beginning “off” your cardstock bring it in and color in your butterflies. I used a different brush for each color. Then grab a tissue and wipe excess ink off of the embossed area.
Once the excess ink is wiped off, I added the White Glittered Organdy Ribbon between two of the butterflies attaching the ends to the backside of the card front. Once secure, I tied another piece onto the ribbon to create a bow. This is when I layered the Flirty Flamingo mat behind my card front.
Using the same Charming Sentiments bundle I used on yesterday’s card, I stamped the “Faith over Fear” sentiment in Highland Heather and then die cut it with the coordinating dies in the bundle.
I then embellished the card using the Iridescent Rhinestones. I love how they pick up the colors of the ink I used and just twinkle on this card … it gives you a soft, warm feeling like a hug, and pairs perfectly with our sentiment.
Such a beautiful card with a soft touch of color, and pretty darn easy to make too! Embossing is what actually attracted me to the world of stamping, with a few simple steps you can elevate your card to the next level. What inspired you to begin stamping?
Thank you for visiting my blog today, hope yours is a good one.
Here is a list of ingredients used in today’s card. You can click on any one for more information about the product, or to begin shopping at my OnLine store. Thank you for your support ❤
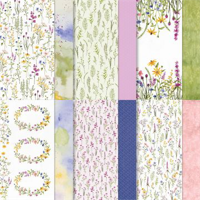
Today I’d like to share a simple card created with the Amazing Silhouettes stamp set from our Annual Stampin’ Up! Catalog. Get back to nature with the nature-inspired images in the Amazing Silhouettes Stamp Set. Create beautiful silhouettes in one simple step. Use one color to make a bold impression or multiple colors for an ombre look.
My card base is Mossy Meadow and the beautiful designer paper is Sale-a-brations very own Dainty Flowers … the paper you can get for FREE with a $50 purchase. Because the Dainty Flowers paper has shades of Mossy Meadow and Old Olive, I used the Old Olive ink for my stamped silhouette and my greeting…. both on Basic White cardstock.
I wrapped bakers twine around my stamped image to create some texture and add a touch of nature to the card. This entire piece was popped up with Stampin’ Dimensionals.
The greeting is a bit more than what I usually use for a Simply Sunday card but I couldn’t resist. Meet the Charming Sentiments Stamp Set, which includes various sentiments in different stylistic fonts designed to be used for all occasions. With this set, say thank you and congratulations, wish happy birthday and good luck, and show people you care. Grab some ink, pair with the images of your choice, and create your personalized handmade cards.
Love this sentiment set, and it gets better because it has coordinating dies!! That’s right … you can stamp your sentiments directly or die cut them and add them anywhere on your card! I also cut out a mat using the greeting die for some additional layering and to enhance the sentiment.
A great sentiment stamp set (with dies) is a must have for any stamp room, and a good investment as you can use it with any other stamp set, or just to add it to some of our stunning designer paper that doesn’t need anything else!
A simple card today that could be used for a man or a women, perfect isn’t it? I thank you for taking time out of your Sunday for the visit.
Have a great day ~
Here is a list of ingredients used in today’s card. You can click on any one for more information about the product, or to begin shopping at my OnLine store. Thank you for your support.
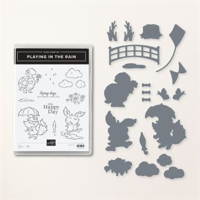
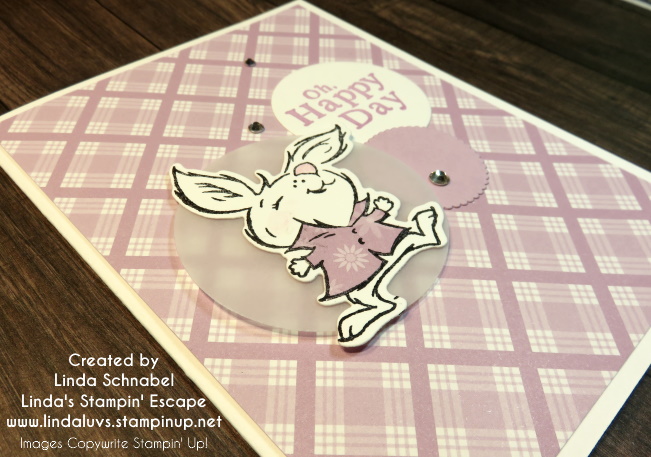
A little late out of the gate today but you’ll see it’s worth the wait. My Oh Happy Day card using Playing in the Rain is sure to bring a smile to anyone who receives it! It is a monochromatic card (basically one color: Fresh Freesia) and a fun stampin’ tip you can use over and over again.
Let’s take a look at today’s card ….
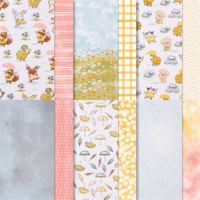
I teamed up the bunny from Playing in the Rain with the Fresh Freesia from the Dandy Designs out of the Sale-a-bration catalog. This is one of the items you can get FREE with a qualifying purchase of $100. There are 48 – 12″ x 12″ sheets in this package.
Need patterned paper that can be used for any season or occasion? The Dandy Designs Designer Series Paper is the one for you! It includes versatile patterns such as plaids, polka dots, and stripes. Make this paper the background for a card or scrapbook page. Or cut it into strips or accent pieces. However you use this paper, it will make any creation look dandy!
If you look closely, you will see two different patterns. I stamped the bunny image on the floral pattern and then cut out the shirt and dressed my bunny in his new outfit!! You can tell by his reaction that he loves his new shirt …. LOL
This technique is fun to use and can be done on almost anything! This angle shows you the layers of circles that I cut out using the Layering Circle dies, and I used the vellum cardstock to highlight the bunny… he is attached directly to the vellum and then popped up with Stampin’ Dimensionals.
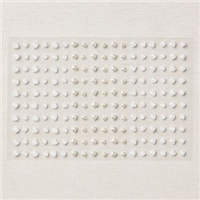
I stamped the greeting with Fresh Freesia, but it with the Layering Circle dies and tucked it in with the other circles. I finished off the card by embellishing it with the Basic Rhinestones.
Thank you for hanging out with me today. How are you liking the Playing in the Rain so far? I shared 3 different designs this week, and will share more soon.
Tomorrow I have a whole new stamp set that has been just waiting for me to pull it off the shelf!
See you then ~
Here is a list of ingredients used in today’s card. You can click on any one for more information about the product, or to begin shopping at my OnLine store. Thank you for your support.
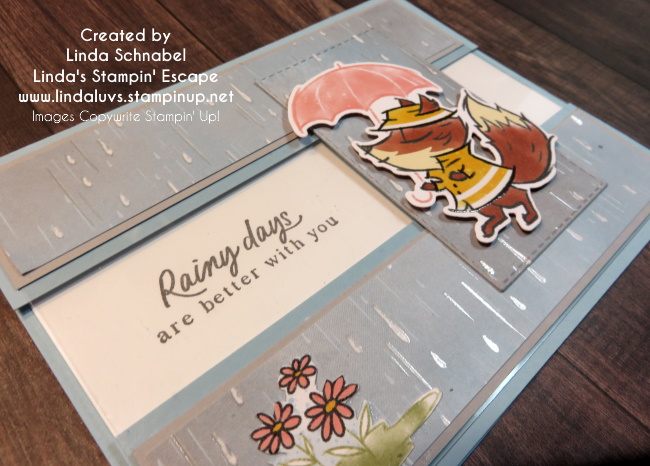
Today I want to share another card from the Playing in the Rain using the same Window Card layout as I did yesterday. The only thing I changed was moving my “bridge” to the other side of the card, and of course my designer paper pattern and critter!
I wanted to share one of the two “rain” patterns that are included in the Rain or Shine Specialty designer series paper. This paper is a bit on the stormy side, however life can still be beautiful if we have a positive attitude. They say, it’s not what happens in life, but how we react to it …
And this happy fox doesn’t seem to let that stormy weather bother him at all. I fussy cut the flowers out again because I wanted a touch of pink in the card to coordinate with the umbrella and to create a better flow on my card. I changed the greeting as well … and I agree, rainy days are always better when your with people you care about.
Measurements:
Card base = 8-1/2″ x 5-1/2″ Score at 4-1/4″ then Cut at 5-3/4″ … cut 1-1/2″ from the piece you cut off.
Window Sheet & Basic White Inside: 5-1/4″ x 4″
Mat: 5-1/4″ x 1-1/4″
Designer Paper: 5-1/8″ x 1-1/8″
I wanted to show the “embossing” on the Rain or Shine Specialty Designer paper and how much dimension and texture you create with the layers of this card …
And by the way … got the greeting down on the first try! lol I have just begun to play with this cute bundle … Don’t worry, I’ll be sharing them with you!
Thanks so much for stopping back today. Hope you have a wonderful weekend.
Here is the list of supplies that I used for today’s card ….
Today I’m going to share the replay and the card from my Facebook LIVE last night. It was so much fun playing with the Playing in the Rain bundle, it actually just made me happy! The song Singing in the Rain just keeps playing over and over again in my head.
Let’s get right to the video …
So, what did you think? Cutest paper right! I have my two little granddaughters this weekend (for a princess party) while mama’s at work so we are going to be “Playing in the Rain”!
Let’s talk measurements again:
Card base = 8-1/2″ x 5-1/2″ Score at 4-1/4″ then Cut at 5-3/4″ … cut 1-1/2″ from the piece you cut off.
Window Sheet & Basic White Inside: 5-1/4″ x 4″
Mat: 5-1/4″ x 1-1/4″
Designer Paper: 5-1/8″ x 1-1/8″
And my greeting … Well, I pulled out my Stamparatus and the greeting was aligned perfectly. Ahhhh … the tools we have to make our cardmaking easier. Not sure why I didn’t think of that sooner.
I did a little addition to the inside as well …
I used some of the scraps left over from trimming my designer paper and added to the inside. Someone once told me it was not nice to have naked envelopes or insides!! lol
Thanks so much for stopping by my blog today. Hope you have all the information and instruction you need to create this quick & easy window card using the Playing in the Rain bundle and Rain or Shine Specialty Designer paper.
Have a sun shiny day … or have fun playing in the rain!
Here is the list of supplies that I used for today’s card ….