Simply Sunday: Creatively Simple & Stunning Cards!

Hello Stampin’ Friends ~

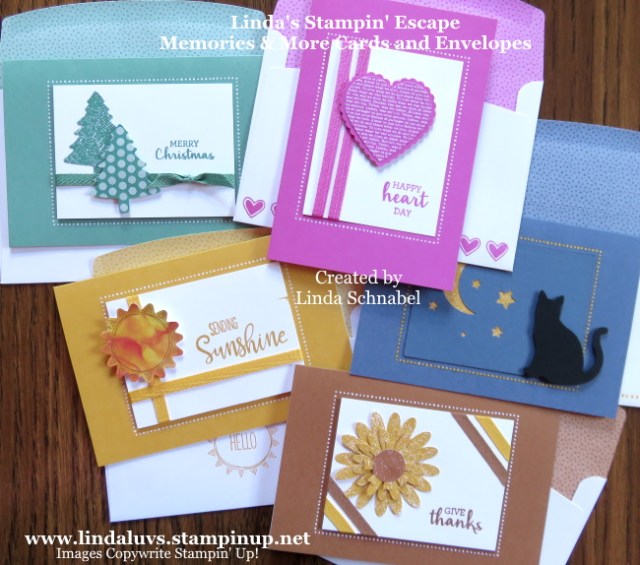
I’m excited to share today’s 5 cards with you … YES, 5 cards! What is more simple than working with a card & envelope set … not sure, because this packet made creating these cards easy. My daughter was amazed that I made them so fast, but I started with a simple idea and I’m going to share that with you today.

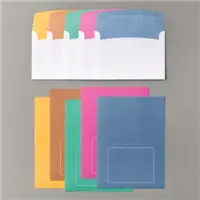
Let’s begin with our card kit … the Flowers for Every Season Memories and More Cards & Envelopes. These cute cards come in our new 2020-2022 In-Colors….

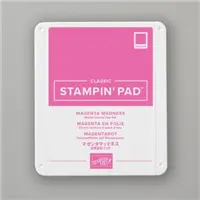
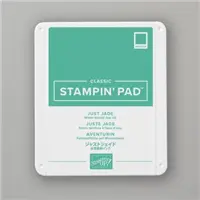
I love these card bases for quick and easy cards. There are 2 each of 5 2020–2022 In Colors. 10 printed card bases and 10 printed envelopes. Discover Bumblebee, Cinnamon Cider, Just Jade, Magenta Madness, Misty Moonlight.

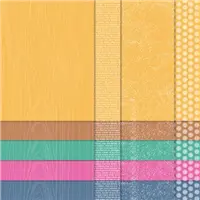
I think the Polka dots are cute so I didn’t want to hide them so my first layer … usually Whisper White measures 4″ by 3″ and fits nicely inside my polka dots. To add a touch of color I will add the coordinating In Color 6 x 6 Designer paper pack and the ribbon. For some fun … we’ll use some of the punches we have. Let’s begin ….

My first card highlights the Misty Moonlight, so what better to start with than the “Cat” punch ….
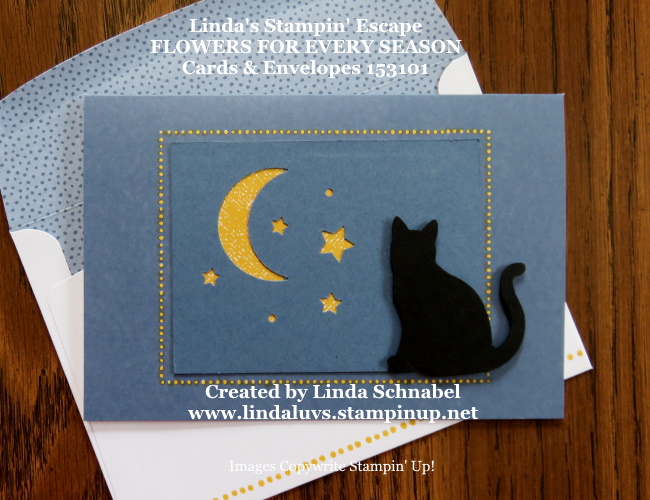
My apologies for using the “retired” moon & stars … Looks like I need to check my catalog a little closer, but it does look nice with our Cat silhouette. I colored the polka dots with my Stampin’ Blends … one touch and they were “Bumble Bee”. I also used it on the envelope (and a ruler to guide me)

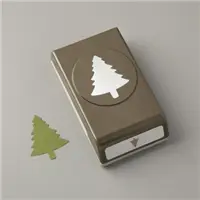
The next card highlights the Just Jade and the “Pine Tree” punch …
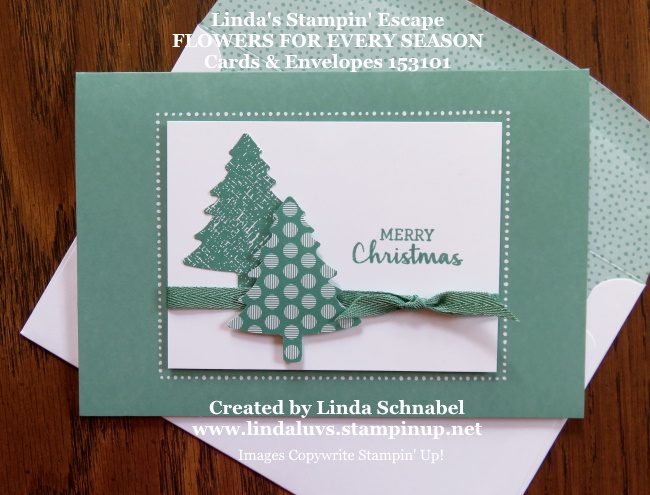
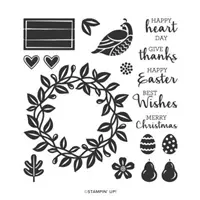
I punched the tree from two different patterns, added the ribbon with a bow (it is Christmas) and our greeting comes from the “Arrange a Wreath” stamp set. I used this stamp set for the rest of my cards today.

The third card brings us into Spring and the Magenta Madness …

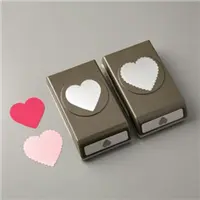
I used the “Heart Punch Pack” to create this card… the scallop heart is punched in the Magenta Madness cardstock and the other heart is punched from the In Color 6 x 6 Designer paper pack. I also changed the layout from horizontal to vertical … they can be used either way.

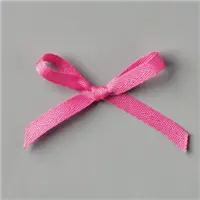
I also switched up my ribbon from a simple bow to two lines of ribbon. Ribbon is the perfect way to add texture and color to your projects at a budget friendly price … there is a lot of ribbon on those bolts!!

My fourth card uses the ribbon in a similar fashion, more to dress up the card than to create a bow …

Talk about a simple card … I took the “sun” embellishment out of this months Paper Pumpkin kit! It’s cute and matches perfectly. The Paper Pumpkins are designed to coordinate with other products … and the stamp set, you guessed it – also from this kit! Each month you get an “Exclusive” stamp set that you’ll have around whenever you need it.

The fifth and final card today celebrates both the Bumblebee and the Cinnamon Cider …

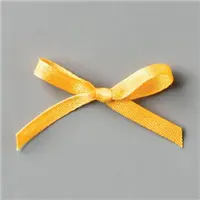
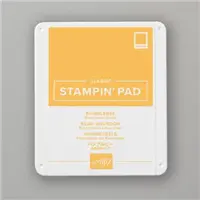
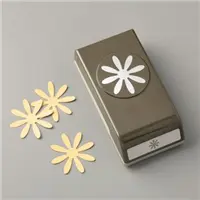
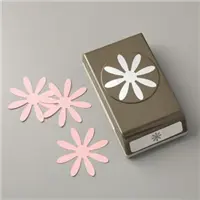
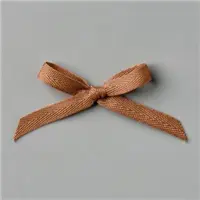
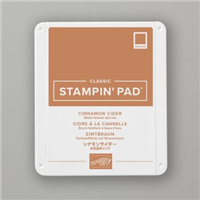
I used both Daisy punches to create a sunflower and both the Bumblebee and Cinnamon Cider ribbon to create a pop of color and texture. The greeting is again from the “Arrange a Wreath” stamp set.

So, as you can see with the Flowers for Every Season Memories and More Cards & Envelopes as your base and a little designer paper, ribbon and punches you can create “Simple yet Stunning” cards for all occasions!
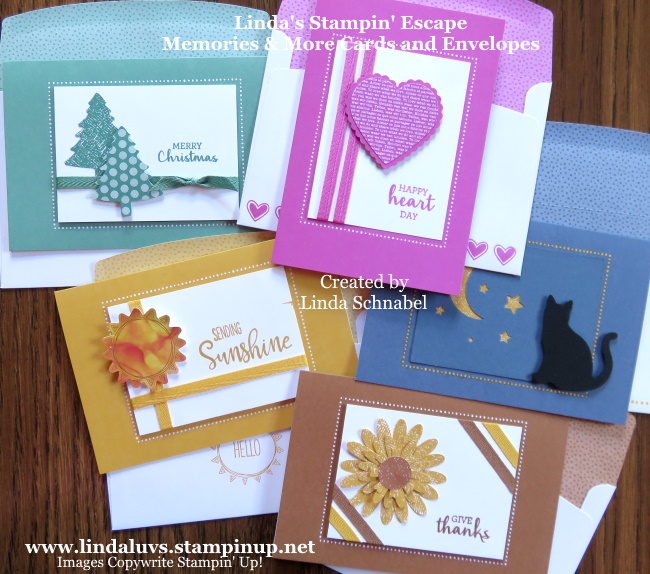
Doesn’t that look like a mailbox full of fun! I hope I inspired you to start creating, and use some of those items you have in your collection to make something fresh and new.

Thank you for spending a part of your Sunday with me. Stop back tomorrow because I have an amazing “FUN FOLD” card. If you like what you saw today, feel free to leave me a quick note below or hit the LIKE button.

Here is a list of the supplies I used to create today’s cards. Find out more information about these products by clicking on the image … or you can begin your shopping from here as well. Thank you!
Forever Fern Fun Fold Card …

Hello Stampin’ Friends ~

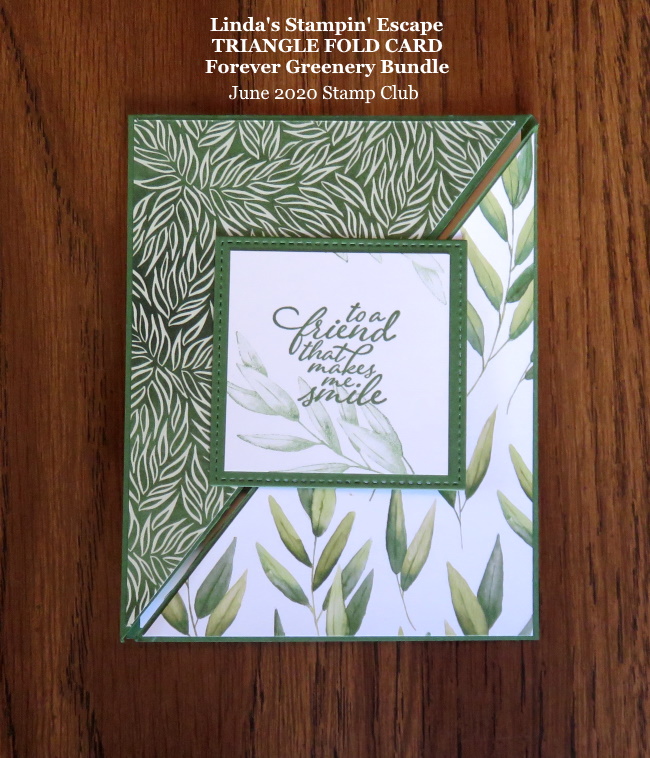
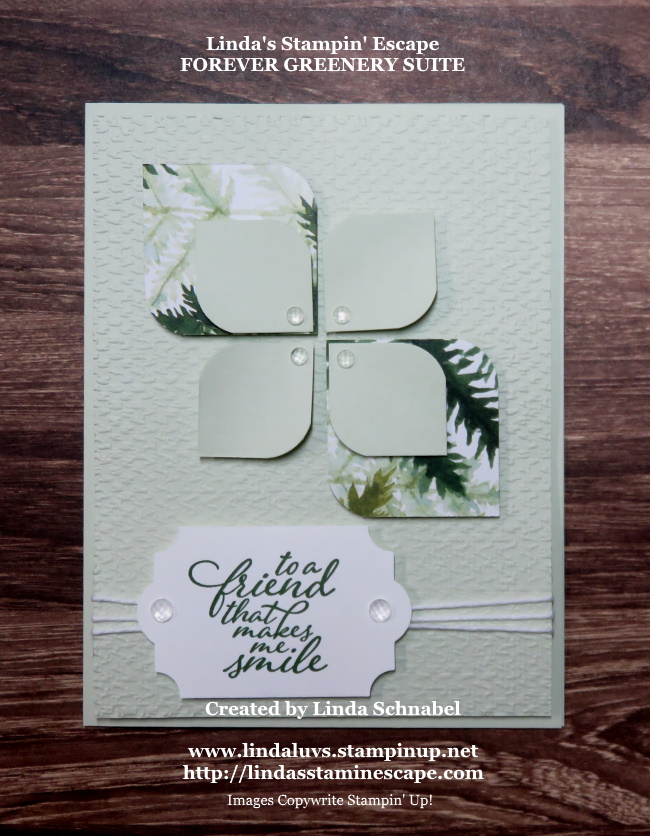
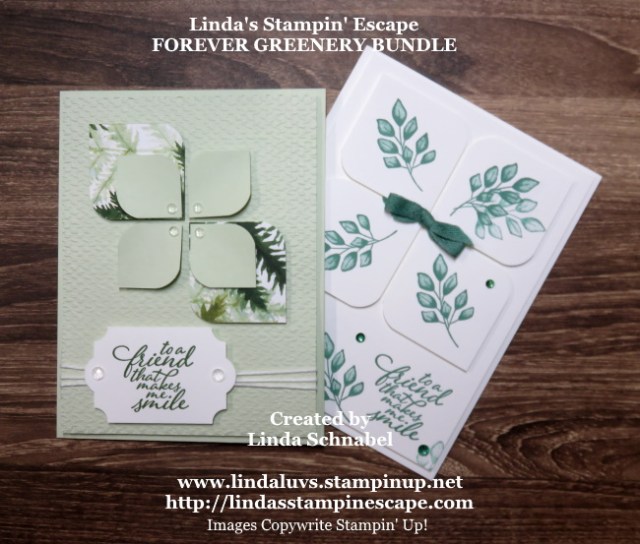
Today I’ve got another new card to share with you from the Forever Greenery Suite … I just can’t stop using this suite! It is so versatile and can be used for any occasion.

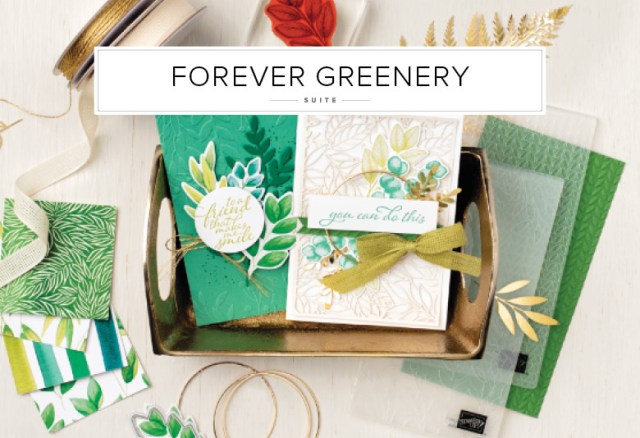
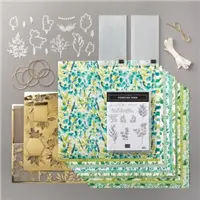
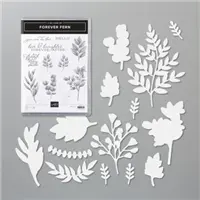
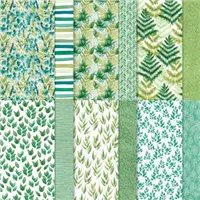
The Forever Greenery Suite Collection by Stampin’ Up! features watercolor patterns and images in a glorious array of green hues. Today’s card is a fun fold and super easy to recreate… and cute!

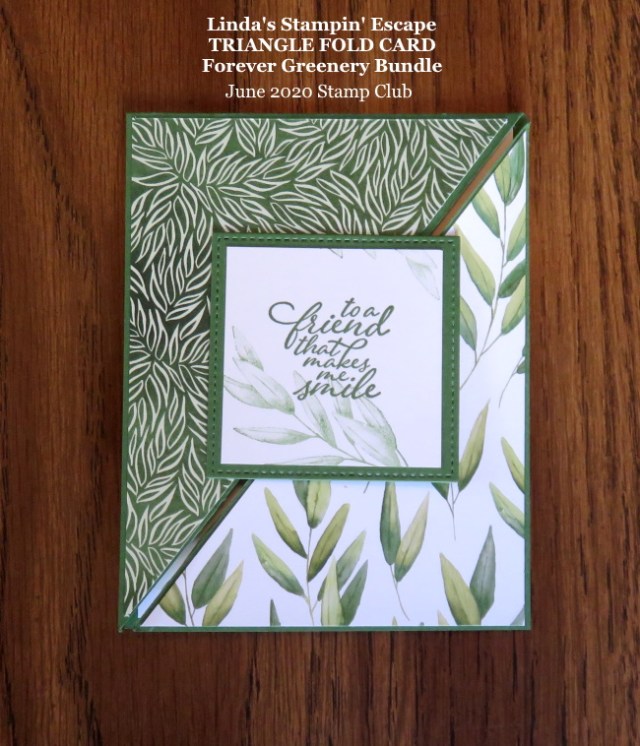
This Triangle Fun Fold works great for showing off your designer series paper. With a few simple cuts your card is over half way done. You can add layers if you prefer and some additional embellishments to “jack it up” even more. And when you open it ….

The simplicity of this card makes it easy to whip out many at a time … hmmm, a consideration for my Christmas cards! And they are fun to open.

I have another awesome fun fold card using this suite that I will be sharing on Monday so make sure you stop by. PLUS … when you purchase this suite or bundle through me (anything over $50 before ship/tax) I will send you the full color PDF with step by step instructions for today’s & Monday’s cards.

I’ll share more about today’s card and introduce you to the Double Triangle Fold card on Monday. This card has a real “twist” to it!!!

Thanks for stopping in today, hope yours is a good one.

Here is the Suite and Bundle that is the focus of the products I used to today’s cards. Find out more information about these products by clicking on the image … or you can begin your shopping from here as well. Thank you!

The Blossoms are in full bloom …

Hello Stampin’ Friends ~

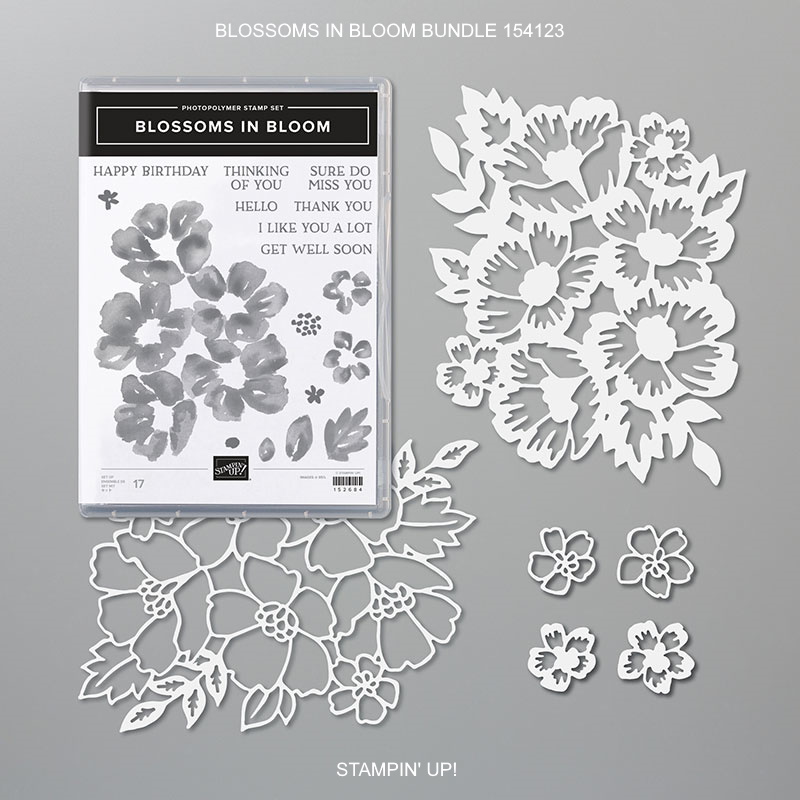
I wanted to tell you about a set of products I absolutely adore: the Blossoms in Bloom Bundle! This beautiful, versatile bundle includes the
Blossoms in Bloom Stamp Set and the Many Layered Blossoms Dies. Even better? You’ll receive a 10% discount when you buy the bundle!

My favorite thing about the Blossoms in Bloom Bundle is the simple watercolor effect. Painting with standard watercolors can be tricky, but
with the Blossoms in Bloom Bundle, achieving the artistic look of watercolor is a breeze!

Although the watercolor effect is my go-to, you can create a variety of different looks with this set. If you’d like to discover what else you
can do with the Blossoms in Bloom Bundle, let me know! I’d be happy to place an order for you.

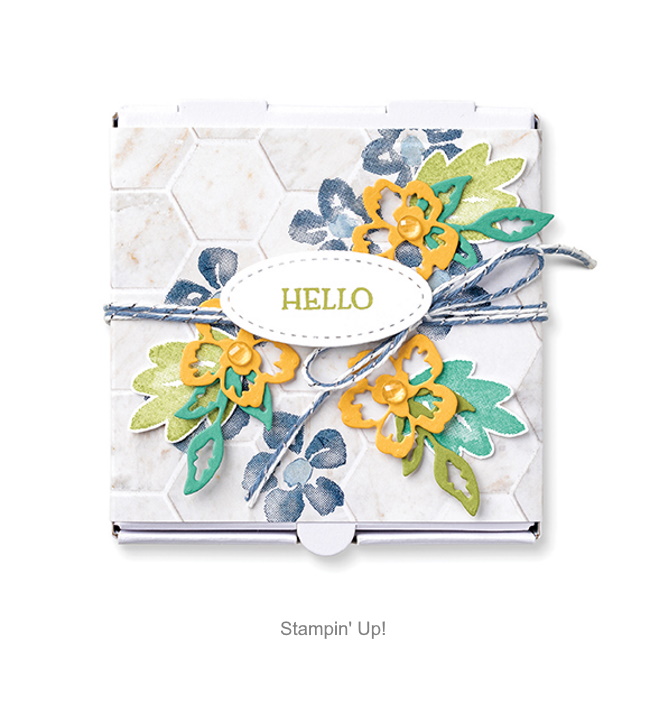
This cute little gift box is perfect for a “Thank you” gift … fill it with a sweet treat or make coordinating note cards (3 x 3) fit perfect.

This beauty can be found right in your Annual catalog on page 51. I love sharing samples with you to make your creative process easier … and our annual catalog is another perfect place to find inspiration.

Check these out …

Let me know if you’d like a Blossoms in Bloom Bundle of your own! I’d love to see what you’d create with this set.

Thank you for joining me today, enjoy yours!

Here is the bundle that is the focus of the product I used to today’s cards. Find out more information about these products by clicking on the image … or you can begin your shopping from here as well. Thank you!

Don’t let these get away …

Hello Stampin’ Friends,

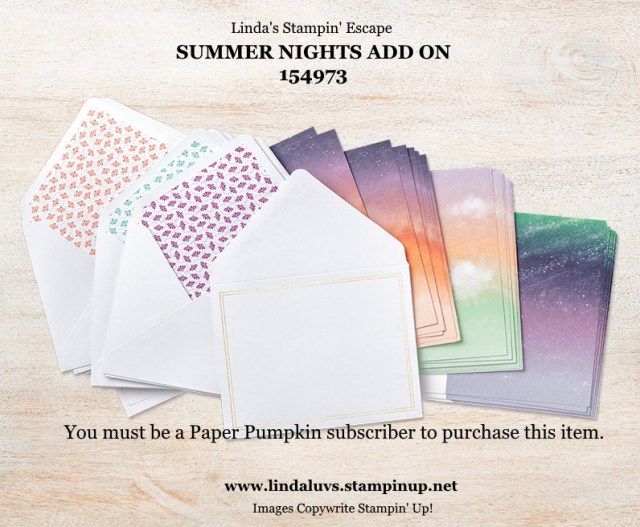
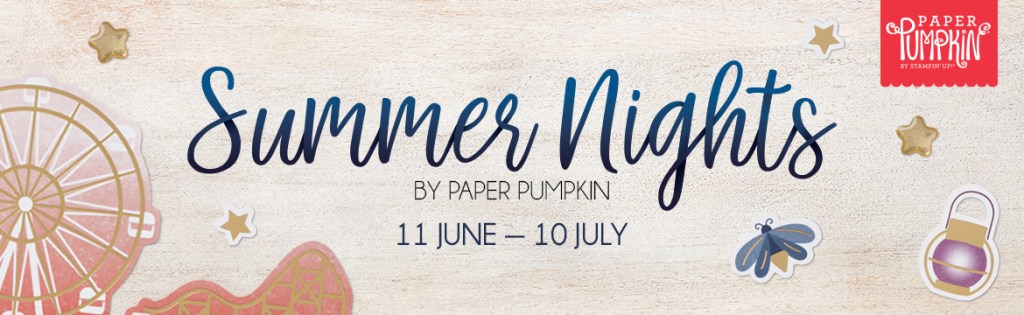
Celebrate the magic of summer nights with the Summer Nights Paper Pumpkin Kit! In this exclusive fun-filled kit, you’ll unbox enough supplies to create nine postcard-style cards, coordinating envelopes, and die-cut tealight bags.

There are only a few days left until the subscription period for the Summer Nights Paper Pumpkin Kit comes to a close—the last day to subscribe is 10 July!

What’s even more spectacular about July’s kit is the add-on you can purchase along with it! The Summer Nights Add-On includes 24 card bases and envelopes in coordinating Summer Nights designs. This add-on is perfect for helping you expand the Summer Nights creative experience beyond the Paper Pumpkin kit. Between the add-on and the leftover supplies from your Summer Nights kit, you will be crafting a summer night worth celebrating all month long!

STAMP CLASS ANNOUNCEMENT ….

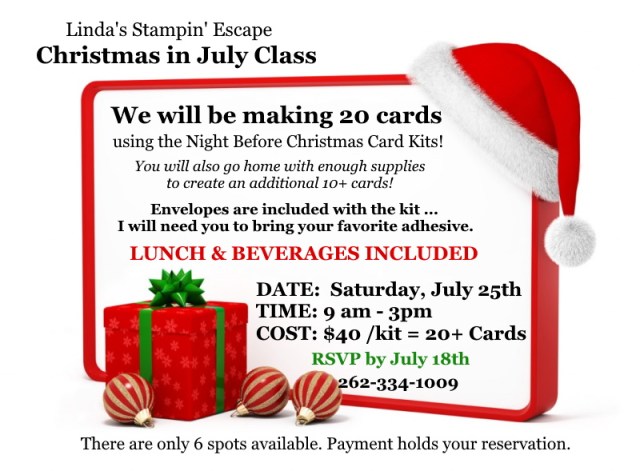
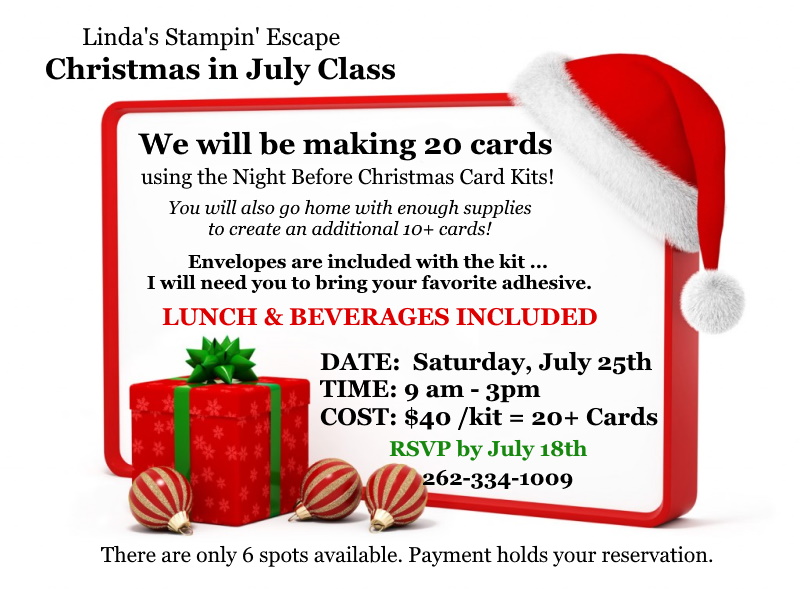
Join me for an delightful day getting a jump on your Christmas cards this July! Your packets will contain everything (and more) to create the 20 cards in this class… PLUS, you’ll go home with enough supplies to make another 10 or more cards!!

You’ll enjoy stamping in a relaxing environment and a tasty home made lunch for you. I will have a variety of beverages for you to enjoy.

We will begin simple and work our way up to some fun folds … but all cards will be easily for you to recreate (because you’re going home with enough supplies to create 10+ more cards).

JULY PROMOTION ….

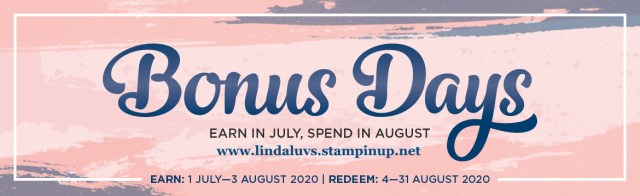
Bonus Days are back!! This popular promotion really heats up the summer … if you haven’t heard of this before for every $50 you spend by the 3rd of August 2020 (before shipping and tax) … you will earn a $5 Bonus Days coupon code that can be used 4–31 August 2020.

Thank you for stopping back today. Enjoy!

Lovin’ the Triple Layer Technique

Hello Stampin’ Friends ~

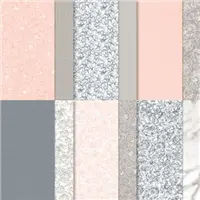
I’ve got two cards to share with you today using the Triple Layer Technique … it is usually done with stamped images but I like using it with designer paper. I’m using the Peony Garden, same as I did on my Simply Sunday cards (View them Here).

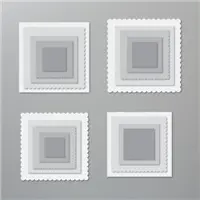
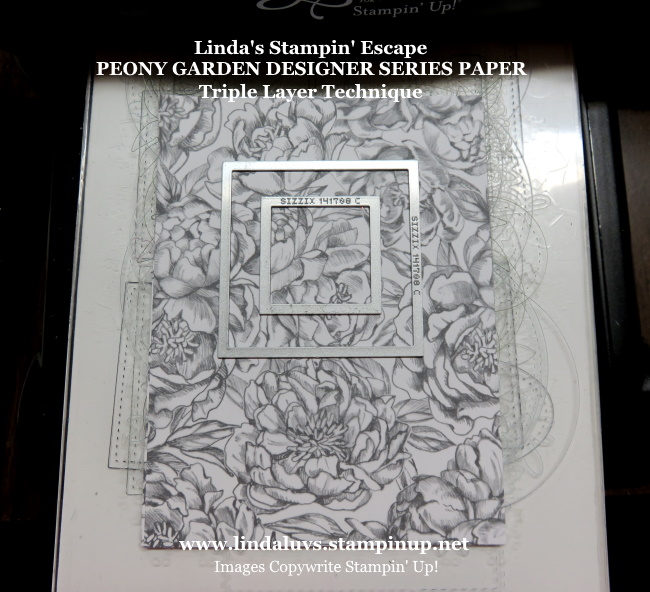
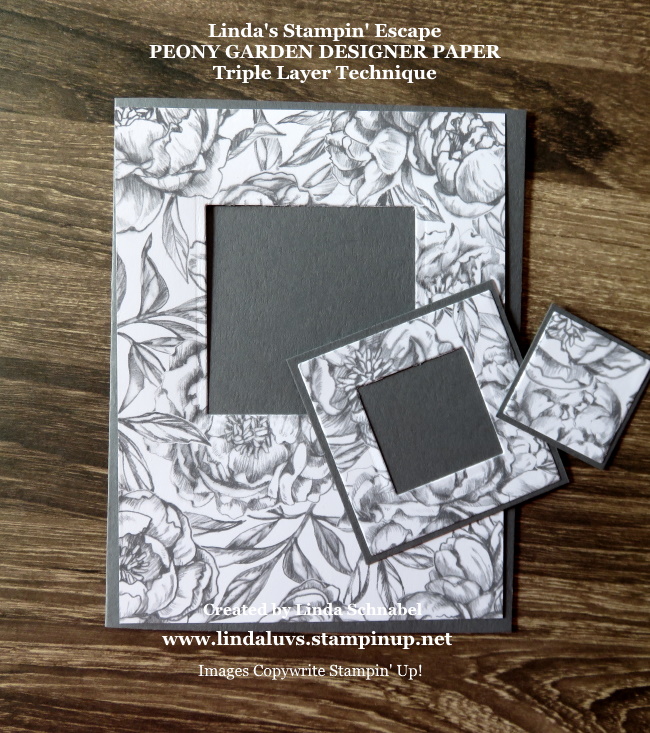
Let’s begin with the “How To” create the Triple Layer. I’m using the square dies but you can actually use any shape die …

I picked the Gray Peony pattern to show that when die cut, the triple layer technique highlights the pattern …

Once your designer paper is die cut, you will need to mat those pieces … I like mine to be only an 1/8″ larger so you don’t take away from your design …

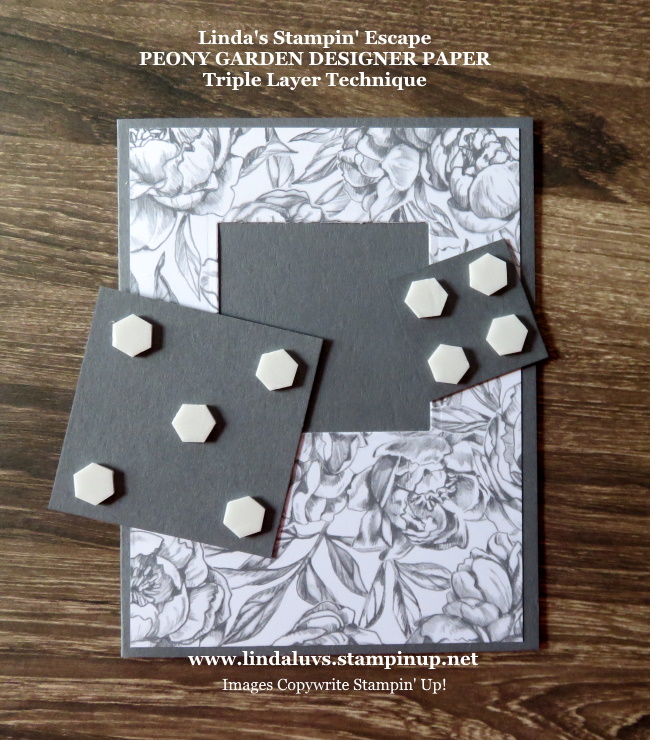
You’ve got to love the fact that you have no waste with this designer paper technique. One little tip I’d like to share is to keep your designer paper in the position in which you cut.

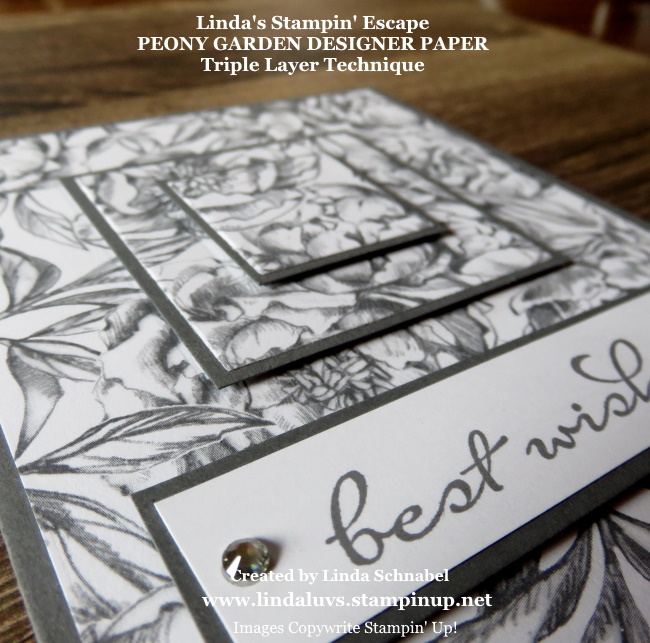
Time to create the layers and while we are add it … lets add dimension too! Remember when layering, to position your cut pieces so the design aligns and you will end up with a stunning Triple Layer card ~

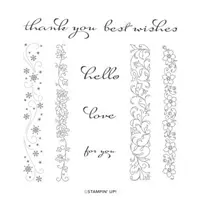
See how the pattern of your paper is not chopped up by the die cuts, but are actually highlighted with the mat. This monochromatic card checks all the boxes in design and is finished off with “best wishes” sentiment from the Borders Abound.

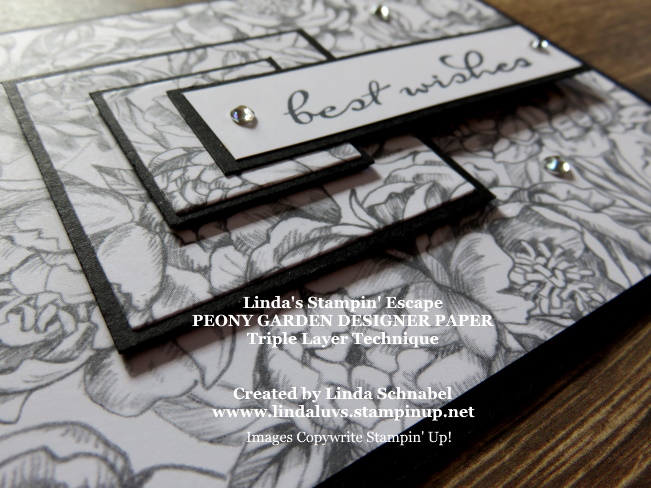
Are you lovin’ the layers? How about the monochromatic theme? Do you prefer a portrait or landscape layout? How about we change things up a bit and swap out the Basic Gray cardstock for Basic Black and turn our card from the portrait to a landscape / horizontal layout …

What do you think? Too bold or does the black really make the card pop? I had a little fun positioning the sentiment and thought that it really incorporates itself into the card. Talking about layering ….

I must say that I had a lot of fun creating these cards … this technique is fun and easy to do. Again, you can use any die shape as long as you have a mat behind it.

Which one did you prefer … and why? Make sure you leave me your comments below, I can’t wait to find out which one you all like best!

Thanks for hanging out with me today, and I can’t wait to hear what you think … Like the post at the bottom of my blog and then leave a comment on which card you like best.

Have an awesome day today ~

Here is a list of the product I used to today’s cards. Find out more information about these products by clicking on the image … or you can begin your shopping from here as well. Thank you!
Blossoms in Bloom Bundle

Hello Stampin’ Friends,

Today I am sharing a cute card from the Blossoms in Bloom Bundle. This was created in the Stampin’ Up! home office and was too cute not to share with you. I do not have this bundle yet … but with the Bonus Day promotion going on right now, it’s on my Wish list!!

Card Base Size: Notecard
Stamps: Blossoms in Bloom
Paper: Calypso Coral, Whisper White, Poppy Parade,
Flowers for Every Season DSP
Ink: Versamark, Calypso Coral
Accessories: White Embossing Powder
Adhesives: Seal, Multipurpose Adhesive, Dimensionals
Tools: Many Layered Blossoms Dies
Tips/Tricks: Cut off part of the larger die cut piece

Bonus Days are back!! This popular promotion really heats up the summer … if you haven’t heard of this before for every $50 you spend by the 3rd of August 2020 (before shipping and tax) … you will earn a $5 Bonus Days coupon code that can be used 4–31 August 2020.

Thank you for dropping in … I will be back tomorrow with a fun technique!!

Simply Sunday: Quick Card Layouts

Hello Stampin’ Friends,

I hope you enjoyed your July 4th celebrations, or got to relax a little, if not, grab a cup of coffee and join me as I share two layouts featuring the “Peony Garden” Designer Series paper.

Hope you had a chance to check out the Peony Garden suite that I shared yesterday … today, I’m highlighting only the designer paper. The soft florals and versatile designs make this paper a treasured find for your collection.

Let’s start with out first card, a bit of a surprise considering out designer paper is called “Peony Garden” …

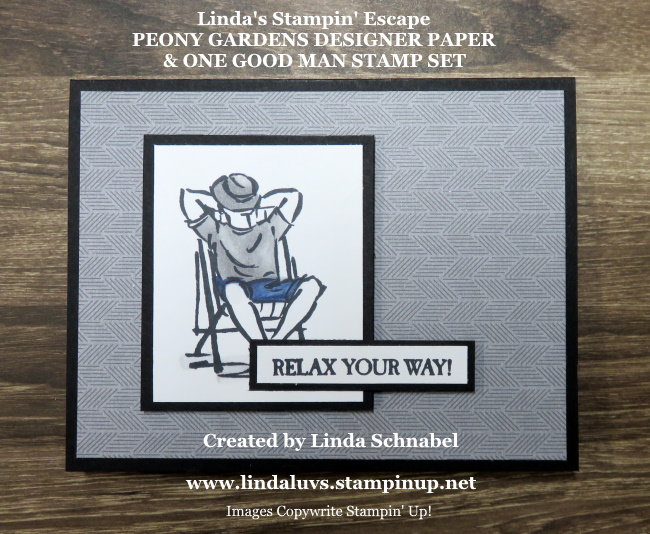
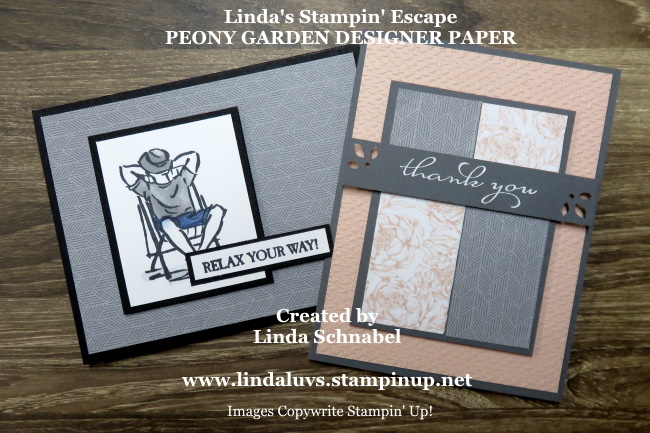
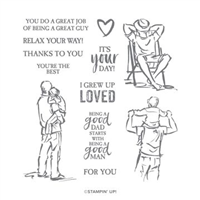
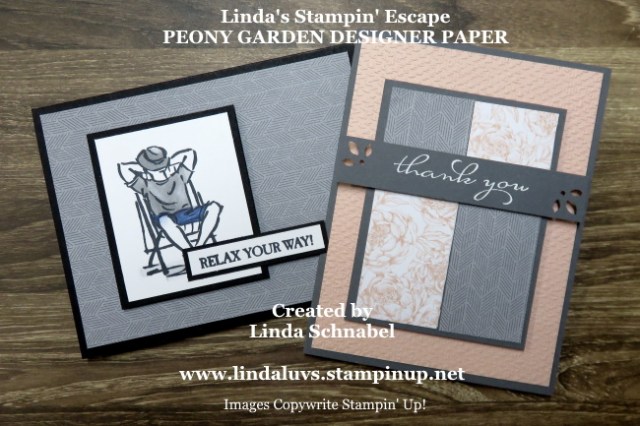
I couldn’t wait to share this pattern with you, not what you expected but the pattern suits a masculine card perfectly. I teamed this one up with our “A Good Man” stamp set. A simply layout … yes, but it is simply Sunday.

Wait till you see this same designer paper pattern used on my next card!! The design reminds me of a tweed so I paired it with a lovely floral pattern in Petal Pink ….

We are stepping up our layout for the second card. I used two strips of designer paper in different patterns – these are cut to 1-3/8″ x 3-3/4″ … they are cut off at 1-1/4″ and then placed on a 4″ x 3″ Basic Grey mat. This is then attached to the Petal Pink which is embossed with the new Tasteful Texture 3D embossing folder.

The “thank you” comes from the “Borders Abound” stamp set . I share a card with you a few days ago featuring that stamp set (See Here). Check it out … I think you will enjoy it. I love this font and think it adds an elegant touch to the card. It was heat embossed in white and the ends punched with the Detailed Trio Punch.

It is amazing how a designer paper pattern can influence the style of your card. On our first the gray is masculine but on the second, it adds a formal touch, and combined with the softness of the floral pattern and fanciful font … you end up with charming card.

Thank you for taking time out of your holiday weekend to join me. I will be sharing “more” with the Peony Garden Designer paper the next few days. If you LIKED today’s post … please click the LIKE button at the bottom of the page.

Enjoy the rest of your day.

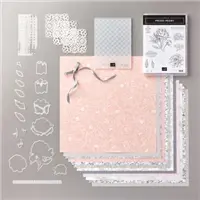
Here is a list of the product I used to today’s cards. Find out more information about these products by clicking on the image … or you can begin your shopping from here as well. Thank you!
Peony Garden Suite

Hello Stampin’ Friends,

A Happy 4th of July for my US friends! My Canadian friends celebrated Canada Day on the 1st of July and a happy day to the rest of my stampin’ friends around the world!!

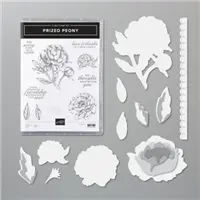
Today I’d like to share with you the beauty of the Peony Garden Suite. Grab a cup of coffee if you’d like, I will be sharing a quick video to introduce you to the products included in this suite …

This quick little video shows just a glance at the beauty of this suite. Tomorrow for my Simply Sunday series I will share some quick & beautiful cards using the Peony Garden Designer Series paper. Here’s another look at the products ….

You can see how these amazing dies can build up a peony to send to a friend or you can just stamp the image as on the gray card and color it. So many ways to use this suite.

I love this card … it was created with the die cuts but used a coloring technique to create the two tone effects of the flower petals – so beautiful. Then stamp was colored with markers and then stamped onto the cardstock and the background is one of the pretty designs in the Peony Garden Designer paper.

My Peony lovers are going to be enchanted with this gorgeous suite. Stop back tomorrow for Simply Sunday and see what I have to share with you.

Have a wonderful day and enjoy “your” celebration! Thanks for stopping by.

Here is a list of the product I used to today’s cards. Find out more information about these products by clicking on the image … or you can begin your shopping from here as well. Thank you!
Christmas In July

Hello Stampin’ Friends,

I am so excited to announce my first in studio class since the covid virus reared it’s ugly head! This is a one time class and will be limited to only 6 attendee’s … I’m starting small … safe. Your packets will contain everything (and more) to create the 20 cards in this class. Here is one of our cards ….

We will begin simple and work our way up to some fun folds … but all cards will be easily for you to recreate (because you’re going home with enough supplies to create 10+ more cards). Here’s the details …

Join me for an delightful day getting a jump on your Christmas cards this July! You’ll enjoy stamping in a relaxing environment and a tasty home made lunch for you. I will have a variety of beverages for you to enjoy.

The kit has all we need … I’ve added a few supplies to embellish and step up some of the cards. You do need to bring your favorite adhesive. There will be “Minimum” stamping to reduce “passing” of items … plus I’ll have plenty of hand sanitizer handy 🙂

Hope to see you there … It will be held at my house!

Thank you for stopping back today. Enjoy!

Welcome July!!

Hello Stampin’ Friends ~

With the 4th of July celebrations being prepared for the weekend, I thought I would share a bit of fun that is kickin’ off at Stampin’ Up! this July! Bring out the fireworks!

Bonus Days are back!! This popular promotion really heats up the summer … if you haven’t heard of this before for every $50 you spend by the 3rd of August 2020 (before shipping and tax) … you will earn a $5 Bonus Days coupon code that can be used 4–31 August 2020.

Next up our Summer Nights …

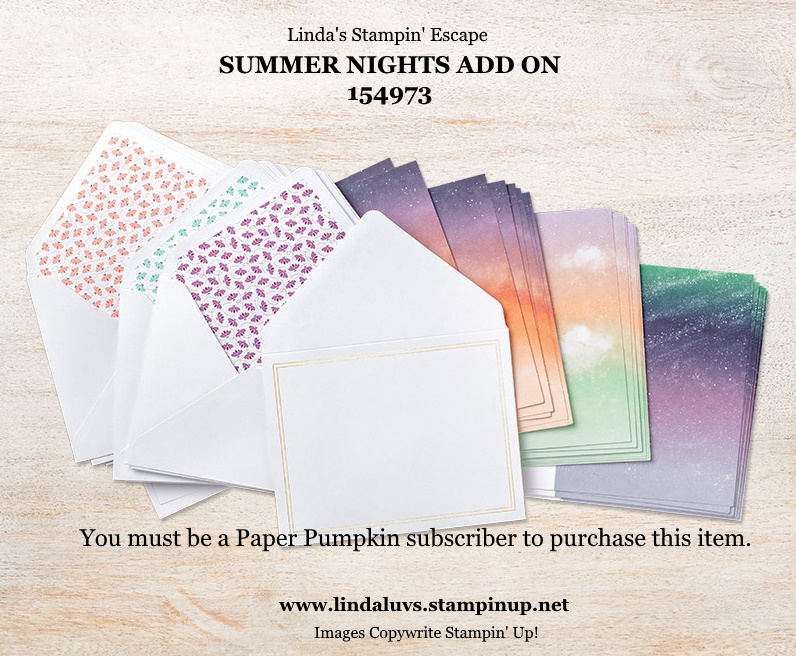
Celebrate the magic of summer nights with the Summer Nights Paper Pumpkin Kit! In this exclusive fun-filled kit, you’ll unbox enough supplies to create nine postcard-style cards, coordinating envelopes, and die-cut tealight bags. You have until the 10th of July to Subscribe.

What’s even more spectacular about July’s kit is the add-on you can purchase along with it! The Summer Nights Add-On includes 24 card bases and envelopes in coordinating Summer Nights designs. This add-on is perfect for helping you expand the Summer Nights creative experience beyond the Paper Pumpkin kit. Between the add-on and the leftover supplies from your Summer Nights kit, you will be crafting a summer night worth celebrating all month long!

Something fun and new for your craft room ….

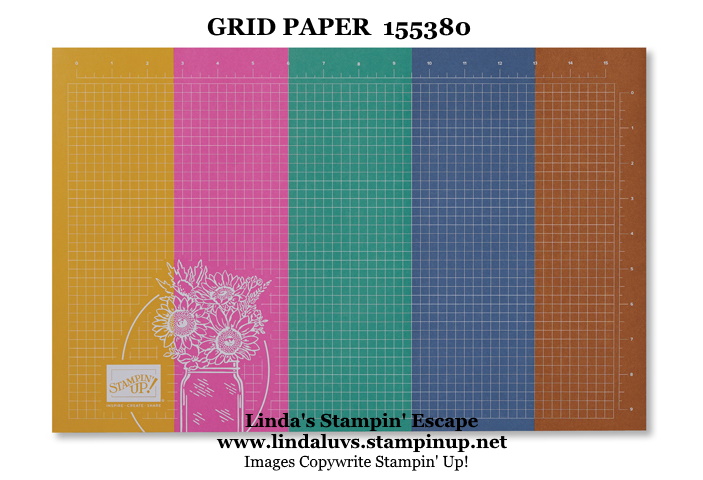
Brighten up your stamp room and protect your workspace with this double-sided grid paper that includes metric and imperial measurements. Features our fabulous new In Colors: Bumblebee, Cinnamon Cider, Just Jade, Magenta Madness, and Misty Moonlight. 25 sheets. 11″ x 17″ (28 x 43 cm).

I’m excited about July and these great new products and promotions! Join me tomorrow as I share a sneak peek into my July classes!! It’s time to stamp together again (safely of course!)

Thanks for joining me today, hope yours is a good one!

Keeping Memories

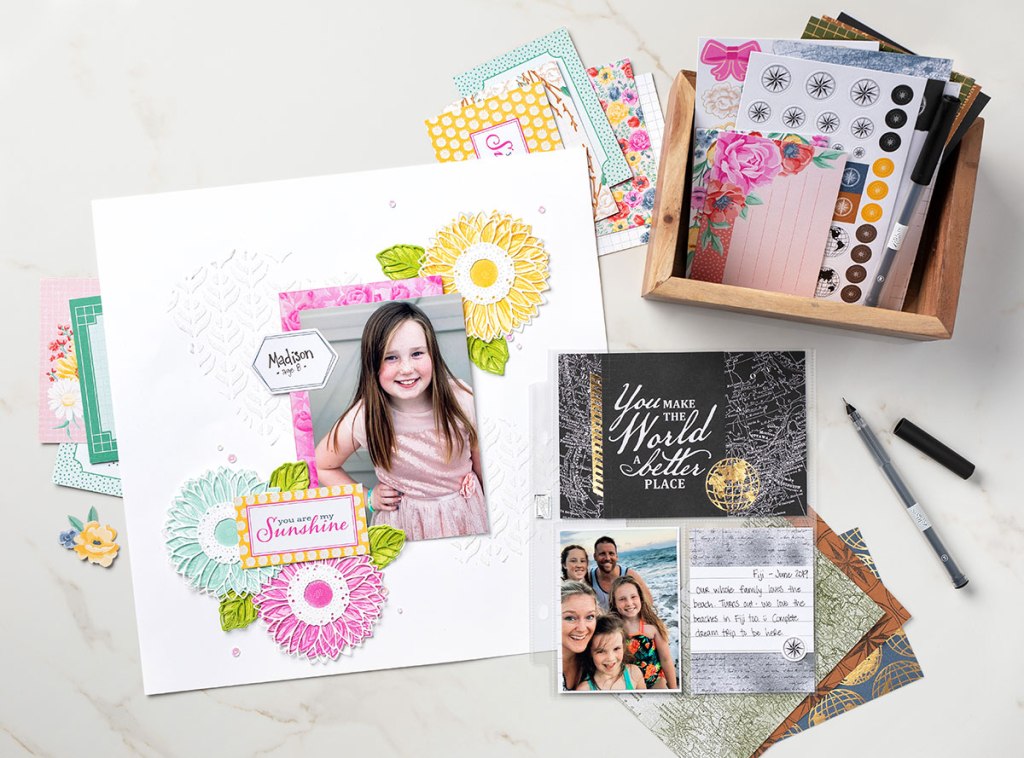
Are you hoarding your photos in your camera … are they just waiting to escape and be seen by the world? We’re all guilty of this and busy!! Lucky for you we have our, Memories & More Card Packs! They are great stepping stone for memory keeping and a simple to use.

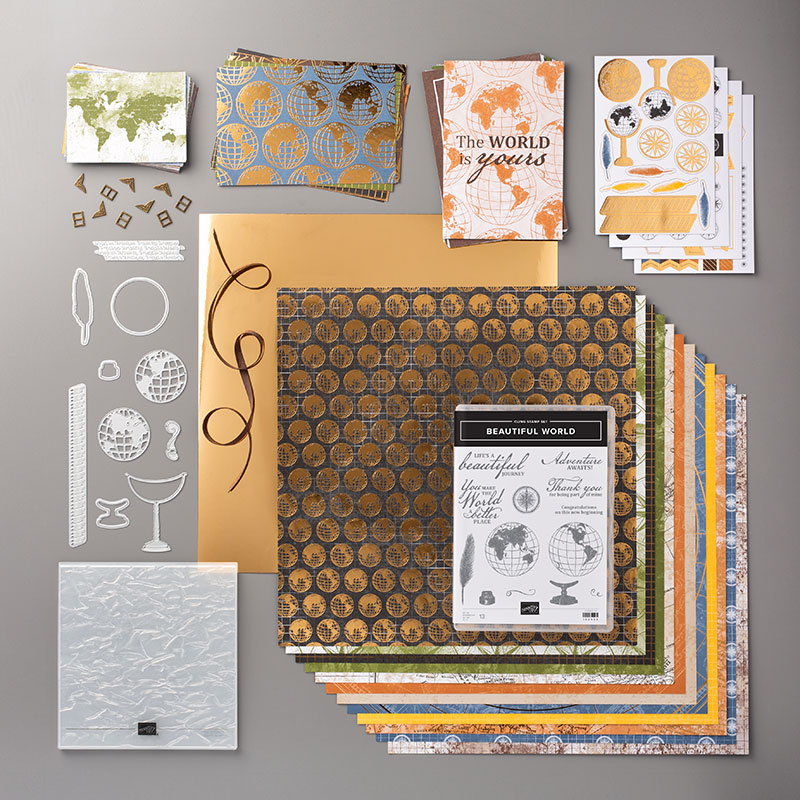
For example, if you have a memorable vacation, you can count on the World of Good Memories & More Card Pack to help you highlight those precious moments of your trip. And right now is the perfect time to work on projects like this, while the world still moves a little slower and travel is at a minimum.

Coordinating packs of cards makes it easy to put together quickly. This simple affordable system makes it easy to get started … and, it’s not just for scrapbooking, use the cards to make quick cards as well.

So … if your like me and have your memories captured in your camera, let them escape onto a quick and simple way to share with your friends and family. And don’t forget some cards!

Thank you for checking out today’s post. I hope I shared a great solution to your scrapbooking. I know many don’t start because it can be overwhelming … now it’s simple.

Have a wonderful day ~

Borders Abound

Hello Stampin’ Friends ~

Hope you had a nice weekend and got a chance to catch my post yesterday … I shared two cards from the Forever Greenery product suite (It was “hot” on Pinterest! Today I’m sharing a cute card from the new “Borders Abound” stamp set.

Snowflakes, leaves, flowers, and more. The Borders Abound Stamp Set has the images you need to create borders for cards and other projects. This stamp set was inspired by Million Sales Achiever Kimberly Cook.

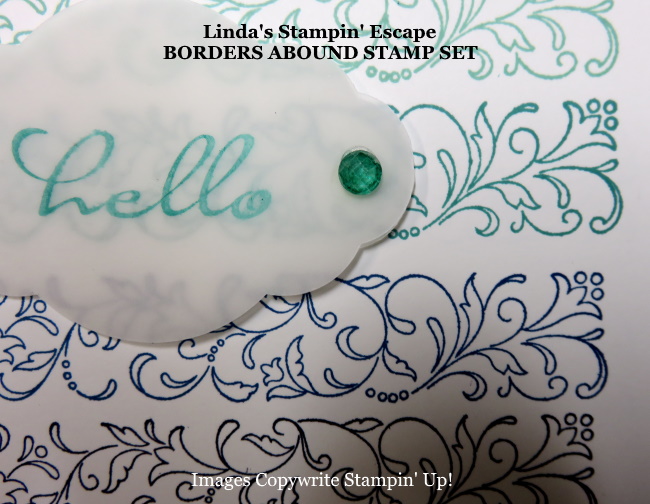
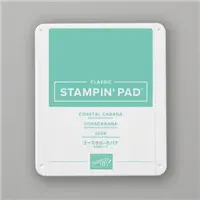
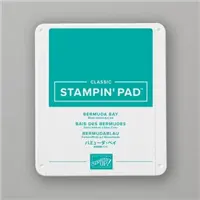
My card showcases a succession of color … Pool Party, Coastal Cabana, Bermuda Bay in the center, then Pacific Point and Night of Navy.

This fun card can be done in an array of colors; pinks, greens or your primary colors … any of these would be pretty. Since my Bermuda Bay is the center color, I used it as my mat, ink for my greeting and Stampin’ Blends to color my embellishments.

I like this close up because it gives you a better look at the colors and my Elegant Faceted Gems which I colored with the Bermuda Bay Stampin’ Blends.

I used the Faceted Gems to hide the Mini Glue Dots which secures the Vellum cardstock to our card, and it anchors our greeting so nicely. Sweet and simple, that is how I design most of my cards ….

Hope you enjoyed today’s card and the new Borders Abound stamp set, if so, feel free to “LIKE” this post at the bottom of the page. This helps others find my blog easier, and it let’s me know what you like.

Thank you for joining me today. Tomorrow I will have some more news on my Facebook Live / Stampin’ Party!!

Have a beautiful Monday ~

Here is a list of the product I used to today’s cards. Find out more information about these products by clicking on the image … or you can begin your shopping from here as well. Thank you!
Forever Fern: Step it up Sunday!

Hello Stampin’ Friends ~

I’m excited to share two new cards with you today, both a step up (or “jacked up” if you watch Say Yes to the Dress – lol) from my June 22nd card … Click here to view blog post for this card.

I did take yesterday off to spend time and connect with family who have been going through some medical issues. I’m just happy they are getting better and I’m back in the stamp room!

My first card is a true “step up” from the original Forever Fern card with this punch technique … I’m not sure what it’s called or even if it has a name but I’ve used this several times and it always looks fresh and new …

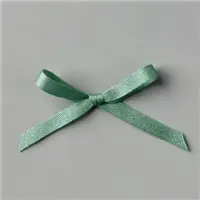
This “step up” is simple … I added a Just Jade bow and a few rhinestones to add a little glitz to the card. These rhinestones were colored with the Just Jade Stampin’ Blends. With Stampin’ Blends, you can coordinate many of our gems / embellishments with a simple pass of the brush tip.

My next card has the same basic layout but is “stepped up” even more … here we will add embossing on the background and layers to our punched shapes …

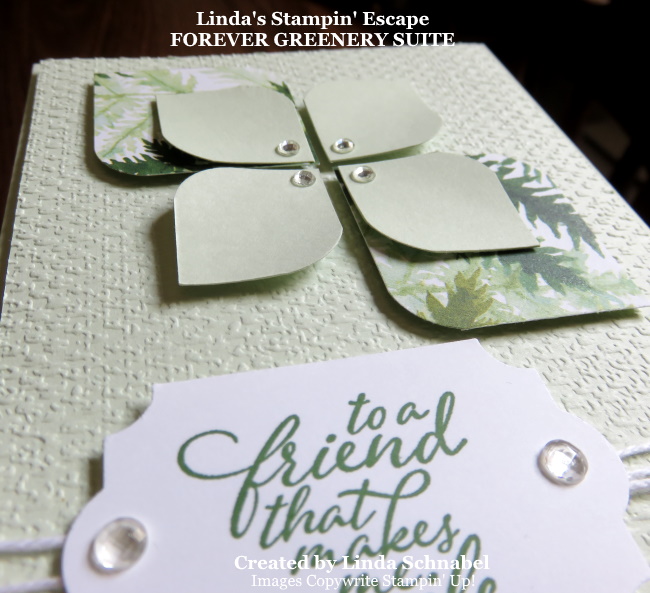
I began with Soft Seafoam cardstock. The beautiful texture on the background was created with the Tasteful Textile 3-D embossing folder. Our large punched shape (1-1/2″ x 1-1/2″) went from 4 down to 2 and were punched from the Forever Fern Designer Series paper.

I then created 4 small shapes … start with a 1″ x 1″ square and punch opposite corners with the corner rounder that is on the Trio punch. I gave them a slight curl but wrapping them around the Take Your Pick tool … I also used this tool to add the stunning new “Elegant Faceted Gems”.

I had to share this angle of the card so you can see the stunning texture, layers and faceted gems on this card! I kept the greeting the same but punched it out with the Everyday Label Punch.

When you bring all these amazing product together, you can create so many different styles and layers to a card. Just sit down and have fun creating and layering. This product suite amazes me … and keeps calling me back!

Hope you enjoyed my Forever Greenery / Forever Fern cards today … from simple to elegant, this suite is perfect for so many occasions and will delight men and women alike!

Thank you so much for joining stopping back and joining me for a bit today. I have another new stamp set to share with you tomorrow.

Have yourself a wonderful day ~

Here is a list of the product I used to today’s cards. Find out more information about these products by clicking on the image … or you can begin your shopping from here as well. Thank you!
June is almost gone ….

Hello Stampin’ Friends,

I hope you have been enjoying the cards, stampin’ tips and techniques I’ve been sharing … I have many more. With the New Catalog less than a month old … and the NEW Mini upcoming, I have much more in store for you!
The New 2020-21 Catalog has been “LIVE” for about 2 weeks now … and if you haven’t picked yours up yet, I still have some ready! If you are a new to Stampin’ Up! and are looking for a demonstrator, I’d be happy to send you a catalog.
Our time to enjoy these amazing deals is coming to an end so I’m sharing a quick reminder …. When you host or shop with an order of $250 or more, you will receive an additional $25 in FREE merchandise of your choice!

$25 FREE Merchandise on orders totaling $250 or more!

And … for those of you who want it all, well, they have a special for YOU too! You can purchase the Starter Kit at the $99 price, pick out $125 worth of products and a FREE BUNDLE!! Now this is an AMAZING deal … much better than a 30% off Kohls coupon. Depending on what bundle you choose, it’s almost 50% … Like the old Buy One Get One FREE deals!

I’m still planning a FACEBOOK LIVE PARTY … I’m still working out a few details and want it to be FUN and Informative!! There will be Live Presentations, Door Prizes, Fun Activities and more. Make sure to find me on Facebook and LIKE / Follow my page so you don’t miss a thing … CLICK HERE!

I’ll be sending out information soon … Don’t miss it! Be sure to sign up for my Mailing List too. This is the best way to get updates on Classes, Events and my Stamping Retreats!

Thanks for checking out my blog today and remember … Only a few more days remaining this June and our specials. I look forward to stamping with you … one way or another! Stop back tomorrow for a fun project!

Have an awesome Friday!

Moving Along …

Hello Stampin’ Friends ~

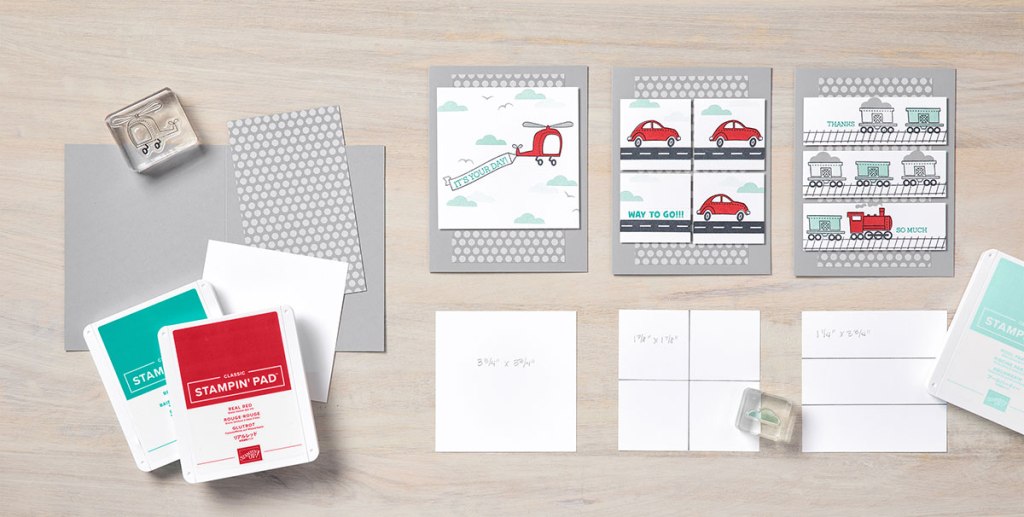
I picked today’s stamp set as a reflection of how our summers “used to be” and hoping we kick this virus and can travel again! I’m sharing several different layouts … Now you can wish your friends happy travels with this whimsical, transportation-themed stamp set. Great for children or adults.

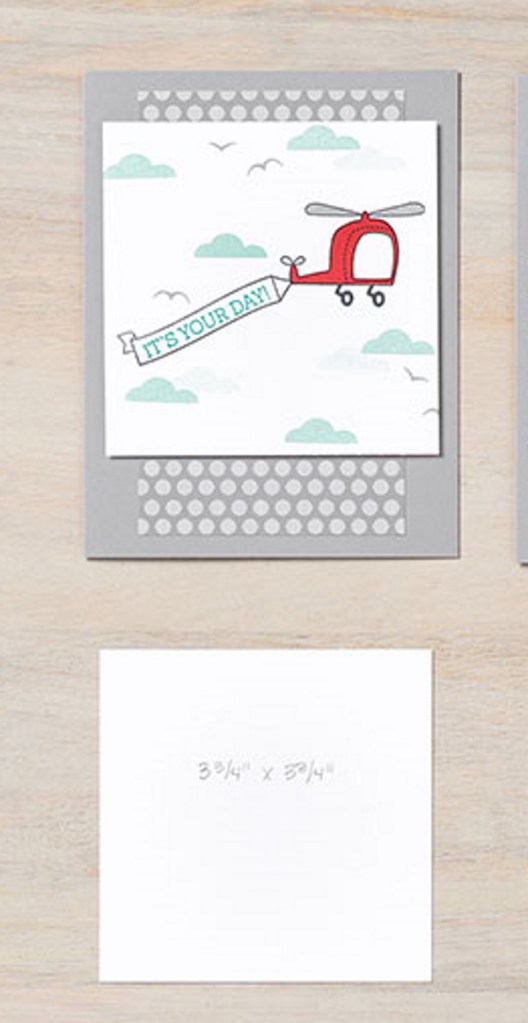
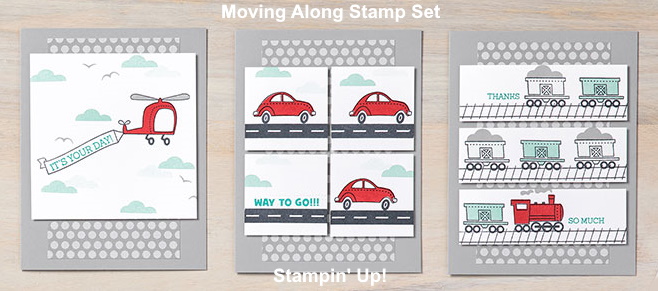
Helicopter Card
No trimming needed! Stamp on the Whisper White Cardstock, use Stampin’ Seal to adhere the Designer Series Paper to the Smoky Slate card base, then attach the stamped cardstock using Stampin’ Dimensionals.

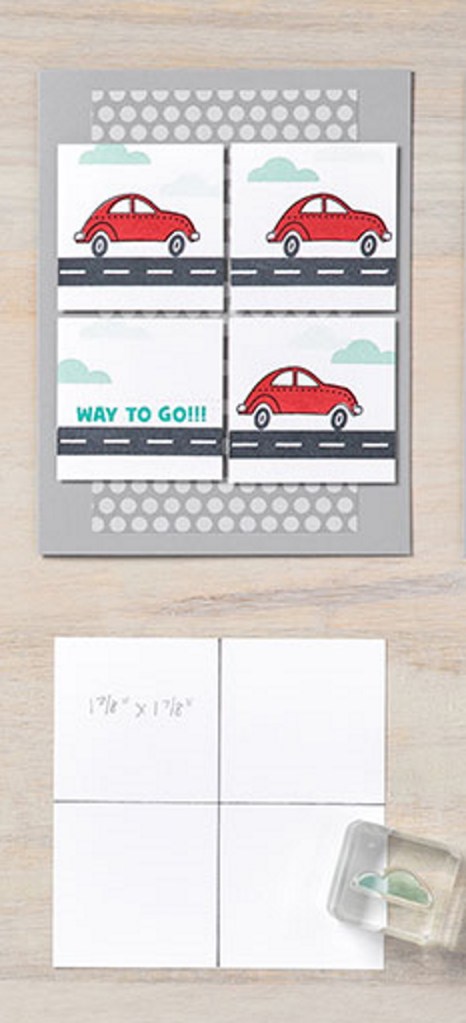
Car Card
Cut the Whisper White Cardstock into four squares measuring 1-7/8″ x 1-7/8″ (4.8 x 4.8 cm) and stamp. Attach the Designer Series Paper to the Smoky Slate card base with Stampin’ Seal, then adhere the squares to the Designer Series Paper using Stampin’ Dimensionals.

Train Card
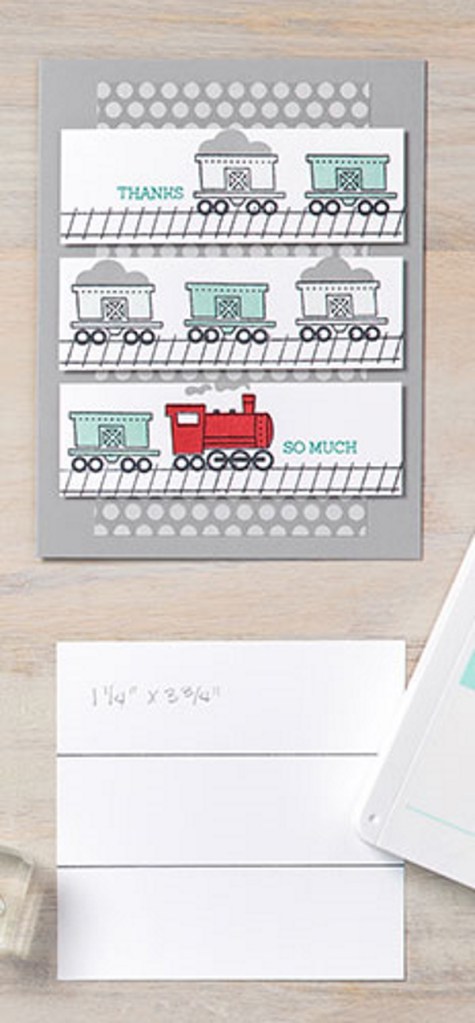
Trim the Whisper White Cardstock into three strips measuring 3-3/4″ x 1-1/4″ (9.5 x 3.2 cm) and stamp. Attach the Designer Series Paper to the Smoky Slate cardstock with Stampin’ Seal, then adhere the stamped strips to the Designer Series Paper using Dimensionals.

The three simple layouts give you the perfect way to change things up when using the same stamp set!

Feel the need for speed? Step it up by creating depth and dimension with your images using Two-Step Stampin’, stamp the silhouette image in the lightest color of ink. Then stamp the detailed images in darker colors.

Now we have a lot of dimension by creating a background and tucking it behind your card front. You’re creating “windows” to the world by using the Stitched Rectangle Dies. Cutting out your images and mounting them to the cardfront gives you the 3-D effect.

Have fun playing with these simple layouts and get as creative as you want.

Thank you for joining me today. Hope you day is filled with fun and sunshine.