Not Just Christmas …

Hello Stampin’ Friends ~

Hope you had a wonderful weekend! Did you get your Holiday Catalog? Did you get time to savor all the delectable new products? If you did, then you know that it’s not just Christmas!! There is so much more.

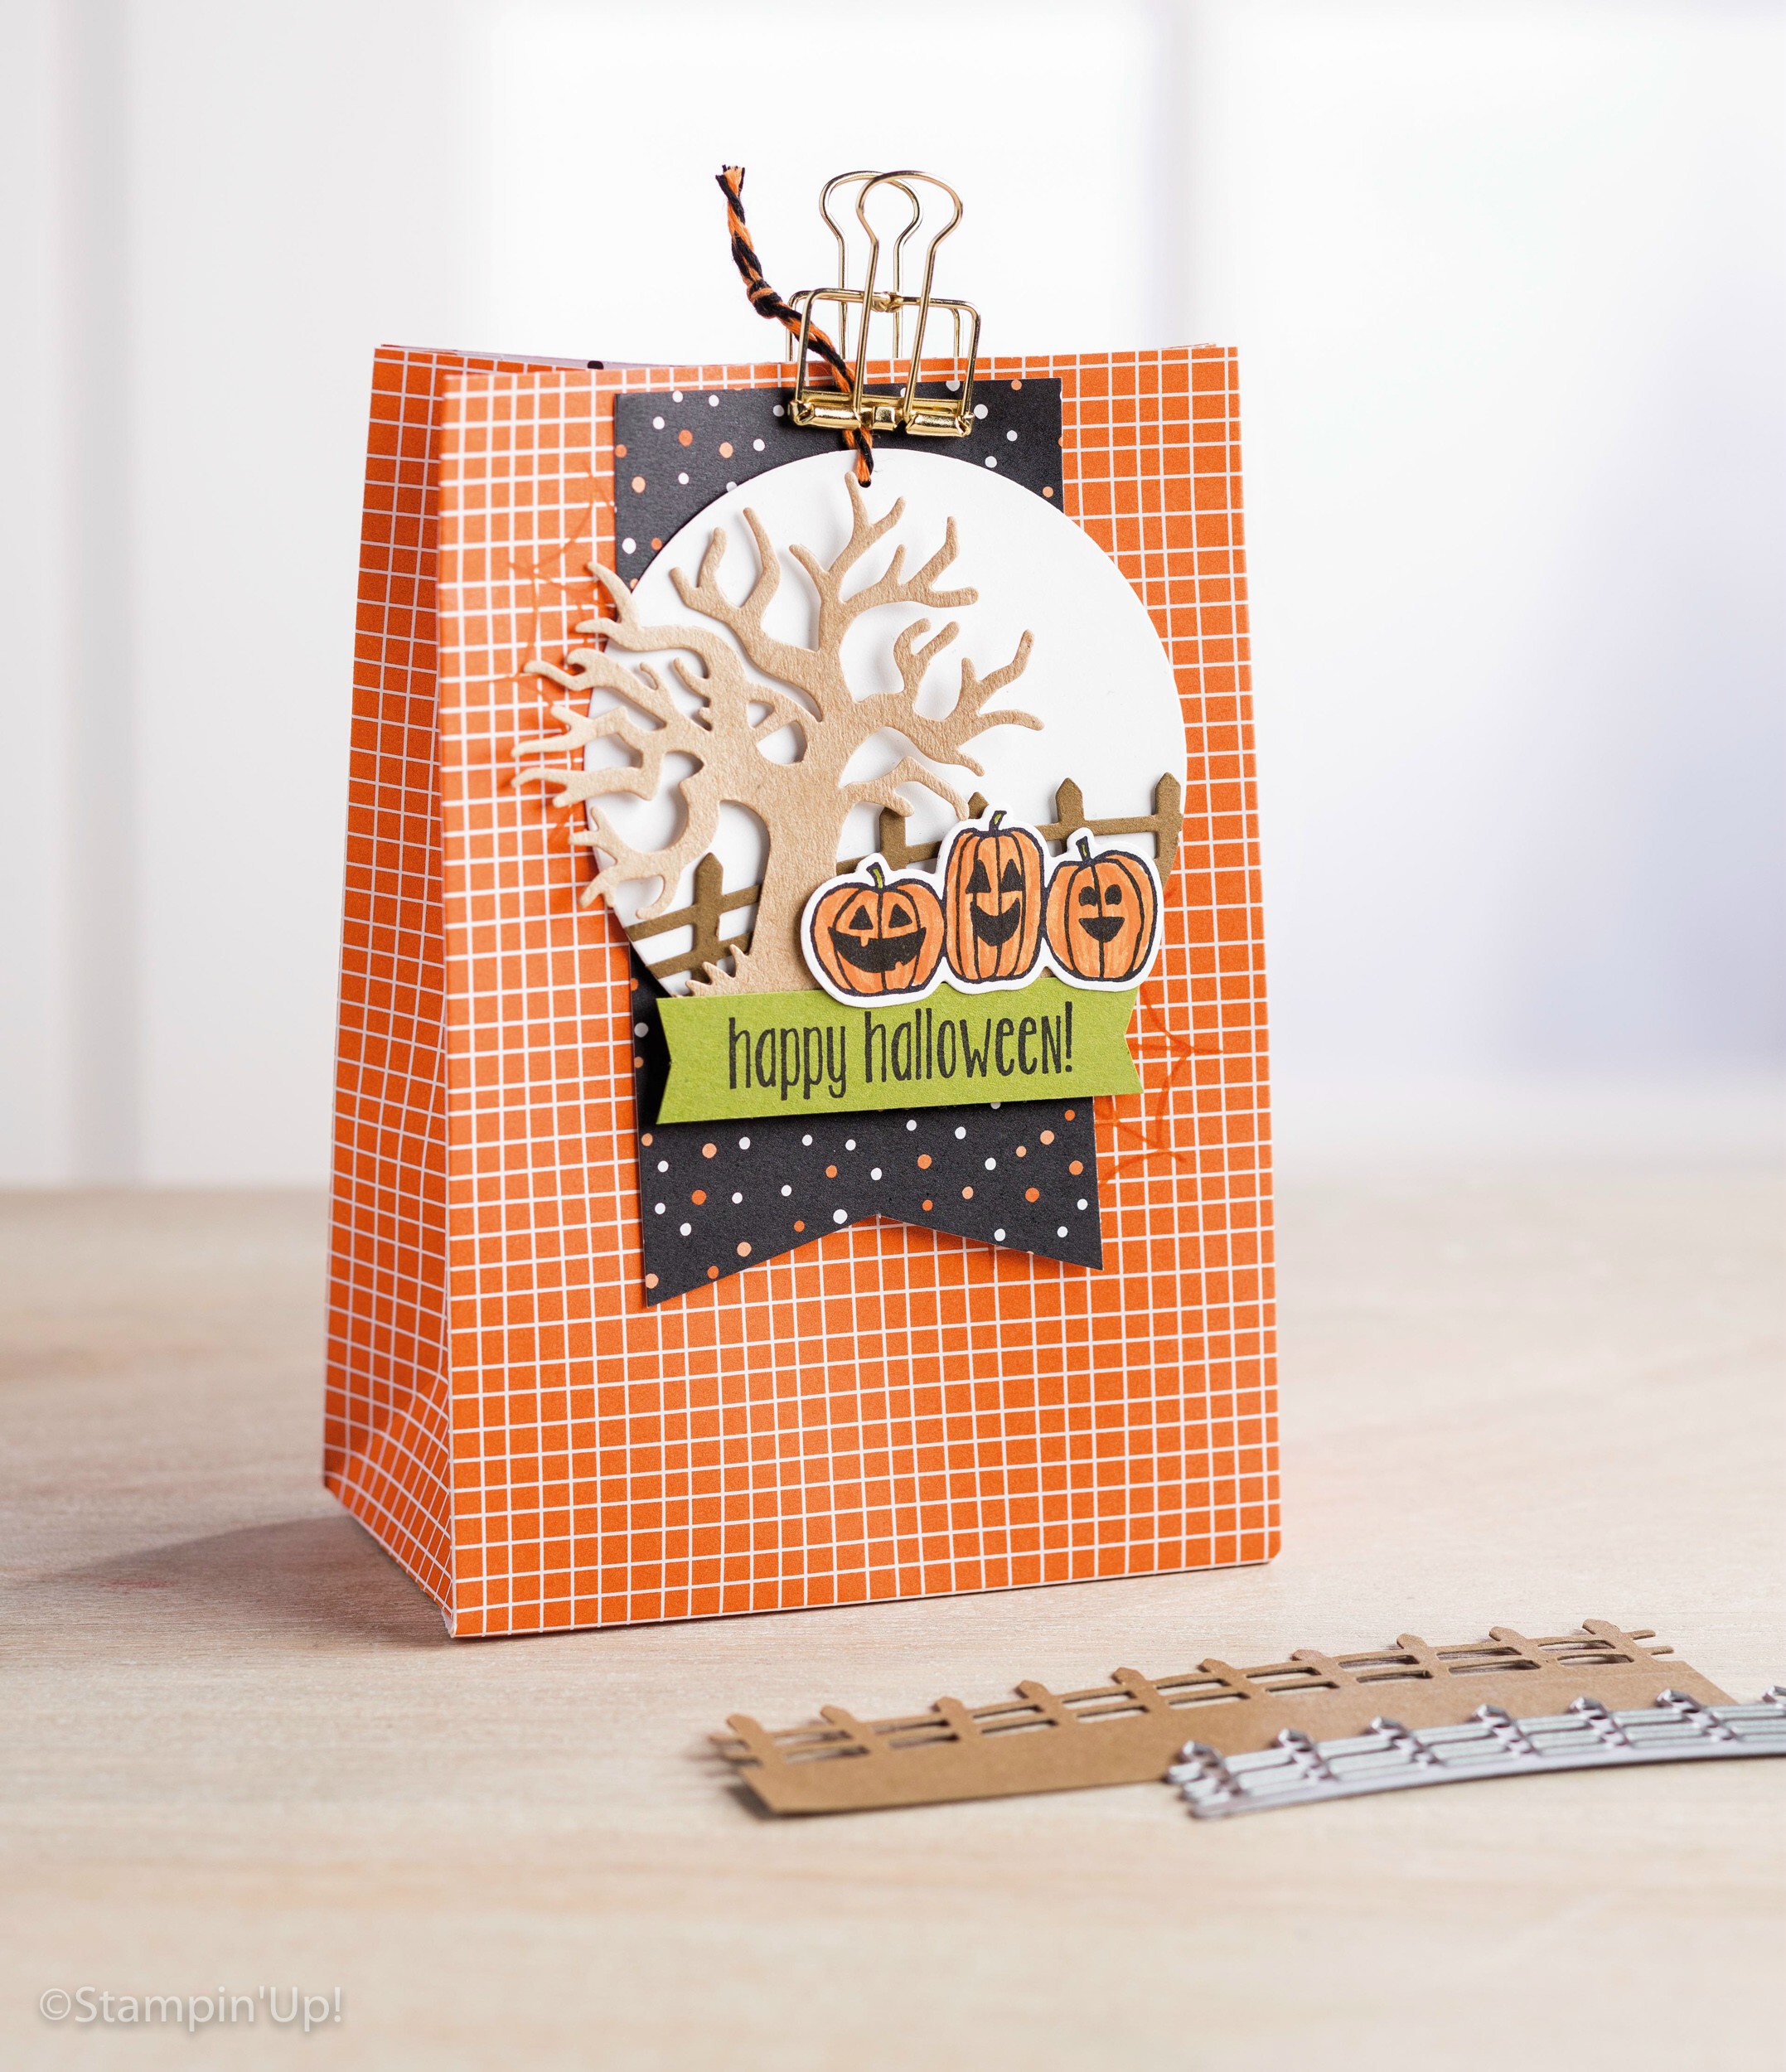
Do you love Halloween? Ohhh … I do, and I have the cutest little gift bag to share with you today, straight out of the Holiday catalog.
Holiday16_p52a-8

Wouldn’t this make the cutest card!!  I don’t have many trick -or- treaters down my street so for those special kids that stop by will get this cute little bag filled with goodies!

If you want to play with some of those awesome stamp sets, dies and embellishments you see in the catalog, then please join me …

Holiday Launch Party

You must RSVP by Friday, September 9th as I will begin cutting all the cards for you.  All you need to bring is your basic stamp kit: scissors and your favorite adhesive. I’ll have everything cut for you and tucked into your envelope, ready to stamp!

RSVP by e-mail: lindaluvs2stamp@aol.com  or  by leaving a comment below.  It’s an all occasion card night using the goodies from the Holiday Catalog.

Thank you for coming over today and for those close to me, I hope to see you at the “Holiday Catalog Reveal Party”.

Have an awesome day ~

blog-closing-small

Simply Sunday: You Make Me Happy

Hello Stampin’ Friends ~

Wooo … I got caught up in the preparations for my Hostess Appreciation Party tomorrow and almost forgot to share my card with you!! But here I am and I’m sure you will love this ridiculously simple card!

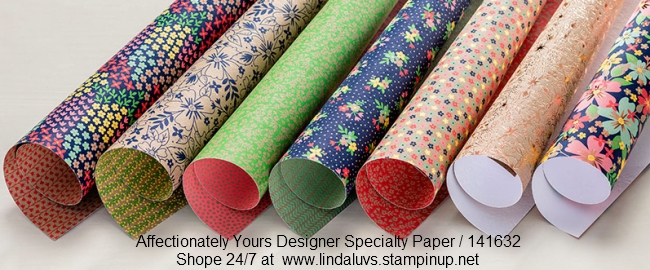
Let’s begin with our Designer Series Paper: Affectionately Yours Specialty Paper…

141632G

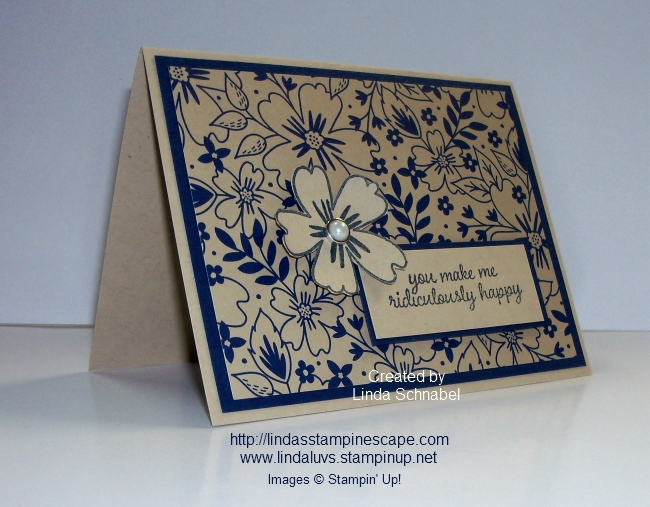
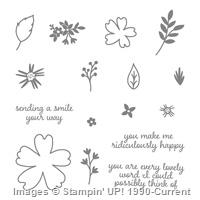
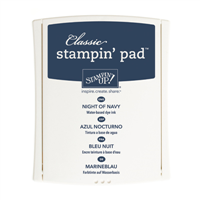
It is the core of our card today, however I teamed it up with the coordinating stamp set: Love and Affection. As always, I let the designer paper dictate my color pallet which is simply Night of Navy and Crumb Cake.

000_3598

Once the designer paper was attached to the Night of Navy mat, I attached that to a Crumb Cake base. I then stamped the flower and cut it out, then stamped the greeting, matted it with Night of Navy, then popped both up with the Stampin’ Dimensionals.

000_3605

Yes, a simple card but very cute … and there are several greetings with the stamp set or you can use something you already have.  You could make a dozen of these cute little cards in no time at all!

000_3601

Thank you so much for taking time out of your Sunday to check out my blog… it makes me “ridiculously” happy.

Have yourself a wonderful Sunday ~

blog-closing-small

STAMPIN’ SUPPLIES …


I’m back with tips & a beautiful fall card!

Hello Stampin’ Friends ~

Thank you for your patience! I had several unexpected visitors yesterday … pleasant visitors. First my granddaughter brought over my great-grandson to visit, then my oldest daughter came over with my grandson … don’t get to see them much so it was pure pleasure!

Onto my tips for stamping with the “Thoughtful Branches” stamp set!

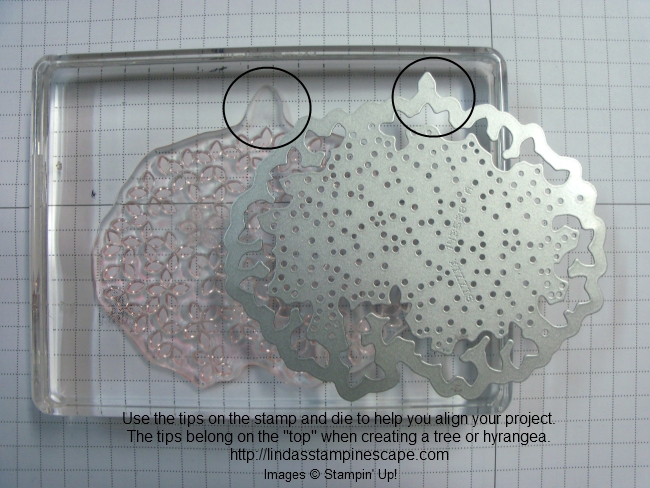
First, I want to show you the “tips” or “tabs” or “notches” that are on your stamps and die …

000_3590

These are here to help you position your images. They should be used at the “top” when stamping and cutting. You will also notice an indent in the bottom image / die – this also helps in the alignment, especially when you place the die over your stamped image.

Next, when I stamp large images, I like to flip my block over and ink from the top. This gives you much more control when inking, especially with the new ink pads and you can see if the entire image is inked up.

000_3592

I like to tell my stampers … “Show it who the boss is!”

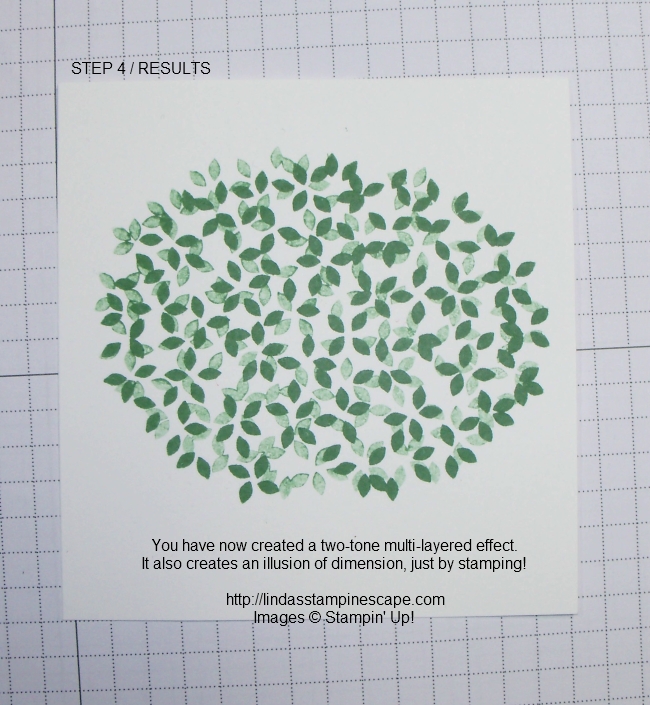
Now we are going to create a two-tone image. Stamp your image with the “tip / tab” to the top of your cardstock. Then pick it up and turn it slightly to the right (without re-inking) and stamp again.

000_3593

000_3594

This created a beautiful two-tone effect, and by moving the stamp to the right, it creates a wonderful layering effect that gives your card the illusion of dimension, just by stamping.

000_3595

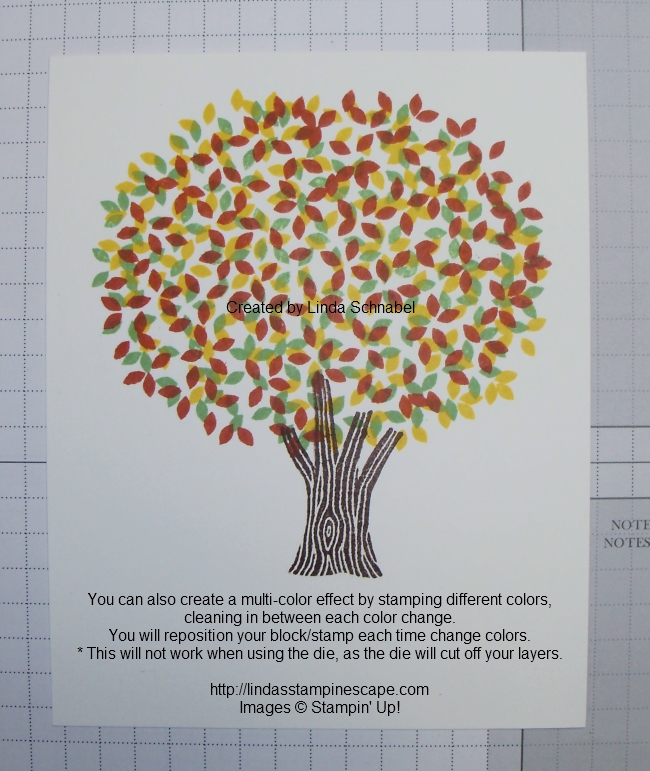
You can also create multiple colors …

Once your first color is stamped, clean, ink with new color and slightly turn your block/stamp to the right, then stamp image, and repeat with a different color. Each time you stamp a new color … you will move the block/stamp to the right each time. For example (if using the numbers on a clock) Your first color would be at 12 o’clock … the tab to the top, the second color somewhere between the 1 and 2, and the third color at 3.

000_3596

Once you begin using the stamp, you will see how easy it is to arrange your stamp to create this multi-color effect.

Now … just add some cardstock and a bit of ribbon (SNEAK PEEK from the Holiday Catalog) and you have created a beautiful card!

000_3597

I hope you enjoyed this tutorial and if you have any questions on this technique please leave me a message below or you can reach me by e-mail … just click the link at the top right of this page.

Thank you so much for stopping back again.

Have a beautiful weekend!

blog-closing-small

STAMPIN’ SUPPLY LIST …


SPOILER ALERT: August Paper Pumpkin

Hello Stampin’ Friends ~

How are you this lovely day? I am good but I’m having some technical difficulties with my camera so please know that I will be sharing the tips & techniques from the “Thoughtful Branches” tomorrow.

Today I’m going to share the August Paper Pumpkin kit so if you haven’t gotten yours in the mail yet (Hope mine comes today) HERE IS YOUR SPOILER ALERT!!

However …. If you want to take a peek at the new kit, here it is:

Bold Botanicals is the perfect blend of subtle tones and bright patterns. The photopolymer stamp set features innovative designs for beautiful backgrounds and fun phrases for a variety of occasions. With three different card styles and a variety of embellishments, this kit is sure to help you find your monthly crafting.

I will be back with alternative projects for you in the near future, as I said, I hope my kit arrives today. I just can’t wait! I love the stamp designs!

Till then, have a great day and thank you for stopping by.

blog-closing-small

Today’s Inspirational Quote:

“The things you do for yourself are gone when you are gone, but the things you do for others remain as your legacy.”

— Kalu Ndukwe Kalu


Blue Hydrangea …

Hello Stampin’ Friends ~

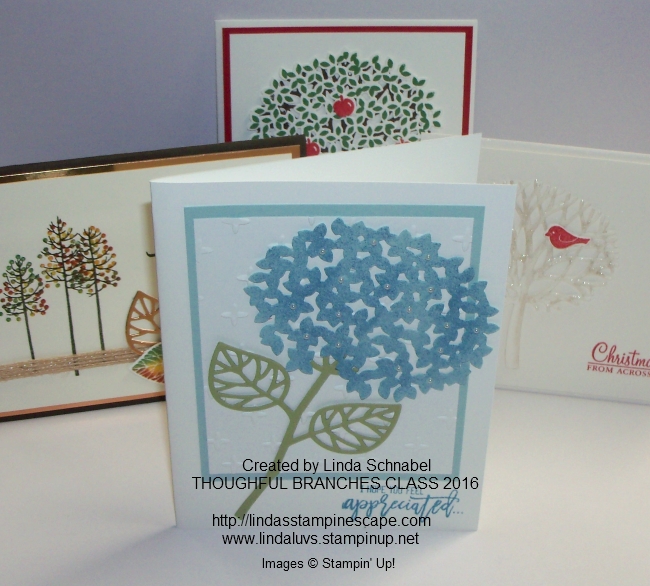
As promised, I am going to share another card I created to display at my THOUGHTFUL BRANCHES class. You will also get a peek at the 3 cards that we made …

000_3576

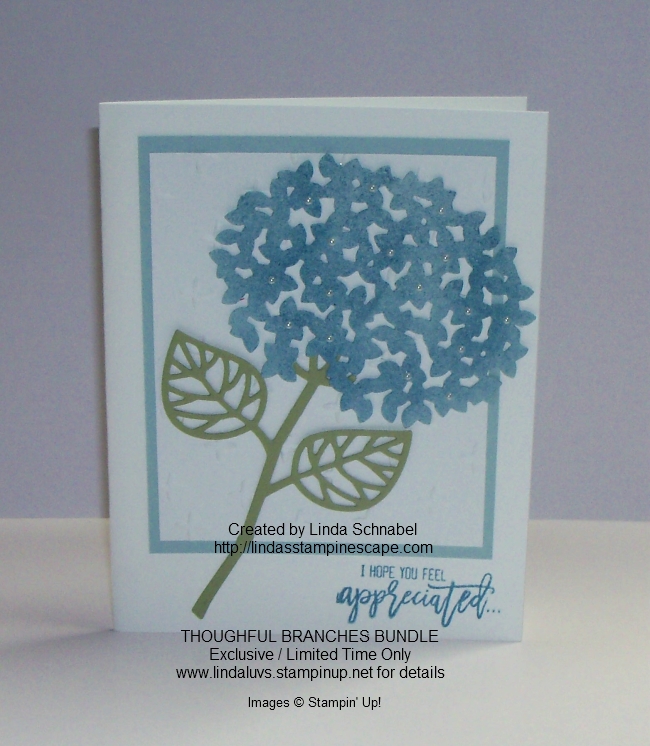
During class our stampers learned several tips on how to use the stamp set and coordinating dies … I will share that with you tomorrow so be sure to stop back. Today I’m showing you how simple it is to create a beautiful Hydrangea card.

We begin by simply sponging some Marina Mist onto Soft Sky … it gives beautiful multi-color blue hues for your flower. Once dry, and it doesn’t take long at all, we placed our framelit over the sponged area and cut out our flower … SIMPLE!

000_3583

We embellished the flower with the smallest of pearls from the Basic Pearls sheet. I love the Pearls and the Rhinestones … they are simple to use, and very inexpensive to add a touch of bling / beauty to any card.

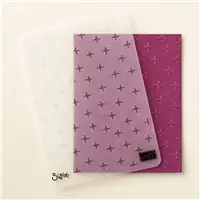
The background was done in Whisper White and embossed with the “Sparkle” embossing folder. There are so many folders you could use! Another would be the “Petal Burst” … experiment and have fun.

000_3579

We attached our flower by “rolling” the glue dots … they hold beautifully and when rolled, they give a little lift to the flower and adds a bit more dimension to the card.

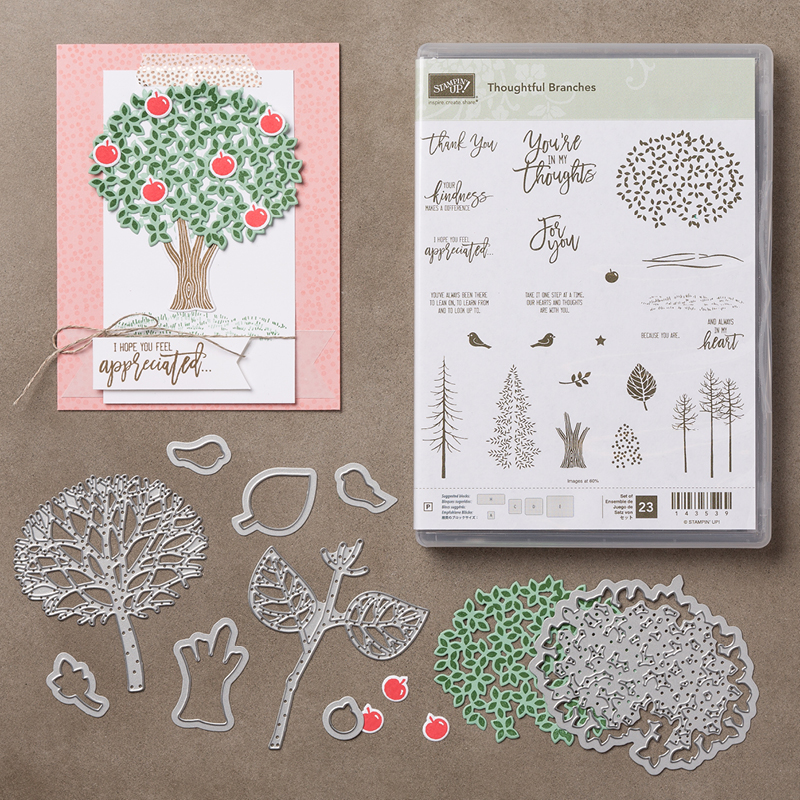
The greeting comes from the THOUGHTFUL BRANCHES stamp set. I can’t say it enough, if you love “Lovely As a Tree” … you will definitely want to add this bundle to your collection! Just click on the link below to purchase and I will send you a “Thank You” gift in the mail.

144328G

Please let me know if you have any questions on this beautiful “Limited Time” bundle, or anything else. I’m here to help.

Thank you for stopping back today, I hope yours is a good one.

blog-closing-small

TO PURCHASE ITEMS USED ON TODAY’S CARD … Just click on any of the images.

Thank YOU!


Much Appreciation …

Hello Stampin’ Friends ~

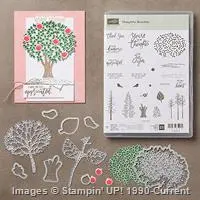
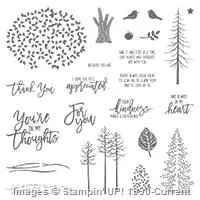
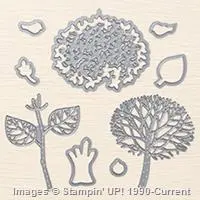
I recently held a class on the beautiful “Thoughtful Branches” bundle. This is an exclusive, “limited time only” stamp set and framelit dies. I’ll share more about the class tomorrow.  Today, I wanted to share another card created with this bundle …

Appreciation_Gallery_DBWS_Aug2016_NA_SP_EU(4)

The neutral colors with the pop of red really make this card stand out. I love the subtle waterwash of blue behind the trees.

If “Lovely as a Tree” is your “go to” set – your favorite stamp set, then you will definitely want to order the “Thoughtful Branches” bundle.  It is so versatile and the possibilities are endless.

I can’t wait to share even more cards with you, as this stamp set is simply amazing. In our class we made a summer, a fall and a Christmas card!

Thanks for stopping by today …

Have a wonderful day.

blog-closing-small

If you would like to purchase this exclusive stamp set and die, click on your choice …

Simply Sunday into Monday

Hello Stampin’ Friends ~

After driving 10 hours yesterday evening into the weee hours of the morning without finding a hotel to stay in, we returned home …. took a quick nap and headed to the other side of the state!

IMG_20160814_195613

We are now in Manitowoc and looking forward to a full day of lighthouse exploring and maritime magic!

I will return on Tuesday with a special card.

Thanks for stopping by.

blog-closing-small

Hello Stampin’  Friends ~

Today I have a quick post for you. I’m on vacation but wanted to share a cute project that I found in the catalog. You know I’m thinking about gifts as I prepare for my upcoming Hostess Appreciation Party.

Annual16_p142_a-42[1]

If you got your invitation … make sure you get your RSVP in soon and join me for a very special night celebrating you… my Hostess & Club members.

Have a wonderful day ~

blog-closing-small


BOGO …

Hello Stampin’ Friends ~
For the FIRST time ever, FIRST-time subscribers can buy their FIRST month and get their second month FREE!

pp_bogo_demo-header

Offer Dates: August 11–October 10, 2016

Offer Details: When you use promo code “BOGO” at PaperPumpkin.com, you’ll pay the regular price of $19.95 and get your second month for FREE! It’s ALWAYS a good time for Paper Pumpkin, but this amazing deal will give you an reason to start!

When you subscribe with the promo code between now and September 10, you’ll will pay full price for the September kit and get the October kit free. If you subscribe between September 11 and October 10, your first kit will be the October kit and they will get the November kit free.

Here’s a peek at some past kits …

 13043720_10154127868659207_4224489554402141659_n pp_feb16_alternate_2
05425ef6997859f06b085e2d9792812a

The Fine Print:

  • IMPORTANT: Offer invalid if subscription is suspended or cancelled during the first two months. In other words, subscribers cannot cancel or suspend their subscription during their first two months—if they do, the offer is void. Make sure your customers know that they can’t put their subscription on hold or cancel until after the first two full months.
  • After the first two months, the subscription will continue for $19.95 + tax per month (shipping included) unless cancelled or suspended. Ends October 10, 2016.
  • This offer is open to first-time subscribers only.
  • Not valid on prepaid subscriptions.
  • Ends October 10, 2016 (the last day to subscribe and get the October kit).

Let me know if you have any questions … I’m here to help!

Have a great day, and thanks for stopping in today.

blog-closing-small

Enjoy the Little Things …

Hello Stampin’ Friends ~
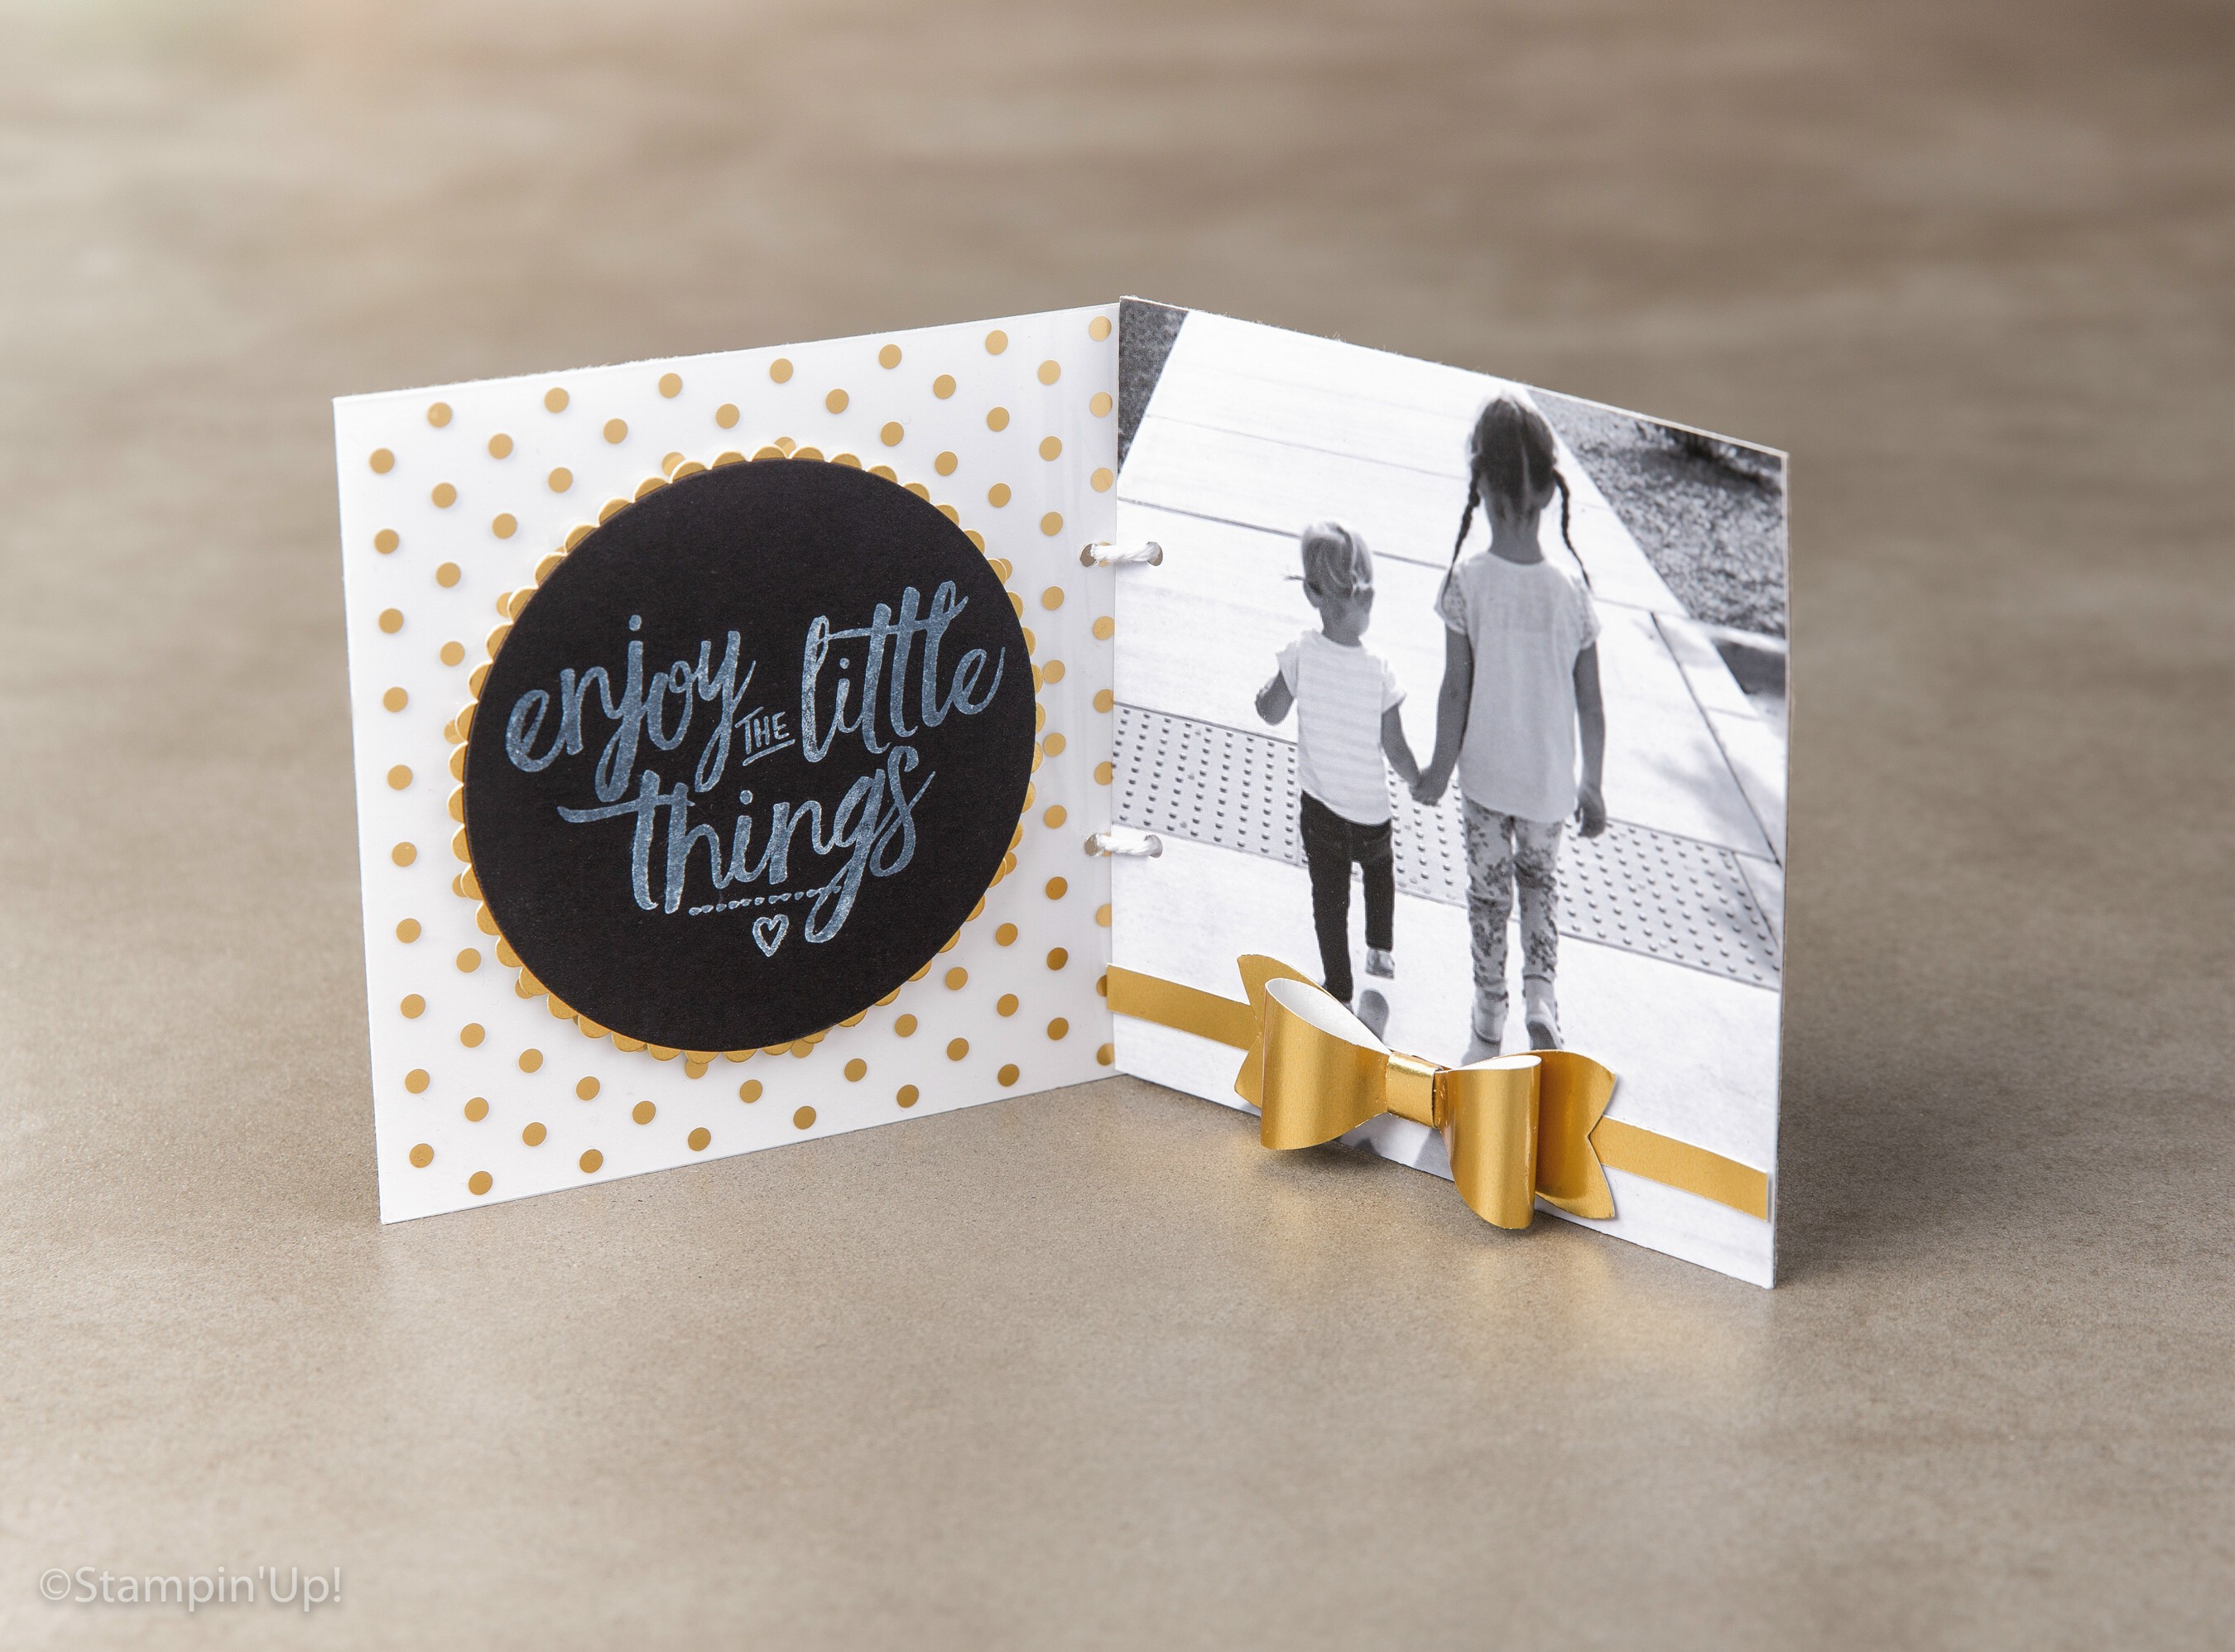
Sometimes when we go through the catalog we miss things … or they get overlooked so today I’m sharing a cute project that would make the perfect little gift!

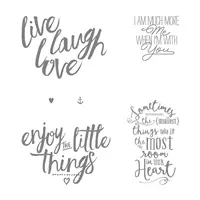
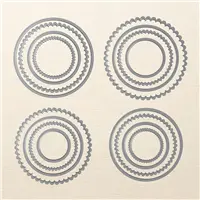
I love the “Layering Love” stamp set and it’s highlighting today’s project. It’s stamped in Craft White on Basic Black and cut out with the new “Layering Circle Framelit Dies” … and matted with the same.

Annual16_p071_d-204

Add your favorite photo and embellish with a pretty gold bow created with our “Bow Builder” Punch.

I think this is the perfect gift that you can make with the kids … for dad or moms desk at work, one for grandma & grandpa, or a special memory to shared with a friend.

I’d love to hear what you think. Who would you make this cute little gift for?

Hope you have a great day, thanks for stopping by.

blog-closing-small

TODAY’S PRODUCT HIGHLIGHTS …


Something Old … Something New

Hello Stampin’ Friends ~

How are you today? Are you wondering what the “Something Old, Something New” may be?  Nope, I’m not getting married, nor am I making a wedding card! My “Something Old, Something New” is meant to inspire you to drag out your older stamp sets and pair them with some of our fun new products!

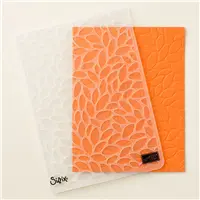
Today our card features the “Flower Shop” stamp set … I know many of you have this set, and we’re going to pair it up with the “Petal Burst” embossing folder – it creates a fabulous “touchable” texture.

Annual16_p104_a-162

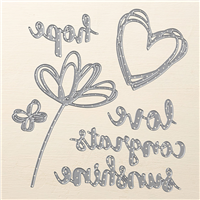
Our greeting “congrats” is also new to our Annual Catalog and comes from the Sunshine Wishes Thinlits. These thinlits actually are “bundled” with the “Sunshine Sayings” stamp set found on page 97.

Never be afraid to mix and match your old with your new … Stampin’ Up! makes it easy to coordinate products.  And it’s fun!

Enjoy the beautiful day …. and thank you for dropping in today.

blog-closing-small

TODAY’S HIGHLIGHTED PRODUCTS …


Banners & Butterflies

Hello Stampin’ Friends ~

Today I have a cute little project that I wanted to share that comes directly out of our annual catalog. This is the best place to gather ideas and get inspired, you’ll always find the hottest trends.

Trending now are banners & butterflies, both of which you will find on today’s project …

Annual16_p105_a-165

The bag for our project is a “Kraft Tag a Bag” Gift Bag found on page 176. Just insert your gift (these are also “food safe”… how cool is that!) and begin layering & embellishing.

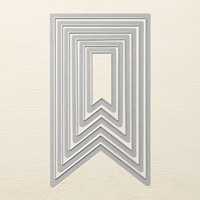
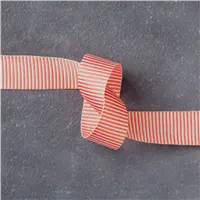
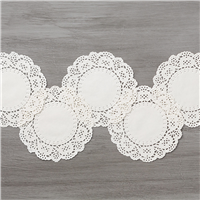
Let’s begin with our banner cut from our “Fabulous Foil Designer Acetate” … it’s new this year and really fun to work with.  Next you’ll see a ribbon layer cut from our new “Mini Striped” Ribbon – adds a nice pop of color. Layered on top of that you will find the “Delicate White Doilies” also new this year!

Annual16_p105_a-165-closeUp

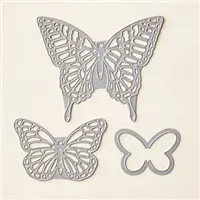
Now comes our butterfly die cut from our “Butterflies” Thinlits … I use these with the new “Big Shot Platform” and the “Precision Base Plate”. They work great together when using these detailed dies. “Precision Base Plate” – Not to be used with the open face die like the small butterfly, circles, ovals, etc.

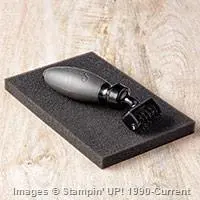
Of course I used the “Die Brush” to help me get all those little pieces out of my delicate butterfly. Such a time saver … you no longer have to pick or push the pieces out of your die! I simply love it!!

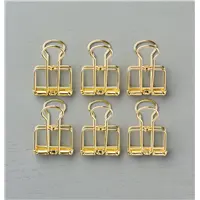
A cute embellishment to top off your package and to draw out the gold dots on your “Fabulous Foil Designer Acetate” are the new “Gold Binder Clips”. They are so cute and really draw your eye to your project.

Annual16_p105_a-165

Last but definitely not least is our greeting! It comes from the stamp set “Suite Sayings” … you’ve seen me use this stamp set a lot! And … it’s done in that banner style! You can trim this yourself, use a square punch or use our new “Bunch of Banners” Framelits… Perfection every time!

So … next time you need some inspiration, just pick up your Stampin’ Up! catalog or check out my archives, either way … you’ll get some great ideas.

Thank you so much for stopping by today … Hope yours is a good one!

blog-closing-small

TODAY’S STAMPIN’ SUPPLY LIST … You can click on any item for more information about it, or to begin your shopping experience. Thank you! Linda

It’s a Gem …

Hello Stampin’ Friends ~

Today I have a couple of samples from our July Paper Pumpkin along with the stamp set that will be included in the upcoming August Paper Pumpkin.

Here are the cute little projects that you can make with the July kit. I filled mine with candy and gave them as gifts to my stampers! Who better to tell “You’re a Gem” 🙂

july_pp

It is truly amazing all the goodies you get in your monthly Paper Pumpkin kits …there is always left overs that I use on other projects.

july_pp_components

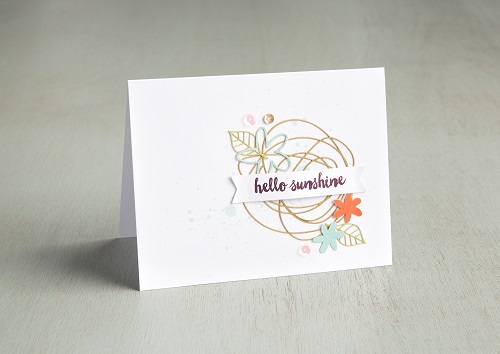
I also love to play with the kits and make a few alternative projects. This pretty in pink card was created by Stampin’ Up!

pp_july_alt_3

“Everyone wants to feel like a gem on their birthday, and here’s a card to guarantee a smile! Start with a Pink Pirouette Cardstock base and stamp a few gem images with VersaMark ink. Add a touch of Flirty Flamingo ink using a Stampin’ Sponge. Tousle Silver Metallic Thread behind one of the mini cards (cut in half) and adhere with Stampin’ Dimensionals. Then, cut stamped gems and color with the Clear Wink of Stella Glitter Brush to really make them sparkle.” From the Inspired By Blog from Stampin’ Up!

Here is the stamp set that will be included in your August kit! I can’t wait to see what they are teaming this stamp set up with …

https://i2.wp.com/su-media.s3.amazonaws.com/media/PaperPumpkin/E-mail/PP_Aug_2016_Sneak_Peek.jpg

The stamp set alone has a value of $16 / You have until August 10th to join if you want this stamp set (AND MORE) CLICK HERE!

Thanks for checking in on me today. Please let me know if you have any questions: lindaluvs2stamp@aol.com

Have a wonderful day!

blog-closing-small

Simply Sunday: Congratulations

Hello Stampin’ Friends ~

Today I’d like to share a card with you, that you may find surprising to find on my Simply Sunday post. But just so you know, what looks like you put so much time into, it was quite simple!

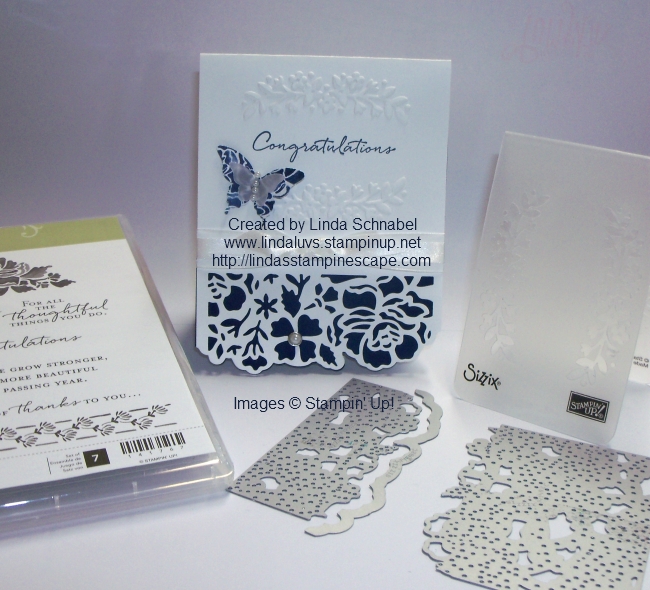
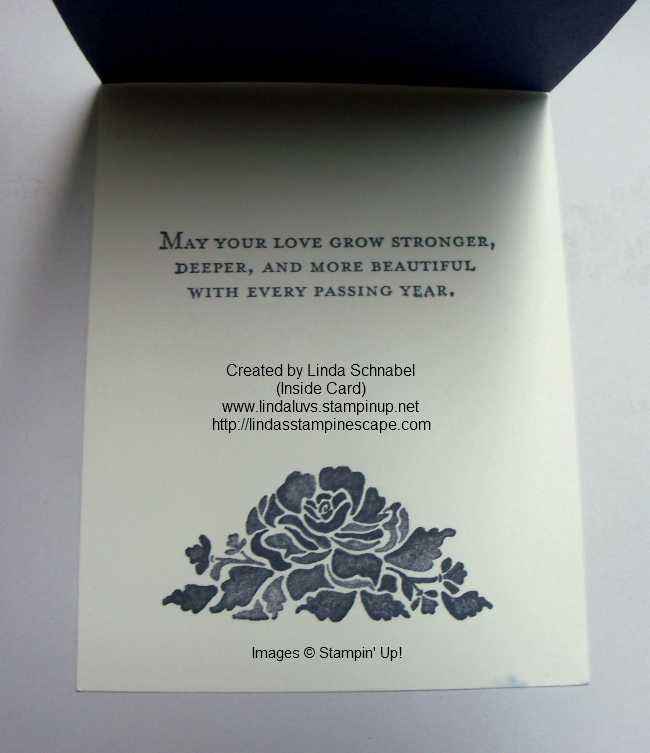
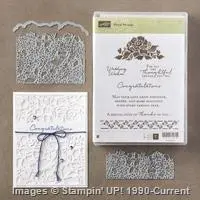
Let’s begin with our “Floral Boutique Suite” …This is one of the cards from my Floral Boutique class.

000_3558

You’ll find the entire product suite on page 76 and 77 of our annual catalog. Our core colors are Whisper White and Night of Navy, so make sure you pull out the cardstock and coordinating ink.

You’ll cut your cardstock 4-1/4″ x 11″ and fold in half to create a “tent” fold. You will also need to cut a 4-1/4″ x 5-1/2″ to slide behind the front of your card. You’ll emboss the spray of flowers folder from the “Floral Affection” tolder set.

000_3562

Next you will cut the smaller piece of the die set at the bottom of your card, this is where the Navy goes – behind the design … just watch those beautiful flowers pop. Before you secure that down, be sure you add your white ribbon.

Now you’re free to stamp all your images, inside and out. The greeting “Congratulations” fits so nicely between the two swags of flowers … Love it!

000_3563

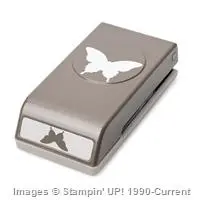
I wanted to add even more texture so I punched out the butterflies using the coordinating Designer Series Paper – “Floral Boutique” and vellum.

000_3567

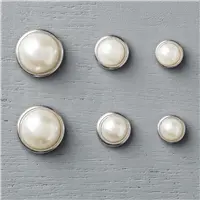
I added a string of pearls to my butterfly for the body and to complete the card I just added one of the beautiful “Metal Rimmed Pearls” to highlight the beautiful die cut. It is so delicate, so pretty.

I hope my card inspired you to explore the beauty of this product suite, either to use yours to the fullest or to purchase one.  So many ways you can use this.

Thank you for taking time out of  your Sunday to stop by.

Have a beautiful day!

blog-closing-small

TODAY’S PRODUCT LIST …

You can click on any item to find out more about it or to begin your shopping. Thank you.