Masculine Cards & Manly Envelopes

Hello Stampin’ Friends ~

Hope you all had an incredible weekend! I must say … this stampin’ getaway was just what I needed. Eileen and I are enjoying the Door County area and the wonderful food, but we’re also planning some fun stamping events. More on that at a later date.

I’m excited to share some fabulous cards with you today.  When I saw Shannon Lane’s card on the Stampin’ Up! blog: Get Inspired, I just had to share with you.  The following is Shannon’s post:

Masculine Cards & Manly Envelopes

With June just around the corner, I’ve got Father’s Day on my mind. It’s a holiday that many paper crafters struggle with, as masculine cards can be a challenge for us all!

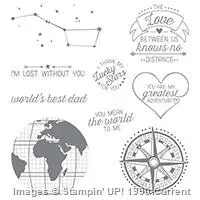
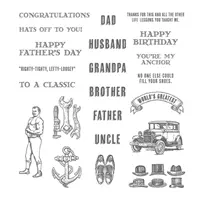
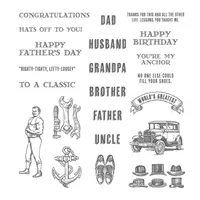
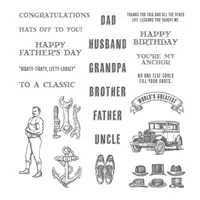
One of my favorite stamp sets for occasions like this is Guy Greetings (item 137178), and I’m SO glad to see that it’s not on the retiring list! I wanted to share some cards with you to inspire you to create for the men in your life. With that said, I’m also a big believer in first impressions, and that’s what your envelope is for—so let’s fancy that up a bit, shall we??

Masculine Cards & Manly Envelopes 1

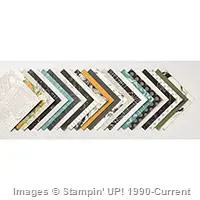
When I found my much-loved Typeset Designer Series Paper (item 133704) on the retiring list this year, I decided I was going to work to use it all before it expired. I really wanted to give it some extra love one last time! It’s a brilliant vintage, classic, neutral paper and it pairs so well with the fabulous vintage images in Guy Greetings. Using the Envelope Punch Board (item 133774), I whipped up an envelope with one of the sheets to add an extra-special touch.

Masculine Cards & Manly Envelopes 2

Many of us give gift cards to the men in our life because (let’s face it!) they can be a bit difficult to buy for. Luckily, the measurement table on the Envelope Punch Board goes all the way down to gift card size! Using the beautiful striped paper in the Neutrals Designer Series Paper Stack (item 138435), I created a tiny, little envelope. (Tip: If you don’t like the other side of the paper—I found the florals on the other side decidedly unmasculine!—you can cut and score two pieces of paper and glue them back-to-back to create your choice of print for the inside.)

Masculine Cards & Manly Envelopes 3

A belly band perfectly decorates the gift and holds the envelope closed without adhesive, and you can decorate both sides!

Masculine Cards & Manly Envelopes 4

While you’ve got your Designer Series Paper Stack and your Envelope Punch Board out, you may as well create one more. This fabulous nautical card and envelope are a perfect pair!

Masculine Cards & Manly Envelopes 5

Square cards and envelopes are a nice change from rectangles for an extra-special touch. And don’t forget—metallics are manly, too!

Masculine Cards & Manly Envelopes 6

I hope these projects inspired you today to create for your fathers, brothers, husbands, and sons, and to use your favorite Designer Series Paper and Envelope Punch Board to make a beautiful first impression!

Masculine Cards & Manly Envelopes 7

Cheers!

Shannon Lane
Artisan Design Team 2015–2016

Now let me just say … I love this stamp set, and wouldn’t you agree with me, Shannon did a beautiful job on her cards and projects. I just them them!! We have an amazing Artisan Design Team, and any demonstrator to try to get on the team.

I thank you for stopping by today, and happy that you got to experience Shannon’s cards with the rest of us.

Have a fabulous day.
blog-closing-small

Cat’s Away Sale …

Hello Stampin’ Friends ~

Today I have a really cute card to share with you, and it is the day I head out for the Stampin’ Up! incentive trip to the Greek Isles. I will be flying out because of you, the one’s who have been with me and made this possible … so I have a special sale just for you, with awesome goodies you can use or share … the details are listed below. First our card share …

Today… quick and easy cards are the focus because many of us are so busy these days, but will still need our creative time.  Have you ever had left over cardstock pieces from other projects (happens to me all the time) so we can’t let that go to waste can we … no, we revise and make it a totally new card!

I used the left over pieces from my XXX to create this card.  Keep life simple and use up those left over pieces.

NOW … I want to share a promotion with you that I am hosting …

Cats Away1Cat’s Away Sale

The other day I told you that I was going on a Stampin’ Get Away to beautiful Door County Wisconsin to prepare for the New Catalog Kick Off and …

Because you’ve been so good to me this past year, from today through Sunday, July 14th (Use Hostess Code: )

All orders of $50 (before shipping & taxes) you will receive … 

A package with 10 gorgeous homemade cards to use and copy!

Orders of $100 (before shipping & taxes) will receive )

A package with 10 gorgeous homemade cards to use and copy!

A Free retired stamp set from this year or years past

Orders of $150 (before shipping & taxes) will receive (Do NOT Use Hostess Code … YOU are the hostess!)

HOSTESS BENEFITS …

A package with 10 gorgeous homemade cards to use and copy!

A Free retired stamp set from this year or years past

AND a FREE package of the NEW Nobel Peacock Rhinestones!

 Cats Away2b

Use this link to order so I know it’s YOU. Be sure to NOT select no contact, because I won’t know who to send all these goodies to!

Cats Away3

ORDER HERE

This is the perfect time to start shopping from the NEW Catalog and cross a few items off that Wish List and get some great card samples and extra goodies!!


Cats Away4

Hope you enjoyed today’s card share.  I will have limited access while I am cruising but don’t be afraid to contact me with any questions you may have regarding my “Cat’s Away” sale going on now!  I will check as often as I can.

Thanks for sharing a piece of your Saturday with me …

Cats Away1

Have a “PURRfect” day!


Fancy Fold Card: Masculine

Hello Stampin’ Friends ~

Welcome to my blog and welcome to the weekend! I am really excited because I am leaving tomorrow to begin my vacation / stamping getaway! While basking in the beauty of Door County Wisconsin, we will also be catching up on some stamping (I did get a few items from the new catalog pre-order … I love being a demonstrator!)

Speaking of getaways … Today’s card share comes from my 2016 Annual Spring Stamping Retreat. It was one of several masculine cards that we made. The minute I saw the “Into the Meadow” stamp set, I knew I had to have it. We will be combing a fancy fold with the watercoloring technique for a truly stunning card.

000_3402

Don’t you just love it? Although I didn’t have time on today’s blog for a full tutorial on this card, I will post one in the near future for you.

I stamped my image in StazOn onto the Thick Whisper White cardstock (you may use the watercolor paper, but we did not for this project). I used the Aqua Painters and the ink refills *colors listed below, to simply watercolor my images. Stampin’ Up! makes me look like an artist!

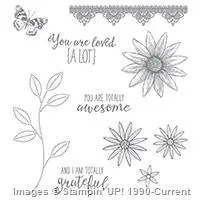
The “You Are Totally Awesome” comes from the stamp set “Grateful Bunch” which comes from the Occasions Catalog, which ends soon; May 31st!

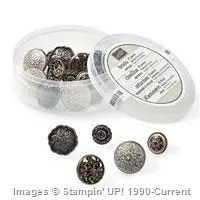
The card stays nicely closed by tucking the top flap under the pretty “Antique Brad” from our Annual Catalog. This item will be retiring so if you like it … Don’t forget to place your order before they are gone for good…. May 31st.

000_3403inside

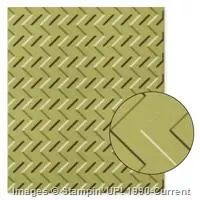
The brad is secured to the Marina Mist cardstock which was embossed with the “Chevron” embossing folder to give it some added texture. Our base card is Basic Black.

000_3405-open inside

As you open the flap you will see additional stamping and watercoloring (on the Thick Whisper White) The inner or top flap is mounted on the base which was covered in this cute pattern that is found in the “Cherry on Top” Designer Series Paper Stack! That is a fun pack of paper!

I love how the 2 pieces of the card interconnect folds … it’s like a note card on a big card meshed together to create one fun card!

000_3402

Keep an eye out as I will be posting a tutorial on “how to” make this style of card. Till then, I hope you enjoyed.

Have a great weekend, and be sure to stop back tomorrow to see a new card share from my Simply Sunday series and a fun announcement!

Thanks ~

blog-closing-small

TODAY’S STAMPIN’ SUPPLY LIST …


More Tunnel Cards!

Hello Stampin’ Friends ~

Finally Friday … Awesome!  I am back today to share more Tunnel cards with you! The first three are the cards we made in our Technique Club this month.  They all have the same layout, but I used different colors to match the Designer Paper “Cherry On Top”.

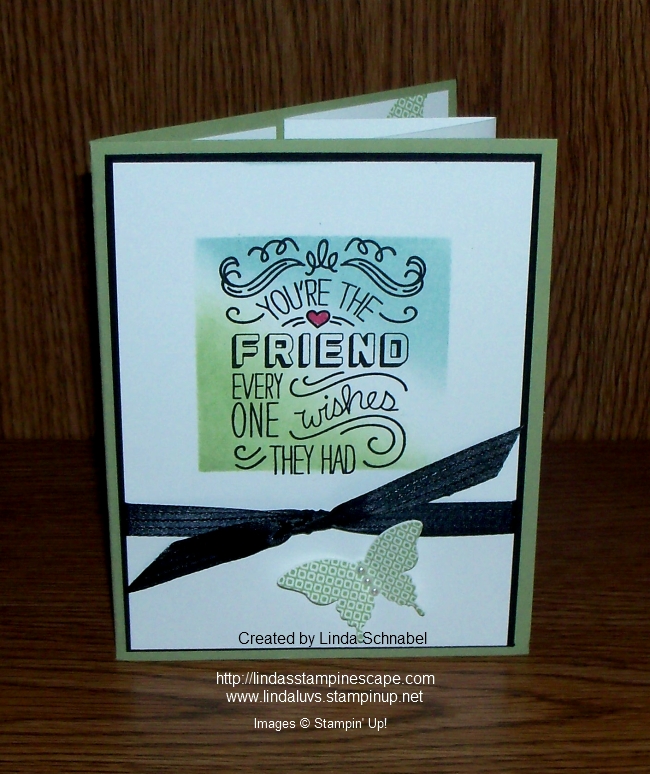
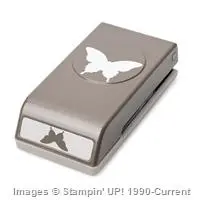
The last card will be a spin off of the original Tunnel Card I shared.  I used the same paper, dimensions, ribbon … I just switched out the stamp sets. AND instead of stamping on the inner flaps … I used the Elegant Butterfly Punch. 

Enjoy …

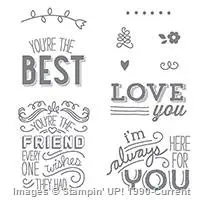
This is our Cucumber Crush “In-Color” teamed up with Melon Mambo. The greeting and inside verse comes from the “A Whole Lot of Lovely” Hostess stamp set.

000_3384

The inside layout is also the same on all the cards so I’m just showing the Cucumber one today.
000_3389

This was made with the “Crushed Curry” cardstock with a touch of Marina Mist.

000_3387

For my last card with the same layout, I used Bermuda Bay with just a hint of the Crushed Curry.

000_3382

Are you ready???

Remember the cardstock for the original? Here it is …

000_3366

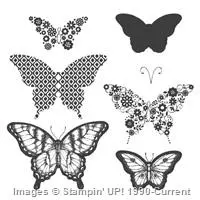
NOW … Combine those with our “Friendly Wishes” stamp set and this is what I came up with. As you can see, I added a butterfly from Papillion Potpourri and the  Elegant Butterfly punch to catch your eye!

000_3391

The inside has been stamped with the butterfly too but the bottom right has been punched out to create some awesome texture. Inside greeting also comes from the Friendly Wishes stamp set.

000_3399

Hope you enjoyed the additional samples, and thank your for stopping back to check them out.

Have yourself a fabulous Friday!!

blog-closing-small

Today’s Highlighted Stampin’ Supplies ~


Masking Tutorial and Blog Candy WINNER!

Hello Stampin’ Friends ~

Sorry for the wait … I know you are anxious to see who one the Blog Candy.  Let me just say a quick “Thank You” to all of you for participating and sharing your comments! If you liked the sneak peek, you are going to LOVE the new catalog!

Congratulations to our Blog Candy Winner ….

000_3363- WINNER


TECHNIQUE TIME …

Now I would like to share the front of our Tunnel Card with you and the Masking Technique. Very simple to do, but it leaves an awesome impression! First I’ll refresh your memory with the dimensions of the cardstock we used …

000_3366

000_3376

000_3377

000_3378

000_3379

000_3381

000_3356

Thank you so much for sharing a part of your day with me today.  Stop back tomorrow, I will be showing you the additional cards I did using the Tunnel Card technique! I know you’ve been waiting to see them.

Have a wonderful day ~

blog-closing-small

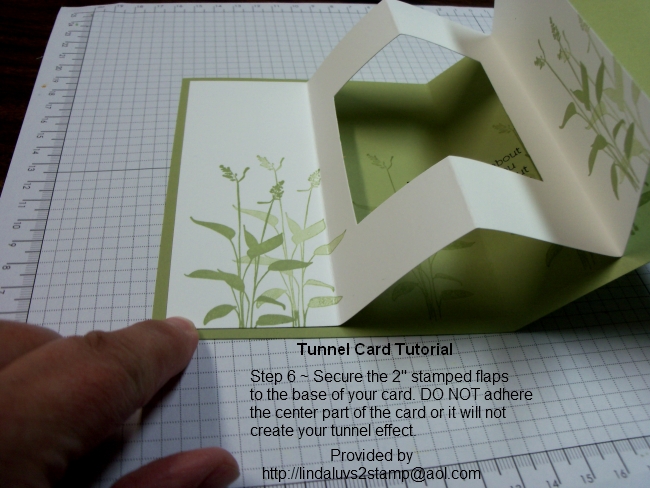
Tunnel Card Tutorial

Hello Stampin’ Friends ~

Middle of the week … closer to the weekend!! Hope you are having a good day!

Today I’m going to show your the steps I took to create the Tunnel card that I shared with you on Sunday …

000_3358

I will start from the beginning which includes the dimensions of the cardstock I used.

000_3366

Tunnel Card Tutorial

000_3368

000_3369

000_3370

000_3371

000_3372-step5

000_3374

000_3358

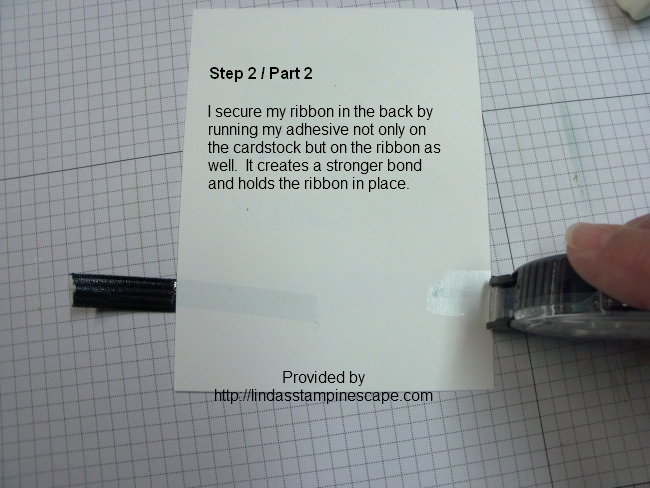
I will share the “how to” create the masked front tomorrow along with some additional samples.

See you then …

Thanks for visiting me today!

blog-closing-small

New Catalog Sneak Peek!

Hello Stampin’ Friends ~

Sorry I missed you yesterday but I have been trying to get a few of my ducks in a row… so to speak. I also know that I promised the Step by Step instructions to Sunday’s card – I have them and will be sharing those with you (along with an extra card sample)!

Today I’d like to share a Sneak Peek of the new catalog … 5 fabulous cards!

SW_coversamples_May1716

Do you see a bit of a theme on the cards? Jar’s perhaps? The catalogs are here and if you ordered from me in the past 6 months your name is on my list to receive one! To my long distance stampin’ friends (customers) … hope you got your surprise in the mail!!

Please tell me which is your favorite of the 5 cards (just comment below) and I will put your name in a drawing for ….

000_3363

Our BLOG CANDY packet today includes our “Celebrate Banner” just in time for graduation parties, Botanicals Vellum paper stack, “For Being You” stamp set and a mixed cardstock package!!

To enter … just comment below on which of the 5 card samples from the new Stampin’ Up! Catalog you like best (and why).  The name will be randomly drawn tonight a midnight and the WINNER will be announced on Thursday’s Blog Post.  GOOD LUCK!!

Thank you for stopping by today ~

Hope your day is a good one and all your ducks are in a row … lol

blog-closing-small

Simply Sunday: Thank You

Hello Stampin’ Friends ~

Today I’d like to share with you a card that my Technique Clubs did this May. They learned how to create a “Tunnel Card” and we also used the “masking” technique for the front to create a soft focal point for our birds.

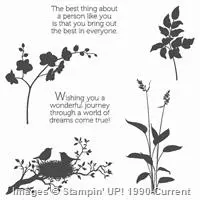
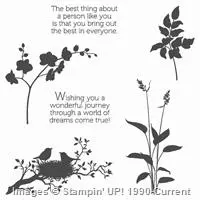
Let’s begin with the front of the card and the World of Dreams stamp set …

I found a card on pinterest using the “masking” technique and loved the color pallet that was used. It was created by Dena Rekow … I cased her basic design.

000_3356

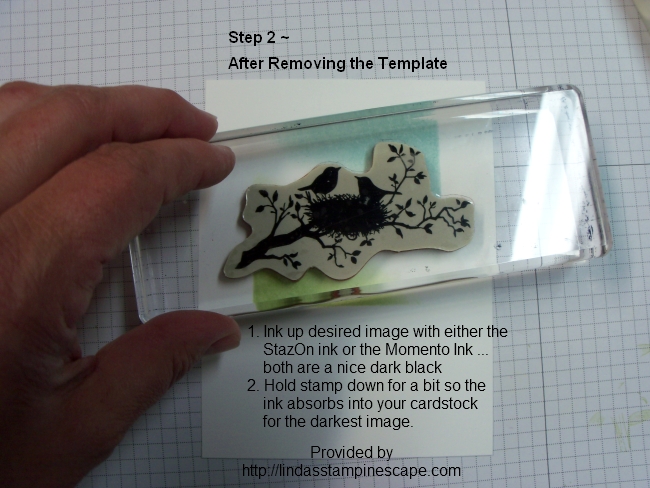
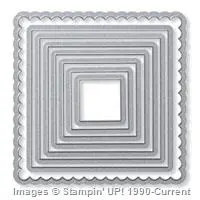
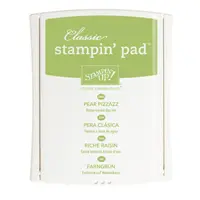
The template was created with the Squares Collection Framelits so that we could sponge multiple cards. The top right of the square is sponged with Soft Sky and the bottom left is sponged with Pear Pizzazz … it is then stamped with the bird silhouette stamp using the Black StazOn in pad. It’s very dramatic.

The pop of black cardstock behind the stamped front and the Basic Black Stitched Satin Ribbon really pull the card together and give it an elegant look.

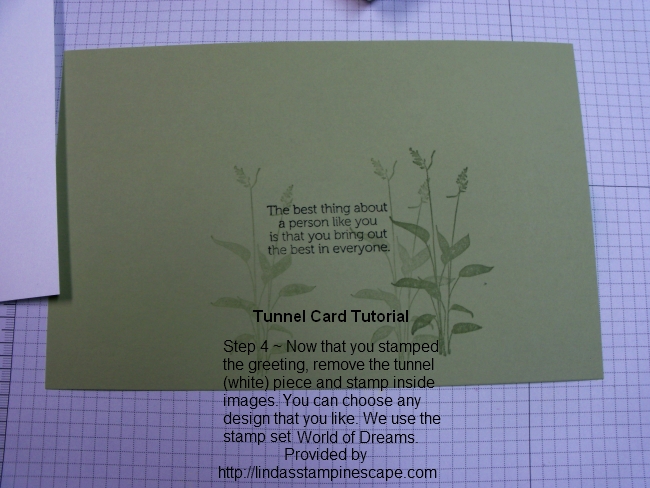
The inside of the card is using the “Tunnel” to create a very dramatic look. The white cardstock is double stamped in the Pear Pizzazz to give it some dimension. We stamped the same on the inside, along with the greeting in Black StazOn.

000_3358

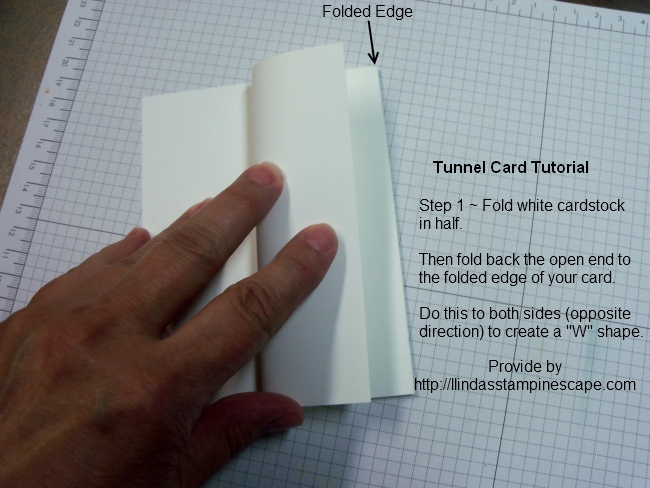
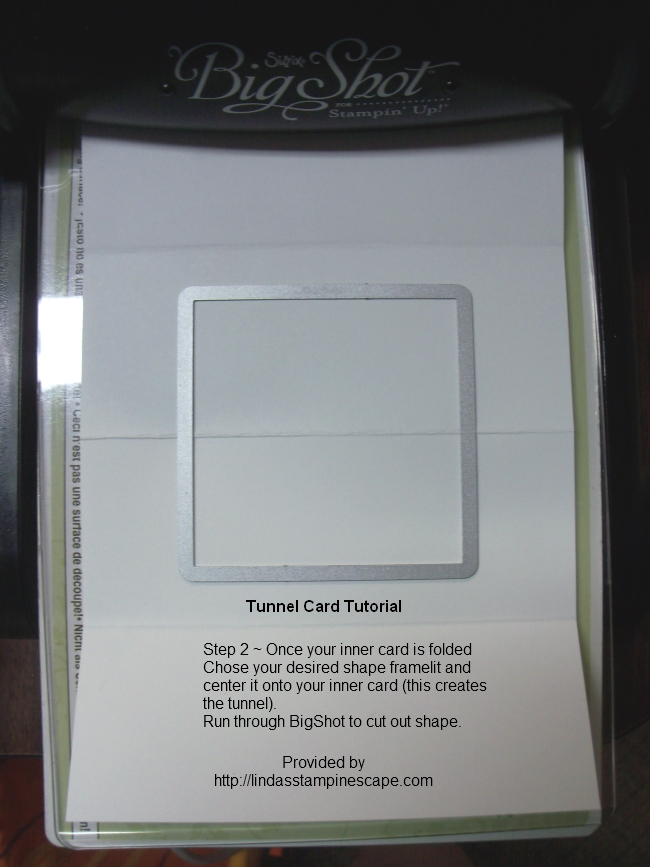
The tunnel itself is easy to create with just a few folds and a framelit of punch to create the opening. Stop back tomorrow for a step by step tutorial on how to create the Tunnel Fold.

Thank you for sharing a part of your Sunday with me …

Have a wonderful day!

blog-closing-small

TODAY’S STAMPIN’ SUPPLY LIST …


Going, Going, Gone …

Hello Stampin’ Friends ~

Today I’m just sending out a friendly reminder that there is only a couple of weeks before your favorite stamps sets and accessories are gone for good …

MainAd_retired2016_OLO_May0416_NA

RETIRING STAMPS LIST / CLICK HERE

RETIRING “EVERYTHING ELSE” / CLICK HERE

These will be the most “up to date” lists as it is linked directly to Stampin’ Up! so as the items sell out, they will be “X” on the list and you will not be able to order anymore.

Let me know if you have any questions.

Thanks for stopping by ~

Have an awesome day!!

blog-closing-small

Retirement List

Awesome Gift Box

Hello Stampin’ Friends ~

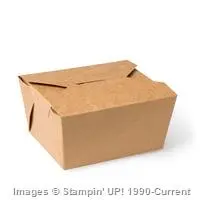
Today I’d like to share with you a quick -n- easy 3-D project … a gift box! You’ll start with one of our Take Out boxes found on page 151 of our current annual catalog.  (Our new catalogs are on their way!)

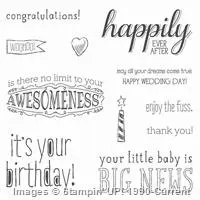
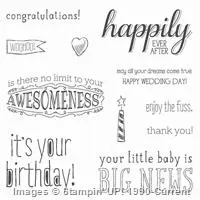
You will also need the “Big News” stamp set … I will have our highlighted products listed below so you can see them.

awesome gift box

INSTRUCTIONS

  1. Wrap a piece of Regals Designer Series Paper around the Takeout Box to create a bellyband.
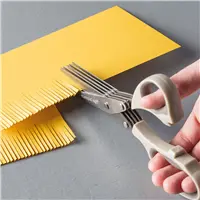
  2. Cut a piece of White Corrugated Paper using the Fringe Scissors. Adhere the paper to the box.
  3. Stamp the sentiment in VersaMark ink on a piece of Tangerine Tango Cardstock. Cover the stamped words with White Stampin’ Emboss Powder, shake off any excess powder, and heat set.
  4. Punch the two sides of the stamped cardstock using the Ornate Tag Topper Punch.
  5. Thread the Gold 1/8” (3.2 mm) Ribbon through the hole in one side of the cardstock and wrap it around the back side of the box and tie in a bow through the hole on the other side of the cardstock.

I think that is such a cute box to give as a gift. Hope you enjoyed it as well.

Thank you for popping in today …

Hope your day is a good one.

blog-closing-small

TODAY’S HIGHLIGHTED PRODUCTS … Just click on them for more information or to begin shopping.


Way to go Champ!

Hello Stampin’ Friends ~

Today I have a fun card to share with you direct from the Stampin’ Up! files!

For a boy who loves to play, create our Champ card. It can be for anything, really: athletics, academics,  music, or an achievement in any of his other interests. Let’s begin with the “Skating By” stamp set …
way to go champ

INSTRUCTIONS

  • Fold a piece of Basic Gray Cardstock in half to create the card.
  • Adhere an uneven piece of Cherry on Top Designer Series Paper to the card.
  • Stamp the boy holding the trophy in Basic Black Archival ink on a piece of Shimmery White Cardstock.
  • Using the Aqua Painter, color the boy and trophy with Basic Gray, Blushing Bride, Cucumber Crush, Delightful Dijon, Early Espresso, Night of Navy, and Sahara Sand ink.
  • Adhere the stamped cardstock to the card.
  • Stamp the sentiment in Basic Gray ink on a separate piece of Shimmery White Cardstock. Cut out the sentiment and attach it to the card using Stampin’ Dimensionals.

Cute right … quick and easy so you can send it off to your little leaguer or soccer star!

Thanks for checking in with me today…

Have a great one!

blog-closing-small

World Traveler …

Hello Stampin’ Friends ~

Today I’d like to share with you one of the masculine cards that we made at our Spring Stampin’ Retreat. I got the idea from a couple of cards I found on Pinterest and combined them into this card!

000_3348-yes

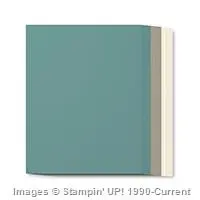
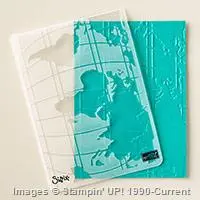
To create the card I used a bit of everything from the “Going Places” product suite.  I started with the Going Places cardstock pack and embossed with the World Traveler Embossing Folder.

Once we embossed the cardstock with the World Traveler … we cut it along the equator line to split the cardstock and have our Going Places Designer Paper show through. The embossed cardstock was popped up to create some fun dimension and really highlight the designer paper.

We sponged area’s on the map and compass along with the inside of our card to age it a bit.

000_3350

We then stamped our compass with the Going Global stamp set both on the Lost Lagoon and Very Vanilla cardstocks. They were punched out and layered to create even more dimension. We created a focal point by adding the “Antique Brad” into the center.

To complete the card we added our “banner” greeting with the words from the Going Global stamp set and the Banner Punch. It was a big hit at retreat!

000_3348-yes

Thank you for joining me today …

I hope your day is blessed with kindness and beauty.

blog-closing-small

Product Highlights for Today’s Card …


Guest Stamper: Janet Z

Hello Stampin’ Friends ~

Today I have a great “Man Card” for you that comes from Janet Z. and our Spring Stamping Retreats Attendee Swap! You’ve seen a few of the other cards from our swap already.

Let’s start with the stamp set “Guy Greetings” found on page 98 of your current Annual Catalog.

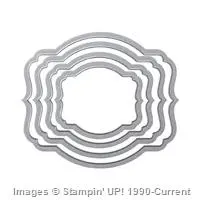
Janet used the antique car and cut and matted it using the “Deco Labels Collection” Framelits … this created a great focal point of the card. The greetings she used all come from the “Guy Greetings” stamp set.

000_3347

The designer paper really shows off the antique car nicely.

Something Janet did for the swap which I though was genius was to leave the inside of the card “unattached” because she stamped two greeting (one on each side of the cardstock) Happy Birthday and Happy Fathers Day … this way her fellow retreat attendee’s could use the card for the occasion that fit them best. I just love that idea!

This is why I love swapping and stamping with other stampers … we all share so many wonderful ideas!

Thank you Janet for the wonderful card, and thank you for checking out today’s blog post.

Have a wonderful day!

blog-closing-small

Today’s Product Highlights …


Masculine Card … Thinking of You

Hello Stampin’ Friends ~

Hope this weekend finds in well and feelin’ good! I’m happy to have the day off of work so I can head down into my Stampin’ Studio and create!!

With Mother’s Day upon us, I thought I would share a masculine card and get your thinking about Father’s Day. Masculine cards are one of the most requested classes I get.
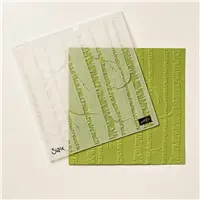
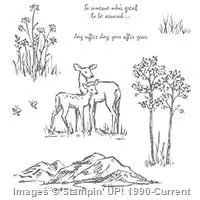
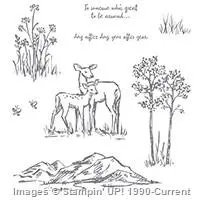
Today we will be using the “In the Meadow” stamp set and the Woodland embossing folder (will be in the upcoming catalog). This fun technique I’m about to share creates awesome dimension on your card with little effort!

000_3339

Begin with a light background … I used Soft Sky on my card. Then you will ink up your deer image and stamp it directly onto the folder. Yes, directly onto the folder. You are stamping on the area that will show the heads of the deer.

There are two ways to color your tree’s … I love white birch!! I use either the brayer with the White Craft Ink or you can use your Chalk Marker, either one works great. The brayer is faster … however, you may get some white spots on the blue area of the card.

The brown spots on the birch tree were created by using the writing tip of the marker in the recessed areas on the tree (super simple).

000_3344

I stamped an extra deer and cut out just the fawn … then I colored all the deer and added some color to the grass with a marker. The fawn is then popped up with Stampin’ Dimensionals to give it a 3-D look. The deer on the blue will color differently than the fawn stamped on white cardstock, but I love the way it darkens them and makes it look as if they really are in that forest!!

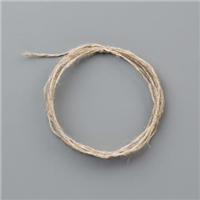
A simple greeting on a banner created with the banner punch and anchored with one of the beautiful Antique Brads (retiring) and a twist of Linen Thread complete my card.

This is one of the masculine cards that we made at our Spring Stamping Retreat. I like to share different styles, techniques and occasions at the Spring Retreat. For more information about our retreats, click on the tab at the top of my blog.

000_3339

I’d love to hear what you think about today’s card share.

Thank you for stopping by my blog today, have a wonderful Saturday!

blog-closing-small

TODAY’S STAMPIN’ SUPPLY LIST …