Hello Stampin’ Friends,
Looking for a thoughtful yet simple gift idea that’s sure to warm hearts this holiday season? Look no further than a delightful Hot Chocolate Packet /Holder! Whether it’s for teachers, colleagues, or anyone who enjoys cozy winter treats, this little package is a surefire way to spread some cheer. Inside, you’ll find the makings of a delicious cup of hot cocoa along with a special touch – a tube of crushed candy canes to infuse that beloved peppermint flavor. Let’s dive into how you can create this delightful and festive gift!

Measurements:
- Cardstock: Real Read 8 ½” x 5 ½”
- Cardstock 2: Basic White: 4” x 4”
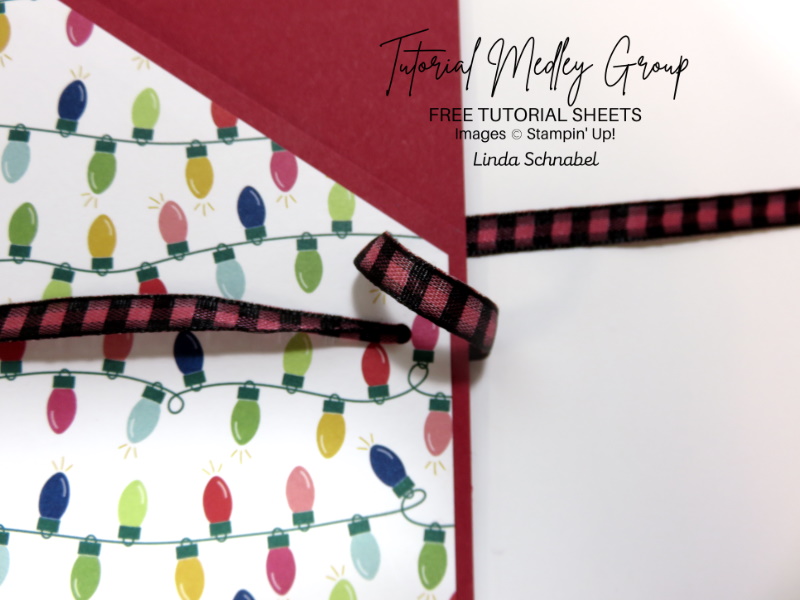
- Merry Bold & Bright Designer Paper: 5 1/8” x 4”
- Black & White Gingham Ribbon: 12”
Instructions:
- Score 8 ½” side of cardstock at 4 ¼”. Fold and Burnish.
- Card base: Make a tick mark at 2-3/4″ along the 5-1/2″ side and cut from the tick mark to where the center score line meets the top edge
- Designer Paper: Make a tick mark at 2-5/8″ along the 5-1/8″ side and, with the tick mark along the right side, cut from the tick mark to the opposite left corner
- Attach the piece of designer paper to the front with diagonal cut, leaving a border around the edges.
- Take your Tear & Tape adhesive and run it along the bottom edge of that was not cut. This creates the pocket to hold your Hot Cocoa Mix.
- Punch your first hole about 5/8” from the edge and about 1/2″ from the diagonal. Doesn’t have to be perfect. Punch second hole about ½” lower. This holds our treat tube.
- Use your Real Red Stampin’ Blend to color your Black & White Gingham Ribbon. Let Dry.
- Feed ribbon through bottom hole from the front side – pulling it through to the front side, feed it through the top hole. This creates a loop that will hold your treat tube.
- Tuck your Treat Tube into loop and pull firmly. Tie in a bow.
- Stamp the “Cup of Cheer” image in Memento Ink onto White cardstock. Let Dry.
- Use small Blending Brush to brush on Balmy Blue ink.
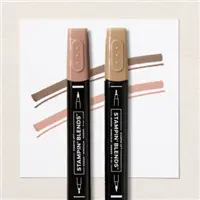
- Using Stampin’ Blend; color as desired. I used the three shades of Natural Tones for my cookie.
- Die cut image with Largest Circle from the Stylish Shapes Dies
- Attach with Stampin’ Dimensionals.
NOTE: I used Crushed Peppermint (Candy Canes) and Nestle Hot Chocolate packets that I found at Walmart. Treat Tubes can be found on Amazon under “Treat Tubes for Crafting / Candies”.
I just love how this turned out, and so easy to make! You will definitely spread cheer when handy out these tasty treat. If peppermint isn’t your thing, I found Mini-Marshmallows and Salted Caramel treats as well.
I’d love to know if this inspired you to create some of these treat packets for those on your Christmas list!! They make great stocking stuffers too!!
Thank you for joining me today.