Hello Stampin’ Friends ~
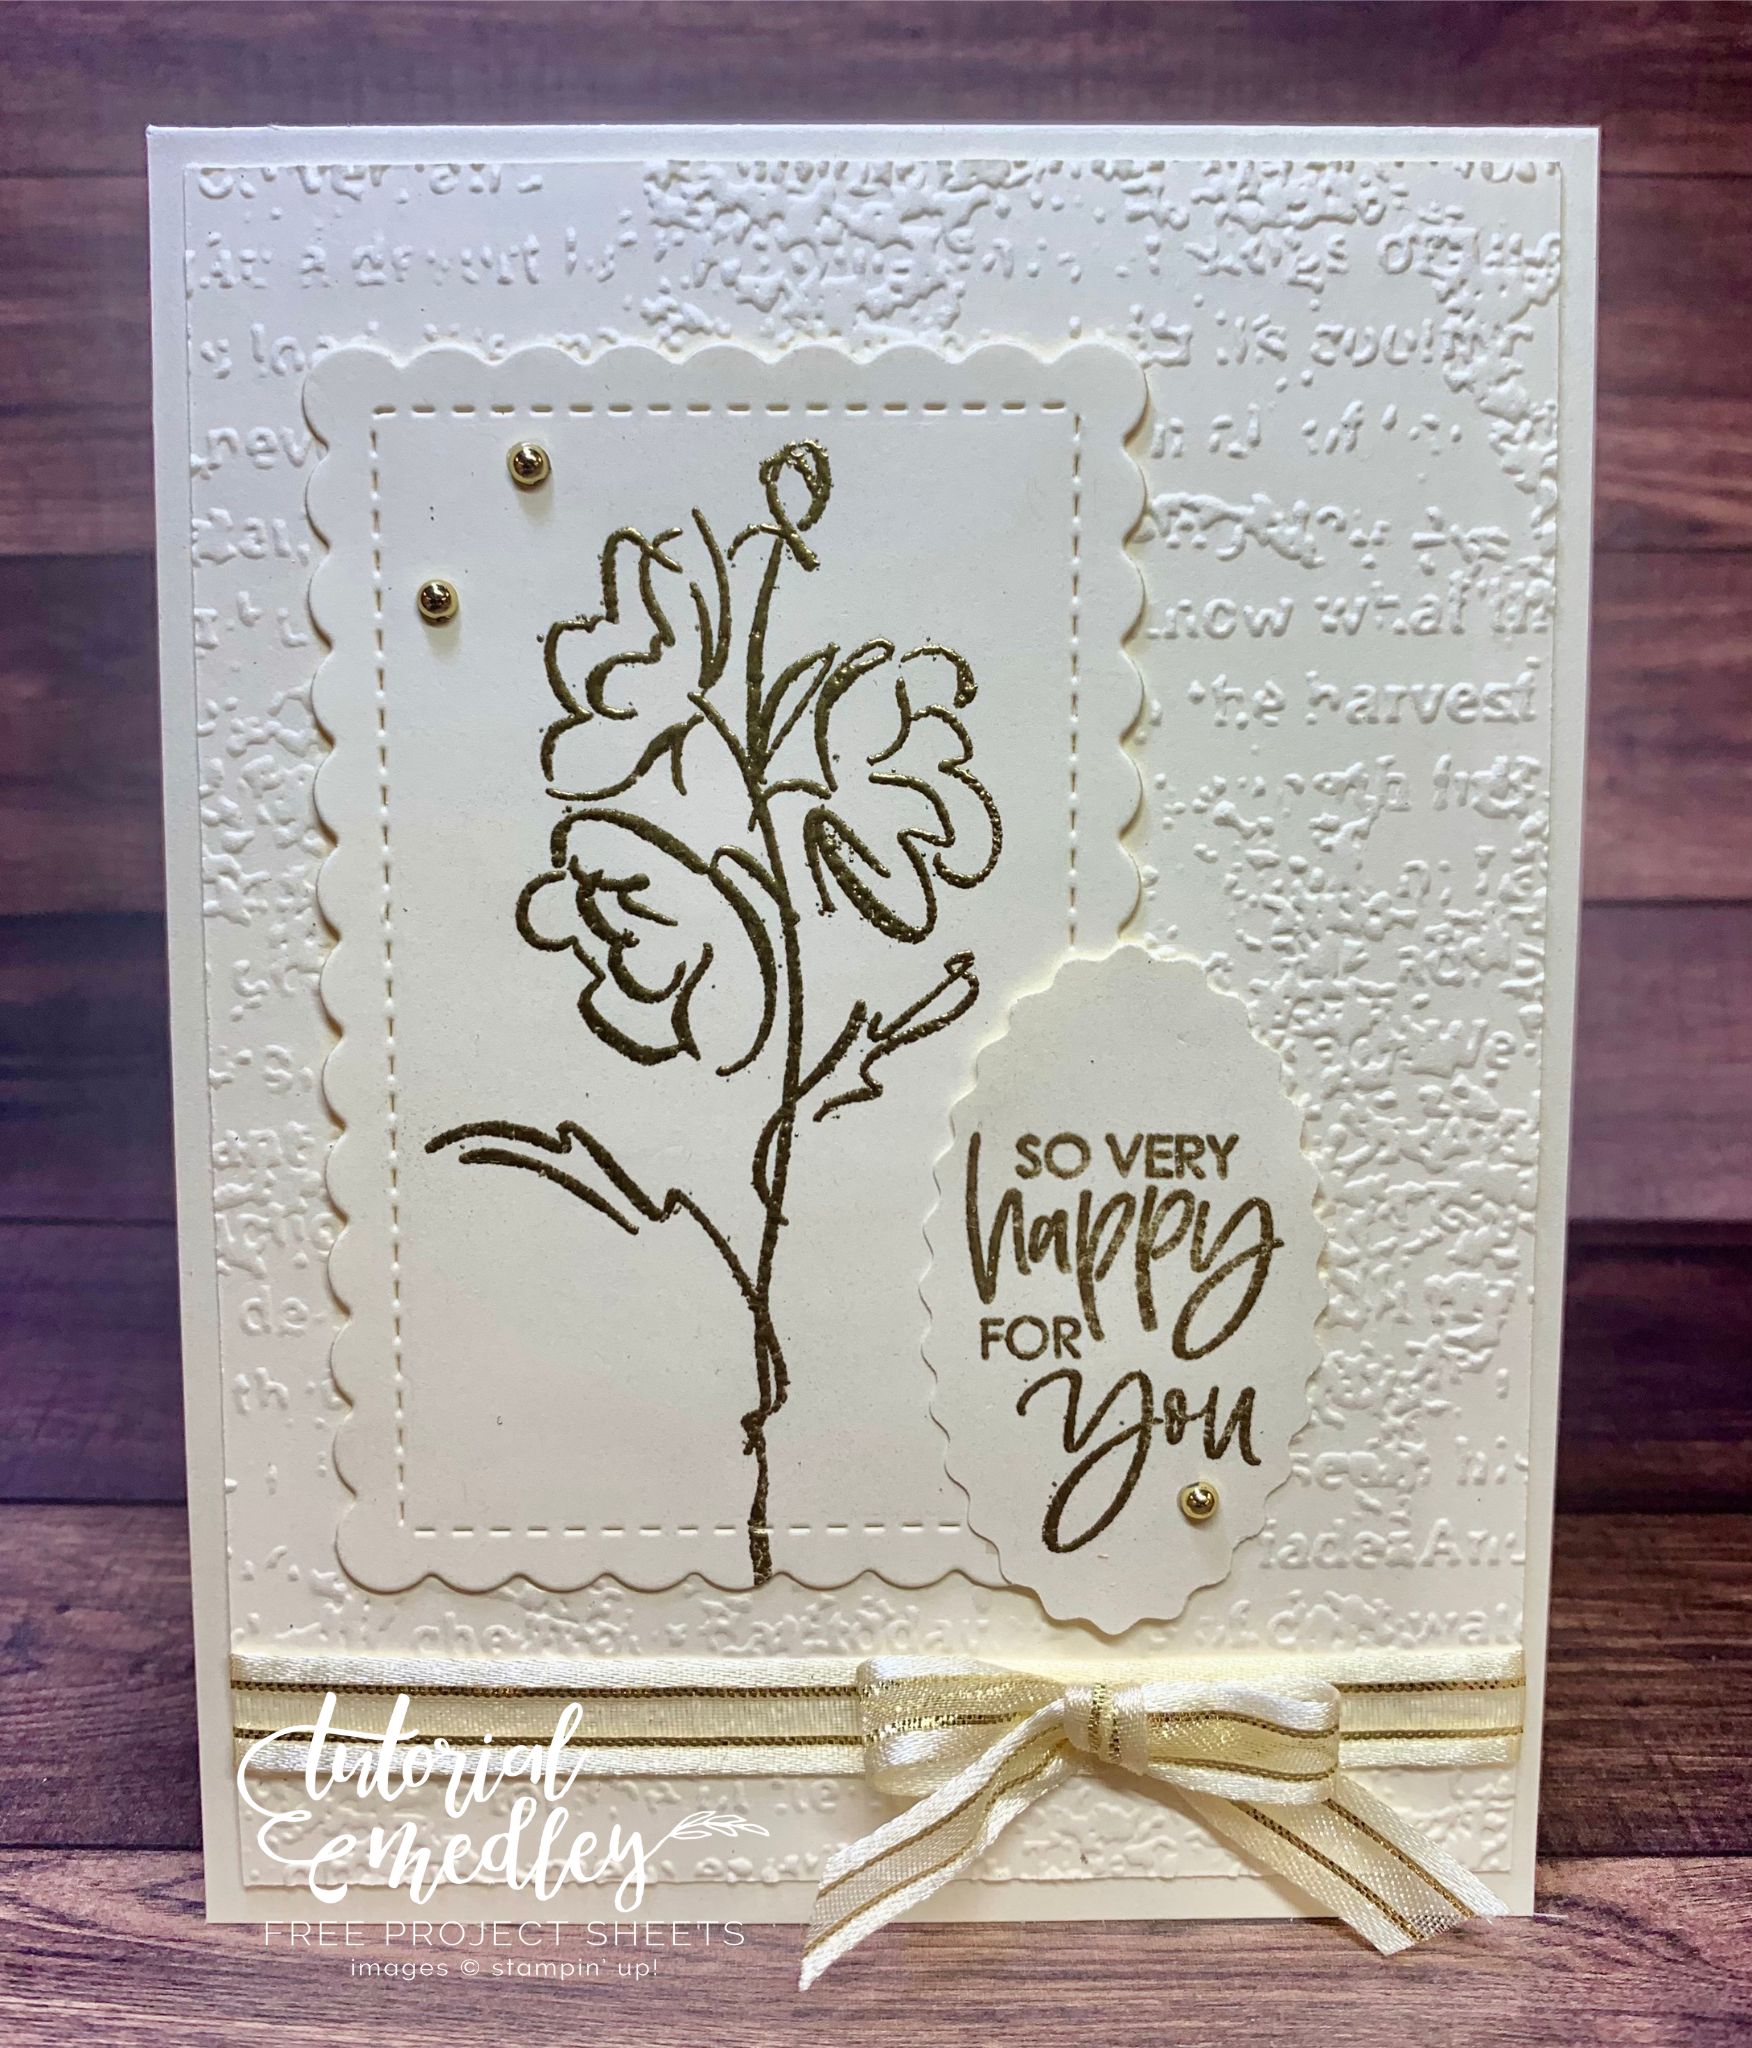
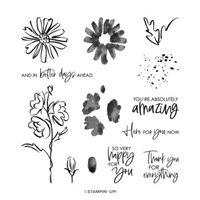
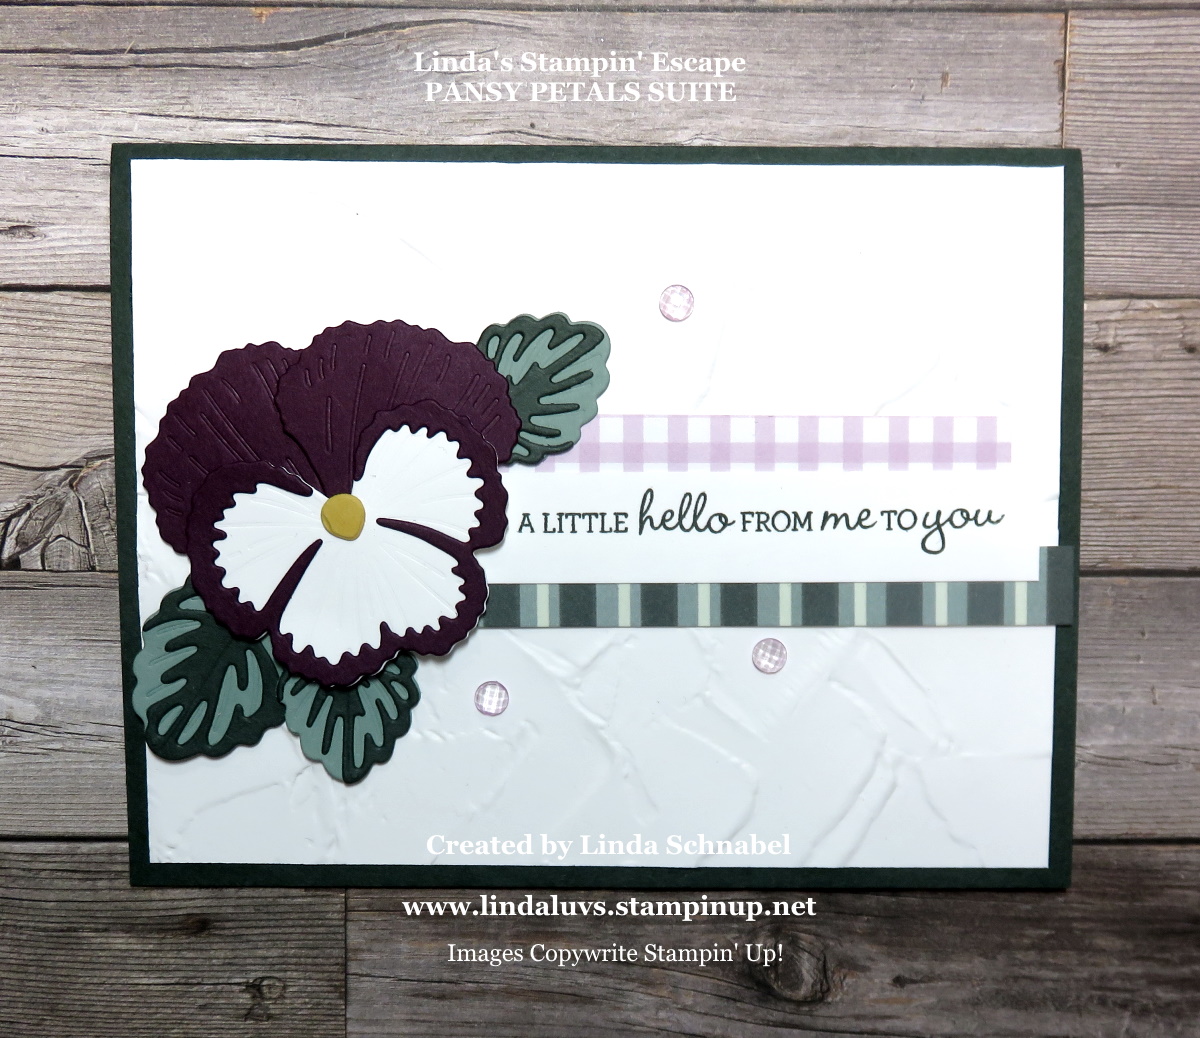
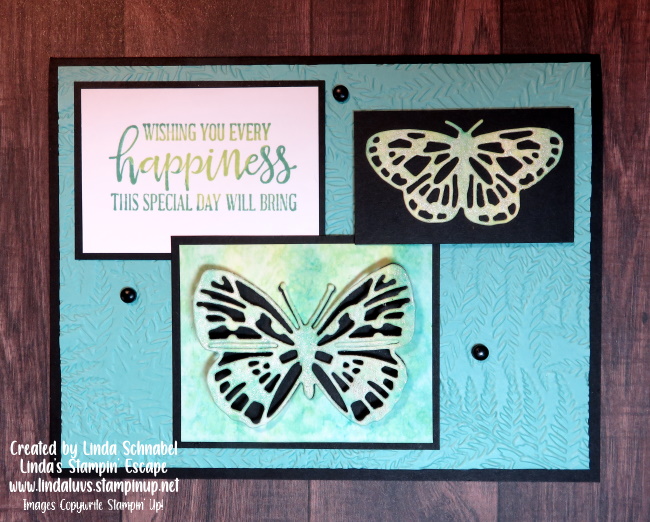
Today I’d like to share a card created by one of my design team members highlighting the new Cheerful Daisy. To kick off this new bundle, I’m sharing the dimensions and instructions for this beautiful card ….
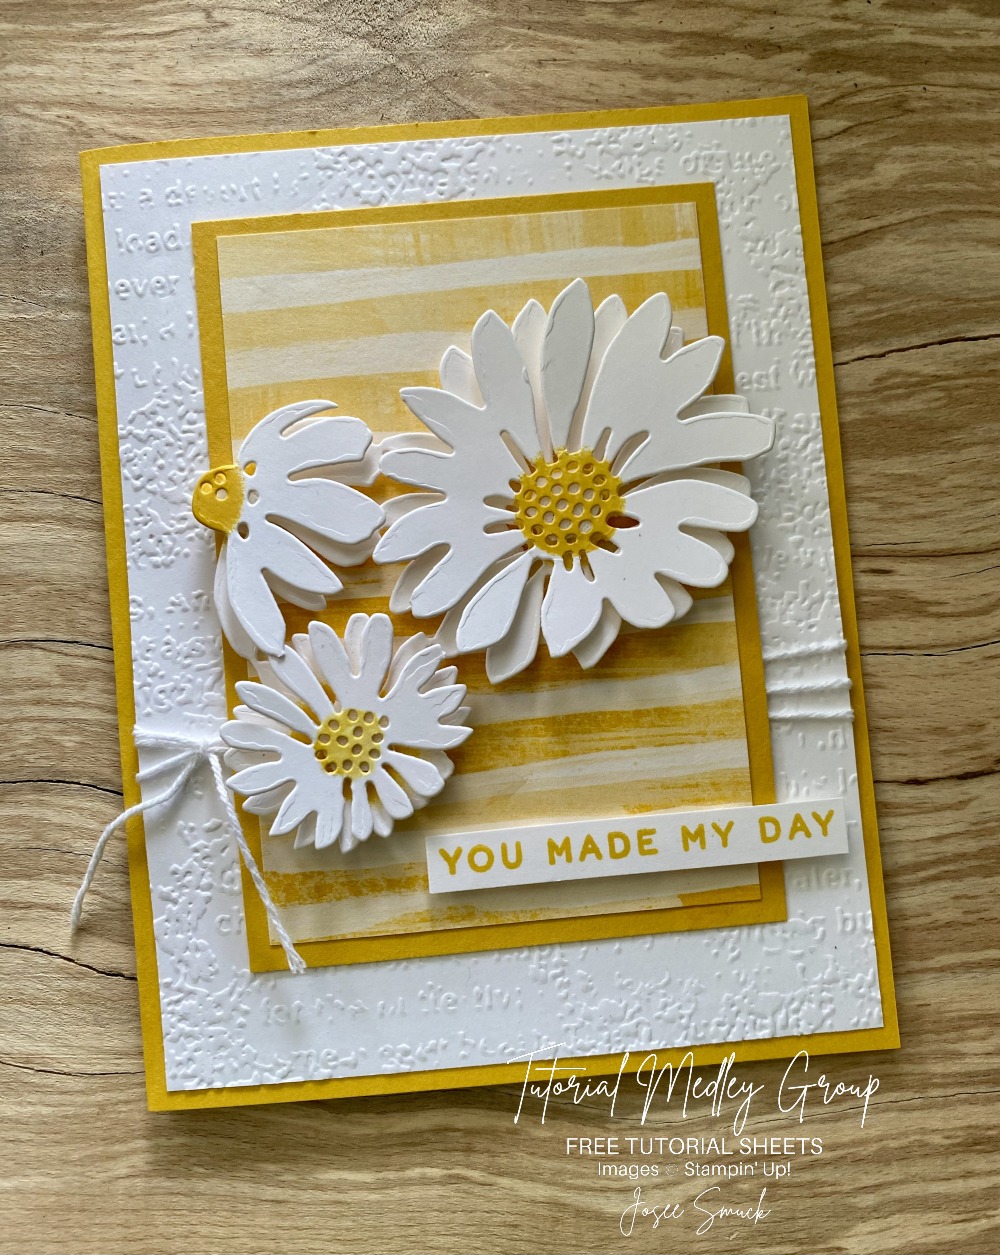
Measurements:
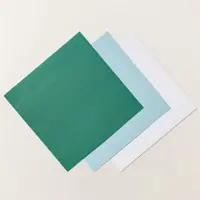
- Crushed Curry: 5 ½” x 8 ½” and 3 ¾” x 5”
- Basic White: 4” x 5 ¼”
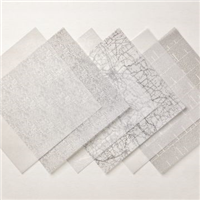
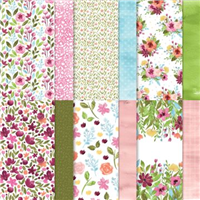
- Fresh as a Daisy Designer Paper: 3” x 4 ¼”
Instructions:
- Place the 4” x 5 ¼” Basic White cardstock in the Timeworn Type Embossing Folder and run it through the Stampin’ Cut & Emboss Machine to add texture.
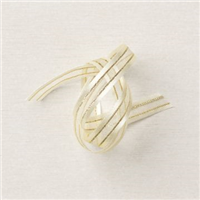
- Wrap the Baker’s Twine around the cardstock 3 times and adhere the ends to the back of the cardstock. Take a smaller piece of twine and tie it in a knot around the 3 pieces.
- Adhere the cardstock to the card front.
- Adhere the Designer Paper to the 3 ¾” x 5” Crushed Curry cardstock and adhere the layers to the card.
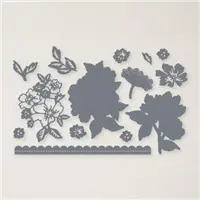
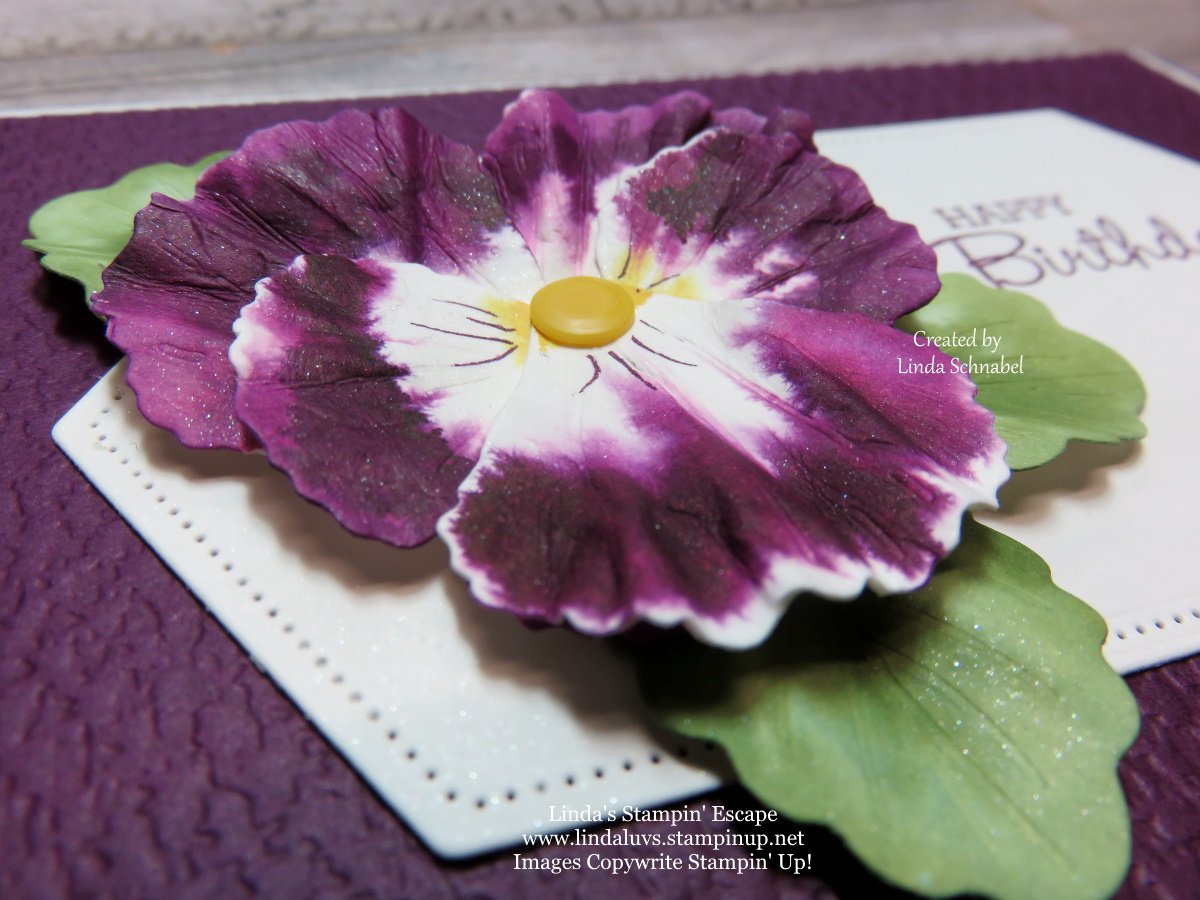
- Cut out 2 pieces of Basic White cardstock using the triple flower die.
- Color the centers using a dauber with Crushed Curry ink.
- Cut off the leaves from the triple flower.
- Take 1 of the triple flowers apart. Adhere the individual flowers on top of the other piece using Dimensionals. Adhere all with Dimensionals.
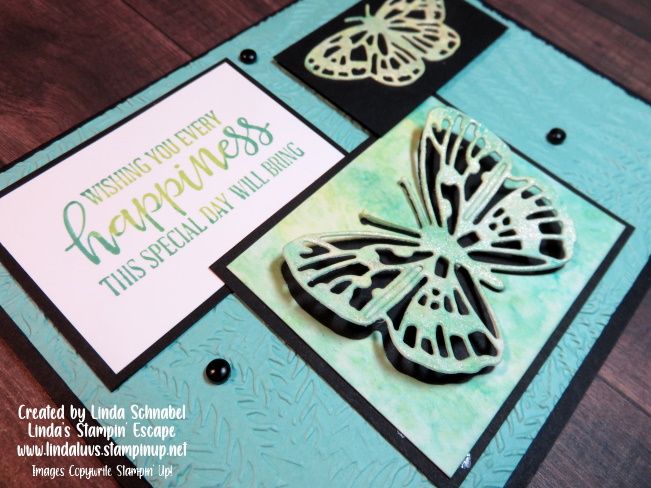
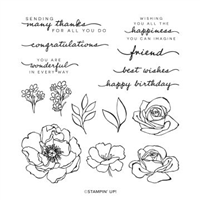
- Stamp the greeting on the bottom of a piece of cardstock. Cut out close to the greeting. Add the greeting to the card using Dimensionals.
Thank you for stopping by today … I hope you enjoyed the card as much as I did.

Well … it actually went LIVE yesterday! But it’s here and ready to view. You can click on the icon to the right, or contact me and request a copy for your own.