Hello Stampin’ Friends,
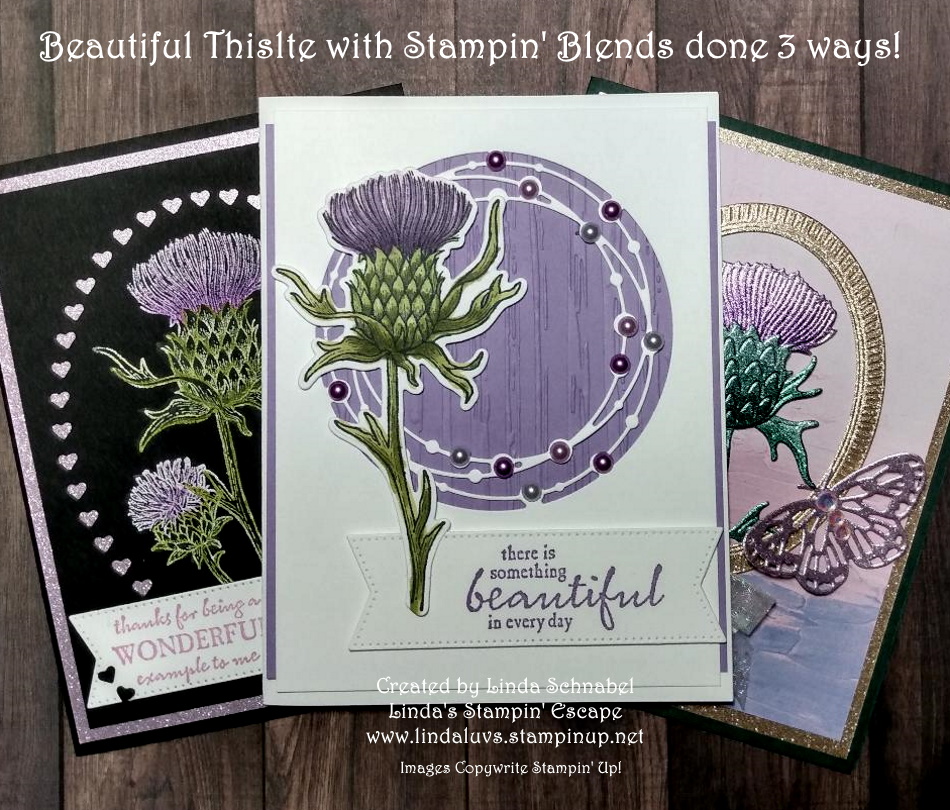
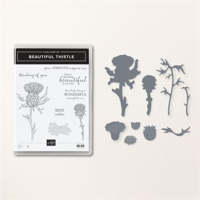
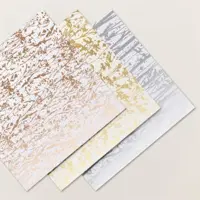
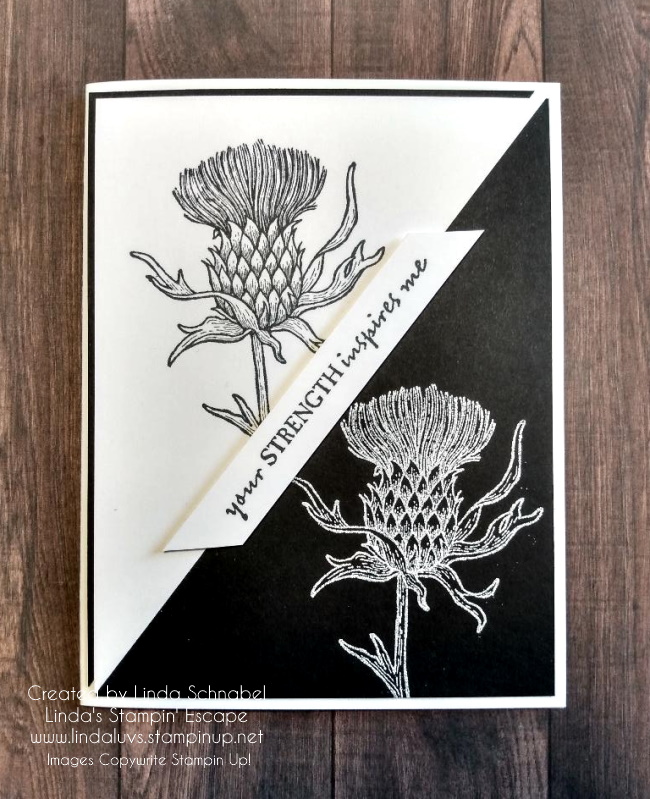
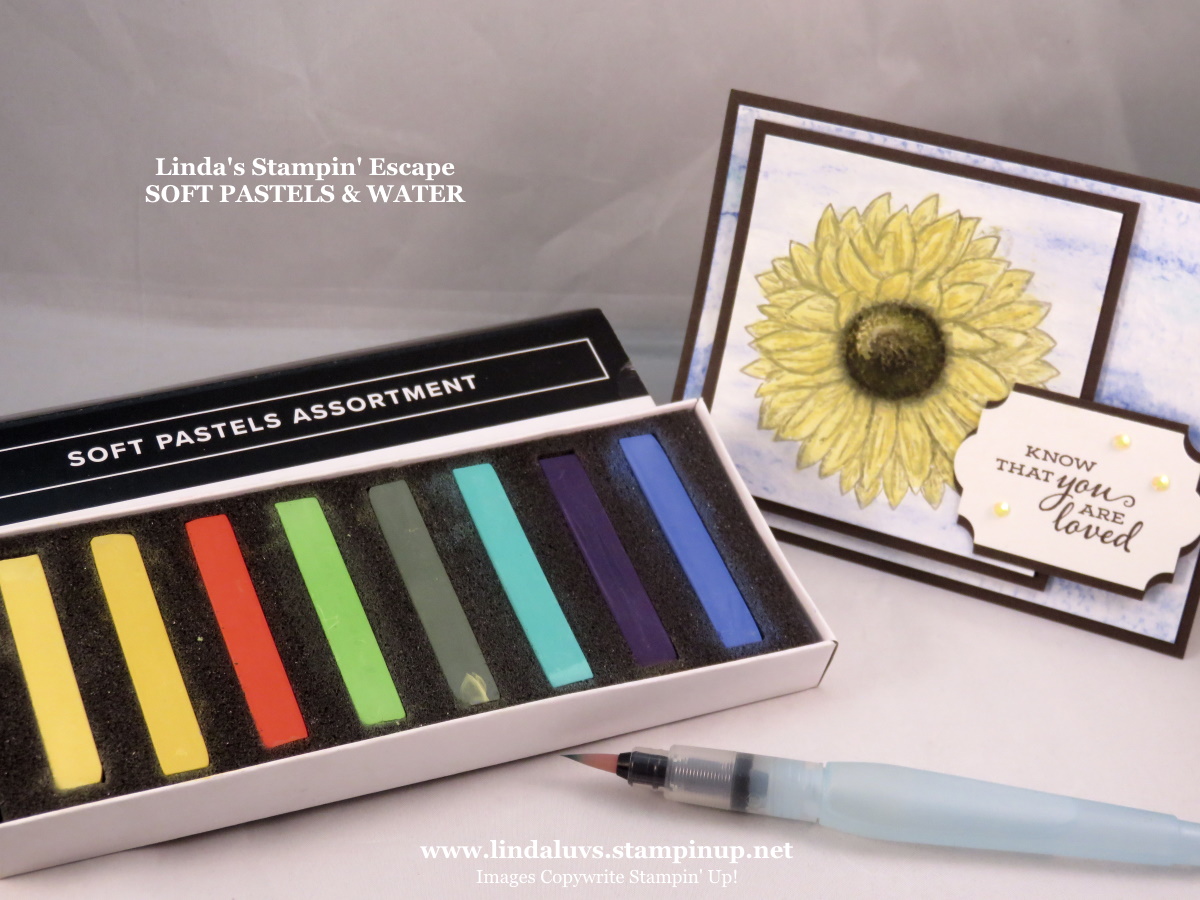
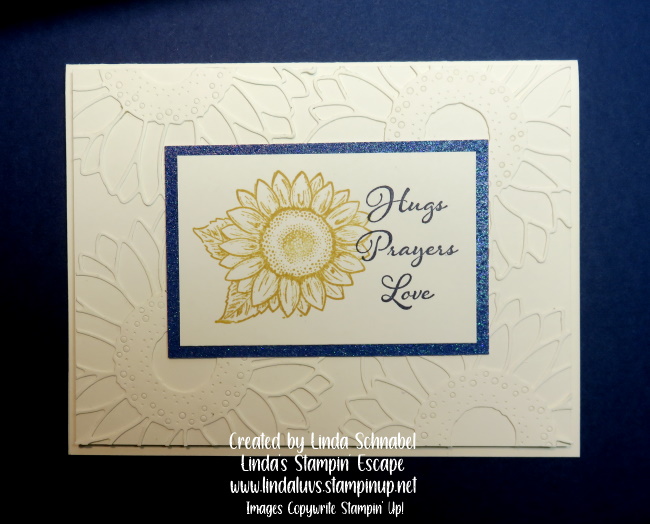
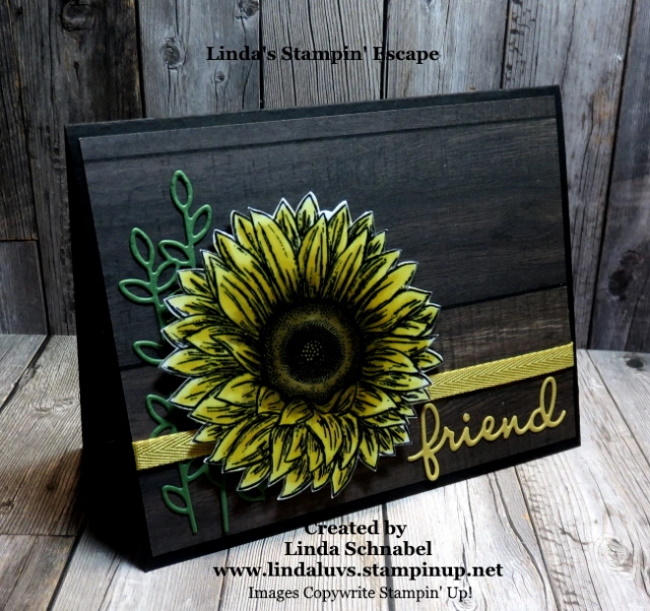
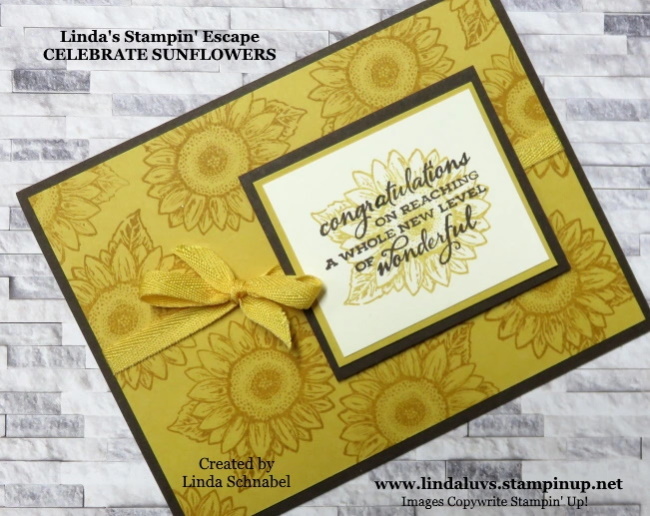
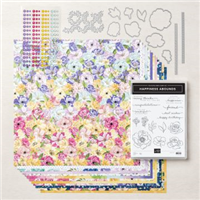
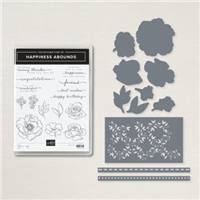
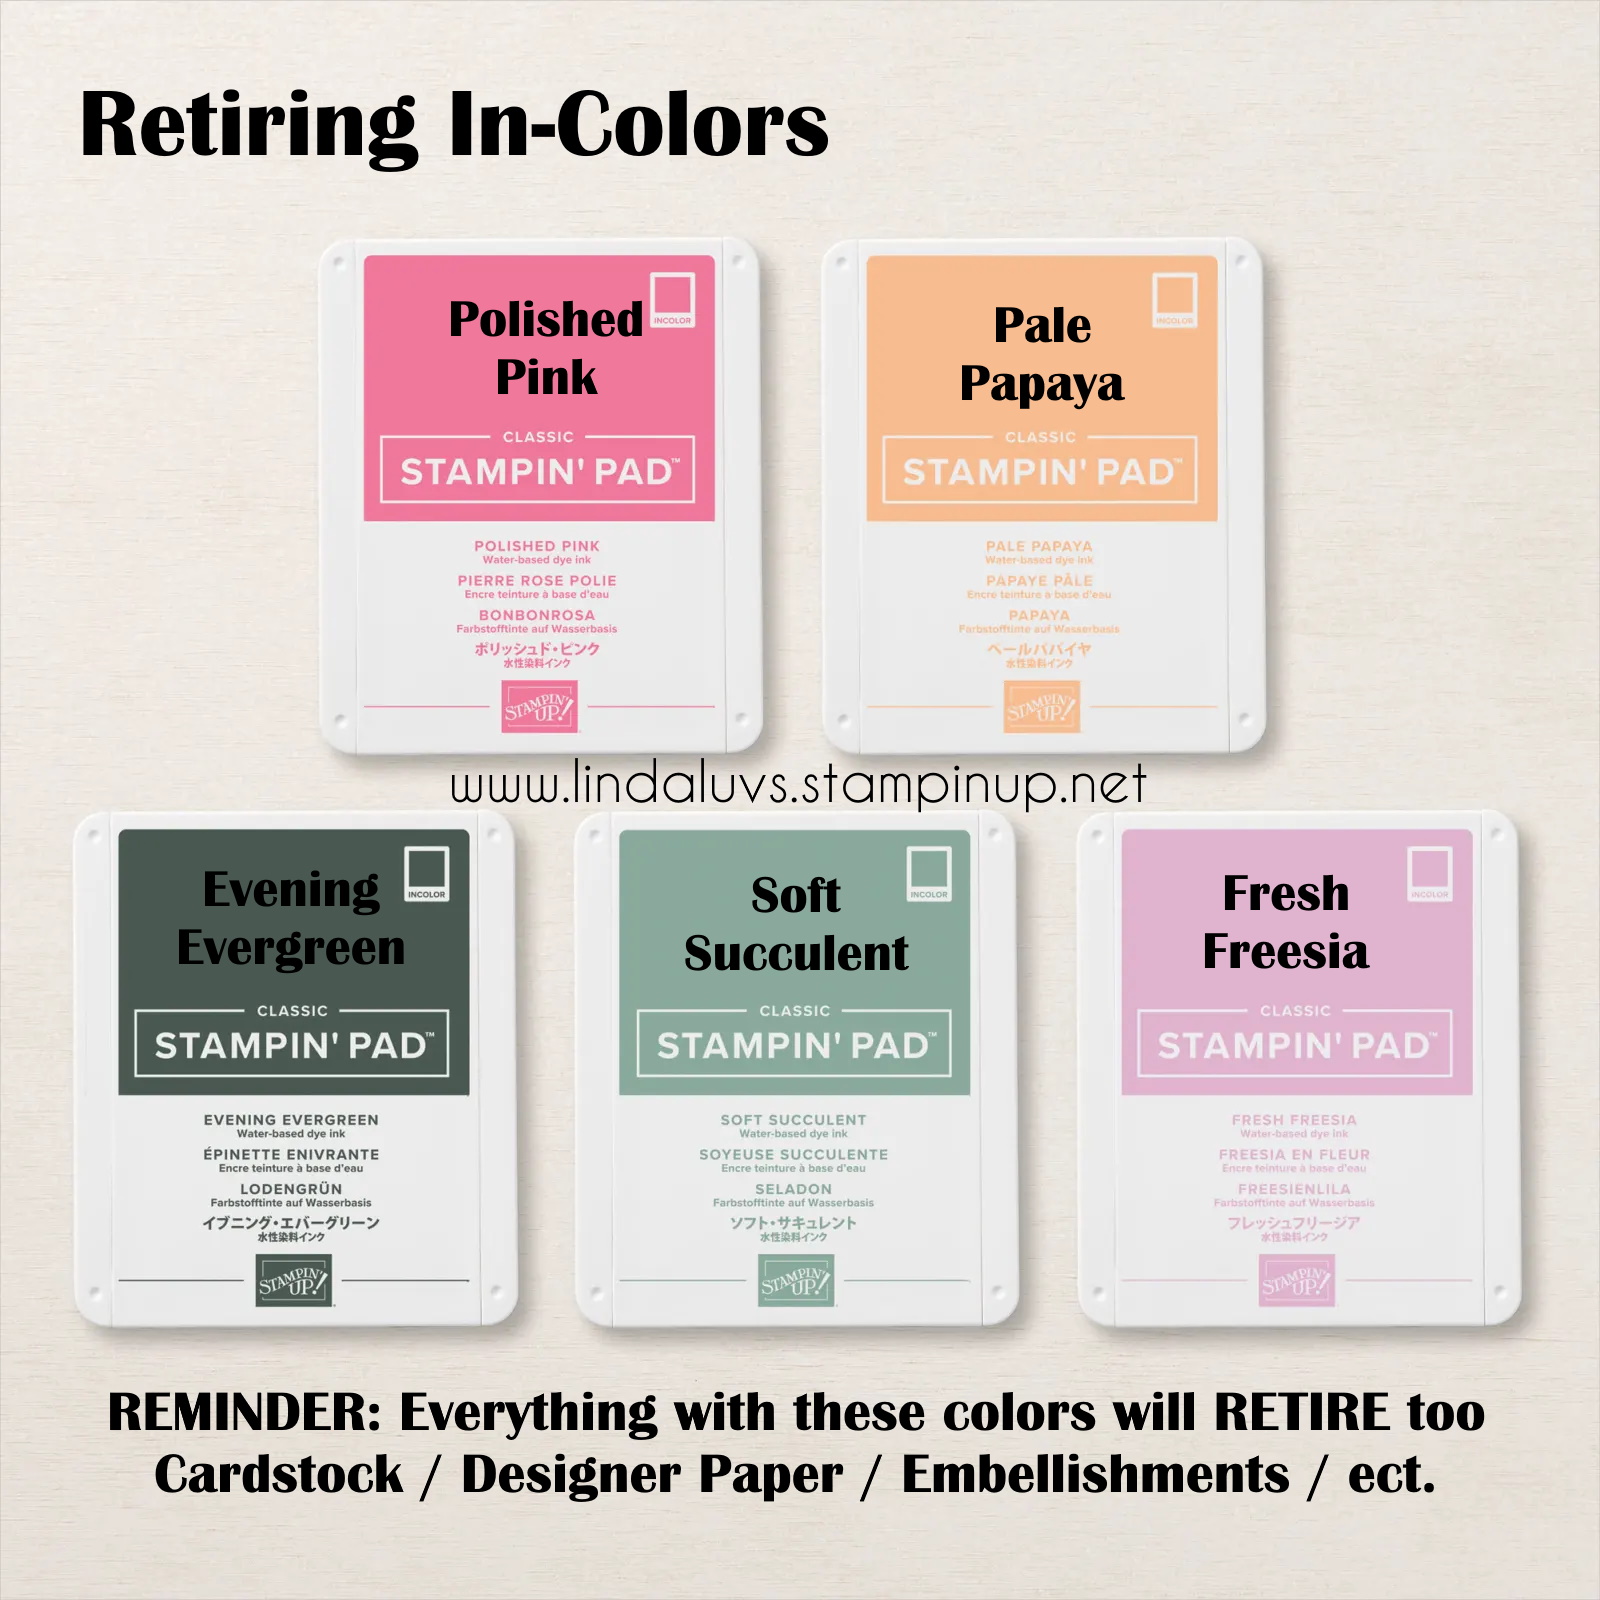
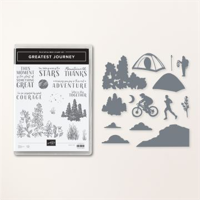
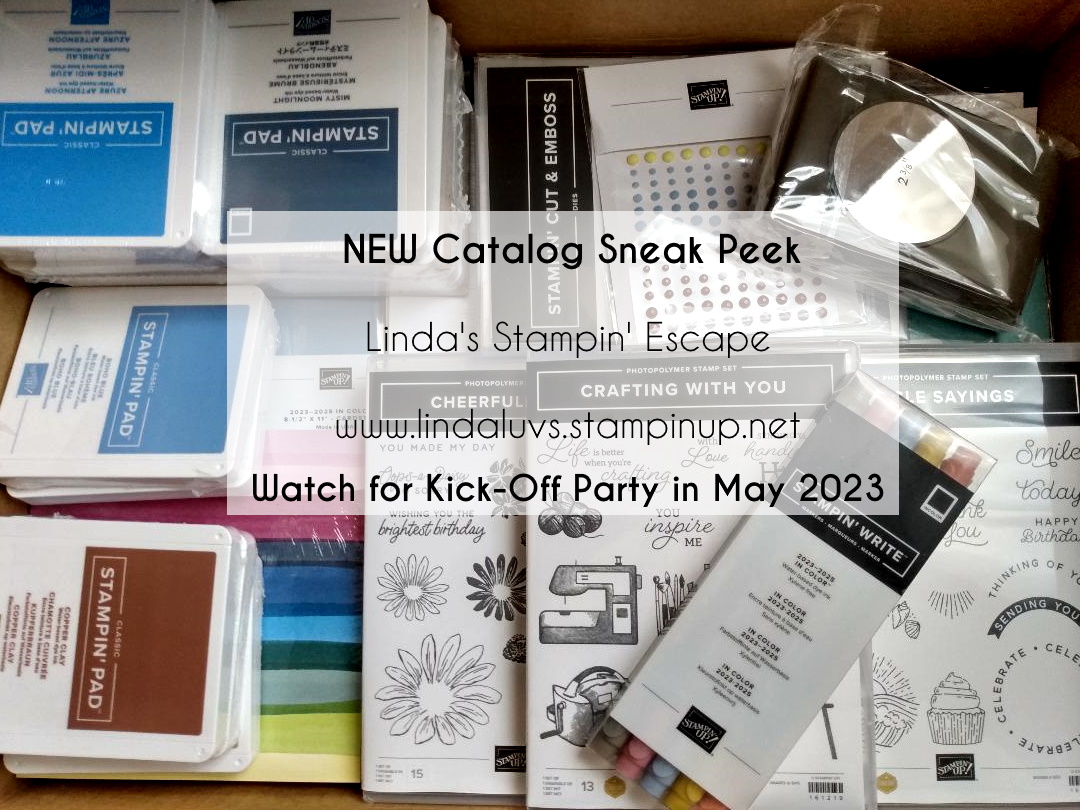
Today I got the best Birthday surprise a crafting girl could ever want … Brand NEW products; Stamp sets / bundles … NEW Colors …. Embellishments and more!! This is just one of the perks that I receive from being a demonstrator. Celebrated my 23rd Anniversary this past March.
So let me share a little on the benefits I have enjoyed …
- Like today, I get to order Stampin’ Up! Products before it goes LIVE to the public.
- I earn “Host” Rewards for the products I purchase … just like you do!
- NEVER have to pay Full Price on the Stampin’ Up! Products I purchase while a demonstrator.
As much as I have enjoyed all the perks from Stampin’ Up! Over the past 23 years (because there are MORE) the most important thing and the reason I have remained building upon my stamping journey is YOU, my customers, my friends, my team. We don’t just build a business; we build a community a like minded crafty people … It’s fun and so rewarding.
Are you interested in getting the NEW products (new colors. dies, stamps, tools) and can’t wait until May 2nd? YOU don’t have to wait …
For $99 / FREE shipping AND a future order discount of 20% that opens the door to more perks with No risk … Let me show you now. Message me below or CLICK HERE to start your journey.
I’d love to help you discover these perks and maximize their benefits, and have FUN Crafting!!