Hello Stampin’ Friends ~
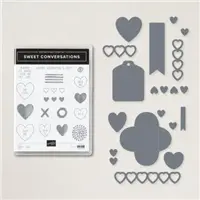
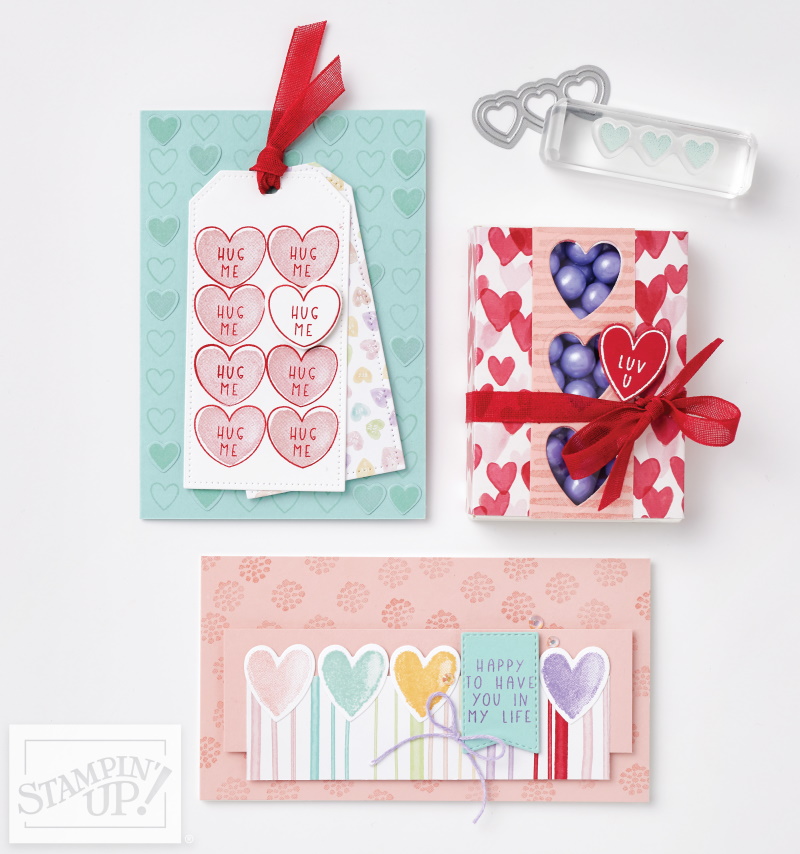
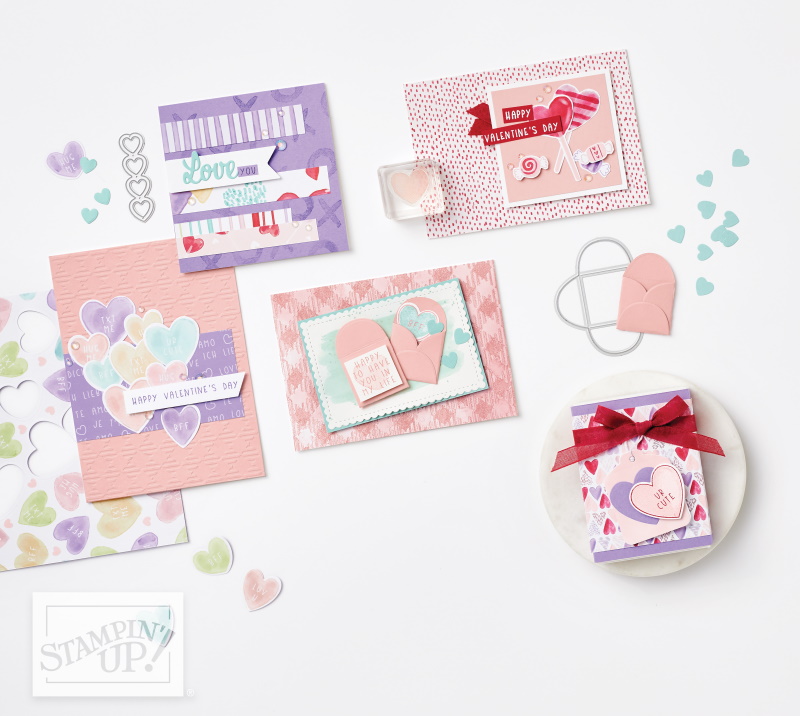
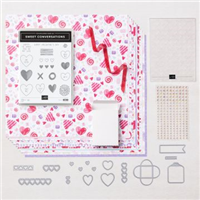
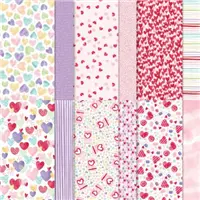
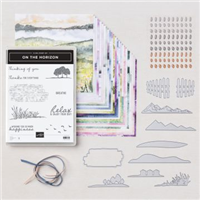
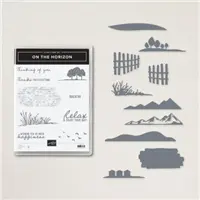
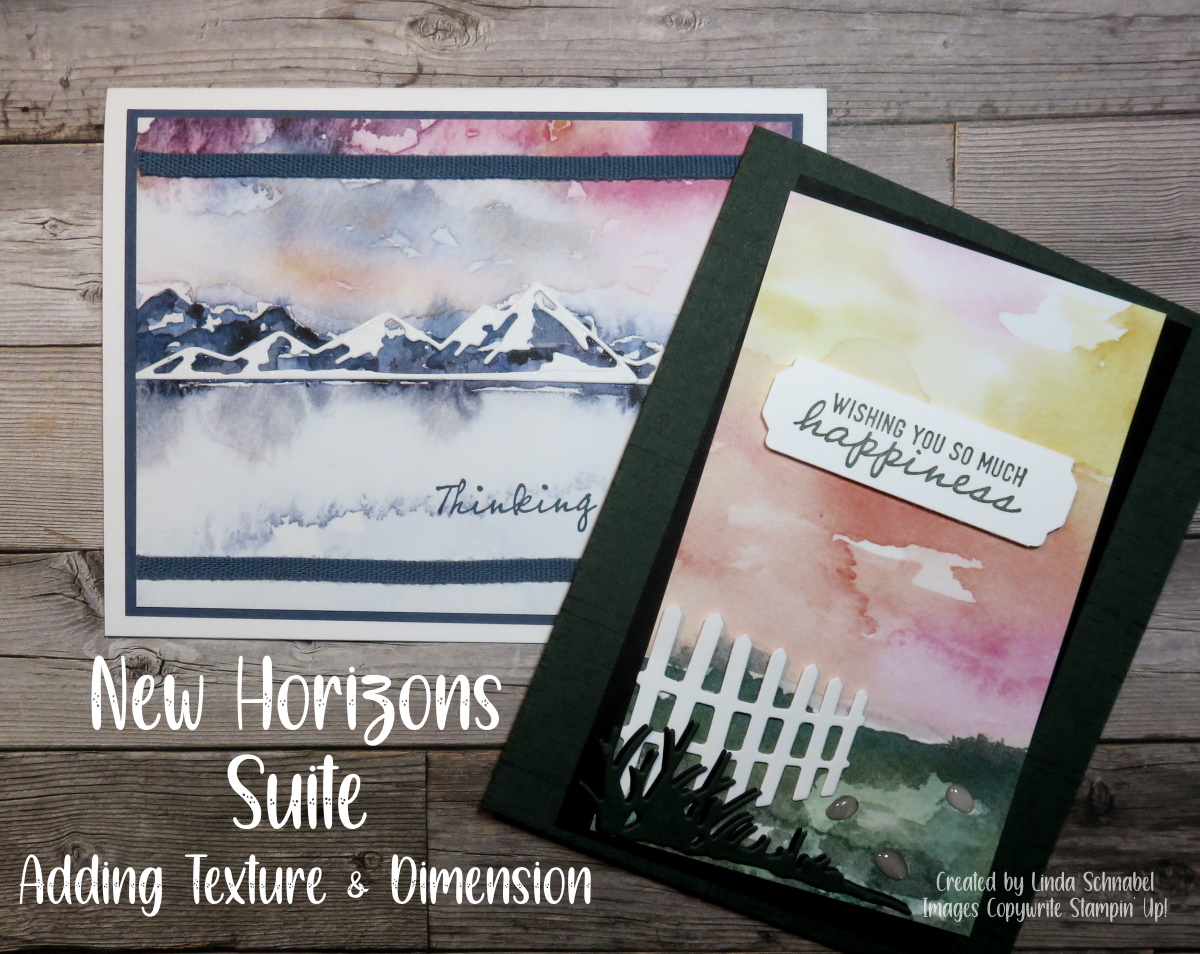
Today I’ll be sharing my video replay of last nights Facebook LIVE along with the two cards. I showcasing the New Horizons Designer Paper and Stitched Rectangle Dies … also highlighted is the Sweet Conversations Bundle.
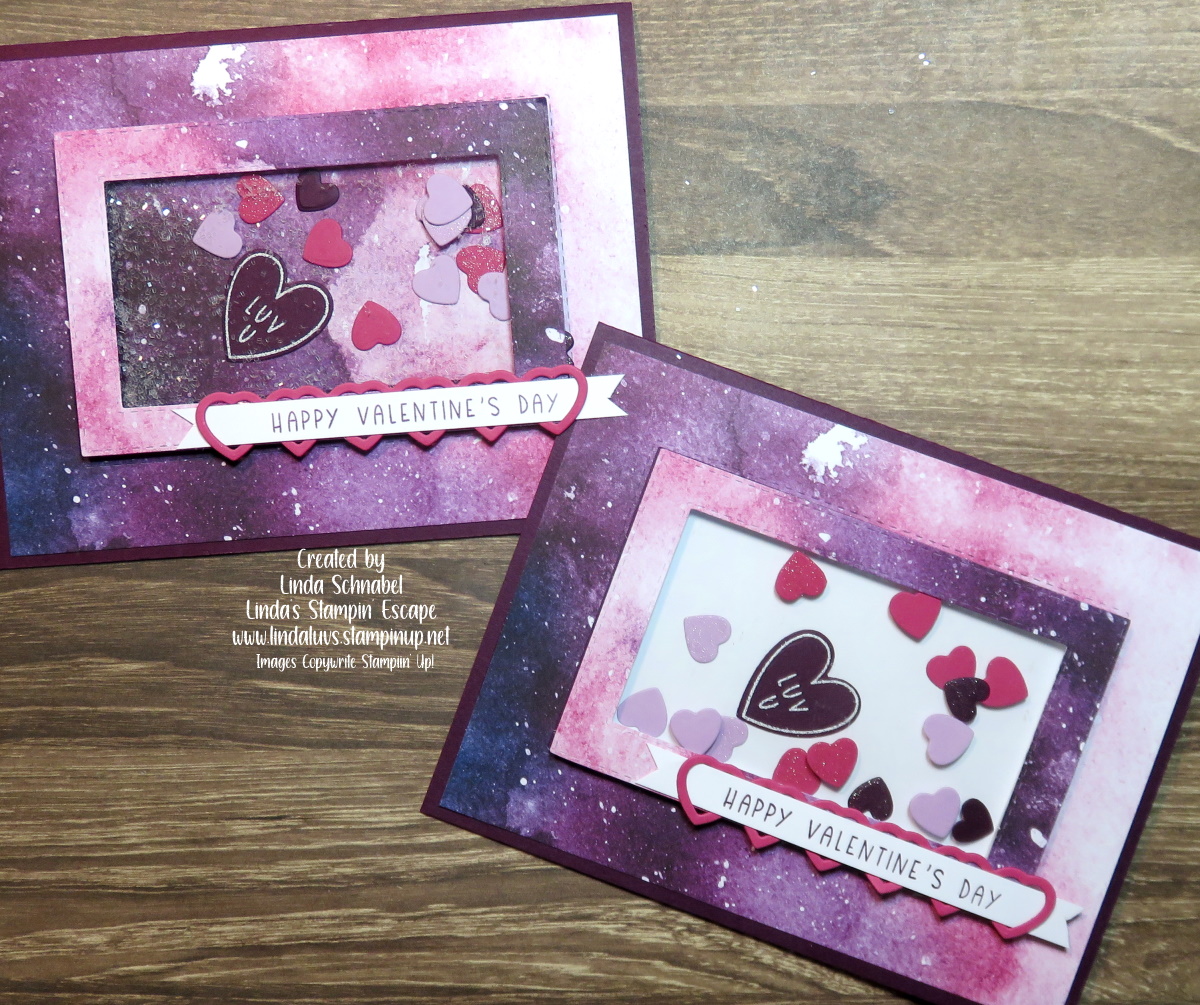
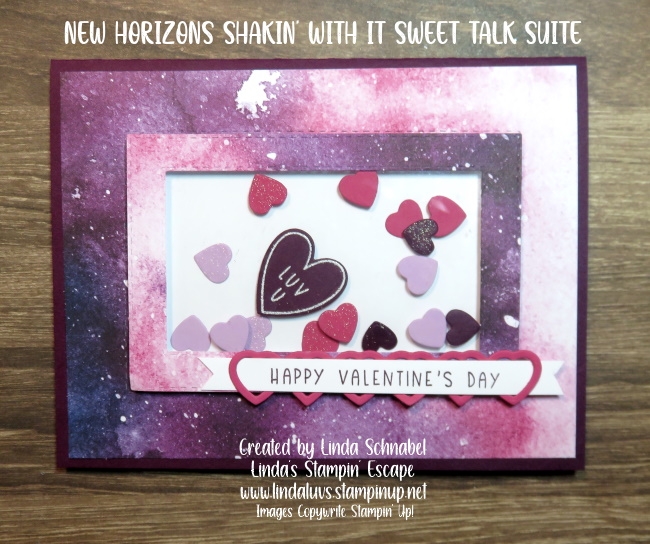
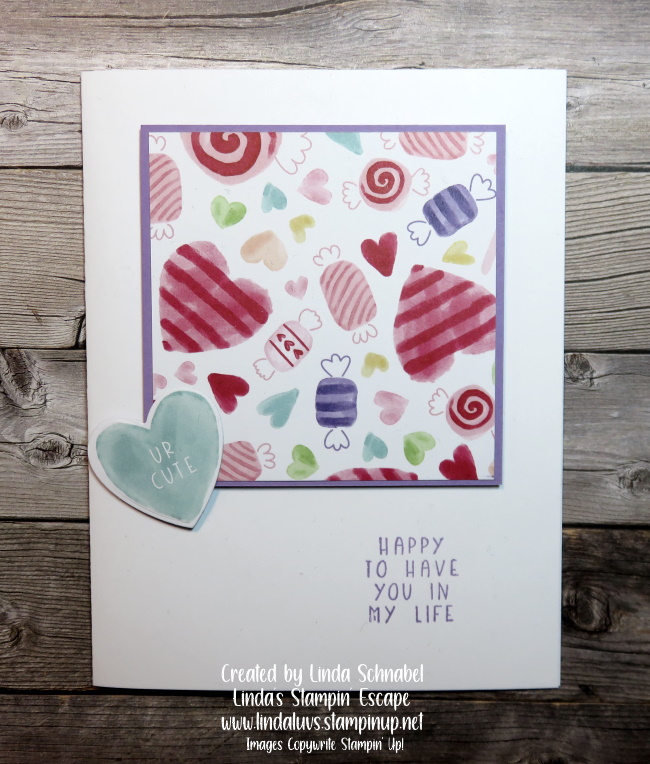
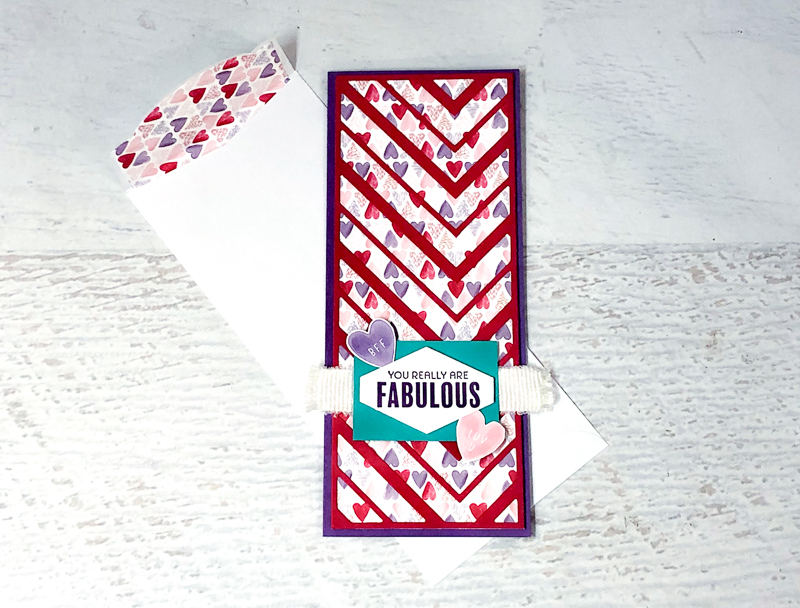
I love all the pinks and purples in this card and with Valentines Day right around the corner … I thought this would be perfect, and what better way to showcase the card than a “Shaker” card! Don’t we all want to get “all shook up” over Valentines?

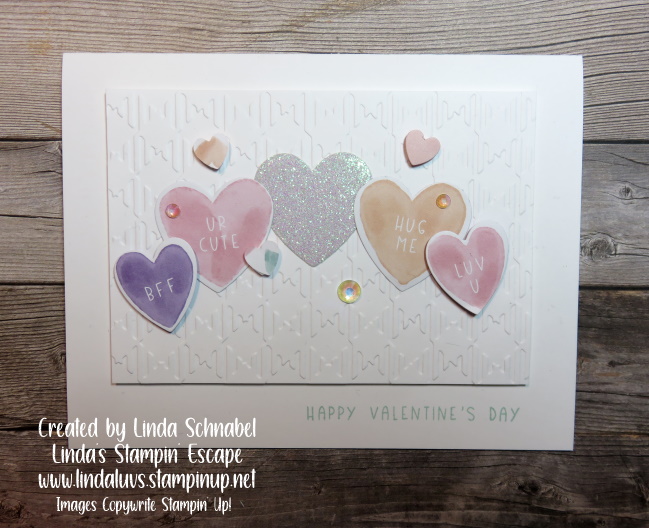
Ok … just a little teaser there and a close up of how I did the greeting! Let’s take a look at the video. You can grab a cup of coffee (or your favorite beverage) and join me …
The card would have been assembled even quicker if I wouldn’t have had “technical difficulties” … Oh, if only life’s little problems wouldn’t rear their heads when your going LIVE … LOL
Measurements:
- Blackberry Bliss: 8-1/2″ x 5-1/2″ Scored at 4-1/4″ fold in half
- Designer Paper: 5-1/4″ x 4″ (to be die cut)
- Basic White: 5-1/4″ x 4″ (inside of card) Extra strip for greeting.
- Window Sheet: 3-7/8″ x 2-3/8″
The video shows how you can use the entire piece of designer paper on your card as I did here on my sample …
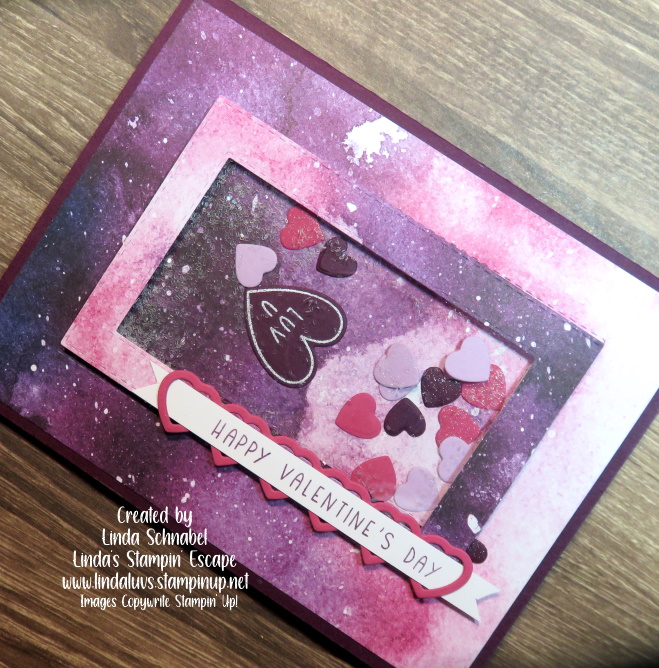
I thought it was just too cute to wrap my greeting in hearts, and it was a way to use the strip of heart from the die cut. I’m sure Stampin’ Up! designed it that way, but we like to think we can be creative too! lol
I really do like the “white” background on the card because it really makes the hearts POP!! I also enjoy stamping with my friends and getting their opinion … that is my favorite part of the Facebook LIVES! I love to share but the interaction with you, my stampin’ friends is what makes it so fun.
I thank you for taking time out of your day to hang with me and watch (or rewatch) the video. I really would love to hear what YOU want to see … If I have it, I will share it.
Have an amazing day ~

TODAY’S STAMPIN’ SUPPLY LIST … If you liked the products used in today’s projects, I have links for you below. Just click on the item you would like more information on, or to begin your shopping. It will take you directly to my website. Thank you ❤


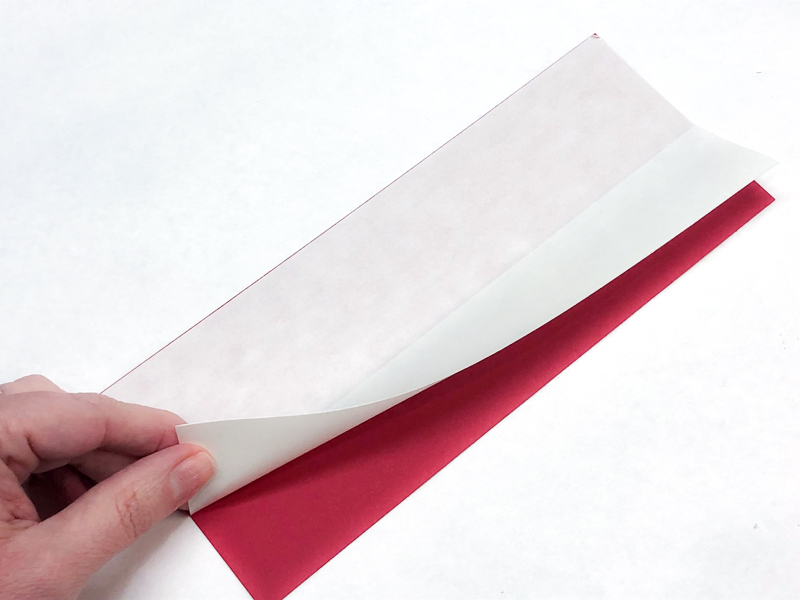 1. Add Adhesive Sheet Cut Real Red cardstock and Adhesive Sheet to 3-1/2″ x 8-1/2″. Peel backing off of Adhesive Sheet, line up, and adhere to back of cardstock.
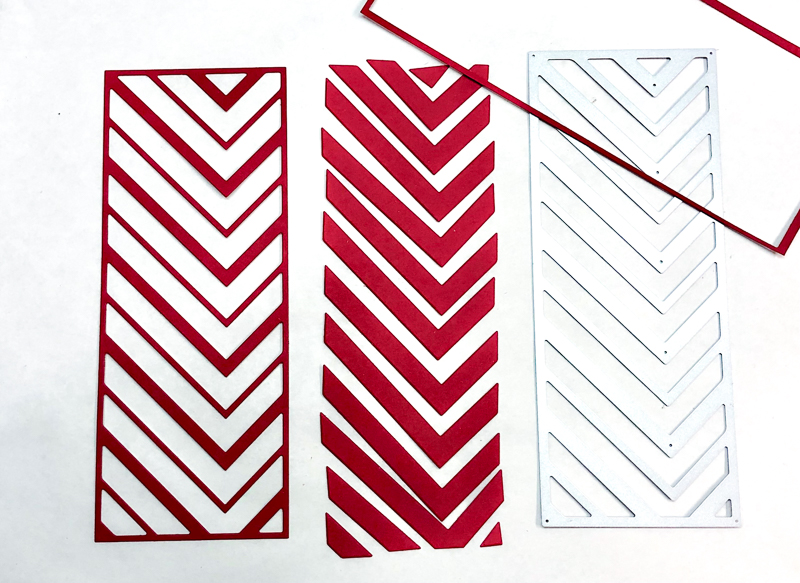 2. Slim Die Cut Center die cut on cardstock and run through Stampin’ Cut & Emboss. Pop the die cut pieces from the die. Set aside the negative pieces to use on the inside of the card and on other projects.
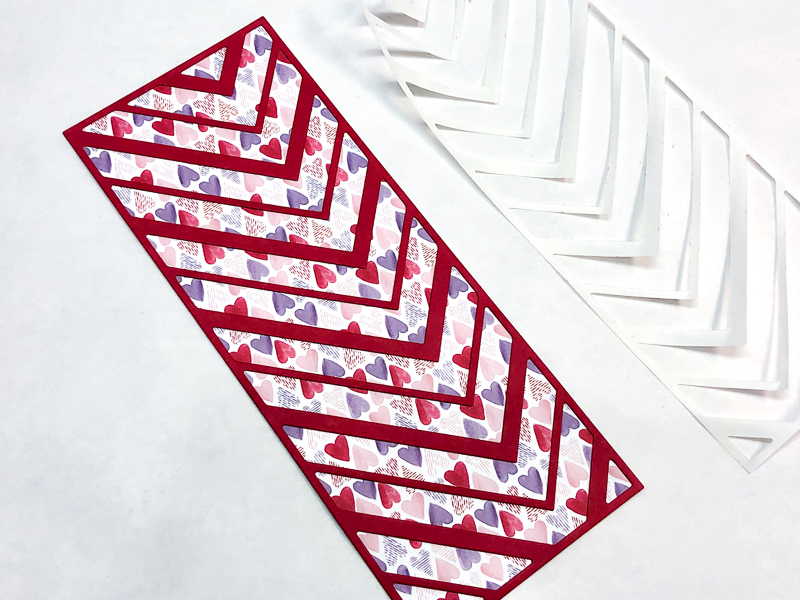 3. Adhere Die Cut Cut Sweet Talk Paper to 3-1/4″ x 8-1/4″. Peel adhesive backing off of slim die cut and carefully line up on the Sweet Talk paper and adhere. Start with lining up the bottom corners and then the top corners.
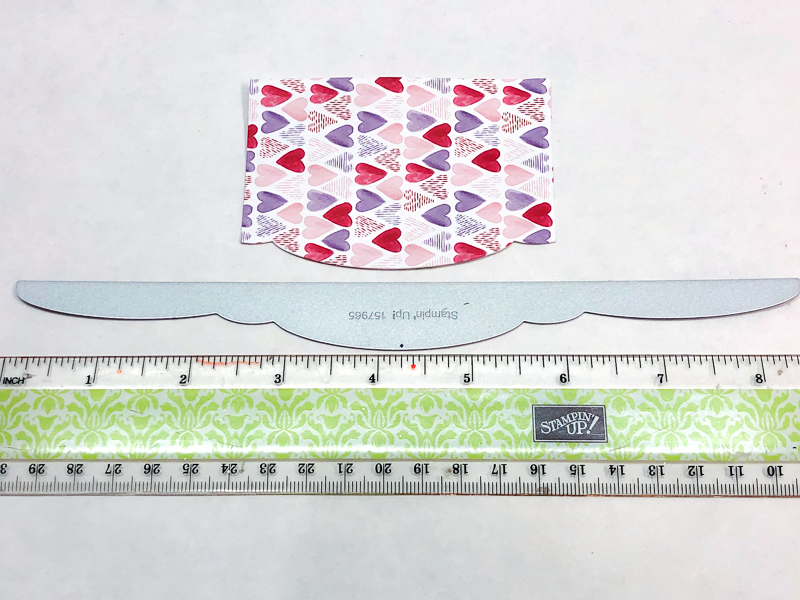 4. Die Cut Scallop Edge Pick a gray or white Slimline Envelope (#157981). Cut Sweet Talk paper to 3-1/2″ x 3″. Mark the center of the 3-1/2″ side and the center of the scalloped die (matches envelope flap) from the Slim Card Dies. Line up centers and die cut.
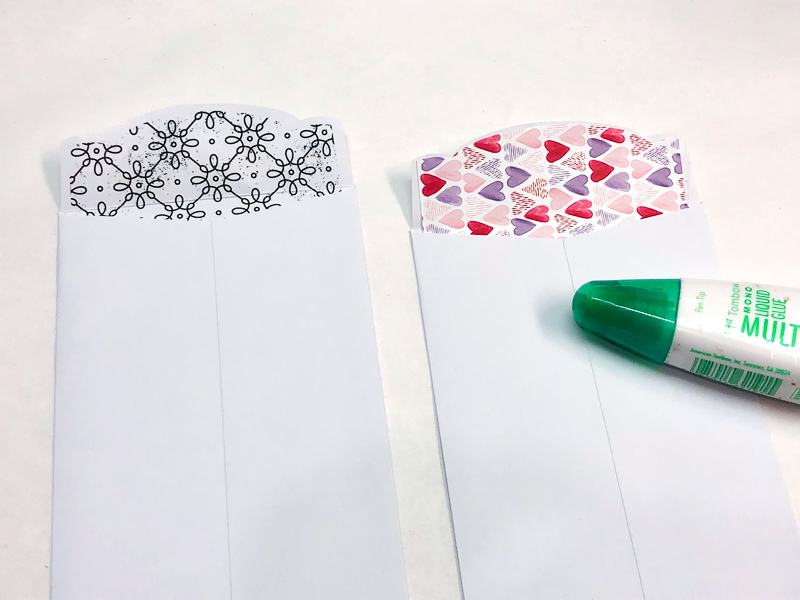 5. Customize Envelope Flap Use Multipurpose Liquid Glue to adhere the die cut paper inside the envelope flap so it matches the card. You’ll Use Multipurpose Liquid Glue or Stampin’ SEAL+ to adhere you envelope flap closed when ready to mail. Note: This end-opening envelope may require additional postage. Check before mailing.
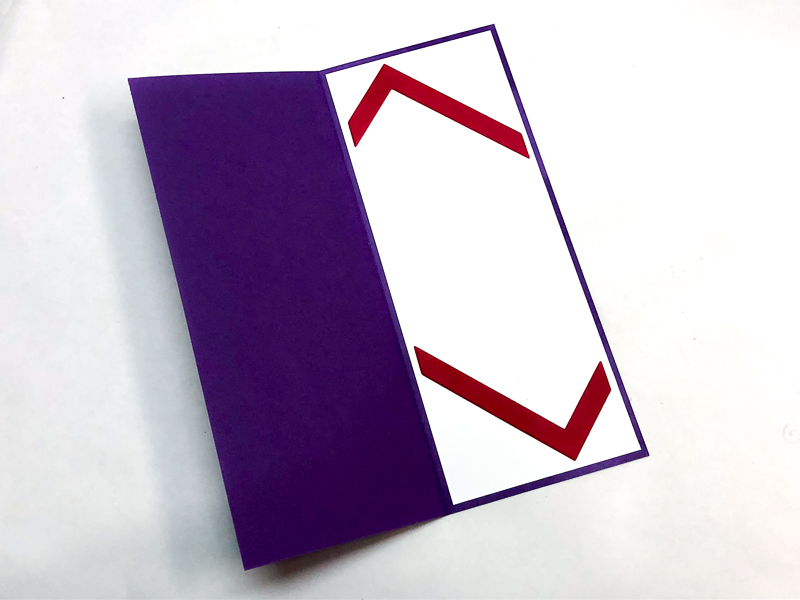 6. Cut Card Base Cut Gorgeous Grape cardstock to 7″ x 8-1/2″. Score at 3-1/2″ along the 7″ side to make the slimline card base. Adhere 3-1/4″ x 8-1/4″ Basic White cardstock inside card. Add two of the negative die cut strips inside the card as accents.
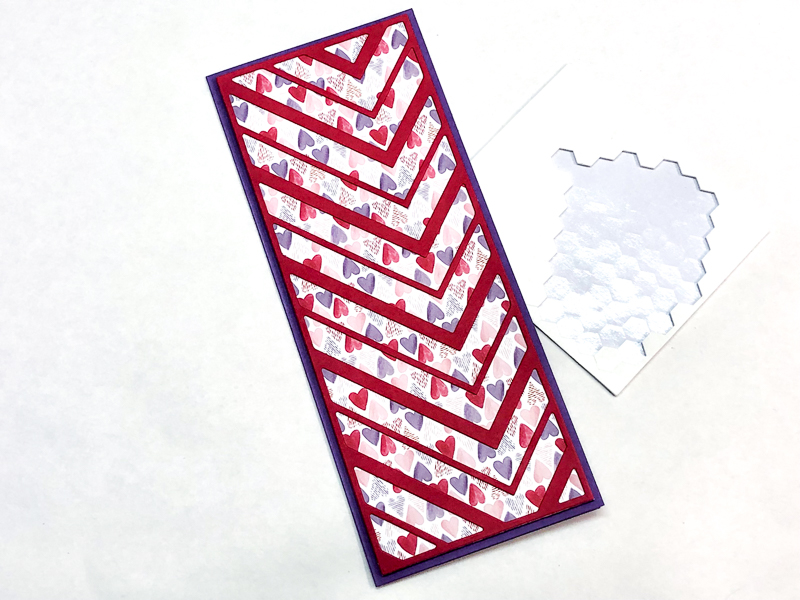 7. Layer Card Front Adhere the layered slim die cut and Sweet Talk to card front. Use Stampin’ Dimensionals if you want extra dimension.
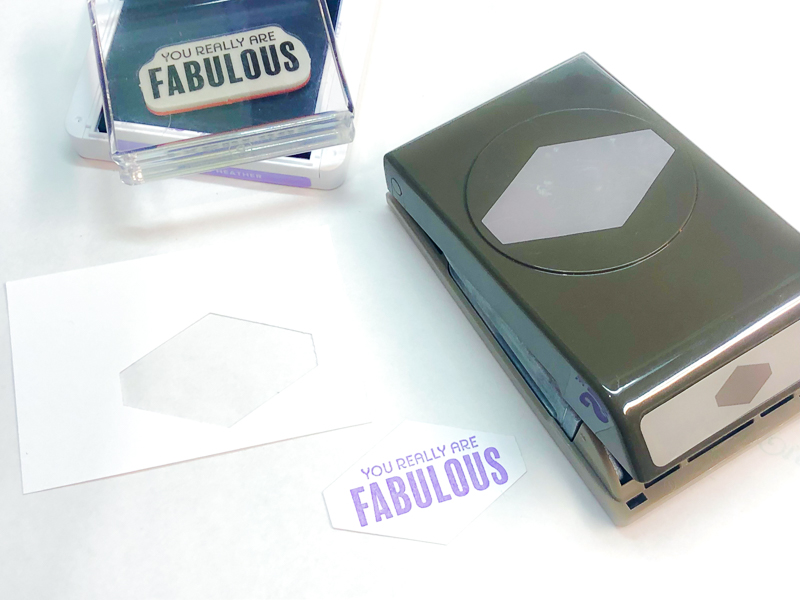 8. Stamp & Punch Greeting Stamp greeting with Gorgeous Grape ink on Basic White cardstock. Punch with Tailored Tag Punch (#145667).
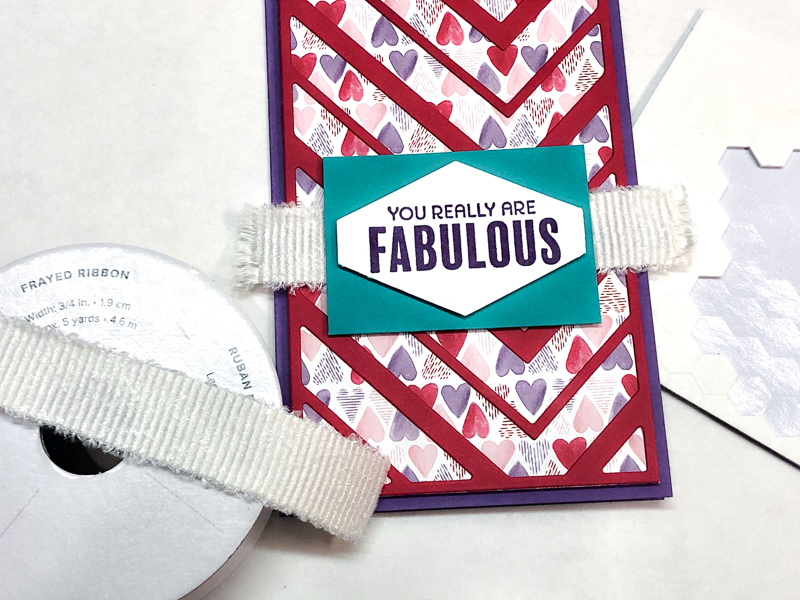 9. Add Greeting & Ribbon Cut a 4-1/2″ piece of White 3/4″ Frayed Ribbon (#158138). Pull threads on each end to fray the ribbon. Adhere to card with Multipurpose Liquid Glue or Glue Dots. Layer punched greeting onto 2-1/2″ x 1-3/4″ Bermuda Bay cardstock with Stampin’ Dimensional. Adhere over ribbon with Stampin’ Dimensionals.
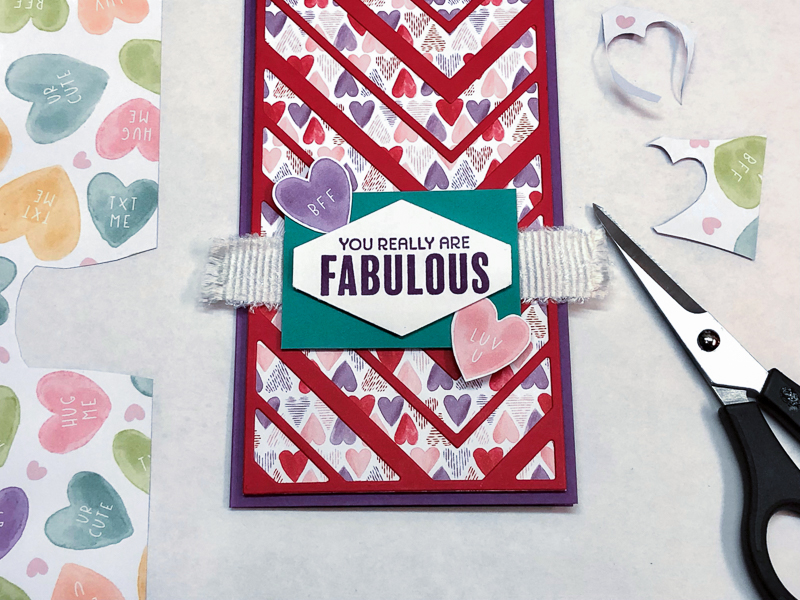 10. Hand-cut Hearts Hand-cut two hearts from the Sweet Talk Designer Series Paper with Paper Snips. Adhere to greeting background with Glue Dots.