Hello Stampin’ Friends ~

PEACEFUL CABIN SUITE
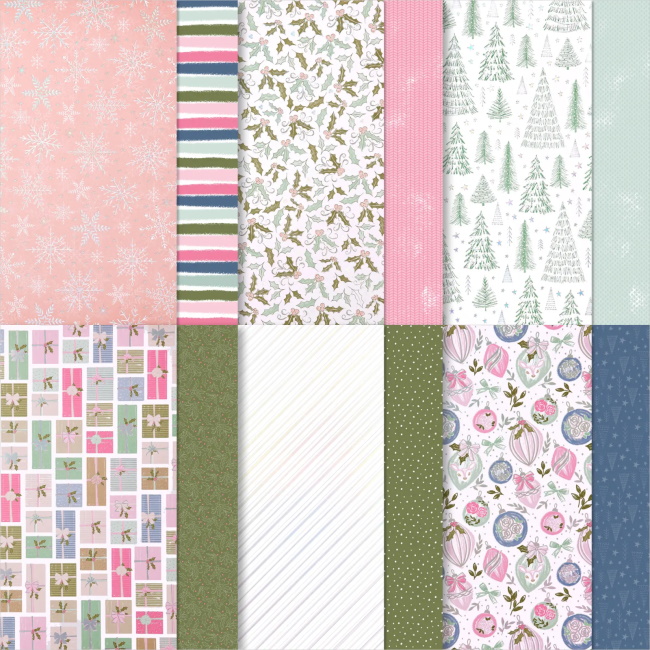
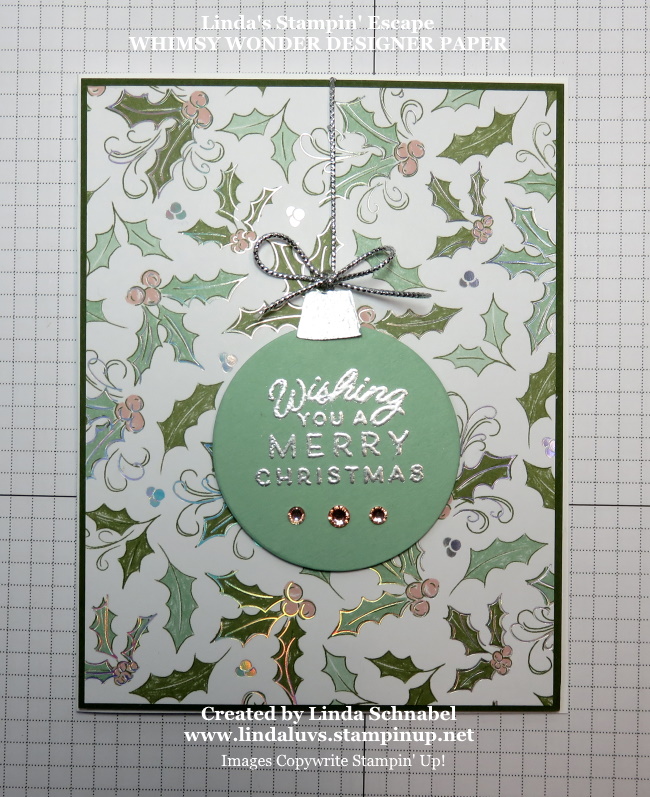
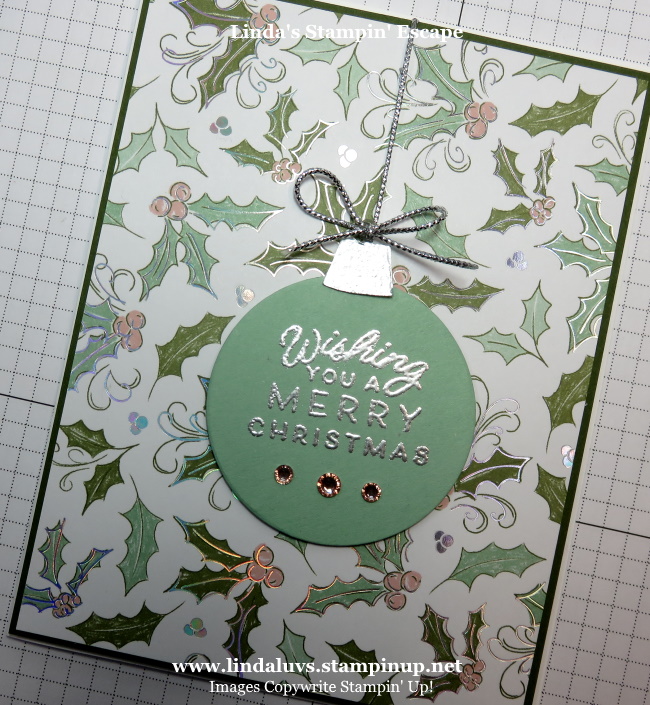
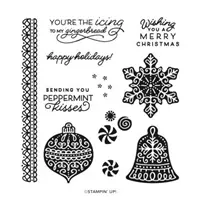
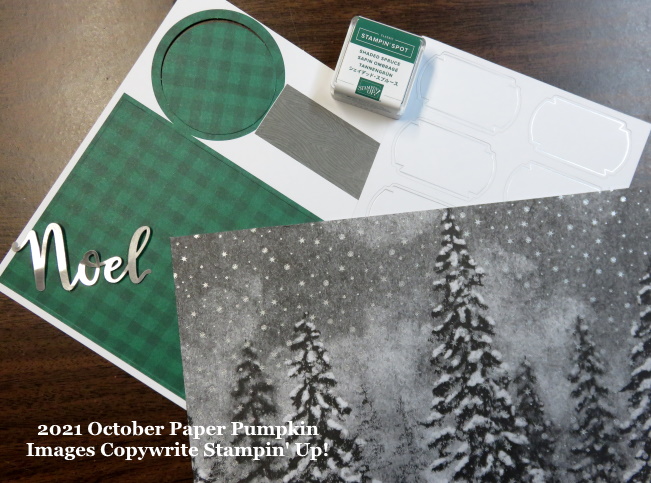
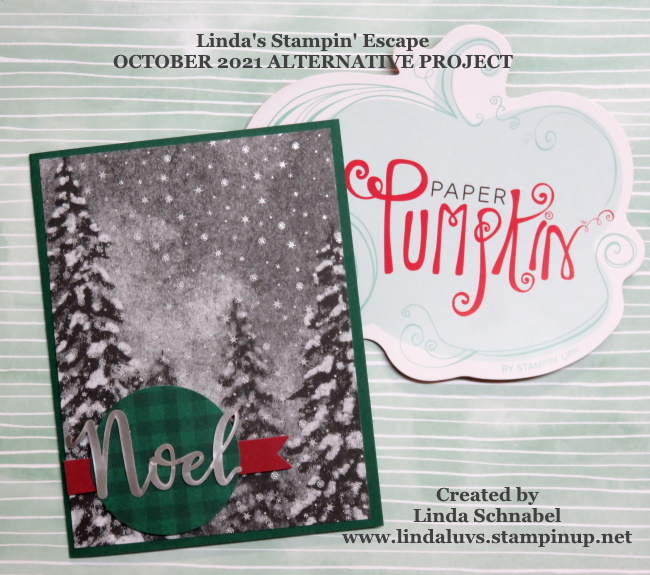
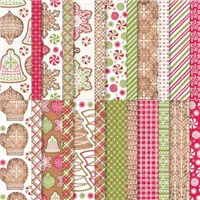
A cabin in a snowy meadow, surrounded by trees, is about as iconic of a peaceful scene as I can imagine. With the Peaceful Place Suite you’ll have all the elements for creating cards, scrapbook pages, and more with beautiful, wintery landscapes. The Peaceful Place Specialty Designer Series Paper features a lovely, soft monochrome style with silver accents that are perfect for elegant and natural looks. The Peaceful Cabin stamp set is a DistINKtive set, which means it creates detailed, shaded images. You’ll love creating with this set for the holidays and the winter months that follow. The tutorial below features a diorama-style, that layers down to the focal image, instead of up like most cards we create. I think you’ll love creating and sending this beautiful card. Have a beautiful day ~Stampin’ Hugs, Linda
————————————————– VIEW ONLINE

Coordinating Products
")
")
")
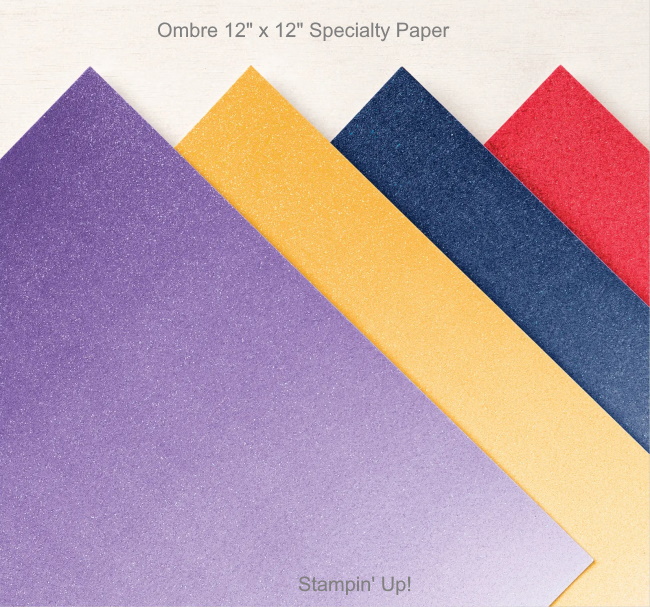
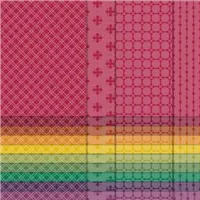
 Specialty Designer Series Paper")


 Specialty Pack")

 Glittered Organdy Ribbon")
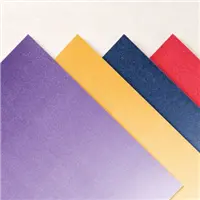
 Velvet Sheets")


Peaceful Sweet Stockings Card
 SUPPLIES
BUNDLES
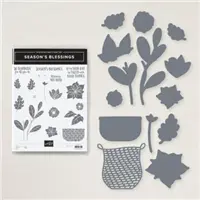
#156816 Peaceful Cabin Bundle
(#156395 Peaceful Cabin, #156404 Cabin Dies)
PAPER
#159276 Basic White, #121045 Basic Black, #131201 Pear Pizzazz, #159229 Basic White Thick, #156325 Kraft 6″ X 6″ (15.2 X 15.2 Cm) Paper Pack
INK
#102283 VersaMark Pad, #147089 Garden Green, #147104 Pear Pizzazz, #147113 Smoky Slate
TOOLS
#156406 Timber 3D Embossing Folder, #155559 Picture This Dies, #155565 Layering Diorama Dies, #129053 Heat Tool, #149653 Stampin’ Cut & Emboss Machine, #133773 Sponge Daubers
ADHESIVES
#103683 Mini Glue Dots, #104430 Stampin’ Dimensionals, #110755 Multipurpose Liquid Glue, #138995 Tear & Tape Adhesive, #141825 Foam Adhesive Strips
EMBELLISHMENTS
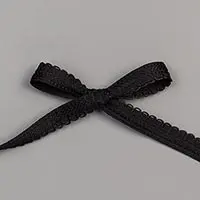
#155554 Basics Embossing Powders, #156485 Black & White 1/4″ (6.4 Mm) Gingham Ribbon, #156407 Subtle Shimmer Sequins
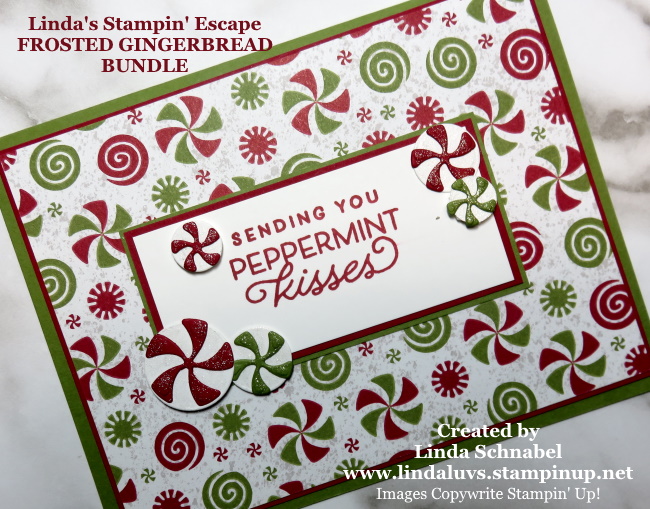
TIPS: The Peaceful Cabin stamp set is a special stamp design called DistINKtive(TM) by Stampin’ Up! DistINKtive stamps are designed to give a detailed, shaded, 3D-like effect. An ink pad with too much ink will create a blotchy, blobby image with these stamps. This is a real case of less is more. Use a Bone Folder or the back of a plastic spoon to push the ink away from the center of the ink pad and towards the edges. Then ink and stamp.
SUPPLIES
BUNDLES
#156816 Peaceful Cabin Bundle
(#156395 Peaceful Cabin, #156404 Cabin Dies)
PAPER
#159276 Basic White, #121045 Basic Black, #131201 Pear Pizzazz, #159229 Basic White Thick, #156325 Kraft 6″ X 6″ (15.2 X 15.2 Cm) Paper Pack
INK
#102283 VersaMark Pad, #147089 Garden Green, #147104 Pear Pizzazz, #147113 Smoky Slate
TOOLS
#156406 Timber 3D Embossing Folder, #155559 Picture This Dies, #155565 Layering Diorama Dies, #129053 Heat Tool, #149653 Stampin’ Cut & Emboss Machine, #133773 Sponge Daubers
ADHESIVES
#103683 Mini Glue Dots, #104430 Stampin’ Dimensionals, #110755 Multipurpose Liquid Glue, #138995 Tear & Tape Adhesive, #141825 Foam Adhesive Strips
EMBELLISHMENTS
#155554 Basics Embossing Powders, #156485 Black & White 1/4″ (6.4 Mm) Gingham Ribbon, #156407 Subtle Shimmer Sequins
TIPS: The Peaceful Cabin stamp set is a special stamp design called DistINKtive(TM) by Stampin’ Up! DistINKtive stamps are designed to give a detailed, shaded, 3D-like effect. An ink pad with too much ink will create a blotchy, blobby image with these stamps. This is a real case of less is more. Use a Bone Folder or the back of a plastic spoon to push the ink away from the center of the ink pad and towards the edges. Then ink and stamp.
 DOWNLOAD OUR LATEST CATALOG